

Painting your bus is the moment it stops looking like something that picks up kindergartners and starts looking like something you’d actually want to live in. It’s also one of those projects where the gap between doing it yourself and paying someone can be thousands of dollars.
Here’s what I found after digging into this for way too long. You’ve got three realistic options for painting a school bus: roll it on with foam rollers for $200 to $500, spray it with an HVLP gun for $400 to $800 in supplies, or pay a body shop $3,000 to $8,000 for a professional job. The DIY route takes 30 to 60 hours of your time and produces a finish that’s perfectly good for a vehicle you’re going to drive through gravel roads and gas station parking lots. The professional route gets you a showroom finish but eats a massive chunk of your build budget. Either way, the prep work matters more than the paint itself. If you skip the sanding and priming, nothing you put on top is going to last.
Why You Need to Paint Your Bus (It’s Not Just Cosmetic)
I used to think painting the bus was purely a vanity thing. Like, who cares what color it is, just build the inside and go. But there are actually a few real reasons beyond looks that pushed me to take this seriously.

First and biggest, a lot of states won’t let you register a vehicle as an RV or motorhome if it still looks like a school bus. The yellow paint, the stop sign arm, the flashing lights — those are regulated. Some states require you to remove all school bus markings before they’ll re-title it. Painting over the yellow is the fastest way to make it clear this isn’t a school bus anymore. I talked to a guy at a meetup who got hassled at a weigh station in Tennessee because his bus was still yellow and the officer thought he was operating an unlicensed school bus. He’d already converted the whole interior, had it titled as a motorhome, but from the outside it still looked like he was about to pick up kids. After that he painted it within a week. (See our guide on How Do You Remove School Bus Windows? for more on this.)
Second, the factory yellow paint on most school buses is old and starting to fade or oxidize. That top layer is breaking down, and once it goes, the metal underneath starts rusting. A new paint job isn’t just cosmetic — it’s a protective layer. You’re basically weather-sealing the entire exterior of your house.
Third, and this is the one that gets people, you will get treated differently by campgrounds and RV parks. A matte black or white bus pulls into a campground and people think it’s cool. A yellow school bus pulls in and people think you’re squatting. Unfair? Sure. But it’s reality, and I’ve heard it from enough people that I believe it.
Prep Work: Sanding, Priming, and Removing Trim Strips
Alright so here’s the thing nobody wants to hear. The prep takes longer than the actual painting. By a lot. I’d say 60 to 70 percent of your total time on this project is going to be sanding, cleaning, taping, and priming. The painting part is almost the fun reward at the end.
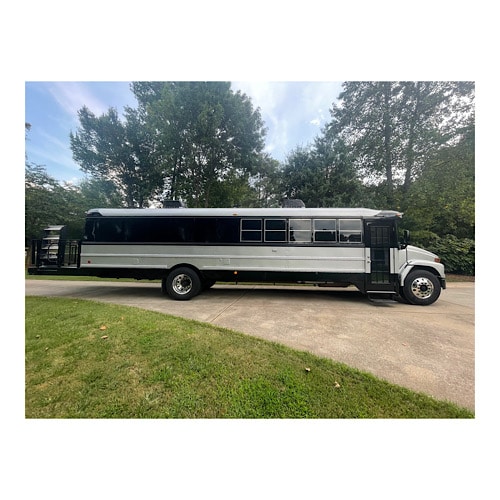
Start with a full wash. Get all the road grime, dirt, and diesel soot off. A pressure washer works great, and some people add TSP (trisodium phosphate) to degrease the surface since paint won’t adhere to anything oily.
Then sanding. You’re not trying to get down to bare metal, just scuffing the existing paint so primer has something to grab. Most builders use 120 to 220 grit with a random orbital sander. The orbital will save your arms. I watched a build video where the guy hand-sanded his entire 40-footer and said it took three full days. An orbital cuts that to one day, maybe a day and a half.
Now, “the blacked ribbed stripes along the sides of the bus. How easy are they to take off?” Those rubber rub rails are held on with a combination of rivets and industrial adhesive. The rivets you just drill out. The adhesive is the annoying part. A heat gun and a plastic scraper will get most of it, and then a rubber eraser wheel on a drill handles the residue. Budget about 4 to 8 hours just for the rub rail removal on a full-size bus. The metal underneath is often in different condition than the rest of the bus since it’s been protected from sun for 15-20 years. You’ll need to feather-sand those areas so there’s no visible line where the rails used to be. And fill the rivet holes with body filler, sand those flush, and you’re good.
After sanding comes primer. Two coats of a rust-inhibiting primer like Rustoleum Clean Metal Primer. Let each coat dry completely, overnight is ideal. Some spots where you’ve sanded down to bare metal should get a coat of self-etching primer first because it bonds directly to the steel. A couple builders I talked to said they wish they’d done the self-etching step everywhere, not just on the bare spots, because it gave a noticeably better foundation.
Roller and Brush Method (The Budget Option)
This is what most people do and honestly what I’d recommend for a first-time builder. The cost is hard to beat and the results are better than you’d expect.

“What kind and where did you get the primer and paint? Was it auto paint?” Nope. Most skoolie builders are using Rustoleum Protective Enamel or Rustoleum Professional series, which you can grab at Home Depot, Lowe’s, or even Walmart. A gallon runs $25 to $35 depending on color and finish. You’re not buying automotive paint for this. Automotive paint needs a spray booth, controlled humidity, a proper spray gun setup, and a respirator that costs more than some people’s entire paint budget. Rustoleum in a can, rolled on with foam rollers, is the standard in the skoolie community and has been for years.
The trick that I kept hearing from everyone is to thin the paint about 10 to 15 percent with mineral spirits. This helps it self-level as it dries so you don’t end up with obvious roller marks. Use 4-inch high-density foam rollers, not the cheap orange ones from the bargain bin. The high-density foam lays down a smoother coat. Some people use a small brush for edges around windows and trim, and a foam roller for the flat panels.
Three to four thin coats is the sweet spot. I know it’s tempting to gob it on thick and do fewer coats but thin coats dry more evenly and you end up with a harder, more durable finish. Sand lightly with 220-grit between coats to knock down any bumps or lint that landed in the paint. Each coat takes about 2 to 3 hours for a full-size bus and you want at least 4 to 6 hours of drying time between coats, more if it’s humid.
Total supply cost for the roller method on a full-size bus: $200 to $500 including primer, paint, rollers, sandpaper, tape, plastic sheeting, mineral spirits, and the third trip to the hardware store for the stuff you forgot. Total time: 30 to 50 hours spread over two to three weekends.
The finish won’t look like it came out of a body shop. But from 10 feet away it looks great, and for something that’s going to get dusty, rained on, and driven through narrow campground roads, it’s more than adequate.
Spray Gun Method (Better Finish, More Gear)
“What did you use for exterior paint?” For the spray gun crowd, the answer splits into two camps. Some guys thin down Rustoleum to spray consistency and shoot it through an HVLP gun. Others step up to a single-stage automotive paint like Nason Ful-Base or Omni, which are designed to be sprayed and give you a finish that’s closer to factory quality.
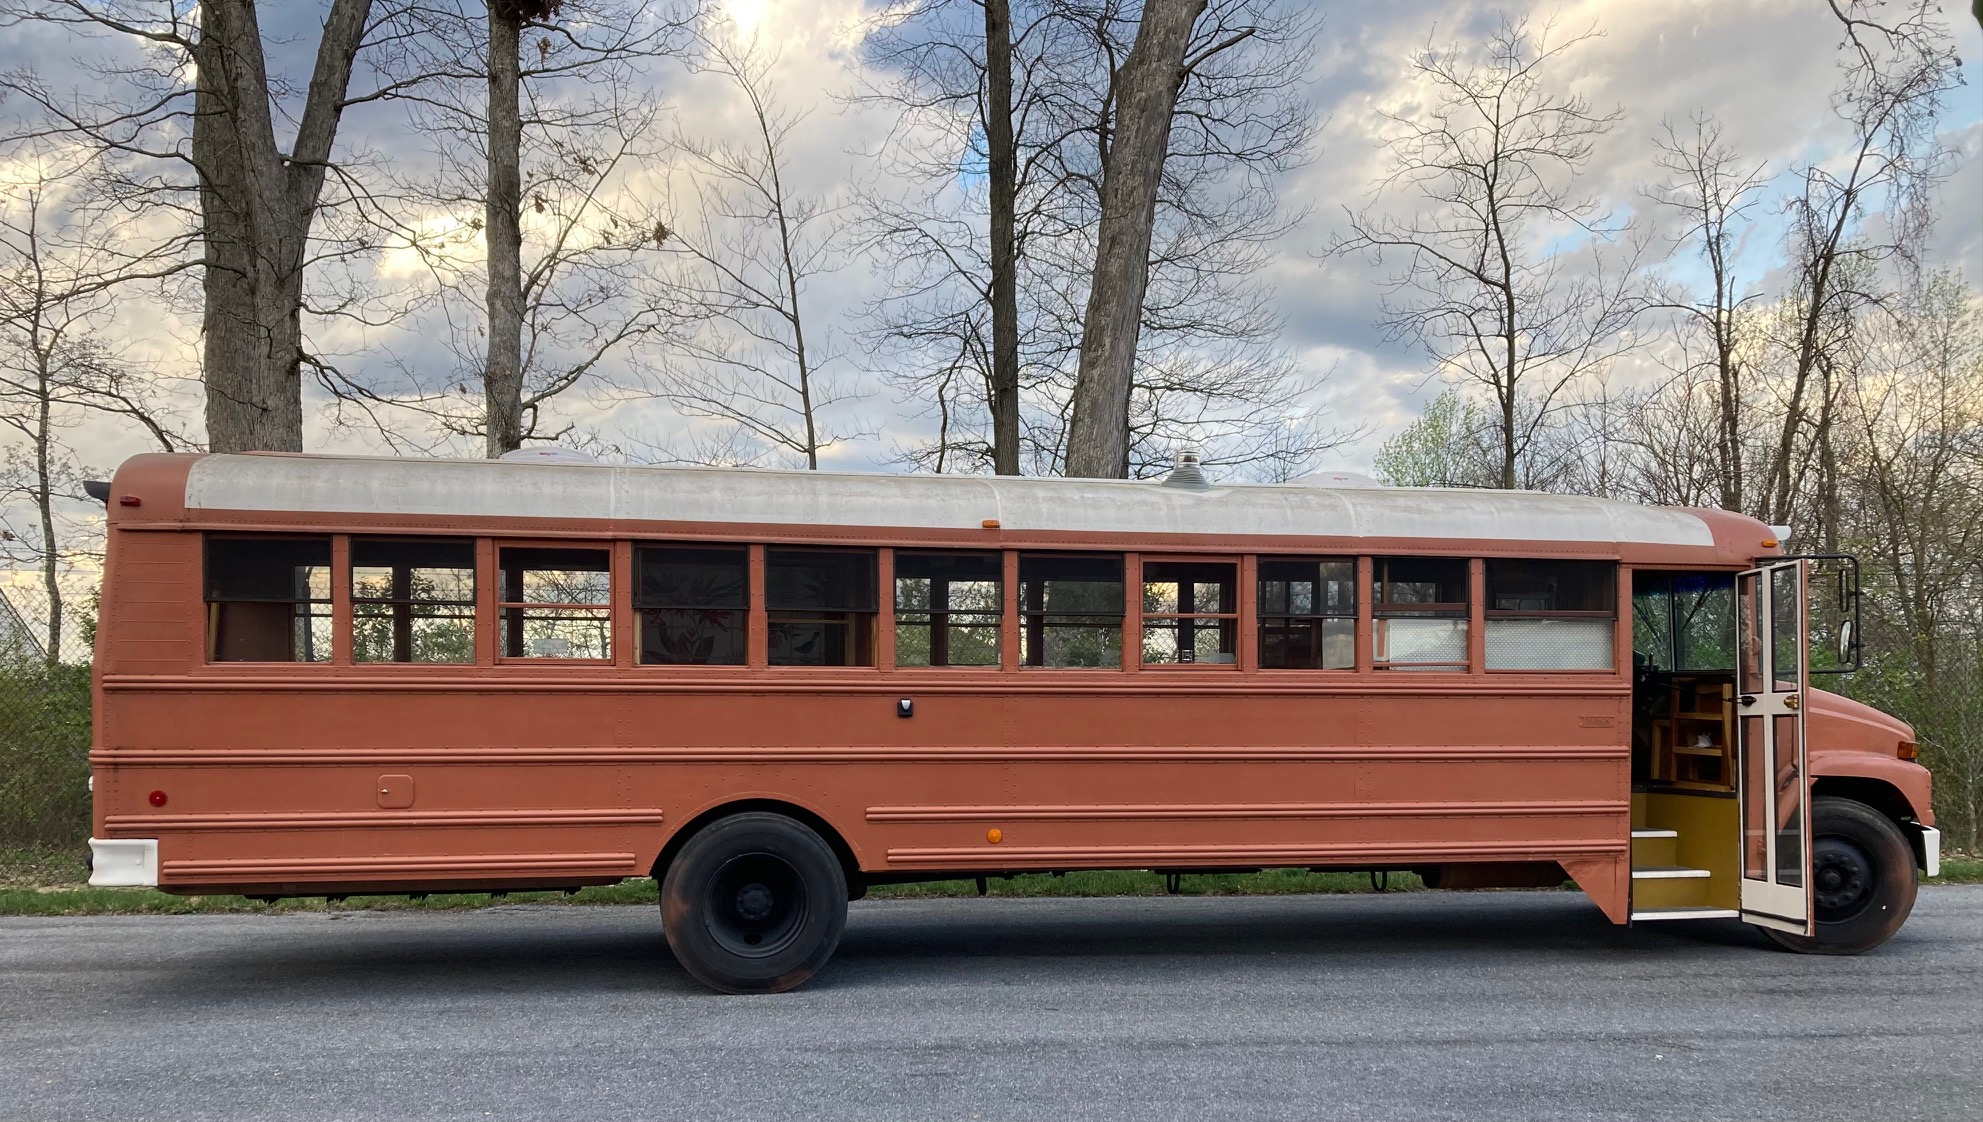
You need an HVLP spray gun ($50 to $150), an air compressor big enough to keep up with it (at least a 30-gallon tank, ideally 60), and a lot of masking material. Every window, every light, every tire, the ground around the bus, anything within 15 feet is getting overspray on it. I talked to one builder who said he spent almost as much time masking as he did spraying. Masking a full bus takes a solid 4 to 6 hours if you’re being thorough.
The advantage is a finer, more uniform coat with no roller texture. If you’re going with a lighter color — white, cream, light gray — spraying is worth the extra effort because roller texture shows more on light colors.
The disadvantage is that spraying is less forgiving. Runs and drips happen fast if you get too heavy on a pass. And you absolutely need a proper respirator — not a dust mask, an actual half-face respirator with organic vapor cartridges.
Total cost for the spray method: $400 to $800 if you need to buy the gun and already have a compressor. If you need to buy a compressor too, add another $200 to $400. Time is roughly the same as rolling once you factor in all that masking, maybe a little less on the actual paint application because spraying goes faster per coat.
One thing worth mentioning. If you know someone with spray equipment, borrow it. You might only use it once. I saw a post where a guy borrowed his neighbor’s rig in exchange for a case of beer and a steak dinner. That’s the kind of arrangement that makes DIY projects work.
Hiring a Professional (What It Costs)
“What was the price difference with painting it yourself? I’m curious how much you saved by doing it yourself?” The short answer is $3,000 to $7,000 in savings. Which is wild when you think about it, that’s a lot of people’s entire electrical or solar budget.

I called around to body shops when I was researching this, just to get a sense of the market. The cheapest quote I found was $3,200 for a single color on a full-size bus, no custom work, no bodywork. That was a shop in a smaller town. In a metro area, quotes ran $4,000 to $6,000 for the same basic single-color job. If you need dent repair, rust cutting, or any bodywork before the paint goes on, add $500 to $2,000 depending on how much there is.
Multi-color jobs, stripes, graphics — now you’re at $6,000 to $10,000 or more. I read about a couple who had their bus done in a two-tone with a mountain scene and paid $8,500. Beautiful work. But that’s a huge chunk of budget that could go toward electrical, insulation, or just having more cash for the road.
The advantage of professional is obvious: better finish, less of your time, and a good shop will shoot proper automotive paint in a booth with controlled conditions. You get a finish that looks factory-new.
There’s a middle ground that I think makes a ton of sense for some people. Do all the prep yourself — sanding, cleaning, masking, priming — and then bring it to a shop just for the color coats. That can cut the professional price down to $1,500 to $2,500 because the prep is where most of the labor hours go. You save money, and you get a professional-grade topcoat on your properly prepared surface. A couple shops I talked to were happy to do this arrangement, and one said they actually prefer it because they don’t have to worry about sanding a 35-foot vehicle.
Related: Can You Raise the Roof on a School Bus?
Related: What Is the Maximum Legal Height for a Converted Bus?
Related: How to Raise the Roof on a School Bus (Step by Step)
Best Paint Types for a School Bus Exterior
So here’s where I landed after going through all of this research. There are basically four categories of paint that make sense for a bus, and each has its place.

Rustoleum enamel is the standard. Oil-based, durable, inexpensive, available everywhere. It’s what the majority of DIY bus painters use and it holds up well. Quart cans for about $12, gallon cans for $25 to $35. Comes in a ton of colors. Dries hard, resists chipping reasonably well, and the satin or gloss finishes look good on a bus. My only knock on Rustoleum is that it can chalk and fade after a couple years of UV exposure if you don’t maintain it, but a coat of wax once or twice a year handles that.
Single-stage automotive paint is the step up. Nason Ful-Base and Omni are popular because they’re designed for vehicles and spray beautifully. More expensive at $150 to $300 for a full bus, and they require a spray gun, but the finish and durability are noticeably better. You need to thin with the proper reducer for your temperature range, which adds a learning curve. But if you’re set up to spray, this is the move.
Raptor Liner and similar bed liner products have gotten popular for the lower portions of a bus. The bottom third takes the worst beating from road debris and rocks, and regular paint down there is fighting a losing battle. Raptor goes on thick and textured, hides imperfections, and is incredibly tough. A full kit runs $150 to $200. Some builders do the entire bus in bed liner for a rugged overlander look, and the texture hides everything.
Marine paint is the dark horse option. Brands like Interlux and Pettit are designed for boats, meaning they’re built to handle constant sun exposure, salt, moisture, and temperature swings. That’s basically what a bus deals with every day. It costs two to three times what Rustoleum costs, so figure $60 to $90 a gallon. But the builders I talked to who used it swore by the longevity. If you’re planning to park near the coast or spend a lot of time in humid climates, it might be worth the premium. One guy told me his marine paint still looked fresh after four years in the Florida sun, which is saying something.
After digging through all of this, here’s what I think. For most people doing their first bus, go with Rustoleum rolled on with foam rollers. It’s cheap, it’s forgiving, and the results are good enough. If you’ve got spray equipment or you’re comfortable learning, a single-stage automotive paint will give you a better finish. And if money isn’t the constraint and your time is more valuable, the hybrid approach of DIY prep plus professional color coats gives you the best of both worlds without completely draining the build fund. Whatever you pick, just don’t skip the prep. I’ve seen too many posts from people whose paint started peeling after six months because they rolled color right over dirty, unsanded factory paint. Sand it, clean it, prime it, let it dry. The boring stuff is what makes the paint actually stick. (See our guide on What Is the Best Way to Paint a School Bus? for more on this.)
2aiund