

Vehicle inspections are one of those things that stress people out way more than they should, and I get it — you’ve spent months building your bus and now some stranger with a clipboard gets to decide if you can legally drive it. But most of what trips people up is either fixable or avoidable if you know what’s coming. (See our guide on Can You Legally Live in a Converted School Bus? for more on this.)
Passing a vehicle inspection with a converted school bus comes down to understanding that inspectors are checking the vehicle, not your build. They want working brakes, functional lights, good tires, intact glass, and a safe exhaust system. Your kitchen countertops don’t matter. The states that require regular inspections — Pennsylvania, New York, New Jersey, Massachusetts, Virginia, Texas, and a handful of others — focus on mechanical safety. The conversion side only matters if your modifications affected safety systems, like altering the exhaust or changing the lighting. Know what your state checks, fix the obvious stuff beforehand, and you’ll be fine.
Which States Require Inspections (And Which Don’t)
This was one of the first things I had to sort out when I started digging into the registration side of bus life, and honestly the map is kind of a mess. There’s no single national standard. Every state does its own thing, and some states don’t do anything at all.

Here’s the rough breakdown. States with annual or biennial safety inspections include Pennsylvania, New York, New Jersey, Massachusetts, New Hampshire, Vermont, Maine, Virginia, West Virginia, Missouri, Texas, Hawaii, Rhode Island, Delaware, and North Carolina. Some of these also add emissions testing on top of safety.
Then you’ve got states that only inspect when you buy or transfer the vehicle. Maryland works this way. You get inspected once and you’re done until you sell it.
And then there are the states with no regular inspection at all — Florida, Michigan, Montana, Idaho, Iowa, Kansas, Minnesota, Alaska, Arkansas, Nebraska, Oklahoma, Wyoming, South Dakota, North Dakota, Colorado, Arizona. The list is long. If you’re domiciled in one of these, nobody’s looking under your bus once a year.
I talked to a couple at a bus meetup who had moved their domicile from Pennsylvania to South Dakota specifically to avoid the annual inspection hassle. They’d been failed twice in PA for stuff they called “borderline ridiculous” — a small crack in a marker light lens, a boot on a tie rod end that had a tiny split. Not saying everyone should do that, but it’s worth understanding the landscape before you pick where to register. (See our guide on How Do You Register a Converted School Bus as an RV? for more on this.)
California deserves special mention. They don’t have a traditional safety inspection program, but they DO have emissions testing. For older diesel school buses, that can be brutal. CARB has some of the strictest diesel emissions standards in the country, and a lot of the buses people are converting — those early 2000s or late 90s models — can’t pass without expensive modifications or in some cases can’t pass at all.
What Inspectors Actually Look For
So when people ask “will this pass an inspection,” they’re almost always worried about the wrong stuff. Someone posts a picture of their homemade propane setup and asks if an inspector will pass it. An inspector isn’t going to look at that.

Vehicle safety inspections check the vehicle’s ability to safely operate on public roads. That’s it. Here’s what they’re actually going through:
Brakes are the big one. Pad thickness, rotor condition, lines for leaks or corrosion, and whether the parking brake holds. On buses with air brakes, they’re also checking the air system — compressor, air lines, brake chambers, and the low-air warning.
Tires. Tread depth, sidewall condition, proper size, matching tires on the same axle. Mismatched tire sizes on a dual-rear-axle bus is a fail in most states.
Steering and suspension. They’ll check for play in the wheel, look at tie rod ends, ball joints, drag links, and the steering box. King pins on older buses are a common fail point.
Exhaust system. Has to be intact, no leaks, properly routed so gases can’t enter the cabin. If you’ve rerouted or modified the exhaust during your build, it needs to be sealed and secure.
Windshield and glass. No cracks in the driver’s line of sight, wipers have to work, washer fluid has to spray. Horn has to work.
Frame and body. They’ll look underneath for excessive rust, cracks, or damage. This is where older buses can get dinged, especially ones from northern states with salted roads.
Lighting and Electrical Requirements
Alright, this section matters more for converted buses than most people think, because lighting is where your conversion actually intersects with the inspection. (See our guide on Can You Get Insurance for a Converted School Bus? for more on this.)

When you convert and re-title as an RV, you’re supposed to remove or disconnect the school bus-specific lights — amber and red flashers, stop arms, all of it. Every state I’ve looked into requires this. You can’t drive around with functional school bus flashers on a vehicle titled as an RV.
But removing those lights doesn’t mean you can skip the standard vehicle lighting requirements. You still need: (See our guide on Do You Need a CDL to Drive a Skoolie? for more on this.)
Headlights (high and low beam). Taillights. Brake lights. Turn signals, front and rear. Side marker lights — amber in front, red in rear. A license plate light. Reverse lights. And for vehicles over 80 inches wide (which is basically every full-size bus), you need clearance lights across the top — amber in front, red in the rear.
I’ve seen a few builds where people removed the entire roofline lighting assembly to clean up the look of the bus, and then didn’t replace the clearance lights. That’s a fail. You need those. Some people install smaller, more modern LED clearance lights in place of the old school bus markers, and that works great. Just make sure they’re DOT-approved and wired correctly.
Inspectors don’t care about your house battery setup, your solar panels, or your interior lighting. They care that when you hit the brake pedal, the brake lights come on. When you flip the turn signal, the right lights blink.
One thing that caught me off guard — some states check that your headlights are aimed properly. If you’ve changed the suspension or done anything that altered the ride height, your headlights might be pointing too high or too low. Easy fix with a screwdriver, but it can catch you off guard if you don’t know they’re checking.
Seatbelt Requirements for Converted Buses
This one comes up a lot and the answer is messier than you’d expect.
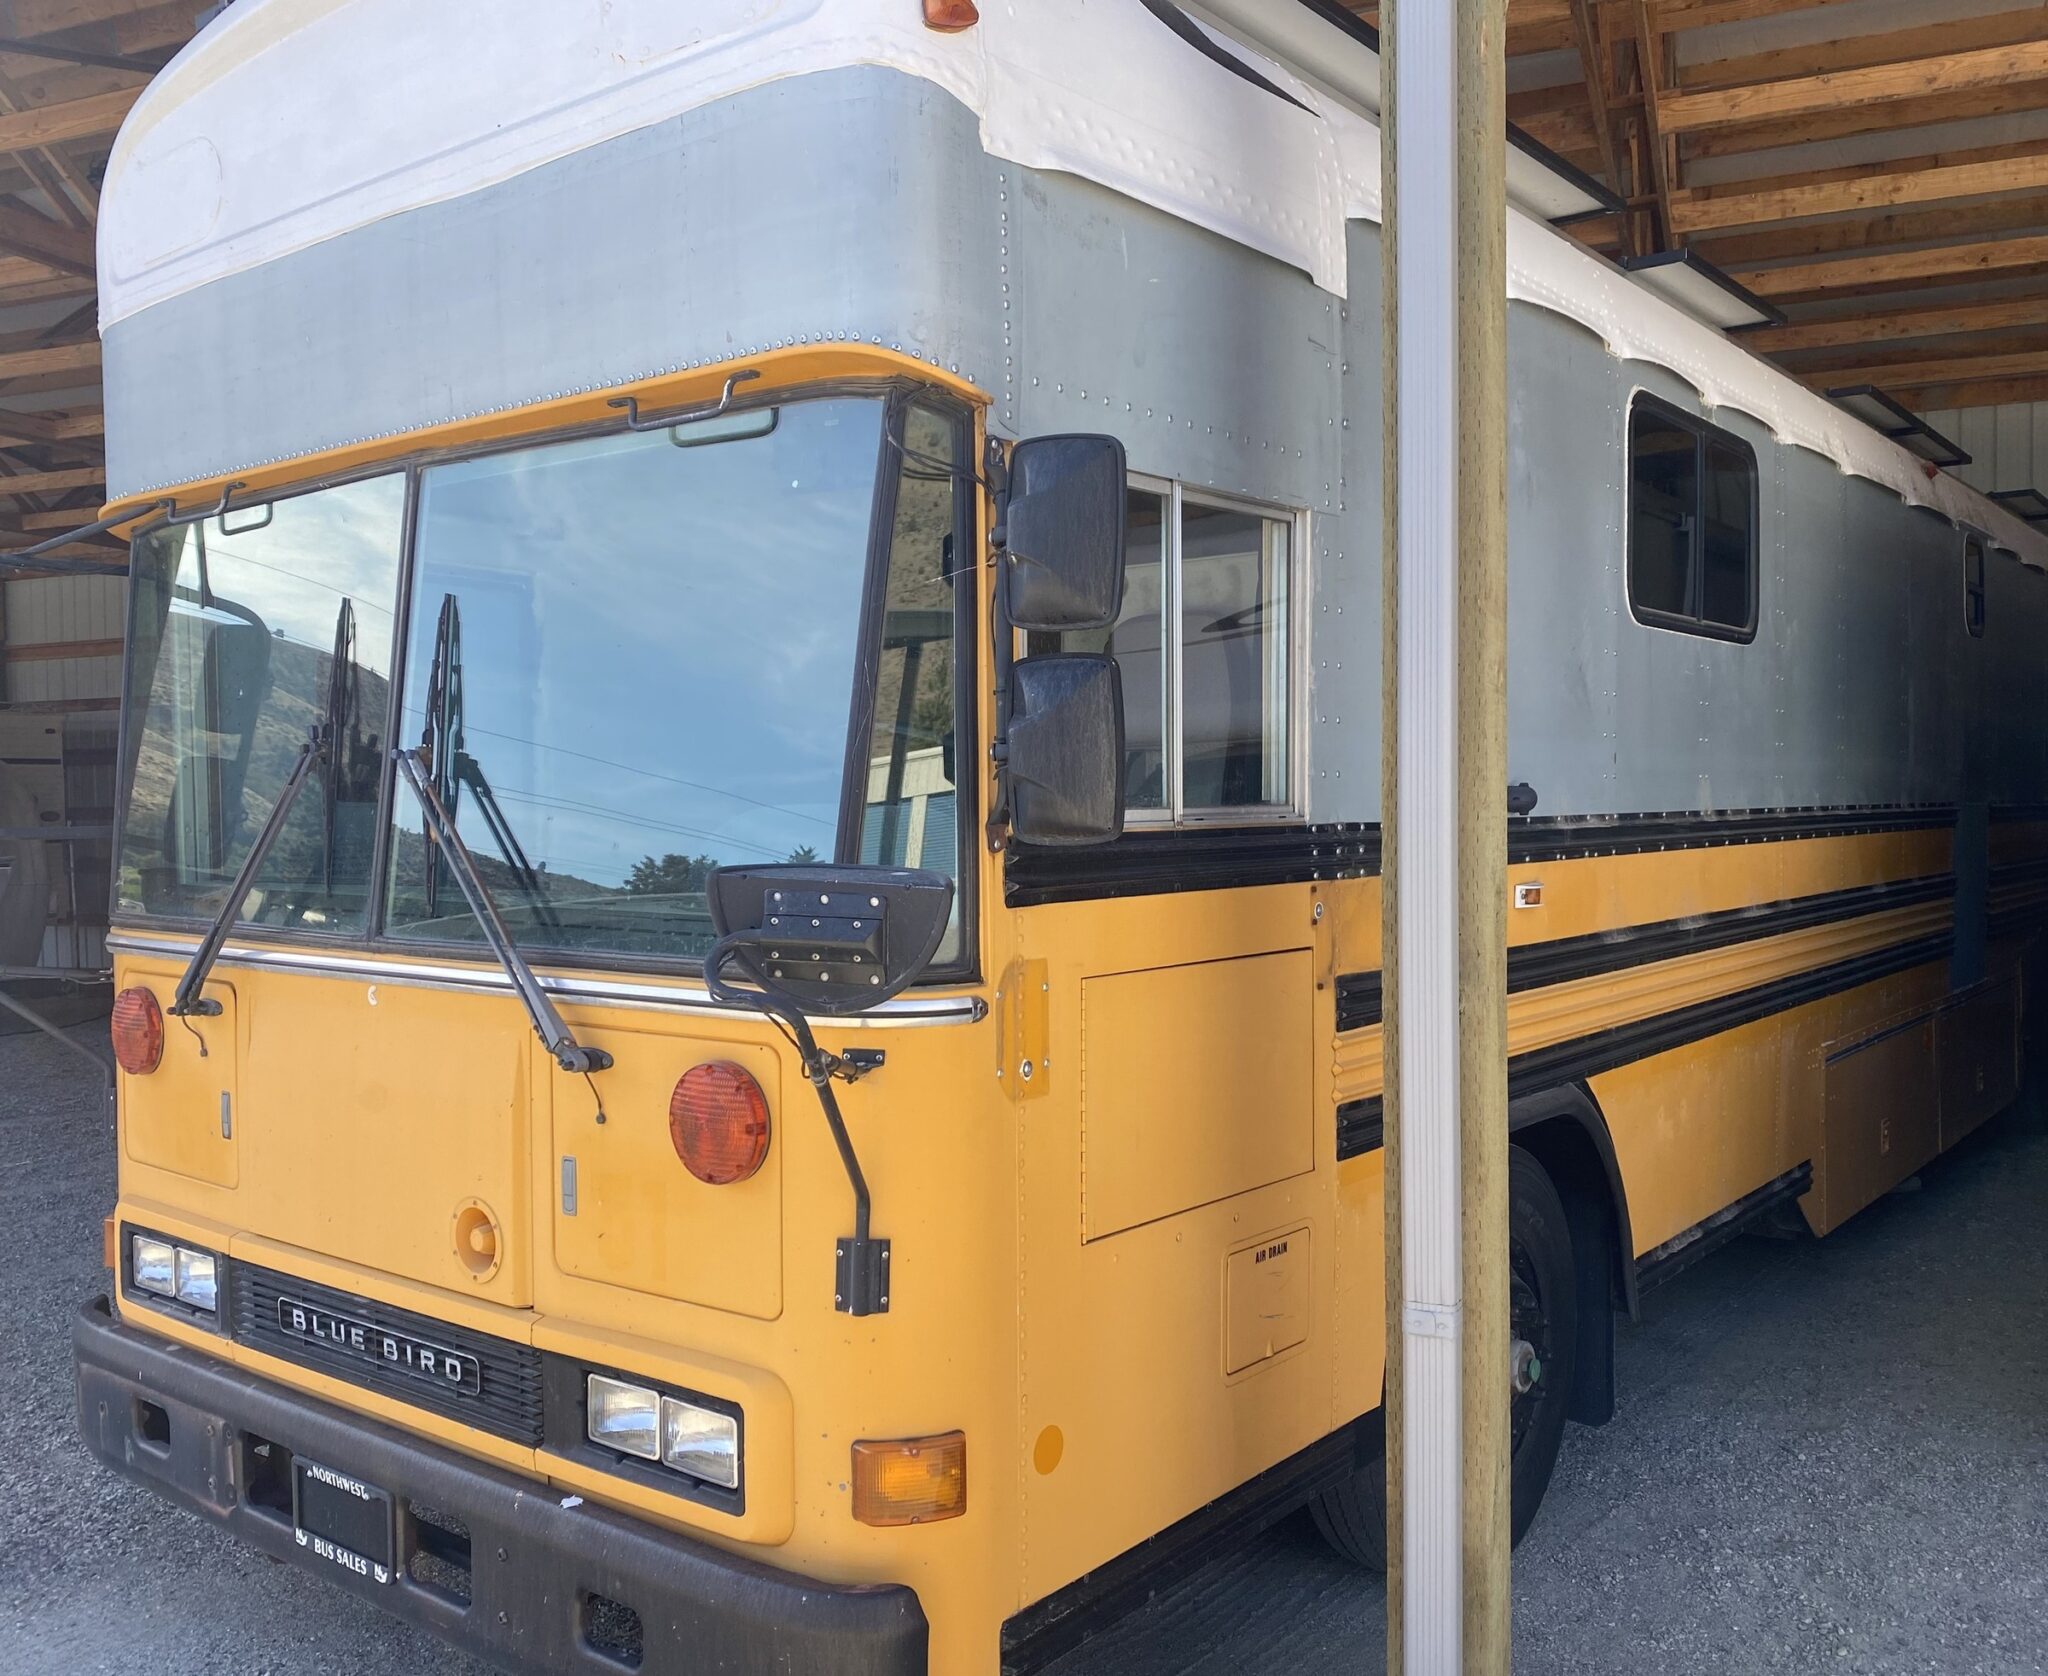
School buses were historically exempt from seatbelt requirements under federal law. The NHTSA relied on “compartmentalization” — those tall, padded, closely-spaced seats were designed to absorb impact. Most school buses, especially older ones, don’t have seatbelts from the factory.
When you convert and remove all the school bus seats, that argument goes away. Now you’ve got captain’s chairs, a couch, maybe a dinette bench. And the seatbelt requirements depend entirely on your state and how the vehicle is titled.
If you’ve re-titled as an RV, most states follow the federal standard — seatbelts required for the driver and front passenger. That’s it. Passengers in the living area aren’t required by law to be belted, though every safety expert will tell you they should be.
The tricky part is the driver and passenger seats. If you’re keeping the original bus driver’s seat, it probably didn’t come with a seatbelt. You’ll need to add one. Aftermarket seatbelt kits bolt into the floor — just make sure you’re going through the steel frame and not just through the subfloor.
I was reading through a thread about this where a guy in Texas failed his inspection because his driver seat seatbelt wasn’t properly anchored. He’d bolted it through the plywood floor he’d laid over the original steel. The inspector caught it, told him the anchor points had to be on structural metal, and sent him home. Annoying, but fair.
For families with kids, you need proper anchor points for car seats and boosters. Some builders install a bench seat behind the driver with three-point seatbelts specifically for this. Others use the factory bus seat mounting points (which are bolted to the frame) to anchor new seats with integrated belts. However you do it, make sure the attachment points are structural.
Emergency Exits and Safety Equipment
So you might think this only applies when the bus is still titled as a school bus, but you’d be partially wrong. Even after re-titling as an RV, some states still check for emergency egress, especially if the vehicle was originally manufactured as a bus.

The general requirement is at least one emergency exit on each side of the vehicle, plus the main entry door. If you’ve sealed up every window — and I’ve seen builds where people went full stealth mode with no windows at all — you could run into issues in states with thorough inspections.
Most conversions keep a few opening windows and the original rear emergency door. If you’ve built over the rear exit, consider installing an RV-specific emergency egress window that pops out from the inside.
Fire extinguishers. Not every state checks for these during a vehicle inspection, but some do, and it’s honestly just smart to have one regardless. A mounted, accessible fire extinguisher near the entry of the bus is basically free peace of mind. Make sure it’s current — they have expiration dates, and an expired extinguisher is the same as no extinguisher in the eyes of an inspector.
Some states also check for reflective triangles, particularly for vehicles over a certain weight. If your bus is over 10,000 lbs GVWR (and most full-size school buses are), you’re technically required to carry emergency warning devices under federal CMV rules. Even if your re-titled RV doesn’t fall under FMCSA rules anymore, an inspector who sees a 35-foot former school bus might check anyway. Just keep a set of triangles behind the driver’s seat. They cost twelve bucks.
Common Reasons Skoolies Fail Inspection
After going through a bunch of forum posts and talking to people who’ve been through it, the same things come up over and over. The failures almost never have to do with the conversion. They have to do with the bus being old.

Brakes top the list. Worn pads, scored rotors, corroded lines. Buses that sat in a lot for months before getting bought tend to have brake issues because the components corrode when they’re not being used. Air brake systems are especially prone to this — seals dry out, diaphragms crack, air lines develop slow leaks.
Rust is number two. Frame rust, specifically. Surface rust doesn’t usually fail you, but if the inspector can poke a screwdriver through your frame rail, you’re going home. Northern buses that spent years getting sprayed with road salt are the worst offenders.
Lighting problems are up there too. Burned-out bulbs, corroded sockets, lights that flicker. If you’ve been splicing into the wiring during your conversion, there’s a chance you’ve accidentally broken a ground connection somewhere. I spent an embarrassing amount of time once trying to figure out why someone’s left turn signal was making the brake lights blink instead — turned out to be a bad ground on the rear light bar they’d disturbed when they mounted a bike rack.
Tires are another common one. People buy a bus with tires that look fine, drive it for a year during the build, and by the time they go for inspection the tires are aged out even if the tread looks okay. Inspectors check the DOT date code on the sidewall. Tires older than 7-10 years are considered unsafe regardless of tread depth.
Steering play. Old buses with king pin suspensions develop play over time. If the inspector can wiggle the front wheels more than a certain amount with the engine off, it’s a fail. New king pins, tie rod ends, and a drag link can run $500-$1,500 depending on the bus.
And then there’s the one people forget entirely — the windshield. A crack in the driver’s line of sight fails in every state that does inspections. If yours is cracked, deal with it before inspection day.
Tips for Passing on the First Try
Here’s where I landed after researching all of this and talking to people who’ve been through the process in different states.
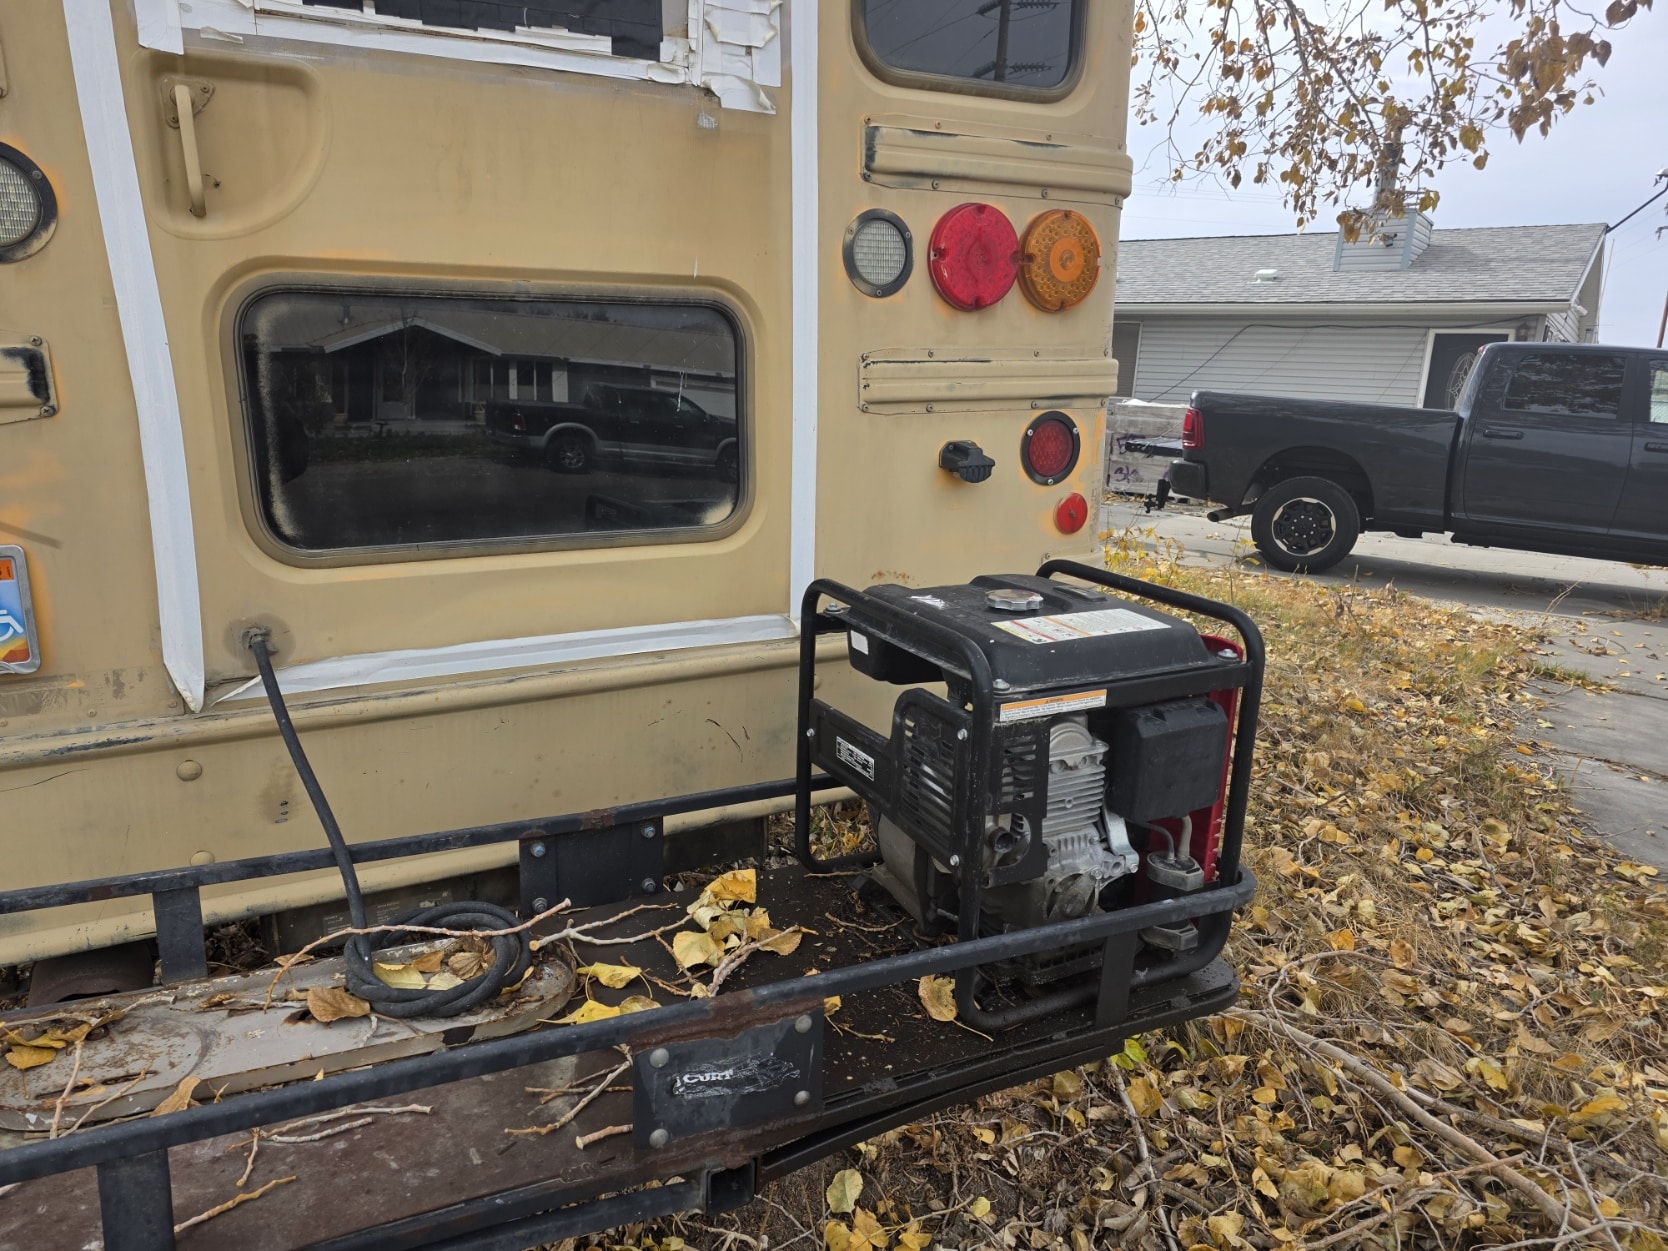
First, do your own pre-inspection. Get under the bus with a flashlight and look at everything an inspector would. Check brake pads, look for fluid leaks, inspect tires including date codes, wiggle tie rod ends, and check every light. Have someone inside activate the brakes and turn signals while you walk around outside. You’d be amazed how many people fail for a burned-out brake light they never noticed.
Second, fix the easy stuff before you go. Replacing a bulb takes five minutes. Topping off brake fluid takes two. Adjusting headlight aim takes ten. These are not the things you want to fail for, because then you’ve got to come back and pay the re-inspection fee and waste another half day.
Third, know what your specific state checks. Go to your state’s DMV website and pull up the actual inspection criteria. Most states publish the full checklist. Pennsylvania’s inspection manual is online and it’s extremely detailed. Read it before you go.
Fourth — bring documentation. This is something I picked up from a guy who does mobile mechanic work on converted buses. If you’ve had recent brake work or replaced tires, bring the receipts. If an inspector is on the fence about something, paperwork showing recent professional work can tip things in your favor. (See our guide on The Complete Guide to Insuring a Converted School Bus for more on this.)
Fifth, choose your inspection station wisely. In states like Pennsylvania where private garages do inspections, some shops are strict and others are more reasonable. I’m not saying find a shop that’ll pass anything. But there’s a difference between fair and nitpicky. Ask around in local skoolie or RV groups for recommendations.
Sixth, if your bus has air brakes, get the air system checked before inspection day. A slow leak that takes 20 minutes to drop enough pressure won’t be noticeable during a normal drive, but an inspector doing a pressure drop test will catch it immediately.
And here’s maybe the most practical tip of all — if you haven’t registered anywhere yet, think carefully about where you’re going to domicile. If you don’t have a strong reason to be in a strict inspection state, don’t be. South Dakota, Florida, and Texas are the most popular domicile states for full-timers, and there’s a reason for that.
So after digging into all of this, here’s what it comes down to. Vehicle inspections for skoolies aren’t about your build quality, they’re about the mechanical condition of the vehicle. Keep the bus maintained, understand what your state checks, fix the obvious stuff before you show up, and you’ll pass. The people who fail are almost always failing because of deferred maintenance on an aging vehicle, not because the inspector didn’t like their cabinetry. Take care of the bus and it’ll take care of you at the inspection station.