

So you’ve decided to actually do it. You’ve measured the ceiling, stood inside with your arms up, and realized this isn’t gonna work without more headroom. Now you need to know how to actually raise the roof, not just whether it’s possible. (See our guide on Can You Raise the Roof on a School Bus? for more on this.)
Raising the roof on a school bus involves cutting the walls at a set height, welding in new steel framing to extend the walls upward, skinning the new section with sheet metal, and reattaching the original roof on top. Most builders raise between 14 and 24 inches, with 18 being the most common. The whole process takes 80 to 300 hours depending on your welding experience. Materials run $2,000 to $6,000 for a DIY job, or $8,000 to $15,000 if you hire a shop. It’s one of the most intimidating parts of a bus build, but every builder I’ve talked to said it was worth it once they were standing up straight inside their finished bus.
Why People Raise the Roof (And How Much Height You Actually Gain)
The standard interior ceiling height on a school bus is right around 72 inches, which is exactly 6 feet. Sounds fine on paper until you realize you’re going to lose 2 to 4 inches to your subfloor and another inch or two to whatever you put on the ceiling. So now you’re at maybe 5’8″ of usable headroom, and if you’re any taller than that, you’re ducking in your own home.
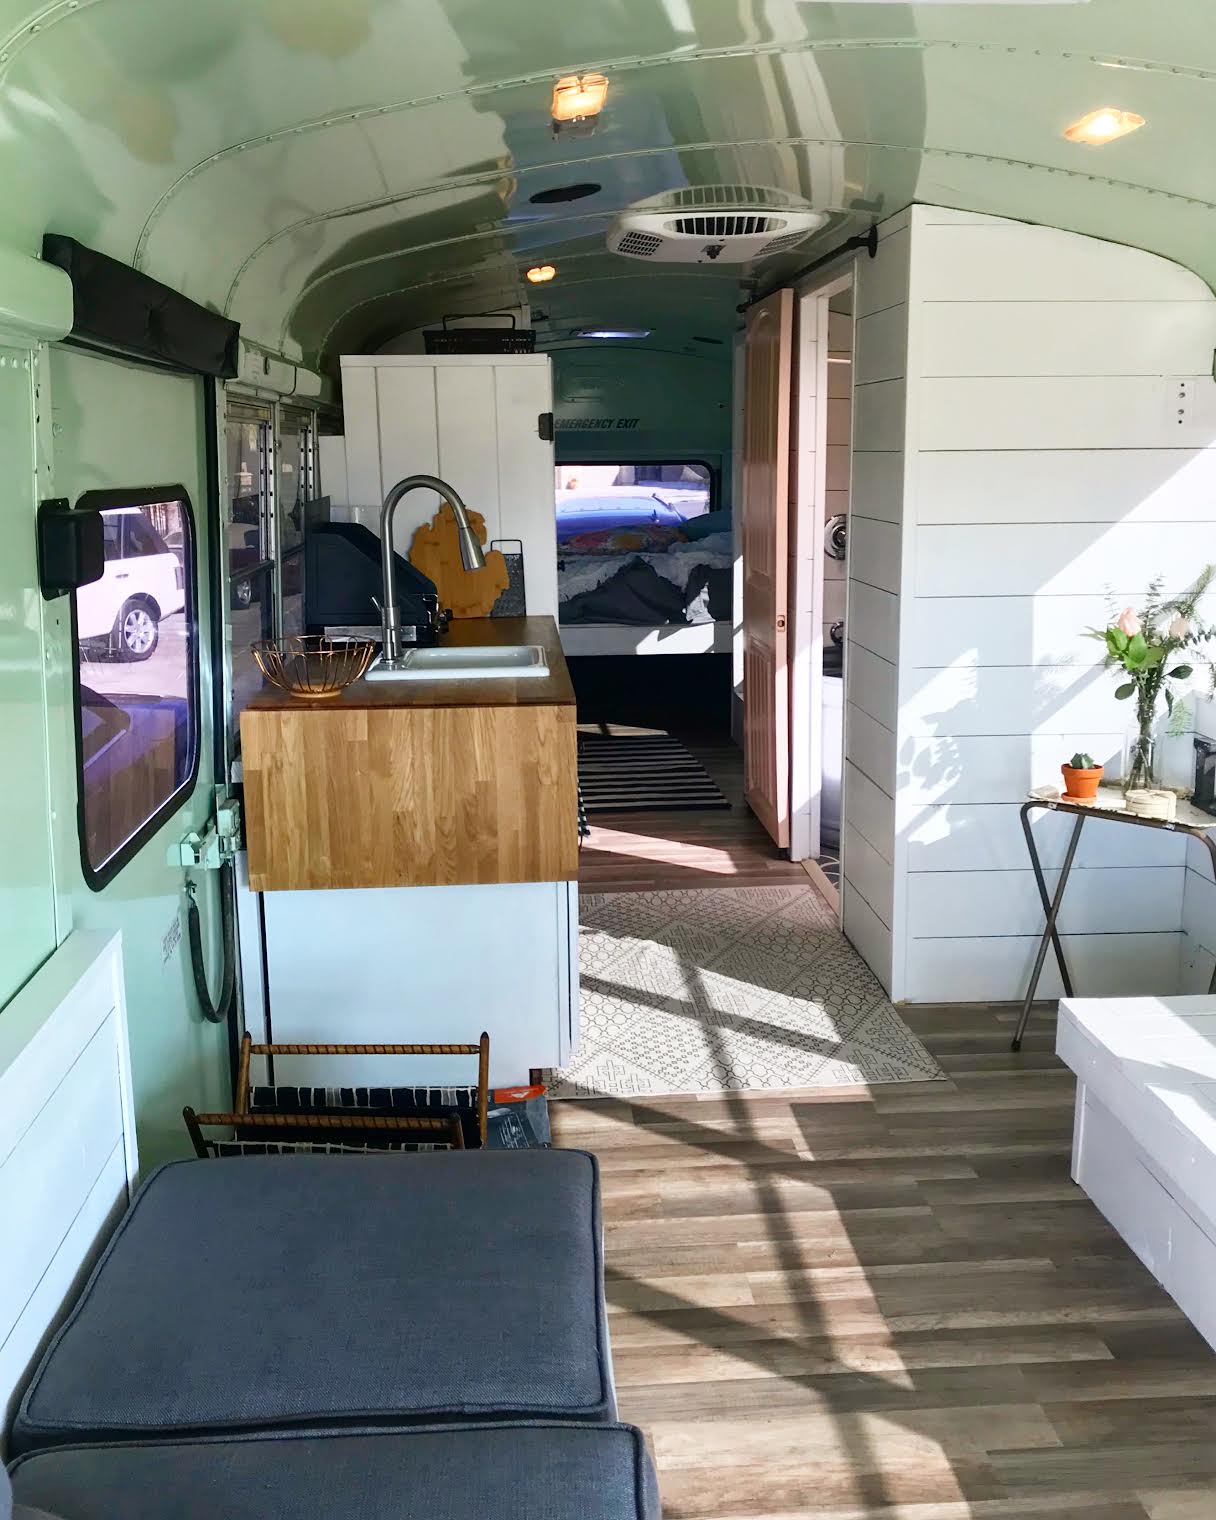
I was at a skoolie gathering last year and got talking with a couple who’d just finished their build on a flat-nose International. The guy was 6’1″ and told me they almost skipped the roof raise because it seemed too scary. His wife talked him into it. He said the moment they put the roof back on and he stood inside with room to spare, he turned to her and said “this is actually a house now.” That really is what it comes down to.
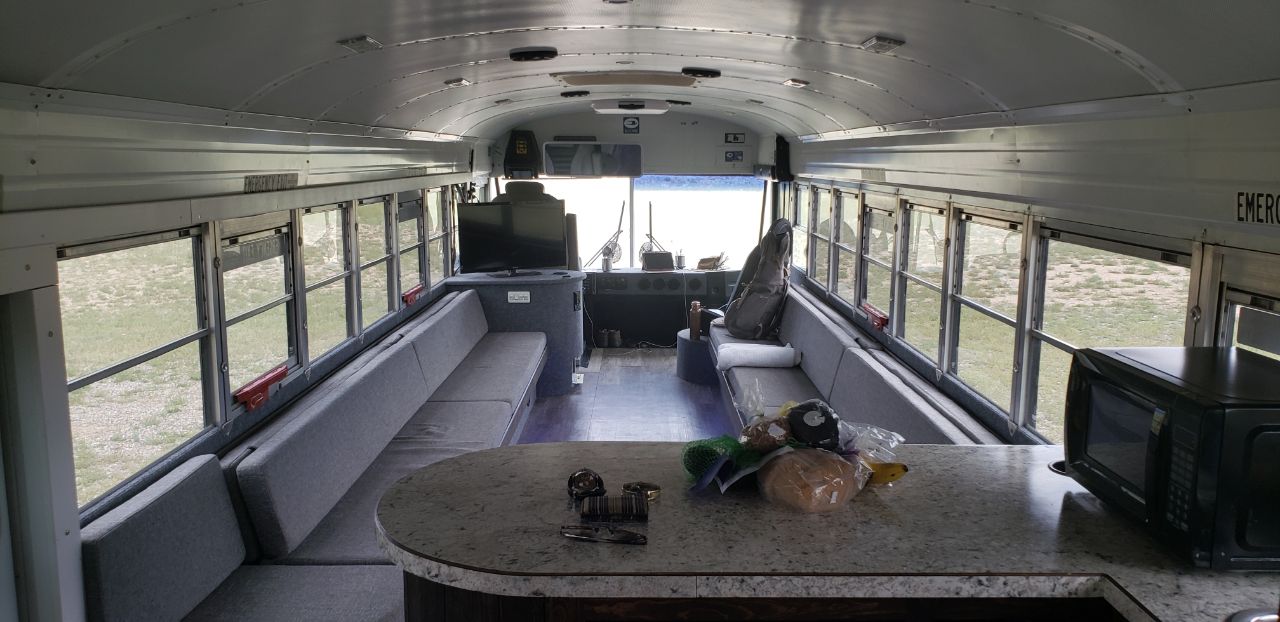
An 18-inch raise takes your interior ceiling from about 72 inches to roughly 90 inches before finishes. After floor and ceiling material, you’re looking at around 84 to 86 inches of usable space, which is basically 7 feet. That’s comfortable for pretty much anyone.
But it’s not just about standing height. I kept reading comments from builders who said the extra vertical space changed how the whole bus felt. Upper cabinets that actually have room above your head. A ceiling fan that doesn’t smack you when you walk under it. One woman I read about was only 5’4″ and she still did a roof raise just so she could have proper kitchen storage and hanging plants without everything closing in on her. The headroom isn’t just functional, it makes the whole space feel more like a home and less like a vehicle.
Planning Your Roof Raise: How High Should You Go?
Work backwards from two numbers: your desired interior standing height, and the maximum exterior height you’re comfortable driving with. (See our guide on What Is the Maximum Legal Height for a Converted Bus? for more on this.)
For interior height, figure out who the tallest person is that’ll be living in the bus. Add 4 to 6 inches above their head for comfort. That’s your target ceiling height after finishes. Then add back whatever you’re losing to floor and ceiling materials, usually 3 to 5 inches total. The difference between that number and your current 72 inches is how much you need to raise.
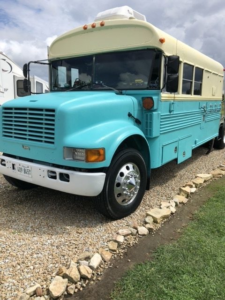
For exterior height, a stock full-size school bus sits around 10 feet 6 inches. Add your raise, then add whatever’s going on the roof — an AC unit is another 12 to 14 inches, solar panel mounts add a couple inches. Most interstate overpasses clear 14 feet, but city bridges, railroad crossings, and downtown underpasses can be 11 to 13 feet. I wrote about bridge clearances in more detail in the article on whether you can raise the roof on a school bus, and there’s a piece on maximum legal heights for converted buses if you want the state-by-state breakdown.
The short version: 18 inches is the sweet spot for most people. Gives you great headroom, keeps overall height manageable, and doesn’t require dramatically more materials or labor than a 12-inch raise. I’ve seen a handful of 24-inch raises that looked incredible, but the builders all admitted it took significantly longer and the taller wall extensions were trickier to keep rigid.
One thing I wish more people talked about is measuring your bus BEFORE you commit to a number. Not all buses are the same height. A flat-nose Bluebird and a dog-nose Thomas can have different roof profiles. Measure your actual interior ceiling, not just what Google says a school bus should be. If you want more background on ceiling heights before you plan, there’s a whole article on how tall the ceiling is inside a school bus.
Cutting the Bus: Tools and Safety
This is the part that terrifies people, and I’m not going to pretend it shouldn’t. You’re cutting a school bus in half, horizontally. But people do this all the time, and the cuts aren’t complicated, they’re just intimidating because of the scale.
A plasma cutter is what most builders use. It cuts through the bus’s 14 to 16 gauge steel like butter. Clean cuts, relatively fast, and a decent unit runs $300 to $500. Some people use an angle grinder with a cutoff wheel instead, cheaper but slower and messier. Reciprocating saws with metal-cutting blades work too, but they’re the slowest option.
For safety: welding gloves, face shield, long sleeves, ear protection, steel-toe boots. Clear anything flammable. Disconnect the battery and make sure you know where the fuel lines run through those walls.
The process goes like this. Mark your cut line all the way around using a chalk line or painter’s tape. Most builders cut at the bottom of the window line or just above the rub rail. Make sure the line is level and I mean check it obsessively, because once you cut you can’t un-cut.
Before you cut all the way around, brace the roof. This is critical. Some builders weld temporary cross-braces between the roof ribs. Others use ratchet straps from the roof to a beam run through the interior. The roof needs to stay exactly where it is when you finish cutting. Then start at the back, work forward on one side. Some builders leave the front and rear walls connected until last so the roof still has two points of attachment while they work the sides.
I talked to one builder who said the hardest part wasn’t the cutting itself but convincing himself to make the first cut. Once the sparks were flying, it got easier. He also said the bus sheet metal is thinner than most people expect, so the plasma cutter went through it almost too fast.
Framing and Structural Support
Now you’ve got a bus with the roof on temporary supports and a gap where the walls used to connect. This is where the real building happens.
Most builders use steel square tubing for the vertical posts, usually 1-inch by 1-inch or 1.5-inch by 1.5-inch, in 14 or 16 gauge. These get welded vertically between the existing bus ribs below the cut and the roof ribs above. You’re extending each rib upward by your raise height, with a new post at every original rib location, typically 24 to 30 inches apart.
Horizontal bracing ties everything together. Run horizontal tubing along the top and bottom of the new wall section, welded to each vertical post. Some builders add diagonal braces in every other bay. I saw one build where the guy did X-braces in every bay — probably overkill, but he was doing a 24-inch raise and planned to mount heavy upper cabinets, so it made sense for him.
Here’s something people underestimate. The bus roof is heavy. A full-size school bus roof with all its ribs and sheet metal can weigh 800 to 1,200 pounds. That weight sits on your new framing, and the welds need to be solid.
I had a conversation with a welder at a fab shop about this and he said the most common mistake he sees isn’t bad framing design, it’s bad welds. People who’ve watched a couple YouTube videos and picked up a Harbor Freight welder, running cold welds that look fine on the surface but have no real penetration. His recommendation was to get someone experienced to check your welds before you put weight on them. MIG welding is what most DIY builders use. A 220V MIG welder in the $400-700 range handles 16 gauge tubing and bus sheet metal fine.
Skinning the Sides (Sheet Metal or Other Materials)
With the frame in place and the roof welded back on, you’ve got an open section that needs to be closed up.
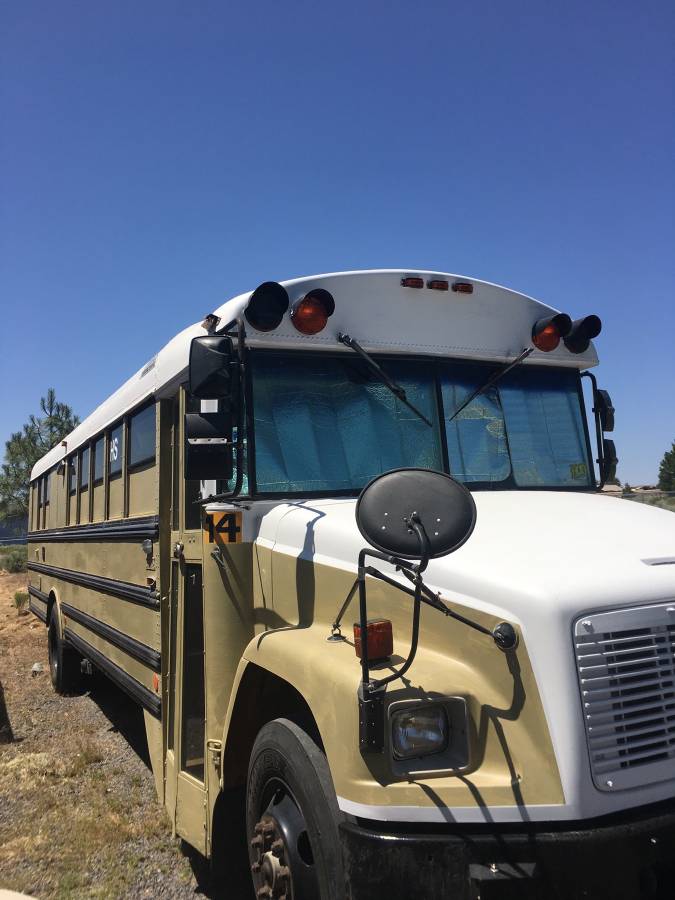
Most people go with 16 gauge steel to match the original bus. Measure each bay, cut your sheet metal with aviation snips or a plasma cutter, and weld it to the frame. The tricky part is warping. Sheet metal pulls when you weld it because of the heat. Tack weld first — small spots every 6 to 8 inches around the perimeter — then go back and run your full beads. If you try to run one long continuous bead, the metal will buckle on you.
Not everyone uses steel though. Some builders use aluminum, which is lighter and won’t rust. The downside is aluminum requires a TIG welder and more skill. You can rivet aluminum panels to a steel frame instead, but you need a barrier between the two metals to prevent galvanic corrosion.
I’ve also seen a couple of builds where people used fiberglass panels or even corrugated metal roofing material for the skin. I wouldn’t go that route personally, wood especially looks wrong and rots, but I’m not gonna pretend I haven’t seen it work on at least one bus where the builder sealed and painted it well enough.
One builder I followed on Instagram did something clever. Instead of matching the new skin perfectly to the existing body, he welded the new panels slightly proud of the original surface and ran a trim strip over the seam. From 20 feet away you can’t tell where the original bus ends and the raise begins. Up close you can see it, but it looks intentional, not like a hack job.
Sealing and Weatherproofing
This is where a lot of roof raises fail. Not structurally, they leak. Water finds every imperfection in your metalwork, every pinhole in a weld, every gap where panels meet.
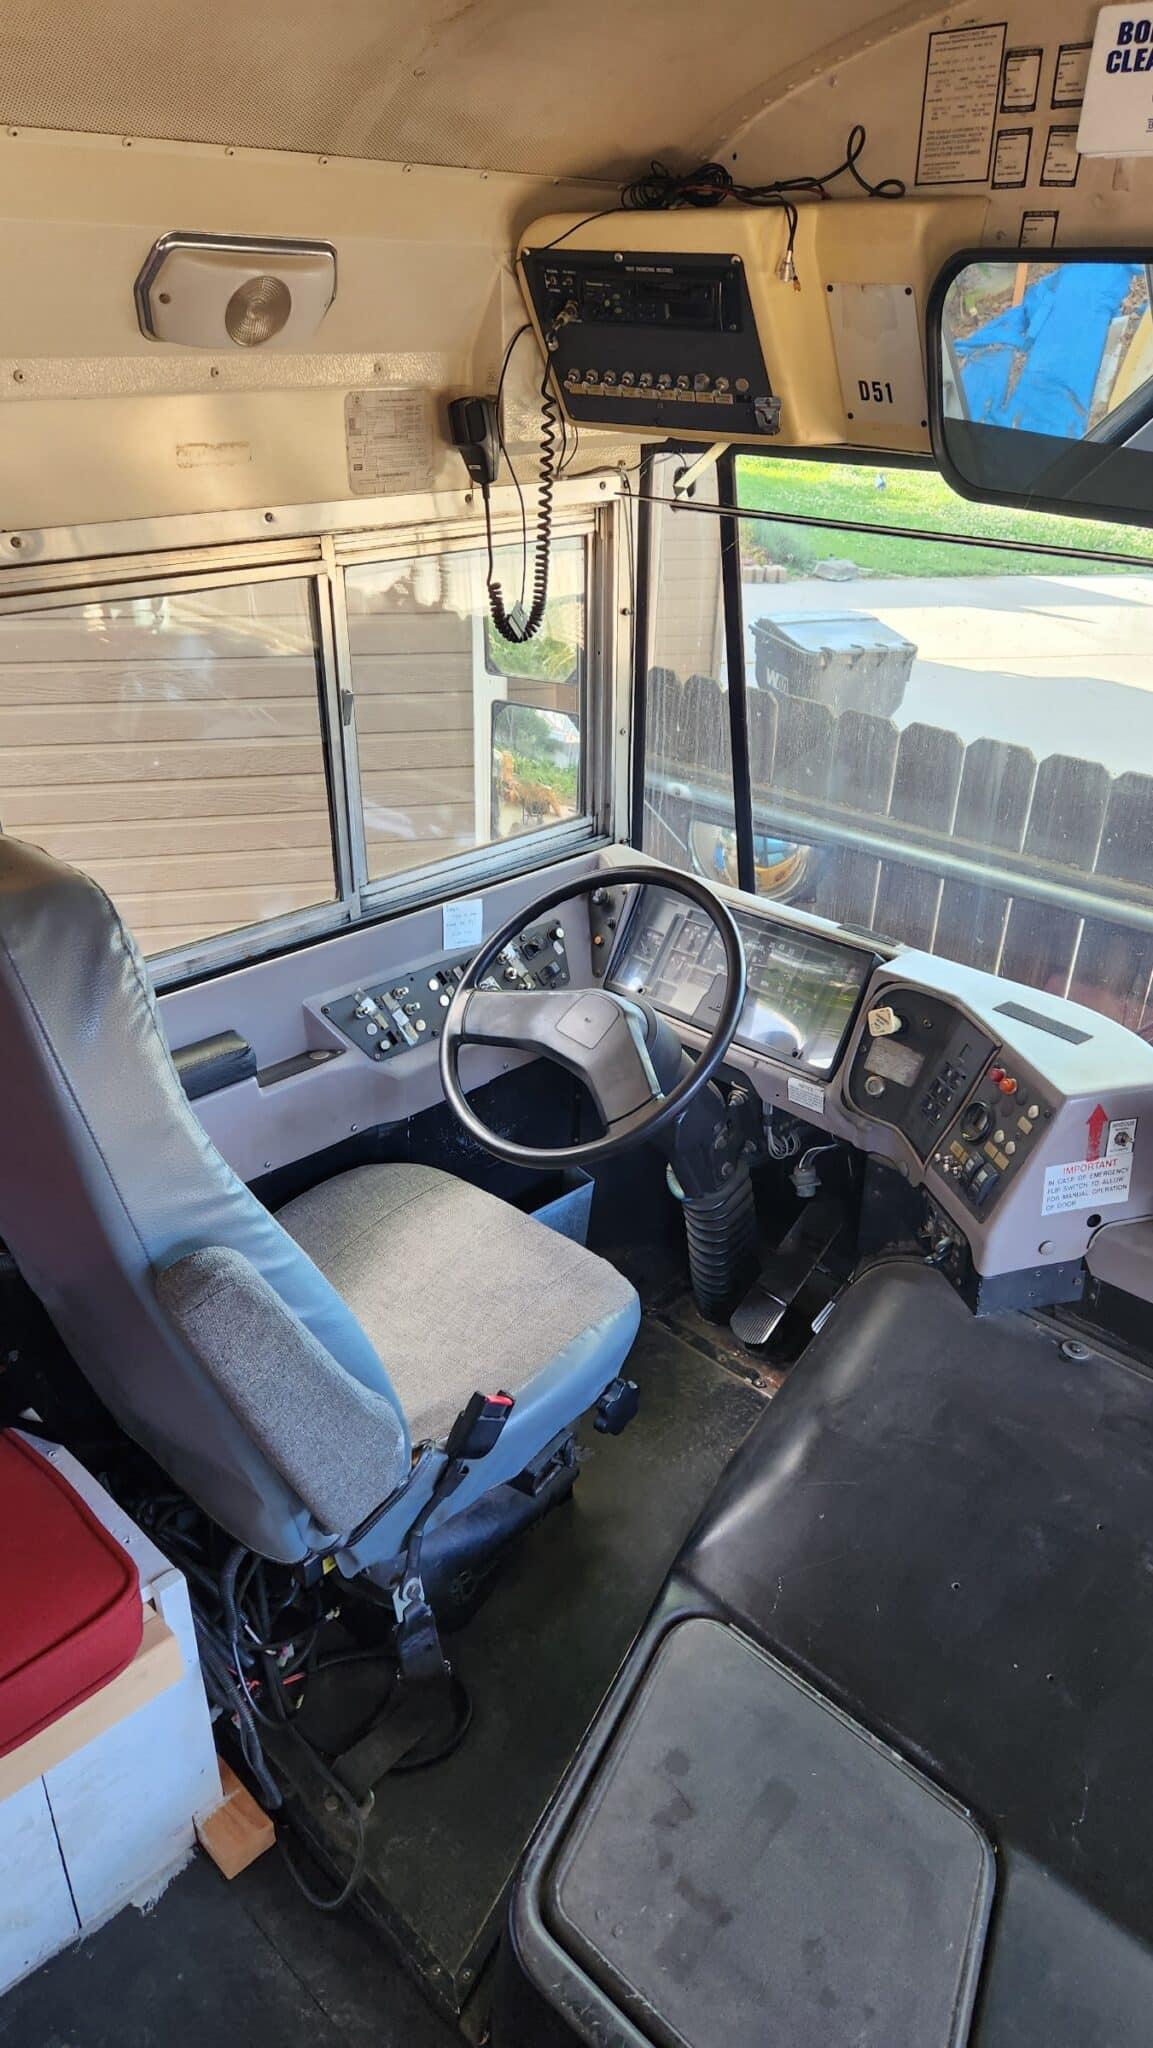
After welding, grind your seams smooth and inspect them closely. Some builders spray the bus down with a hose and look for drips inside. Better to find leaks now than after you’ve done the interior.
Seam sealer goes on every joint, inside and out. Use automotive seam sealer, the stuff body shops use. It stays flexible, which matters because the bus flexes going down the road. Silicone caulk seems like it’d work but it doesn’t bond well to bare steel and peels off over time.
Primer and paint on all exposed metal. Bare steel starts rusting within days. Hit it with POR-15 or Rustoleum primer, then your topcoat. Don’t skip the inside surfaces either. The metal you can’t see is the metal that rusts.
For the roof junction where the original roof meets the new section, pay extra attention. Some builders weld a small drip edge above this seam, a little lip that forces water to run down the side instead of pooling at the joint. That’s smart. If you’re in a wet climate, consider Eternabond tape over the exterior seams as extra protection. It’s what RV guys use on roof seams and it works really well.
Related: How Do You Remove School Bus Windows?
Related: How to Paint a School Bus (DIY vs Professional)
What It Costs (DIY vs Hiring It Out)
Here’s what the numbers actually look like for an 18-inch raise on a full-size bus.
DIY materials: Steel tubing for the frame runs $400 to $800. Sheet metal for skinning is $300 to $600. Welding supplies hit $150 to $300. Seam sealer, primer, paint add $100 to $200. Miscellaneous grinding discs and hardware, another $100 to $200. Total materials: roughly $1,050 to $2,100. If you need to buy a welder ($400-700) and plasma cutter ($300-500), add $700 to $1,200. You’ll use that welder for the rest of the build though, so it’s not money lost.
Hiring a shop runs $8,000 to $10,000 on average for a full-size bus, including materials and labor. I’ve seen quotes as low as $5,000 at small rural fab shops and as high as $15,000 at established places.
There’s a middle ground that makes sense for people who don’t trust their welding. Do the cutting, bracing, and prep yourself. Hire a welder for the structural work at $50 to $80 per hour, maybe 20 to 40 hours. Then handle sealing and painting. That puts you at $2,500 to $5,000 total.
The timeline is the other cost people forget. A DIY raise takes most builders 2 to 6 weeks full-time, or 2 to 4 months of weekends. During that time your bus is un-drivable and exposed to weather. I read about one guy who started his raise in October, hit delays, and had an open-topped bus sitting in the rain for three weeks. If you can, do this in dry weather and move fast.
After digging into all of this, here’s where I landed. If you’re reasonably handy and willing to learn to weld, the DIY route at $2,000 to $3,000 is the best value in your entire build. The headroom changes everything about how the finished bus feels. If welding terrifies you, paying $8,000 to $10,000 is still worth it compared to living in a space where you can’t stand up straight. And the one thing I keep seeing across every build thread and forum post — nobody regrets doing the raise. The only regret is going too conservative and wishing they’d added a few more inches while the bus was already cut open. (See our guide on What Is the Best Way to Paint a School Bus? for more on this.)