
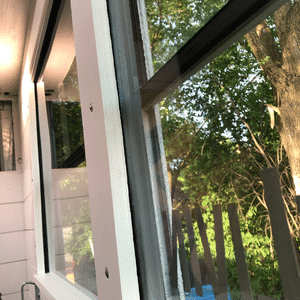
Windows are one of those things you don’t think about much until you’re standing inside your bus staring at fourteen of them and realizing every single one has to come out, get sealed, or get replaced with something better. I spent a ridiculous amount of time figuring out how the different window types come apart, and the answer depends entirely on what kind of bus you bought.
Most school bus windows are either bolt-in or riveted in. Bolt-in windows are straightforward — you remove the rubber gasket trim, unbolt the flange from the inside, and the whole window lifts out. Riveted windows take more work because you have to drill out each rivet, and there can be 20 or more per window. Once the windows are out, you’ve got three choices: leave the openings as windows with new glass or polycarbonate, seal them up with sheet metal and insulate over them, or some combination of both depending on your floor plan. Getting this right matters because bad window seals are the number one source of water leaks in skoolie builds.
Tools You’ll Need
Before you start pulling windows, get everything together so you’re not running to the hardware store three times in one afternoon. I made that mistake on a different project once and lost half a day to it.
For bolt-in windows, the list is pretty short. You’ll need a socket set (10mm and 12mm are the most common sizes on school buses, but bring the whole set), a flathead screwdriver or trim removal tool for popping the rubber gaskets, and a utility knife for cutting old sealant. A cordless impact driver speeds things up a lot when you’ve got 50+ bolts to remove. (See our guide on How Do You Remove School Bus Windows? for more on this.)
Riveted windows need more tools. A drill with a 1/8″ cobalt drill bit is your best friend here. You’ll also want a center punch to keep the drill bit from walking on the rivet heads, a small pry bar or chisel for popping the rivets loose after drilling, and safety glasses because metal shavings go everywhere. Aviation snips are handy too if you end up needing to cut any flashing. (See our guide on What Is the Best Way to Paint a School Bus? for more on this.)
For both types, have butyl tape, rags, mineral spirits for cleaning old adhesive, and a marker for labeling windows if you plan to reinstall any later. And wear gloves. I’ve seen enough forum posts about guys slicing their hands on window frame edges to know that’s not optional.
Removing Bolt-In Windows
Bolt-in windows are the easier of the two, and honestly if your bus has these, count yourself lucky. A lot of the 2000s-era Blue Birds and Thomas buses use bolt-in windows, and the whole process is pretty mechanical.

Start from the inside of the bus. You’ll see a rubber gasket or trim piece running around the perimeter of each window. Pry that off with a flathead or a trim tool. Underneath you’ll find the bolt heads, usually 10mm, spaced every 6 to 8 inches around the window frame. Some buses have a metal trim ring on the outside too, so check both sides before you start unbolting.
Here’s the part that trips people up. The bolts go through the window flange and into nut plates or clip nuts that are welded or attached to the bus body. So you’re unbolting from the inside, and the window pushes out from the inside. Have somebody standing outside to catch it, because these windows weigh 15 to 25 pounds depending on the size, and if one falls it’ll either break or dent your bus body on the way down. Or both.
I was watching a build video where a guy was doing this solo and he rigged up a rope sling on the outside attached to his roof rack so each window would just hang there after he pushed it out. Pretty smart if you don’t have help. (See our guide on Can You Raise the Roof on a School Bus? for more on this.)
Once the bolts are out and the window is removed, you’ll see the old sealant on the frame. Scrape that off with a putty knife and clean the metal with mineral spirits. If you’re putting something back in that opening, you want a clean surface for the new seal.
Most bolt-in buses, you can get all the windows out in a single afternoon. Two people can knock it out in maybe three or four hours for a full-size bus. Solo, figure on a full day because of the logistics of catching each window on the outside.
Removing Riveted Windows
Alright, so this is the one everybody asks about. And yeah, it’s more work. But it’s not as bad as people make it sound once you’ve got the technique down.
Riveted windows are common on older buses and a lot of the IC Bus and International models. The window frame is attached to the bus body with aluminum or steel rivets, and there’s no bolt to just unscrew. You have to drill each rivet out.
First, use a center punch on every rivet head. Just a light tap with a hammer. This creates a small dimple that keeps your drill bit centered. Skip this step and the bit will walk all over the place, scratch up your bus body, and you’ll burn through drill bits twice as fast. I cannot stress this enough, the center punch is not optional.
Then drill through each rivet head with a 1/8″ drill bit. You don’t need to drill all the way through the rivet. You just need to remove the head. Once the head is gone, the remaining rivet shaft can be punched out from the inside with a pin punch or just pried loose. Some people use a slightly larger bit, like 5/32″, which removes the whole head faster but gives you less margin for error. Your call.
A full-size window might have 20 to 30 rivets. Multiply that by 14 windows and you’re looking at, what, 300 to 400 rivets? This is where I saw one guy online say he burned through an entire box of drill bits on his bus. Cobalt bits last longer than standard HSS bits on the hardened rivets, and keeping the bit speed moderate helps too. High RPM with no pressure just generates heat and dulls the bit. Moderate speed, steady pressure, let the bit do the work.
After you drill out all the rivets on one window, the frame should come loose. Sometimes there’s also a bead of sealant between the frame and the bus body, so you might need to score that with a utility knife and then pry gently. Don’t go full gorilla on the pry bar or you’ll bend the surrounding body panel.
The whole process for a full bus with riveted windows is gonna take you two to three full days if you’re working alone. It’s tedious, not difficult. Bring a podcast.
What to Do With the Openings (Keep, Seal, or Replace)
This is actually the bigger decision than how to get the windows out. Because once they’re out, what you do with those openings shapes your entire build.

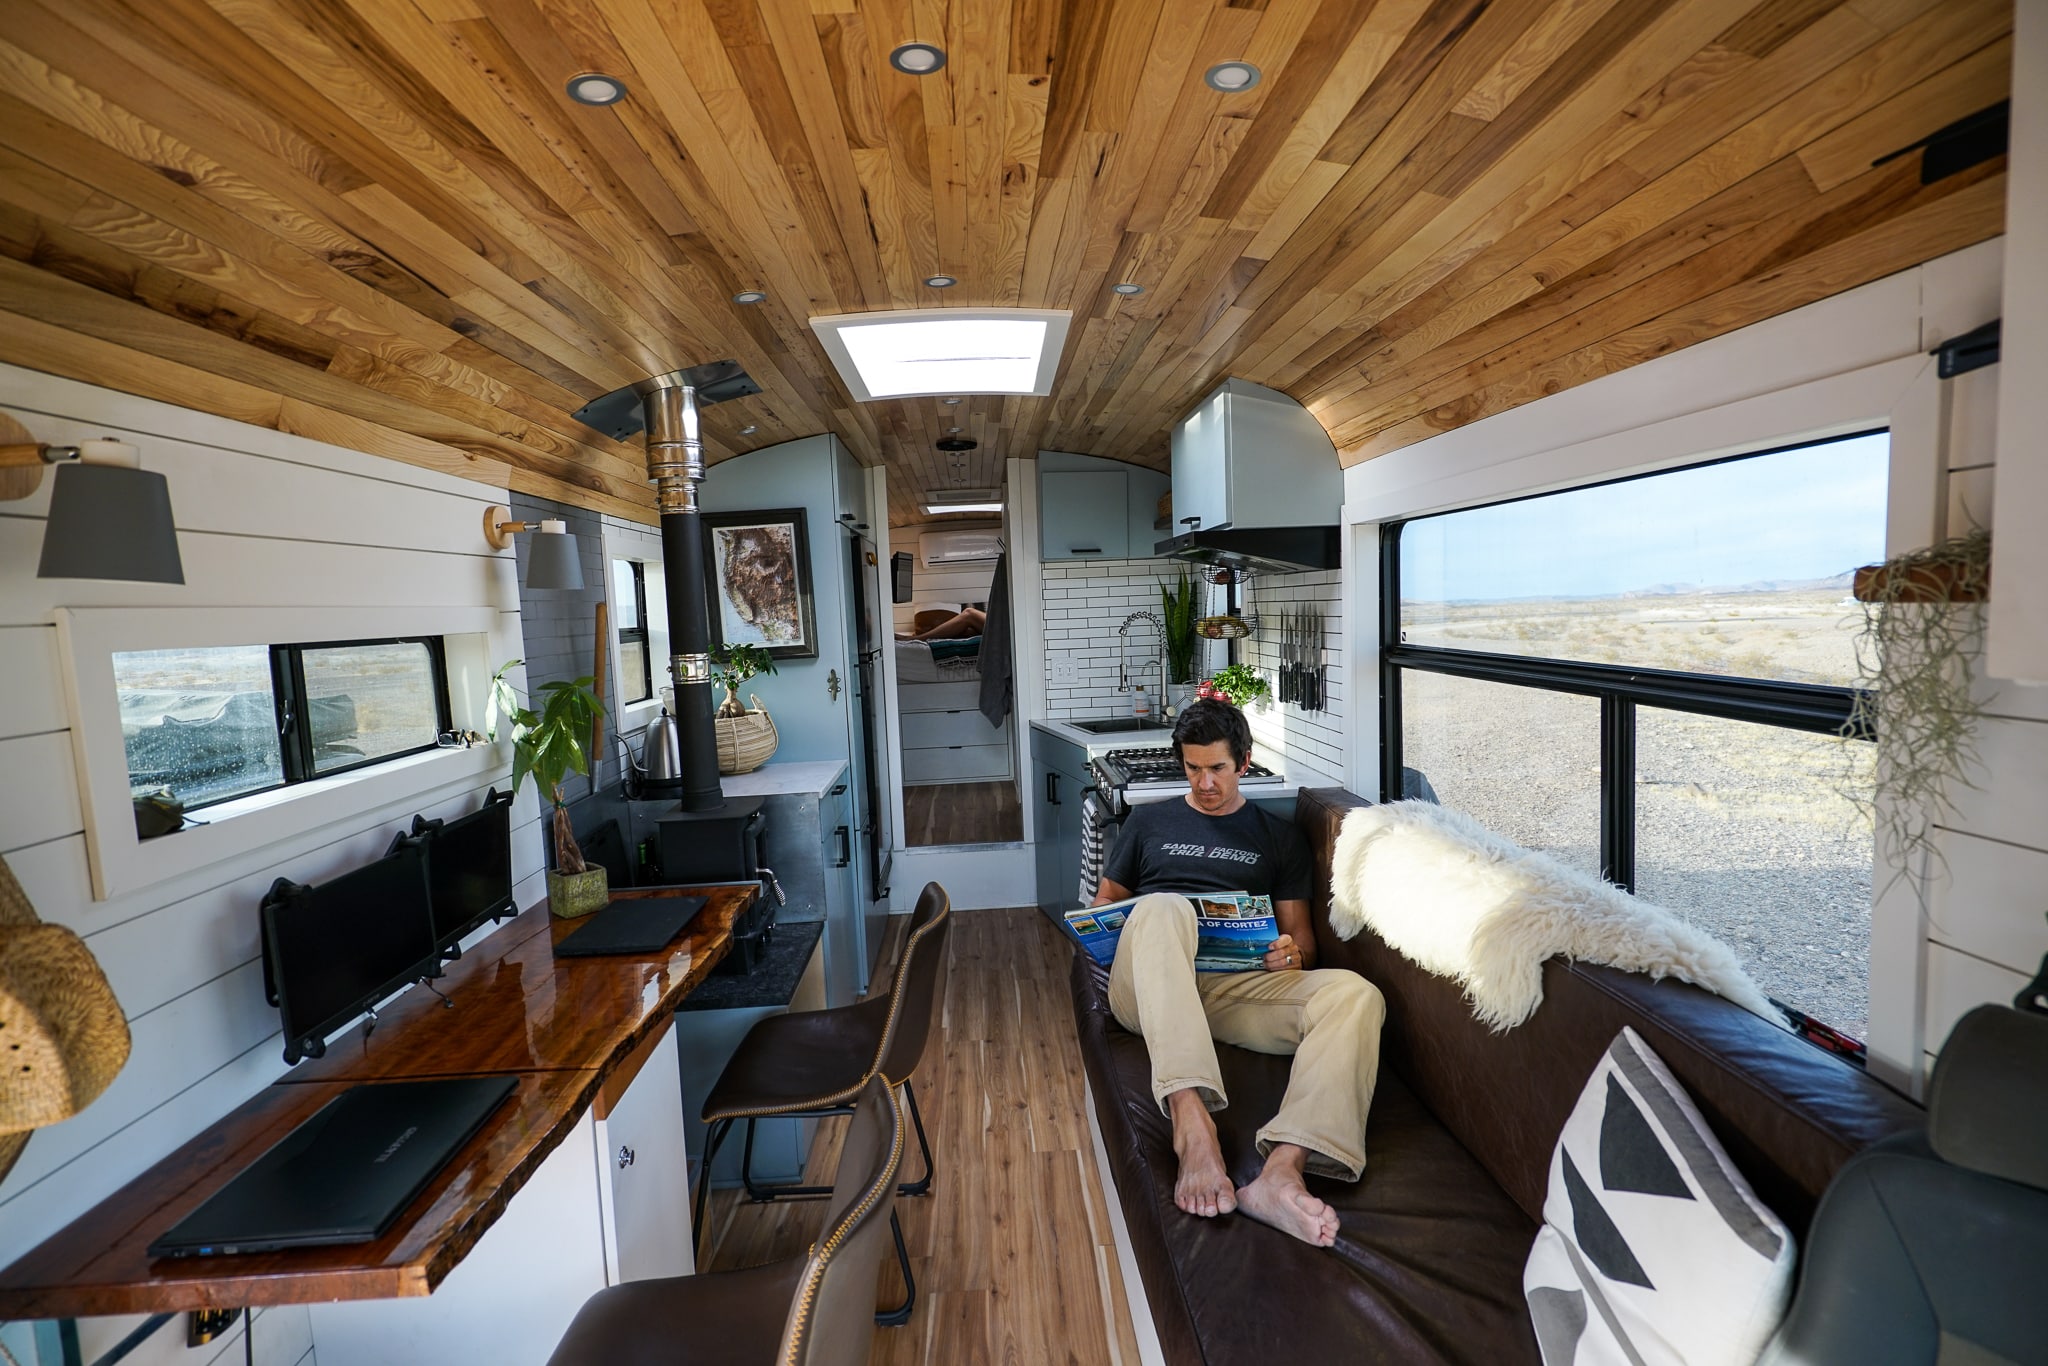
I see this question a lot in the forums: “Why would you build a bus and not remove the bus windows?” And honestly, there are good reasons to keep some of them. Natural light is a huge deal when you’re living in a small space. I’ve been in buses where the builder sealed up every single window and it felt like being inside a cave, even with LED lights everywhere. Compare that to a build where they kept the windows along the kitchen and living area, and it feels completely different. More like a tiny home, less like a bunker.
So my advice is don’t default to sealing everything up. Walk through your floor plan and think about where you actually want light and where you need wall space. Most builders keep 4 to 6 windows and seal the rest. The ones behind the bed or behind cabinets are obvious candidates for sealing because you’re going to cover them with furniture anyway.
For the ones you’re sealing, the standard approach is sheet metal. 16-gauge or 18-gauge steel, cut to fit the opening with about an inch of overlap on all sides. You attach it to the bus body from the outside with self-tapping screws or new rivets, then seal the perimeter with butyl tape and Dicor lap sealant. From the inside, you insulate over the patch with rigid foam or spray foam, and then your wall paneling goes over everything. When it’s done, you can’t tell there was ever a window there.
Some people ask about using plywood or aluminum sheet instead of steel. Plywood works for an inside layer but I wouldn’t use it as your exterior panel because it’ll rot if moisture gets behind the sealant. Aluminum works and it’s lighter, but costs more. Steel is cheap, strong, and easy to find. Most builders go steel.
There’s also a third option that I think is underrated. You can keep the window opening but replace the old school bus glass with polycarbonate (Lexan) or even fixed RV-style windows. This lets you have light and the option to open them, without the old rattly school bus window hardware.
Installing New Windows
If you’re going the replacement route, you’ve got a few options and the price range is all over the place.

RV-style windows are the most popular upgrade. Companies like Hehr, CR Laurence, and Motion Windows make frameless or slim-frame windows in standard sizes that work for bus openings. The catch is that school bus window openings aren’t the same dimensions as RV window openings, so you’ll almost always need to modify the opening. That means either making it smaller with steel framing or shimming the gaps. I saw a couple guys who found windows that were close to their opening size and then welded a steel frame adapter to make it work perfectly. Not a beginner job, but doable if you can weld.
Pricing on RV windows varies wildly. A basic fixed-pane window in a common size might run you $80 to $150. A sliding or awning-style window that actually opens, you’re looking at $150 to $350 each. So if you’re replacing six windows with nice operable RV windows, budget $1,000 to $2,000 just for the windows themselves. That’s a chunk of change.
Now, the question I keep seeing is “Where did you get these factory windows made for the bus?” And in most cases, the answer is they’re not factory made for the bus. They’re RV or marine windows adapted to fit. Some builders do go the custom route though, and there are a couple of shops that’ll fabricate tempered glass panels to your exact dimensions. That runs more like $200 to $400 per window depending on size and whether you want tinting.
The install process itself isn’t complicated once you’ve got the opening prepped. Set a continuous bead of butyl tape around the perimeter of the opening on the bus body. Press the window frame into the butyl tape. Secure with screws through the mounting flange into the bus body. Then seal the outside edge with Dicor or a similar RV sealant. The key is that butyl tape layer, it’s your primary water barrier. The Dicor on top is just extra protection and UV resistance.
One thing to keep in mind. Plan your windows before you build your walls. I know that sounds obvious but you’d be surprised how many people build out an entire section and then decide they want a window there. That’s a headache you don’t need.
Related: What Is the Maximum Legal Height for a Converted Bus?
Sealing Everything Up
This is the section where the difference between a bus that leaks and one that doesn’t comes down to technique and patience. I’ve read so many posts from people dealing with water leaks around their window openings, and almost every time it’s a sealing problem.

Whether you’re sealing a closed-off window opening or installing a new window, the layering matters. Think of it like this: butyl tape is your primary seal, lap sealant is your secondary seal, and paint or coating is your tertiary protection. (See our guide on How to Paint a School Bus (DIY vs Professional) for more on this.)
For sealed openings with sheet metal panels, here’s the order. Clean the bus body surface where the panel will sit. Lay down a continuous bead of butyl tape around the entire perimeter, no gaps. Press the sheet metal panel into the butyl tape. Fasten with self-tapping screws every 4 to 6 inches. Then run a bead of Dicor self-leveling lap sealant over the screw heads and along every seam edge. Let it cure for 24 hours before driving anywhere or it’ll vibrate loose before it sets up.
For new windows, same basic idea. Butyl tape under the flange, screws through the mounting holes, Dicor over everything exposed on the outside.
The question that always comes up is “How were you able to close or seal up all of the original openings?” And honestly, it’s not some special technique. It’s just being thorough. Every screw hole gets sealant. Every seam gets sealant. Every piece of butyl tape gets pressed firmly with no air gaps. The people who have leak problems are usually the ones who rushed this part, left a gap somewhere, or used silicone caulk instead of proper butyl tape and lap sealant. Silicone doesn’t stick well to painted metal over time, especially with all the vibration a bus deals with going down the road. Butyl tape stays flexible and maintains its seal even when the bus is flexing.
One more thing on the interior side. After your exterior seal is done, spray foam around the inside perimeter of each sealed panel or new window. This serves double duty as insulation and as an additional moisture barrier. Then when you put up your wall paneling, everything is tight, sealed, and insulated.
I’d also recommend doing a water test before you finish the interior. Grab a garden hose, have somebody spray each sealed opening from the outside, and watch from the inside for any drips. Way easier to fix a leak before your walls are up than after. I read a post from a builder who skipped this step and found out about a leak six months later when his wall paneling started warping. Don’t be that guy.
So after going through all of this, here’s where I landed. The window removal itself isn’t the hard part, even with riveted windows, it’s just time consuming. The part that actually matters is what you do after they’re out. Take your time deciding which openings to keep and which to seal based on your floor plan. Use proper materials for sealing, butyl tape and lap sealant, not silicone. And if you’re installing new windows, budget more than you think because good RV windows aren’t cheap. Get the sealing right and you won’t have to think about your windows again. Rush it and you’ll be chasing leaks for the life of your build.