
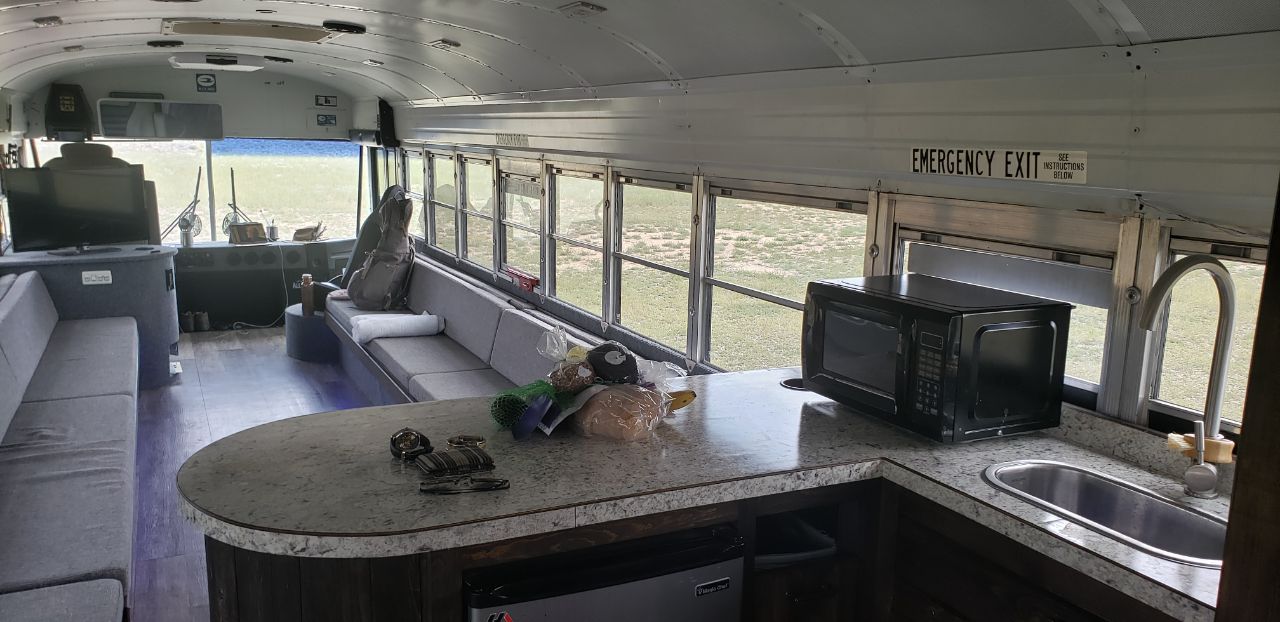
Painting your bus is one of those projects that sounds simple until you’re standing in a driveway with a foam roller in your hand and 40 feet of chrome yellow staring back at you. I spent an embarrassing amount of time reading about paint before I ever opened a can, and what I found is that the paint itself is honestly the least complicated part of the whole process. It’s everything that comes before the first coat — the sanding, the degreasing, the priming, the weather, the color decision you’ll live with for years — that separates a paint job that lasts a decade from one that starts peeling in six months. (See our guide on How to Paint a School Bus (DIY vs Professional) for more on this.)
This guide covers everything I’ve learned about painting a school bus for conversion. Why you legally need to do it in most states, what types of paint actually work on a bus (Rustoleum roller, automotive spray, Raptor liner, marine paint), how to prep the surface properly, the full DIY roller method step by step, what a professional spray job costs, how to pick a color that won’t make you miserable, clear coat and UV protection options, how many gallons you actually need, weather and timing, and the mistakes I keep seeing builders make over and over. Whether you’re spending $200 on Rustoleum and foam rollers or $6,000 at a body shop, the information here applies.
Why You Need to Paint a School Bus (It’s Not Just Cosmetic)
Before we get into the how, let’s talk about the why. Because when I first got into bus conversions, I figured painting was a nice-to-have. A cosmetic upgrade you could get around to eventually. Then I started reading about people getting pulled over, turned away from campgrounds, and having their re-titling applications straight up rejected, all because the bus was still yellow.

Here’s the legal reality. Most states require you to remove all school bus markings, equipment, and appearance before they’ll re-title the vehicle as a motorhome or RV. That means the stop sign arm, the flashing red lights, the “SCHOOL BUS” lettering, and in some states, the yellow paint itself. The federal standard for school bus yellow is a specific color called National School Bus Glossy Yellow, and some DMV offices will consider a yellow bus a school bus regardless of what’s inside it. I read about a builder in Texas who had his conversion fully inspected — seats removed, kitchen built, bed in the back — and the DMV clerk still wouldn’t process the title change because the outside was yellow. He painted it over a weekend, came back Monday, and it went through with zero issues. (See our guide on How Do You Remove School Bus Windows? for more on this.)
Beyond legality, there are practical reasons. That factory paint is usually 15 to 25 years old by the time you buy the bus. It’s oxidized, chalky, and the clear coat is long gone on most of them. Once the clear coat fails, the base paint degrades faster, and then you’re looking at surface rust turning into structural rust. A new paint job is basically weatherproofing the exterior of your home.
Then there’s the social thing. A converted bus that’s still yellow gets treated like a squatter vehicle at RV parks. A white or matte black bus pulls in and people walk over to check it out. Same bus in yellow and people call the park manager. It’s not fair, but I’ve heard this from too many builders to dismiss it.
What kind of paint did you use on the outside?
This is the question I see in every single bus conversion group, and the answers surprised me because they’re way less fancy than you’d expect. There are basically five categories that make sense for a bus, and the price difference between them is massive.

Rustoleum and Industrial Enamels
The vast majority of DIY builders use Rustoleum Protective Enamel, Rustoleum Professional series, or Tremclad if they’re in Canada. A gallon runs $25 to $40 depending on color and finish. You’ll need 4 to 6 gallons for a full-size bus at three to four coats. Total paint cost: roughly $100 to $240.
These are oil-based enamel paints designed for metal surfaces. They’re not glamorous and nobody at a body shop would recommend them for a vehicle. But they provide excellent rust protection, they cure hard, and they’ve been used on metal structures and equipment for decades. There’s a reason farm equipment and industrial machinery get painted with this stuff.
I was honestly skeptical at first. Felt like using house paint on a vehicle. But then I started seeing bus after bus in forums and Facebook groups where builders had used it two, three, even four years prior and the paint still looked solid. One builder in the Pacific Northwest said his Rustoleum job survived three winters of rain and salt roads with zero peeling. After hearing enough of those stories, I stopped questioning it.
“But isn’t the house paint just going to peel?”
I see this concern a lot, and it’s understandable. But Rustoleum isn’t house paint. It’s industrial enamel formulated for metal. The builders who have problems with Rustoleum peeling almost always skipped proper prep. They didn’t sand, didn’t degrease, or they painted in bad weather. When the surface is prepped right, Rustoleum bonds to metal extremely well. Is it as durable as a $5,000 automotive base coat/clear coat system? No. But for the price difference, it holds its own.
Automotive Paint (Base Coat / Clear Coat)
This is the premium route. A base coat/clear coat system from Dupont, PPG, or Sherwin-Williams automotive line. Gallon kits run $150 to $400+ depending on brand and color, and you need reducer, hardener, and clear coat on top of that. For a full bus you could easily spend $800 to $1,500 on materials alone.
The finish is noticeably better though. Deeper color, more even sheen, and the clear coat provides real UV protection that Rustoleum can’t match. If you’ve got a spray gun, a place to spray, and the budget, automotive paint is objectively the superior product.
But for most builders spending $150 to $250 on Rustoleum and putting that $1,000 difference toward their solar system or kitchen, the industrial enamel makes more sense dollar for dollar.
“Why didn’t you use automotive grade primer and paint?”
This question came up on a build video I was watching and I thought the builder’s answer was perfect. He said something like, “Because I’m painting a bus in my driveway, not a Corvette in a spray booth.” Automotive paint systems are designed for controlled environments — specific temperature, humidity, and dust-free air. In a body shop that’s all dialed in. In your driveway with wind, bugs, and pollen, automotive paint is harder to apply correctly and more expensive to fix when you screw it up. The margin for error with Rustoleum is way wider, which matters a lot for a first-timer painting the largest vehicle they’ve ever owned.
Raptor Liner and Bedliner Paints
This is the wildcard option that I think more people should consider. Raptor liner, Monstaliner, or even Rustoleum truck bed liner sprayed over the entire bus. It creates a textured, rubber-like finish that’s incredibly durable. Scratches, rock chips, branches scraping the sides as you pull into a campsite — none of it matters because the texture hides everything and the coating is thick enough to absorb impacts.
Cost is mid-range, around $400 to $700 for a full bus. The downsides: the texture makes it harder to clean, it’s very hard to color-match if you need to touch up a section later, and some people just don’t love the look. But for an off-grid bus that’s going to spend time on dirt roads and boondocking in forests, it’s actually a really smart choice. I’ve seen a few builds where the owner went Raptor liner and after two years of hard use the finish looked almost the same as the day it went on.
Marine Paint
This one doesn’t come up as often, but I ran across a few builders who used marine enamel, the kind designed for boats. It makes sense when you think about it. Marine paint is formulated to handle constant UV exposure, salt water, humidity, and temperature swings. That’s not too far off from what a bus exterior deals with.
Brands like Interlux Brightsides and Totalboat are the ones I’ve seen used. Price is higher than Rustoleum — around $40 to $60 per quart, so maybe $350 to $600 for a full bus. The finish is supposed to be excellent, almost automotive quality, and it’s designed to be rolled or brushed on, so no spray equipment needed. The one builder I talked to who used Interlux said it self-levels better than any paint he’d ever rolled, and the gloss was impressive for a roller application.
I haven’t seen enough long-term results from marine paint on buses to give it a full endorsement, but the logic is sound and the few examples I’ve found looked great.
Tractor and Implement Paint
Tractor Supply sells Majic brand paint that’s formulated for farm equipment, and it holds up well on metal vehicles. Similar price to Rustoleum, maybe slightly better adhesion on bare metal. Some builders prefer it because it comes in colors you can’t find in the standard Rustoleum lineup. It’s a solid alternative that doesn’t get enough attention.
How much does it cost to paint a school bus?
This is where the math gets really interesting. The spread between cheap and expensive is enormous, and the results don’t always correlate with the price the way you’d expect.
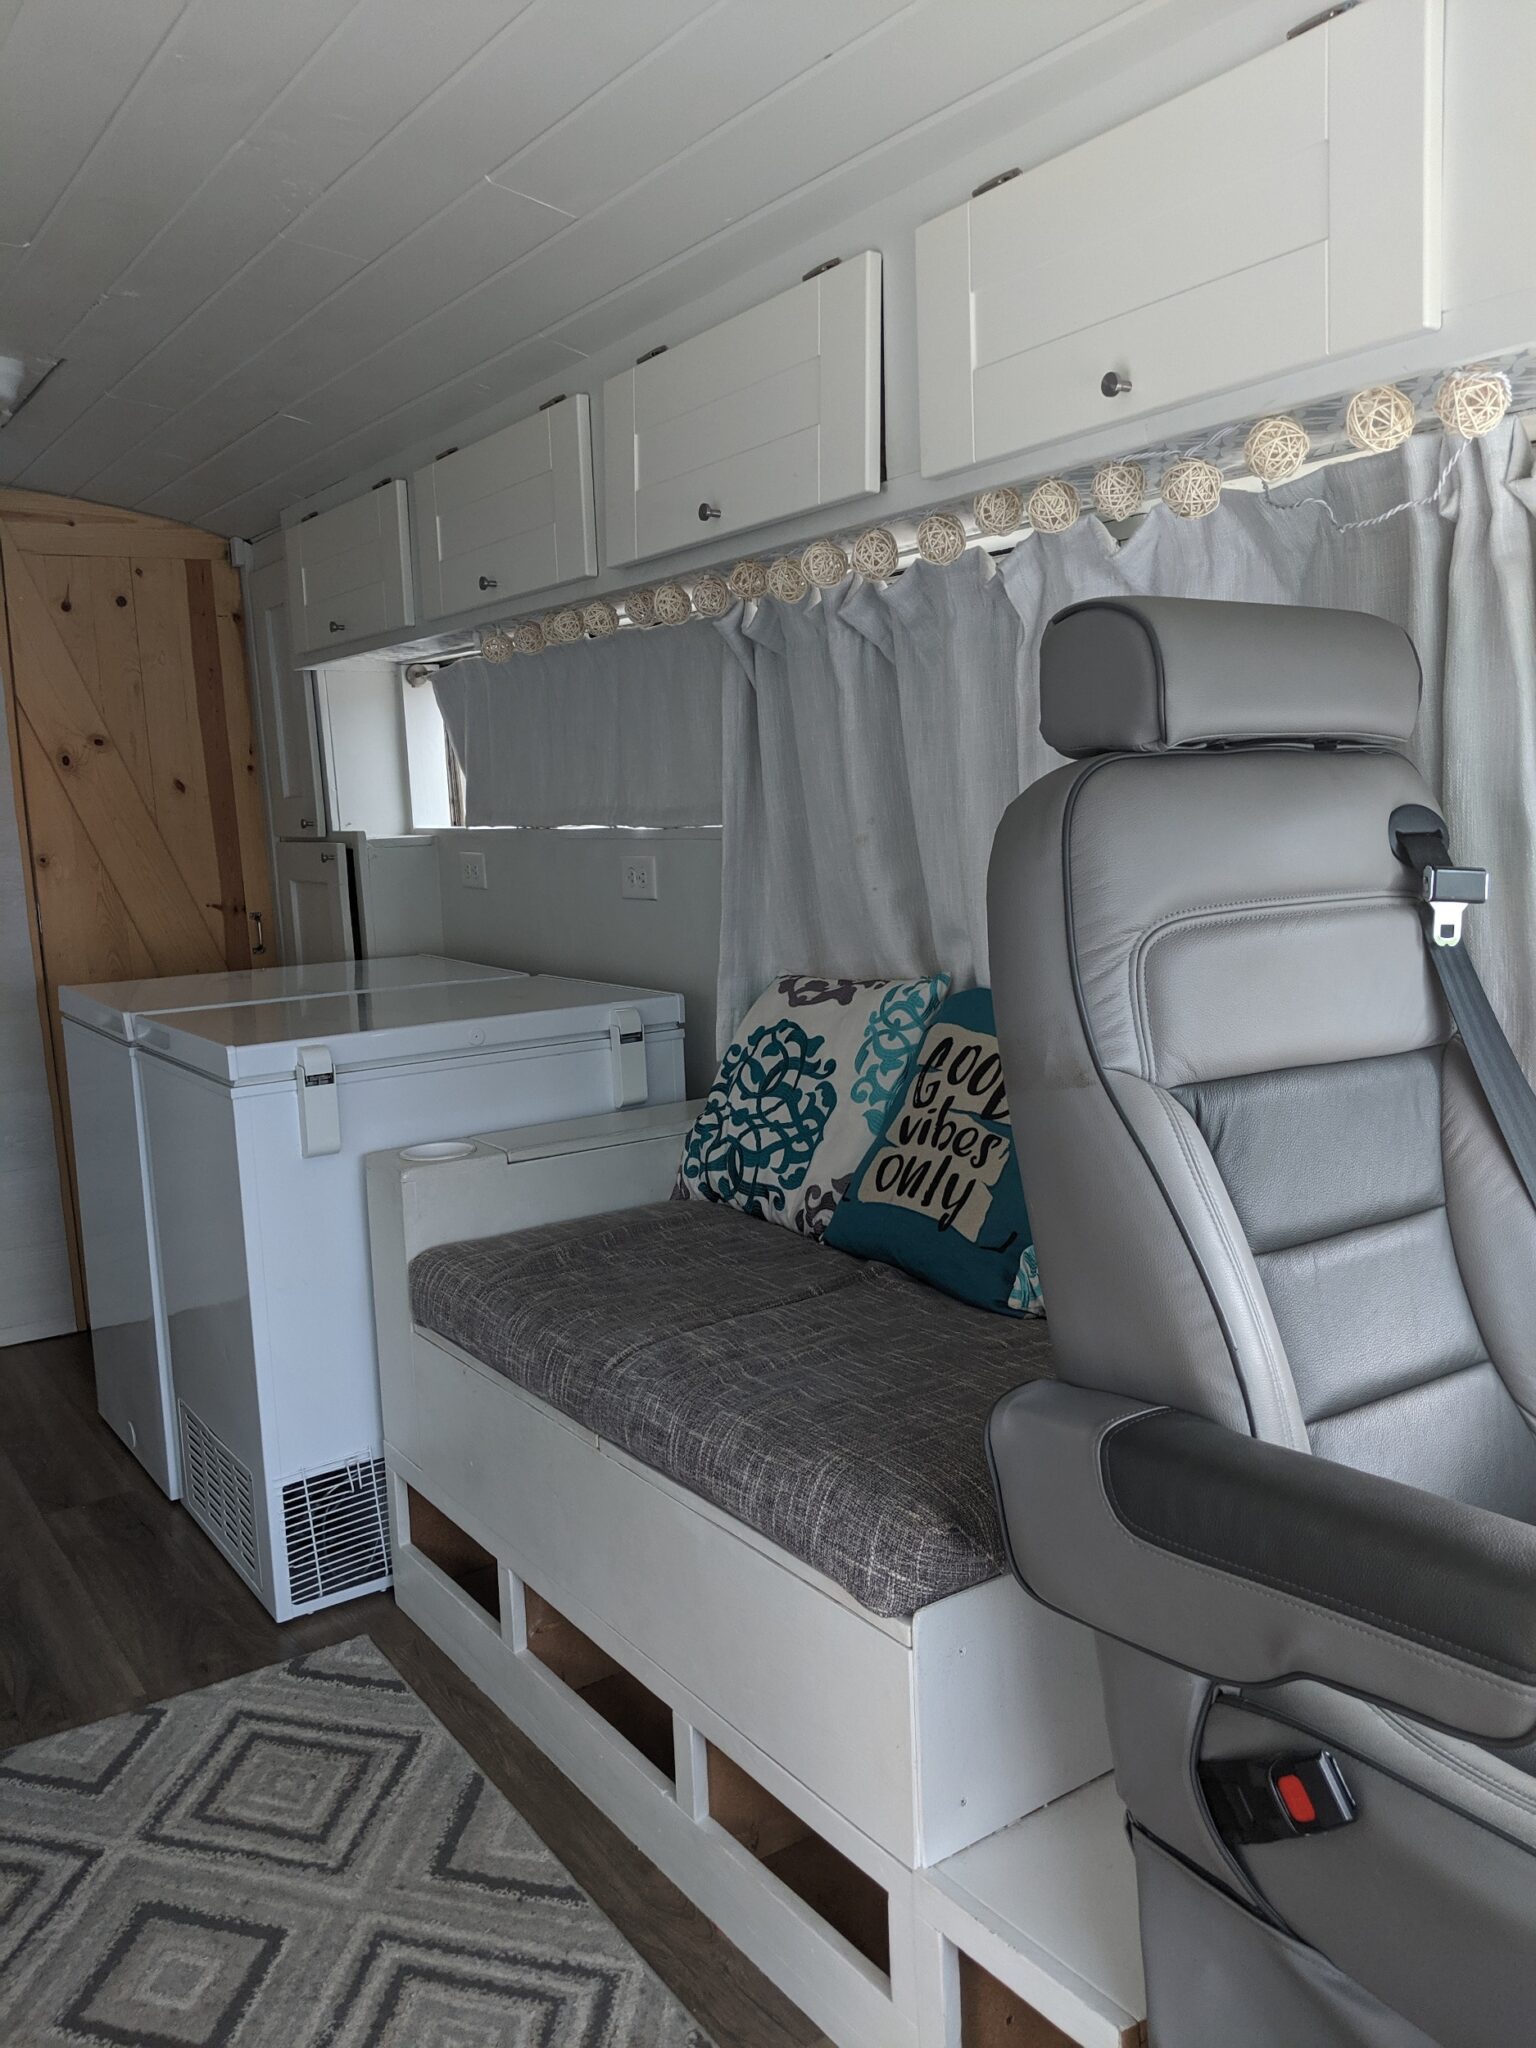
DIY Roller Method: $200 to $500
Here’s a real cost breakdown I put together from builders who tracked their expenses:
- Sandpaper and sanding discs: $30 to $50
- Degreaser/TSP: $10 to $15
- Primer, 3 gallons: $75 to $105
- Topcoat paint, 5 gallons: $125 to $200
- Foam rollers (4-inch and 6-inch): $20 to $30
- Roller handles, paint trays: $15
- Painter’s tape and plastic sheeting: $25 to $40
- Mineral spirits for thinning: $10
- Miscellaneous (tack cloth, rags, rubber gloves): $15
Total: roughly $325 to $480 for a full-size bus. A short bus (skoolie) runs about 60 to 70 percent of that since there’s less surface area.
“Beautiful color! How much did it cost you to paint it yourselves with all the materials?”
One builder I followed broke down his costs exactly: $180 in Rustoleum paint (six quarts of satin black), $65 in primer, $35 in sandpaper and rollers, and $20 in tape and degreaser. Grand total: $300 for a 35-foot bus. He did four coats over six days, and the result honestly looked professional from ten feet away. Close up you could see some roller texture if you knew what to look for, but at any conversational distance it was clean.
DIY Spray Gun Method: $500 to $1,100
The spray route adds equipment costs. An HVLP spray gun runs $50 to $200 for a decent one. Harbor Freight sells a perfectly acceptable one for about $60. But you also need an air compressor that can keep up, and those little pancake compressors in your garage aren’t going to cut it. You need at least a 20-gallon compressor putting out 5 to 7 CFM at 40 PSI. If you don’t already own one, that’s $200 to $400 more.
So the spray route adds $250 to $600 in equipment on top of your paint cost. Still way cheaper than a shop, and you own the equipment after. But the gap between spray and roller is narrower than you’d think compared to the gap between either one and a professional job.
Professional Body Shop: $2,500 to $8,000+
I called three body shops in different parts of the country when I was researching this. The cheapest quote for a single-color paint job on a full-size bus was $3,800. The most expensive was $7,200, and that included minor bodywork. Average was right around $4,500 to $5,000.
A couple of shops in rural areas of the South quoted as low as $2,500 for a bus that was already prepped. Meanwhile a shop in a major metro area might want $10,000 or more. Location matters a lot.
The Big Savings Trick
Here’s a tip I picked up from a couple builders who went the professional route. Do all the prep yourself. Sand it, degrease it, remove the trim strips, tape off the windows, everything. Then bring it to the shop prepped and ready for primer and paint. One builder said his quote dropped from $5,800 to $2,800 when he told the shop the bus was already sanded, cleaned, and masked. That’s $3,000 saved for work he did himself over two weekends.
Can you paint a school bus yourself or should you hire someone?
Short answer: yes, you absolutely can paint it yourself, and most bus builders do. The longer answer depends on your expectations, your timeline, and how much you care about the finish.
Why DIY Works for a Bus
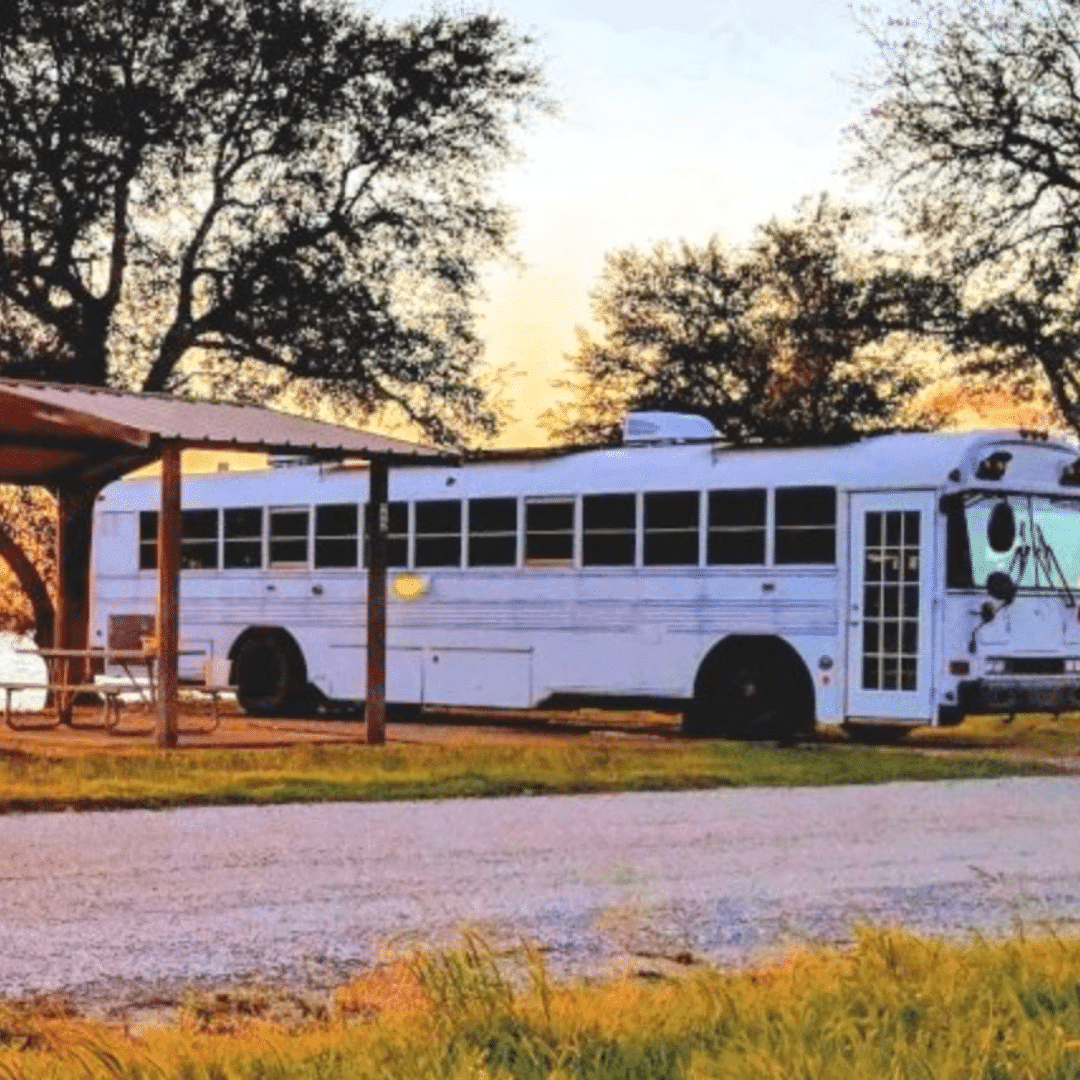
A bus is not a sports car. Nobody is going to walk around it at a car show inspecting for orange peel texture. It’s a 30 to 40-foot metal box, and it’s going to get road grime, dust, bugs, tree sap, and the occasional scratch from squeezing into a campsite. A $400 roller job that’s done with patience and proper prep will look great and protect the metal, which is really the point.
I’ll be honest, when I was first researching this I assumed you needed professional equipment and experience to get a decent result. Then I saw side-by-side comparisons from builders who’d done half their bus with a roller and half with a spray gun, and the difference was less dramatic than I expected. With thin coats, light sanding between coats, and a satin or matte finish that hides imperfections, a roller job can look surprisingly good.
When to Hire a Professional
That said, there are situations where paying a shop makes sense. If you want a metallic or pearl finish, you pretty much need a spray booth. If you want a two-tone with a hard color break, a professional will get cleaner lines. If you’ve got structural rust that needs bodywork before paint, a shop can handle the whole thing. And if your time is worth more to you than the savings — if spending 40 to 60 hours prepping and painting means lost income — the math might favor a shop.
Also, not every shop will take a bus. Standard auto body shops often don’t have bays big enough. Look for truck body shops, fleet painters, or commercial vehicle painters. These guys are used to large vehicles and won’t blink at a school bus. Their prices tend to be lower than cosmetic auto body shops too.
“What was the price difference with painting it yourself?”
The math is stark. Professional job: $3,000 to $8,000. DIY roller: $300 to $500. That $3,000 to $7,000 difference is a solar system. It’s a diesel heater and a MaxxAir fan and a water heater. For most people converting a bus on a budget, that money does more good inside the bus than outside it.
Do you have to sand the whole bus before painting?
I’m gonna be direct about this because it’s the step everybody wants to skip, and it’s the step that matters more than any other. I’ve seen beautiful paint jobs and terrible paint jobs, and the difference between them almost always comes down to prep — not paint quality, not application method, not how much money was spent. Prep.
The Full Prep Process
Start with a serious wash. Not a garden hose rinse. Pressure washer, hot water if you can get it, and a degreaser. TSP (trisodium phosphate) mixed into a bucket of water is what most builders use because it cuts through diesel soot, road grime, and the oily film that accumulates on a bus over decades. You can get TSP at any hardware store for a few bucks. Simple Green or Krud Kutter work fine too. The point is that paint will not stick to a greasy surface. Period.
After the bus dries, you sand. This is where people groan because a full-size bus has roughly 700 to 900 square feet of exterior surface. Sanding all of it by hand would take a week and destroy your arms. Get a random orbital sander. A decent one runs $40 to $70 and it’ll save you days. Use 120 to 220 grit. You’re not trying to strip the bus down to bare metal. You’re just scuffing the existing paint so primer has something to grab onto. Think of it like roughing up the surface so the new stuff can hold on.
Do you have to sand the whole thing? Technically there are bonding primers that claim to adhere to glossy surfaces without sanding. And some builders have gotten away with just degreasing and priming without sanding. But I talked to a guy who went that route and said it looked great for about three months, then started bubbling around the window frames where there was still road grime underneath. He ended up stripping the whole thing and starting over. Twelve extra hours of prep would’ve saved him 40 hours of redo.
So yes. Sand the whole bus. It’s tedious. It’s boring. It’s the difference between paint that lasts and paint that doesn’t.
After Sanding: The Step People Forget
After sanding, wipe the entire bus down with a tack cloth or a rag dampened with mineral spirits or acetone. This picks up the sanding dust that a regular wash won’t catch. Sanding dust left on the surface creates tiny bumps under your primer that telegraph through every coat after that. Takes maybe an hour for the whole bus. Don’t skip it.
Some spots will sand down to bare metal, especially around rust spots, window seals, and the bottom edges where water sits. That’s expected. Those bare metal areas get self-etching primer first, which has acid in it that chemically bites into the steel for a stronger bond than regular primer can achieve.
Removing Trim Strips, Decals, and Lettering
Those black rubber rub rails along the sides aren’t easy to remove, I won’t sugarcoat it. They run the entire length of the bus, held on with rivets and industrial adhesive. Drill out the rivets, warm the adhesive with a heat gun, and peel slowly with a plastic scraper. Don’t use a metal scraper on the bus skin or you’ll gouge it. A rubber eraser wheel on a drill takes off the residual adhesive without scratching. Budget 4 to 8 hours for a full-size bus.
For “SCHOOL BUS” lettering, a heat gun and slow peeling handles vinyl. If it’s painted on (less common, mostly older buses), sand it out. Stop sign arms and flasher equipment usually unbolt. Plug the holes with body filler, sand flush, and you’re done.
One thing I didn’t realize until I looked into it — some reflective tape is required by federal standards even after conversion. Check your state’s inspection requirements before you strip all the reflective markings. You might need to reapply new tape after painting.
Primer: The Step That Makes or Breaks Everything
Primer is where a lot of builders make their first critical decision, and it’s more important than most give it credit for. I’ve seen guys spend $400 on expensive topcoat and then use the cheapest primer they could find. That’s completely backwards. If the primer fails, everything on top fails with it.
“What kind and where did you get the primer and paint? Was it auto paint?”
Most skoolie builders are not using automotive primer. Automotive primers are designed for spray booth application with controlled conditions. They work great in that environment, but they’re expensive, require specific thinners and reducers, and if you mess up the mix ratio you ruin the batch. For a bus in your driveway, that’s too many variables.
The two most popular primers in the bus community are Rustoleum Clean Metal Primer and Rustoleum Rust-Inhibiting Primer. Both available at Home Depot, Lowe’s, wherever. A gallon is $25 to $35 and you’ll need 2 to 4 gallons for a full-size bus. Two coats minimum. Three on bare metal spots.
Self-etching primer is specifically for bare metal. If you sanded through to bare steel anywhere, and you probably did in a few spots, hit those areas with self-etching primer before your regular primer goes over everything. Auto parts stores carry it, usually $8 to $12 a rattle can or about $30 a gallon.
Epoxy primer is the upgrade option. It’s a two-part system with excellent corrosion resistance and adhesion. Pricier at $50 to $80 a gallon, and it has a pot life once mixed so you have to work quickly. But the builders who used it swear they’d never go back.
Application Tips
Roll or spray the primer in thin, even coats. Don’t glob it on trying to get full coverage in one pass. Two thin coats beat one thick coat every single time. Let each coat dry completely — and I mean actually cured, not just touch-dry. Overnight is ideal. Putting topcoat over primer that hasn’t fully cured is asking for adhesion problems six months from now.
The DIY Roller Method: Step by Step
Alright, this is the section most people are really here for. The full roller method, step by step, the way builders who’ve actually done it describe the process.
What You Need
- Random orbital sander with 120 and 220 grit discs
- TSP or degreaser
- Pressure washer (borrow or rent one if you don’t own it)
- Rustoleum primer, 2 to 4 gallons
- Rustoleum Protective Enamel or Professional series, 4 to 6 gallons
- Dense foam rollers, 4-inch (buy at least 12, they wear out)
- A couple 6-inch foam rollers for big flat panels
- Roller handles and paint trays
- Mineral spirits for thinning
- Painter’s tape and plastic sheeting
- Tack cloths
- Rubber gloves
How Many Gallons Do You Actually Need?
For a full-size 35 to 40-foot bus, plan on 4 to 6 gallons of topcoat for three to four coats. For primer, 2 to 4 gallons for two coats. A short bus uses roughly 60 to 70 percent of that. Better to buy one extra gallon than to run out mid-coat, because matching a partially dried coat to a fresh one is nearly impossible to do invisibly.
I read about one builder who bought exactly enough for three coats and decided midway through that he wanted a fourth. By the time he got back from the store, the third coat had dried in the sun and the fourth coat went on over a fully cured surface instead of a tacky one. It still looked fine, but he had to do an extra light sand before that fourth coat to get proper adhesion.
The Process
Day 1: Wash and degrease. Pressure wash the entire bus. Mix TSP in a bucket and scrub every surface you’re going to paint. Rinse thoroughly. Let dry overnight.
Day 2: Sand. Hit the entire exterior with 120 to 150 grit using a random orbital. Go to 220 on any spots you want extra smooth. Pay attention to areas around windows, seams, and the lower panels where road grime builds up worst. After sanding, wipe the whole bus with tack cloths or mineral spirits rags.
Day 3: Prime. Thin your primer slightly, maybe 5 to 10 percent with mineral spirits if using oil-based. Load the roller lightly. Roll in one direction, not back and forth. Thin, even coats. Hit bare metal spots with self-etching primer first if you haven’t already. First coat of regular primer over everything. Let dry 24 hours.
Day 4: Second coat of primer. Light scuff with 320 grit between coats if you want to be thorough (and you should be). Tack cloth the whole surface. Roll on the second coat. Let dry 24 hours.
Day 5: First topcoat. This is where technique really matters. Thin the paint 10 to 15 percent with mineral spirits. Some builders go up to 20 percent on the first coat. Load the roller lightly. Roll in one direction with light, even pressure. Don’t try for full coverage on this coat. It’s supposed to be a thin tack coat. Let dry 24 hours.
Day 6: Second topcoat. Light scuff with 320 grit if you’re committed to a smooth finish. Tack cloth. Roll on coat two, slightly less thinned this time. Coverage starts to build. Let dry 24 hours.
Day 7: Third topcoat. Same process. By now the color should be rich and mostly uniform. Some builders stop here. Others go for a fourth coat, especially on dark colors where light spots are more visible.
Day 8 (optional): Fourth coat or clear coat. If you’re applying clear, now’s the time. If not, a fourth color coat gives extra protection and depth.
A builder I was talking to online described his technique where he’d do each coat in the morning, let it cure all day in the sun, then scuff lightly with 320 before the next morning’s coat. He said his final finish was smooth enough that people refused to believe he’d rolled it. Extra work? Sure. But if you’re already committing a week to this, what’s another 45 minutes of sanding per day?
The Secret to a Roller Job That Doesn’t Look Rolled
Thin coats. I can’t say this enough. Your instinct is going to be loading up the roller and trying for full opacity in one pass. Fight that instinct. The thinned paint flows out and self-levels, reducing roller marks. Dense foam rollers leave less texture than nap rollers. Rolling in one direction instead of back and forth prevents overlap lines. And sanding lightly between coats knocks down any texture that does form.
With a satin or matte finish especially, a properly done roller job is genuinely difficult to distinguish from spray at conversational distance.
What color should I paint my skoolie?
I went down a rabbit hole on color selection that I did not expect, because I thought it was purely an aesthetic choice. Turns out there are real practical consequences to your color pick.
Heat Absorption: Dark vs Light
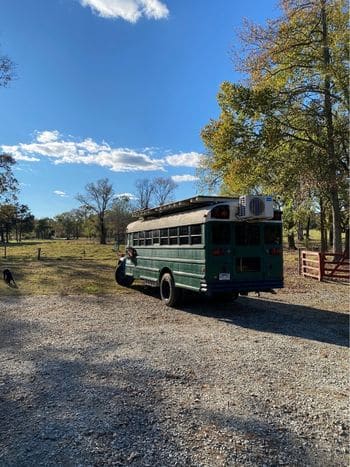
Dark colors absorb more heat. Matte black is the most popular skoolie color I see online, and it looks incredible, but builders in Arizona and Texas will tell you their interior temp is noticeably higher than a light-colored bus. One builder measured a 15-degree difference in interior temperature between his buddy’s matte black bus and his white one, parked side by side in August. That’s significant when you’re trying to keep your AC from running all day.
If you’re building for hot climates, white or light gray will keep the bus meaningfully cooler. There’s a reason commercial fleet vehicles are almost all white. It’s the most practical choice for temperature, maintenance, and longevity.
“I love it! Do you think it will get hotter than before because of the darker color?”
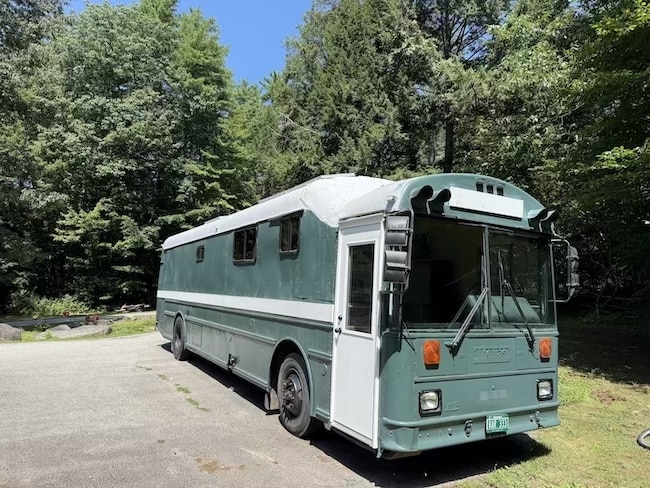
It depends how dark you go and where you live. A dark navy or forest green is going to absorb more than the original yellow, but less than full black. If you’re mostly in the northern half of the country, the heat difference is manageable and might even be welcome in winter. If you’re chasing sun in the Southwest, go light. A few builders I talked to split the difference: white or light gray on the roof (where most sun hits) and a darker color on the sides. That’s actually a pretty clever compromise. (See our guide on Can You Raise the Roof on a School Bus? for more on this.)
Legality and Color Restrictions
Color legality is a real thing, and I didn’t know about it until I read a thread where someone got pulled over for it. Some states restrict painting a personal vehicle to look like a government or emergency vehicle. All white with certain markings could theoretically be an issue. And lime green or bright yellow could be confused with school bus yellow, which defeats the purpose of painting in the first place.
I wouldn’t lose sleep over this, but just be aware. Stay away from anything that could pass for school bus yellow at a distance, and you’re fine.
Resale Considerations
If you ever plan to sell your bus, color matters more than you’d think. White, gray, matte black, dark blue, and forest green all seem to sell well. Bright colors, custom murals, and anything polarizing can narrow your buyer pool. A couple builders mentioned that they chose a more neutral color specifically because they knew they might sell the bus in a few years and didn’t want to limit interest.
Matte vs Gloss
For a roller job especially, satin or matte finishes are way more forgiving than high gloss. Gloss shows every swirl, every dust speck, every roller mark, every water spot. Matte hides all of that. A matte black bus that’s been on a dirt road still looks good. A gloss black bus with dust on it looks neglected. If you’re going DIY with rollers, I’d lean matte or satin every time.
Interior Consideration
A creative thought I hadn’t considered until a builder mentioned it: plan your interior layout before finalizing your exterior color. If you have large windows, the exterior color is visible from inside and affects the vibe of the space. Dark exterior with lots of windows can make the interior feel dimmer. Light exterior keeps the window frames bright. Small thing, but a couple people said they wished they’d thought of it.
“I’m no painter but wouldn’t the color of the paint fade faster without any clear coats applied?”
This is a legitimate concern and it’s the section that separates paint jobs that last from paint jobs that fade. UV radiation breaks down paint. The pigments fade, the binders degrade, and over two or three years your matte black becomes chalky dark gray. Clear coat is the shield that absorbs the UV hit instead of your color coat.

Clear Coat Options
If you went the Rustoleum route, they make a Crystal Clear Enamel that goes over their protective enamel. It adds UV resistance and a protective layer. Not the same level of protection as a two-part automotive clear coat, but better than nothing. Cost is another $50 to $100 in materials.
For automotive paint, clear coat isn’t optional — it’s part of the system. Base coat without clear coat fades and oxidizes fast because the base coat has no UV inhibitors of its own. Budget for 2 to 3 coats of clear.
“Does that paint have any UV protection? Should have sprayed a clear coat on it too.”
Standard Rustoleum has some UV resistance built in, but it’s limited. Lighter colors handle UV better than dark ones because they reflect more of it. If you went dark and you want longevity, clear coat is worth the extra day and $50 to $100. Some builders add UV stabilizer additives to their paint, though I haven’t seen enough long-term data to strongly endorse that approach.
If You Skip Clear Coat
A lot of builders do skip it, and it’s not a disaster. At minimum, plan on waxing the bus once or twice a year. Automotive wax gives a thin layer of UV protection and helps the paint shed water. It won’t last like a proper clear coat, but it’s better than bare paint baking in the sun year after year. One builder I read about waxes his Rustoleum bus every spring and fall, and after four years the paint still looks solid. Not showroom, but solid.
Weather, Timing, and When to Paint
I saw one guy paint his bus in Florida in August. 95 degrees, 80 percent humidity. His clear coat came out milky and cloudy, something called blushing. Had to strip it and redo the whole thing. Weather matters more than most people give it credit for.
Ideal Conditions
- Temperature: 60 to 80 degrees Fahrenheit
- Humidity: below 50 percent is ideal, below 65 is acceptable
- No rain in the forecast for at least 24 hours
- Low wind (overspray drifts, dust blows onto wet paint)
- No direct blazing sun if possible (paint dries too fast and doesn’t level)
What Happens in Bad Conditions
Below 50 degrees: most paints won’t cure properly. The chemical reaction that hardens the paint slows down or stops.
Above 90 degrees: paint dries too fast before it can flow out and level, leaving roller texture, brush marks, or orange peel in sprayed finishes.
High humidity: causes blushing in clear coats and can make paint feel tacky for days instead of curing.
Wind: blows dust, pollen, and bugs into your wet paint. Every one of those becomes a permanent bump in your finish.
Timing Your Paint Job
Spring and fall are the sweet spots in most of the country. Moderate temps, lower humidity, fewer bugs. Summer works in the northern states if you paint in the morning before it gets too hot. Winter is basically off-limits unless you’re in the deep south or have access to a heated garage big enough for a bus, which, good luck with that.
Budget a full week for a roller paint job on a full-size bus if you’re doing it right with proper dry time between coats. A spray job is faster, maybe 3 to 4 days. Don’t start this project on a Thursday thinking you’ll finish by Sunday. Give yourself a buffer for weather delays.
“How long after the primer did you wait to paint the bus?”
Most builders wait 24 hours between primer coats, and another 24 hours after the final primer coat before starting topcoat. Some primers specify a recoat window — a range of time when the next coat should be applied. For example, some Rustoleum primers say recoat within 1 to 24 hours, or wait 48 hours. Read the can. If you fall outside the recoat window, you might need to lightly scuff the primer before your topcoat to ensure adhesion.

In hot, dry weather, primer can be ready faster. In cool or humid conditions, it takes longer. Touch-dry doesn’t mean cured. Press your fingernail into the primer in an inconspicuous spot. If it dents, it’s not ready. If it’s hard and doesn’t mark, you’re good.
Common Painting Mistakes (And How to Avoid Them)
After reading through more build threads and paint job post-mortems than I can count, these are the mistakes that keep showing up.
Rushing between coats. This is the number one mistake by a mile. Touch-dry is not cured. When you put fresh paint over a coat that hasn’t fully hardened, the solvents from the new coat can soften the old one underneath. That leads to wrinkling, lifting, and peeling. Follow the dry time on the can. If it says 24 hours, wait 24 hours.
Skipping primer on bare metal. If you sand through to bare steel and put topcoat straight on it, you’ll have adhesion failure and rust bleeding through within a year. Bare metal always gets primer first. Self-etching primer for the best bond.
Not degreasing thoroughly. Silicone, oil, road film, even fingerprints can cause fish eyes in paint — little craters where the paint pulls away from a contaminant. Wipe with a degreaser before primer and before each topcoat. Yes, each one.
Using the wrong rollers. Fuzzy nap rollers for house paint will leave terrible texture on a bus. Use dense foam rollers and replace them frequently. Once a foam roller starts breaking down, it deposits chunks and fibers in the paint.
Not thinning the paint. Rustoleum straight from the can is thick, especially in cooler weather. Thinning 10 to 15 percent with mineral spirits makes it flow better, level smoother, and reduces roller marks.
Forgetting the roof. I’ve seen buses with beautiful sides and the original yellow, oxidized, chalky paint on top. The roof gets more sun than any other surface. It’s the part that needs new paint the most. If you’re insulating your bus, that roof paint is part of your thermal strategy too.
Painting over rust without treatment. Paint does not stop rust. If you paint over it, the rust keeps spreading underneath. Use a rust converter like POR-15 or Rustoleum Rust Reformer first, then prime over the treated area, then paint. Non-negotiable if you want the job to last.
“Why would you put Bondo over the welds and raw metal and then coat it with rust inhibitor?”
I saw this question on a build video and it highlights a valid concern. Bondo (body filler) over welds is purely cosmetic — it smooths the surface so you don’t see weld beads through the paint. The rust inhibitor goes over the Bondo and raw metal as a barrier. The order matters: treat any rust first with a converter, fill with Bondo for smoothness, sand it flush, then prime everything. Bondo alone won’t protect against rust, and rust inhibitor alone won’t make the surface smooth.
“What does ‘converted the rust’ mean?”
Rust converter is a chemical product that reacts with iron oxide (rust) and turns it into a stable, paintable surface. It’s usually a black or dark gray liquid. You brush it on rusty areas, let it dry, and it chemically transforms the rust into a hard compound that primer can bond to. POR-15 is the most popular brand in the bus community. Rustoleum Rust Reformer is the cheaper option. They both work by the same principle. It doesn’t remove the rust — it stabilizes it so it can’t keep spreading.
Spray vs Roll vs Bedliner: Which Method is Right for You?
I wanted to put this comparison in one place because the answer really depends on your situation.
Roller method is best if: you’re on a tight budget, you don’t mind spending a week on it, you’re going with a matte or satin finish, and you want the simplest possible process with the fewest things that can go wrong. Budget: $300 to $500.
Spray method is best if: you already own or can borrow an air compressor and spray gun, you want a gloss finish, you’re comfortable with a learning curve, and you have a place to spray where overspray won’t be an issue. Budget: $500 to $1,100.
Bedliner (Raptor, Monstaliner) is best if: you’re planning off-grid or rough-road use, you want maximum durability and don’t care about a smooth finish, and you want something that hides scratches and dings. Budget: $400 to $700.
Professional spray is best if: budget is less of a concern than time, you want a specific finish (metallic, pearl, two-tone), or you need bodywork done alongside the paint. Budget: $2,500 to $8,000+.
One hybrid approach I thought was clever: some builders roll on the primer and first coat, then spray the final two coats. The roller gets you cheap, full coverage and the spray on top gives you the smooth finish. Best of both if you’re willing to deal with both methods. (See our guide on What Is the Best Way to Paint a School Bus? for more on this.)
Related: What Is the Maximum Legal Height for a Converted Bus?
Bringing It All Together
So after all of this, here’s where I ended up. For most bus builders on a conversion budget, the roller method with Rustoleum is the sweet spot. Under $500, it looks genuinely good if you take your time with thin coats and sanding between them, and it holds up for years. If you’ve got spray equipment or don’t mind investing in it, spraying gives you a clear step up in finish quality. And if money isn’t the bottleneck but time is, doing your own prep and having a shop handle the paint gets you professional results at roughly half the typical quote.

Whatever route you pick, the prep is what makes or breaks the whole thing. Sand it, clean it, degrease it, prime it right. I know those aren’t the glamorous parts. They’re not the satisfying “watch the color go on” parts. But they’re the parts that determine whether your paint job holds up through road salt and UV and three summers of blazing sun, or starts bubbling before your first road trip.
I’ve seen $300 roller jobs that looked better than $5,000 shop jobs. Every time, the difference was prep work. So don’t rush the boring part. Your bus isn’t going anywhere.
If you want the focused breakdown on application technique, I wrote a more detailed piece on how to paint a school bus that gets into the weeds on roller vs spray method. And if you’re still deciding on which specific product to buy, the guide on the best way to paint a school bus covers product recommendations from builders living with their paint choices years later.