
Nobody wants to talk about waste water. I get it. There are a hundred build tour videos showing off beautiful kitchens and custom cabinetry and gorgeous tile showers, and then you get to the part about where all that water goes after it swirls down the drain and suddenly the camera cuts away. But this is one of those systems where if you don’t plan it right from the beginning, you’re going to be ripping things apart later to fix it. I spent a long time digging into this because I realized about halfway through my planning that I had a solid handle on freshwater but almost zero understanding of what happened on the other side of the drain. (See our guide on How Do You Get Water in a Converted Bus? for more on this.)
A skoolie waste system handles two types of water: gray water (from sinks and showers) and black water (from a flush toilet). Most bus conversions use a 20-40 gallon gray water tank mounted under the bus, and either a composting toilet that eliminates the need for a black tank entirely, or a cassette toilet with a portable waste cartridge. A full black water tank setup with a standard RV flush toilet is less common in skoolies because of the weight, space, and hassle of dumping. The whole waste system — tanks, plumbing, venting, and connections — runs $200-$800 for a gray-only setup with composting toilet, or $500-$1,500 if you’re doing the full gray and black tank route.
If you haven’t already, check out our complete guide to skoolie plumbing and water systems for the freshwater side of things. This article is all about what happens after the water goes down the drain.
—
Where does the gray water go?
This was one of those questions that I felt dumb asking because it seemed so basic, but I genuinely didn’t know. Like, you take a shower in your bus, the water goes down the drain, and then… where? Into the ground? Into a tank? Does it just fall out the bottom?

Gray water is everything that comes out of your sinks and shower. Dishwater, hand-washing water, shower runoff. Basically any water that went down a drain but didn’t come from a toilet. In a house, this all goes to the sewer or septic system and you never think about it. In a bus, it drains by gravity through pipes in your floor and collects in a holding tank, usually mounted underneath the bus on the frame rails. (See our guide on What Kind of Toilet Should You Use in a Skoolie? for more on this.)
Most skoolie gray tanks are 20-40 gallons. Some bigger builds go up to 50 or 60. The tank just sits there collecting water until you dump it, which I’ll get into later. The plumbing is honestly the simplest part of the whole water system. Your sink and shower drains connect to P-traps (those curved pipe sections that hold a little water to block sewer gas from coming back up), and from the P-traps, pipes run down through the floor to the tank below. (See our guide on Skoolie Plumbing and Water Systems: The Complete Guide for more on this.)
Some people ask about just letting gray water drain onto the ground as you go. And look, I’ve seen people do this, especially in remote areas. A lot of van lifers just have their gray water drain into a bucket or onto the ground. But in a bus, where you’re often parked at campgrounds or in towns, dumping gray water on the ground is illegal in most places and it’s not a great look regardless. Even biodegradable soap leaves residue and kills plants if you’re dumping in the same spot repeatedly. Get a tank. It’s $80-200 and it solves the problem correctly.
Wait, why is it common that you separate the grey and black water? Aren’t they both waste?
I saw this question come up more than once and I had the same thought initially. Why not just pipe everything into one big tank and call it a day?

There are actually a few good reasons to keep them separate, and I think once you understand them it makes a lot more sense.
First, gray water is way less nasty than black water. It’s soapy water with some food particles and skin cells. Not pleasant to think about but not a biohazard either. Black water has human waste in it. Different category entirely in terms of health codes and disposal regulations.
Second, some jurisdictions allow you to dispose of gray water differently than black water. In certain rural areas and some states, dispersing gray water on the ground (as long as you’re using biodegradable soaps) is legal or at least tolerated. You can never legally dump black water anywhere except a designated dump station or sewer connection. So keeping them separate gives you more flexibility.
Third, if your gray tank fills up faster than expected, you can technically keep using your toilet even when you can’t use your sinks. Or vice versa. Having them independent means one filling up doesn’t shut down the other system.
Now, having said all that, there IS a question from someone asking “can’t just the black water tank and the grey water tank go into the same tank?” And technically yes, you can. Some smaller RVs do this. But you lose all the flexibility I just mentioned, and your entire waste system becomes a black water system from a legal and handling perspective. Every drop has to be treated as sewage. For most skoolie builders, keeping them separate is worth the extra tank.
What kind of toilet do you use?
I covered this in some detail in the plumbing guide, but since we’re talking waste systems specifically, let me go deeper on the three main options and how each one affects your waste plumbing setup.

Composting toilets
This is by far the most popular choice in the skoolie world, and after researching it I understand why. A composting toilet separates liquids from solids. The solid waste drops into a bin with coconut coir or peat moss and decomposes over time. The liquid diverts to a separate container. A small 12V fan pulls air through the unit and vents it outside through a hose, which keeps smell from building up inside the bus.
The two big names are Nature’s Head (around $960) and Airhead (around $1,100). Both work on the same principle. I talked to a couple at a bus meetup who’d been using a Nature’s Head for over two years and they said the thing that surprised them most was how NOT gross it was. The guy told me emptying the solids bin was “less disgusting than cleaning out a cooler after a camping trip,” which is not the comparison I expected but I’ll take it.
Here’s the big deal from a waste system perspective: a composting toilet means you don’t need a black water tank at all. No black tank, no sewer hose, no dump station visits for toilet waste. The solids bin gets emptied every few weeks into a trash bag (it looks and smells like dirt by that point), and the liquid bottle gets dumped into any toilet or even on the ground in a remote area every couple days. That’s a massive simplification of your waste system and honestly it’s the main reason most skoolie builders go this route.
The downside is cost. A thousand bucks for a toilet feels steep. But when you factor in NOT buying a black water tank ($150-300), NOT running black water plumbing, NOT dealing with dump station fees and hassle, the math gets a lot closer than it first appears.
Cassette toilets
A cassette toilet is basically a self-contained portable unit with a small removable waste tank built into the bottom. You do your business, there’s usually a hand pump flush or a small electric flush that rinses the bowl into the holding tank below, and when the tank is full you pull it out through an access door and carry it to a dump station or regular bathroom to empty.
These run $100-$300 for decent units. Thetford and Dometic make the most common ones. The holding tank is usually 4-5 gallons which sounds tiny, but for a solo person that’s 3-4 days of use. For a couple maybe 2-3 days.
The cassette approach means no black water tank and no sewer hose, similar to composting. But you ARE carrying a container of mixed waste to a bathroom and emptying it into a toilet, which is exactly as glamorous as it sounds. Most cassette toilets use a chemical additive that breaks down waste and controls odor, which helps, but let’s be honest — it’s still the least pleasant chore of bus life.
From a waste system planning perspective, cassette toilets are dead simple. No plumbing at all. You set the toilet down, use it, empty it. The only installation is securing it to the floor so it doesn’t slide around while driving.
Standard RV flush toilet with a black water tank
This is what you find in traditional RVs and some of the bigger, more elaborate bus conversions. A porcelain or plastic toilet with a foot-pedal flush, connected to a black water holding tank below. Water from your freshwater system fills the bowl, you flush, everything drops into the tank. When the tank is full, you connect a sewer hose at a dump station and drain it.
I’ll be straight with you, most skoolie builders avoid this setup. A black water tank is heavy (water weighs 8.3 lbs per gallon, and a 40-gallon black tank full is over 330 pounds of sewage sitting under your bus). The plumbing is more complex because you need a 3-inch drain line from the toilet to the tank, plus proper venting to prevent vacuum locks and smell. You need a dump station every week or so depending on tank size and how many people are using it. And the whole system needs to be cleaned and maintained to prevent the dreaded “poop pyramid” — which is exactly what it sounds like, a mound of solid waste that builds up under the toilet when the tank isn’t flushed properly.
That said, if you’re converting a coach bus or a full-size transit bus and you have the space and weight budget, a standard flush toilet is the most familiar and comfortable option. It works like a home toilet. No learning curve, no behavior changes, no emptying small containers. You just flush and forget about it until dump day. For families with kids especially, I’ve seen arguments that the simplicity of a normal toilet is worth the extra hassle of the black tank system.
What did you use for a toilet since you didn’t mention a black water tank?
This is such a common question in build tour comments. Someone shows off their entire build and people immediately zoom in on the bathroom wondering how it works without the traditional tank setup. The answer almost every time is composting toilet. Sometimes cassette. But there’s another option I should mention that’s gaining traction.
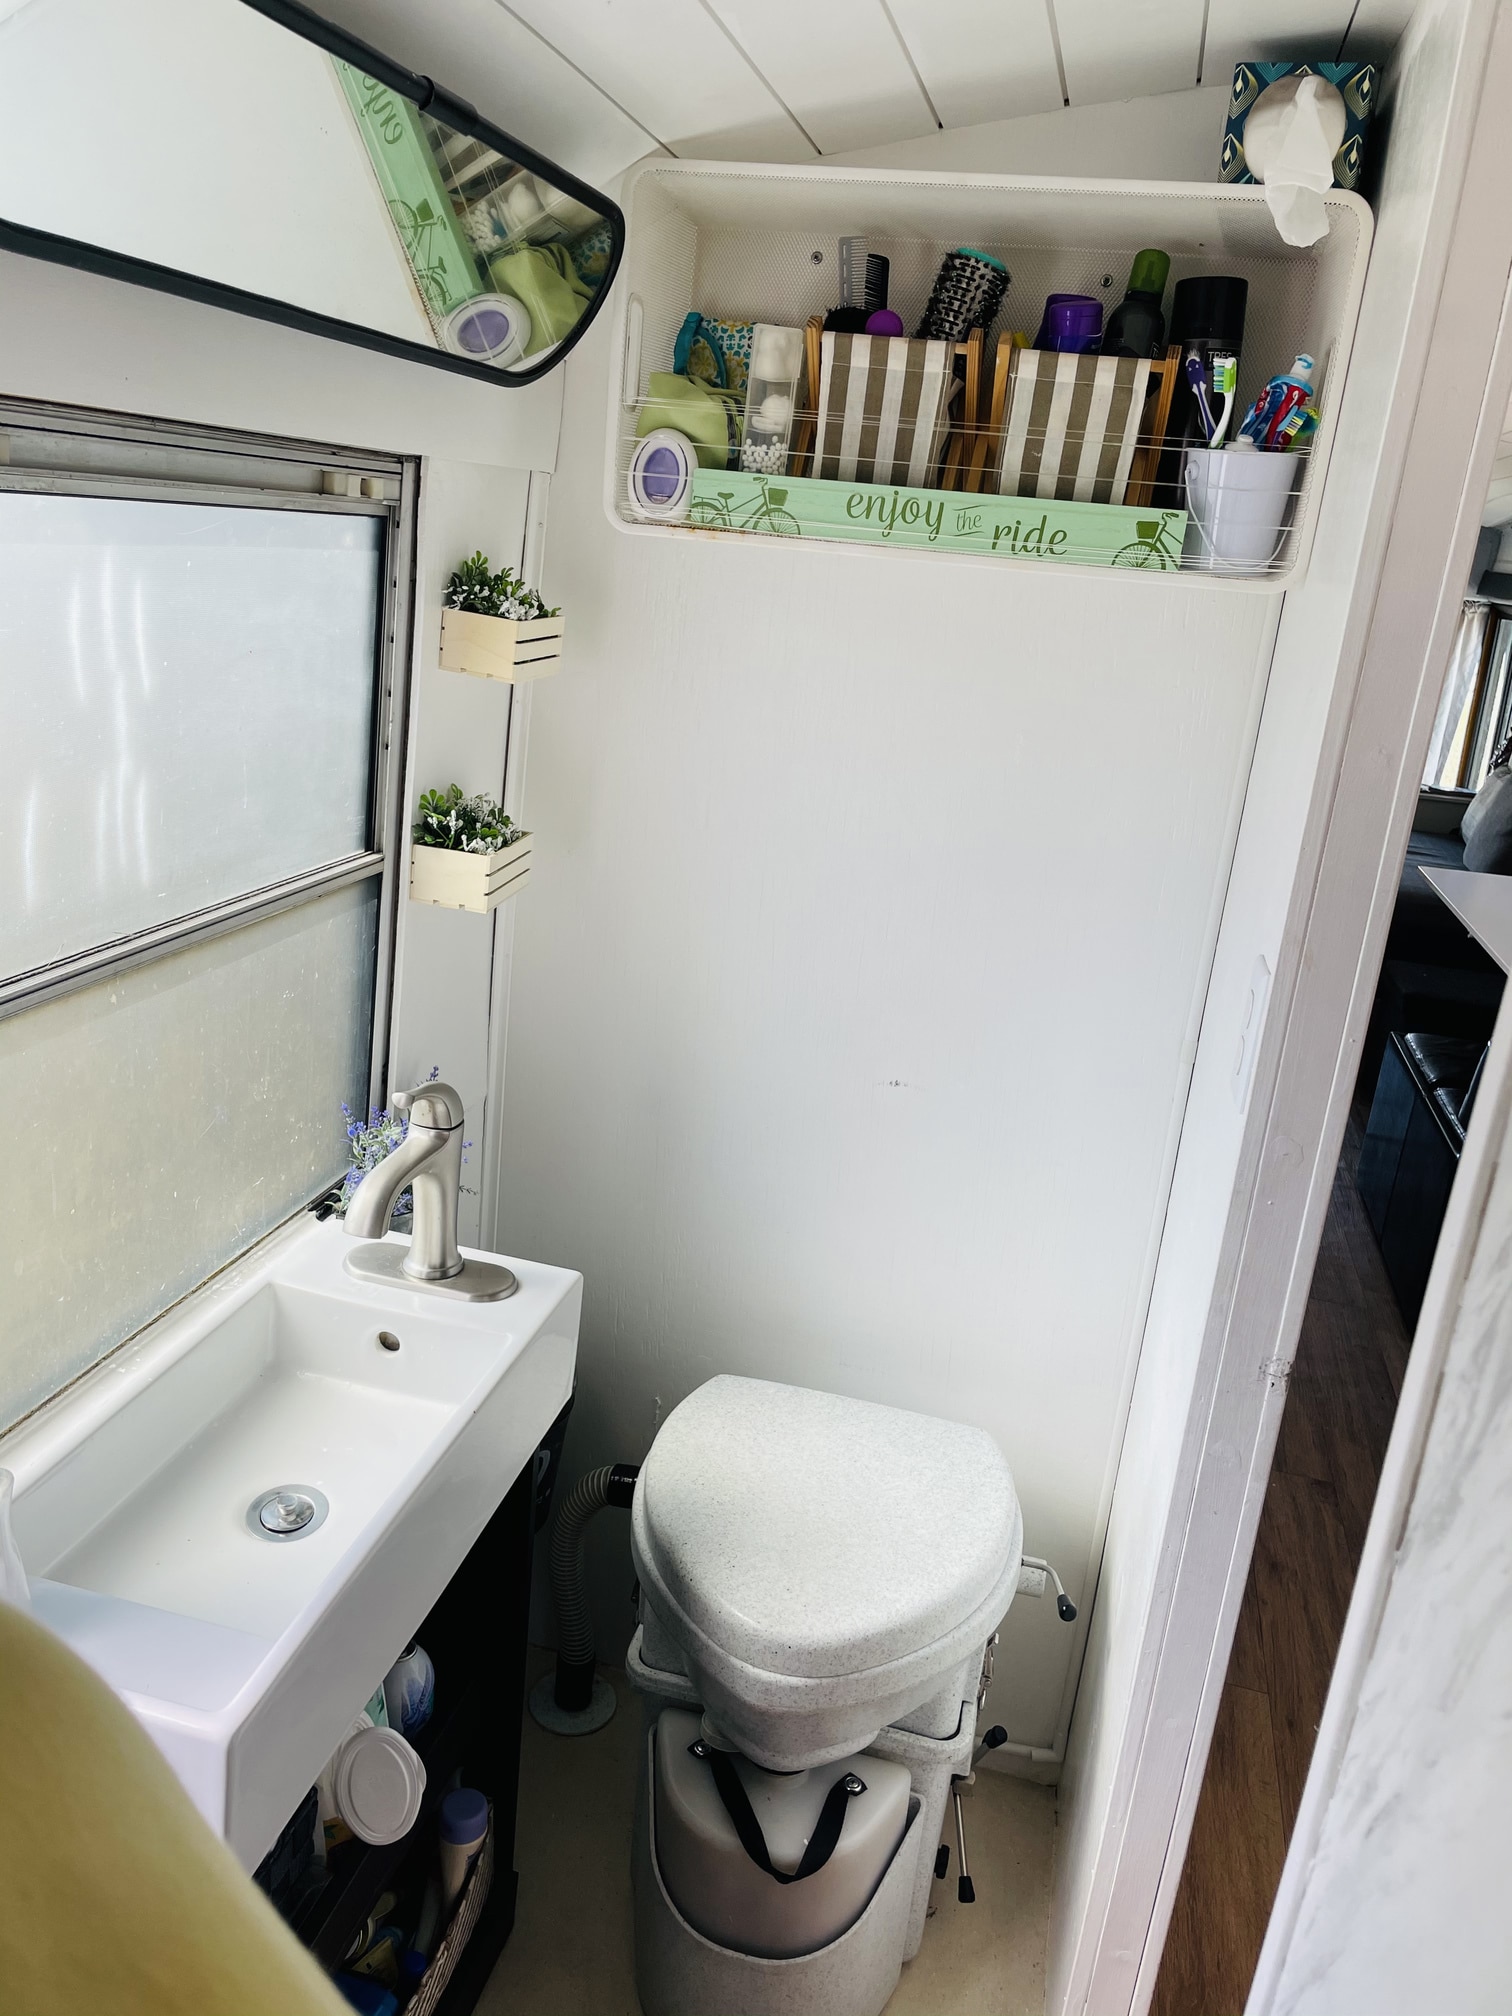
Incinerating toilets. These are exactly what they sound like. You do your business on a liner, close the lid, press a button, and the unit incinerates everything to ash using either propane or electricity. No water, no tanks, no dumping of any liquid or solid waste. Just a tablespoon of sterile ash that you empty once a week or so.
The catch? They’re expensive. Like $2,000-$4,000 expensive. And the electric ones pull serious power — we’re talking 1,500-2,000 watts during a burn cycle. If you’re on solar, that’s a significant chunk of your battery bank for each use. The propane models are more reasonable on the energy side but they still cost a fortune upfront.
I find them fascinating from an engineering standpoint. A couple I was reading about on a forum swore by their Cinderella incinerating toilet and said they’d never go back to composting. But for most people on a normal budget, composting or cassette still makes the most financial sense.
Where do you put your waste tanks and water tank?
Tank placement is something that sounds straightforward until you actually get under a bus and start looking at the frame rails, the drive shaft, the exhaust, and all the other stuff hanging under there. I spent a lot of time looking at photos of other people’s tank setups before I felt like I understood the options.
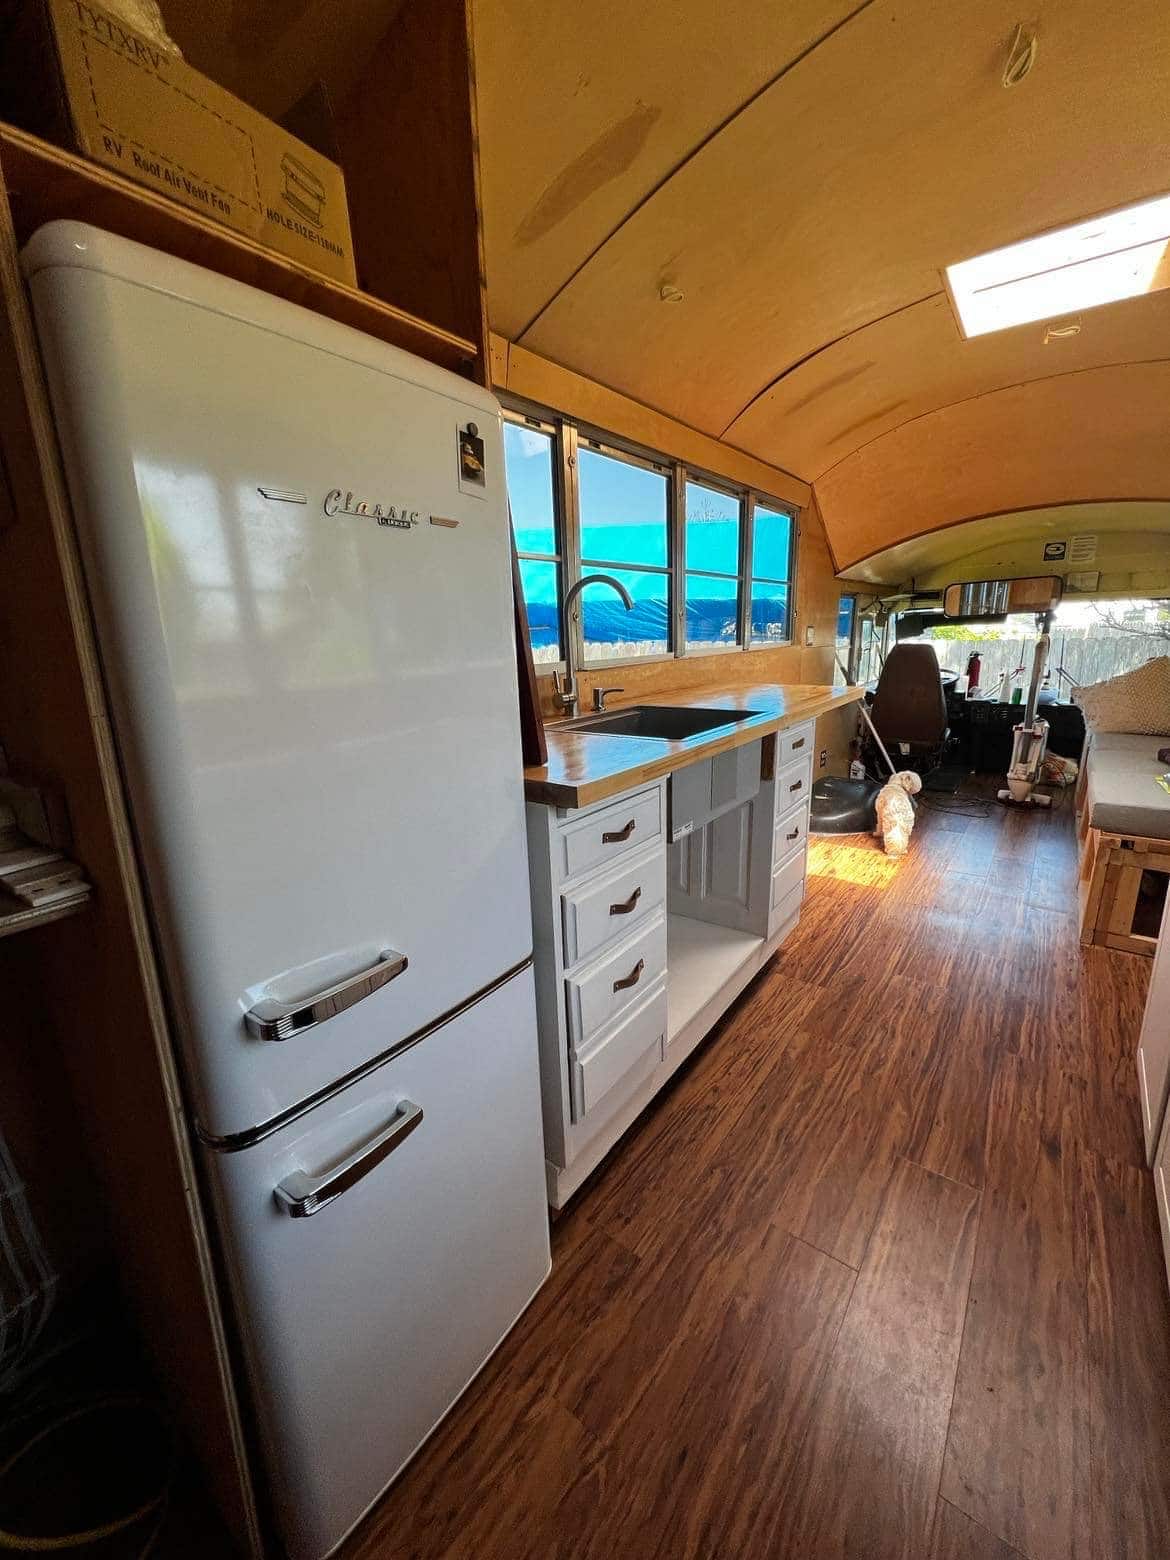
Underneath the bus is where most gray water tanks end up. You bolt the tank to the frame rails using metal strapping or custom brackets. The advantages are obvious — it doesn’t take up any interior space, gravity does the work of getting water from your drains to the tank, and you can route your dump valve to the side of the bus for easy access at dump stations.
The downside is freezing. An exposed tank under the bus will freeze in cold weather. But here’s the thing — unlike a freshwater tank, a frozen gray tank isn’t catastrophic. Your gray water doesn’t burst things the same way because most gray tanks vent (they’re not sealed tight like a pressure vessel). If it freezes, you just can’t drain your sinks until it thaws. Annoying, not destructive. That’s why the common wisdom is freshwater tank inside, gray tank outside.
Inside the bus is less common for gray tanks but some people do it, especially in short buses where the undercarriage space is tighter. You’d typically put it in a low point of the bus, maybe under a raised bathroom floor or in a utility cabinet, and drain it to an exterior dump valve. The advantage is freeze protection. The disadvantage is losing interior space and the risk of spills or leaks inside your living area.
Black water tanks, if you’re running one, almost always go underneath. Nobody wants a black water tank inside the bus. The exception is some of the really high-end coach conversions where the tank is in an enclosed basement compartment that’s technically outside the living space but still within the body of the bus.
Tank materials
Three options here and I’ve gone back and forth on which one I’d actually use.
Polyethylene (poly) tanks are the most common and cheapest option. $80-$250 depending on size and shape. They’re lightweight, don’t corrode, and come in a huge variety of shapes to fit different frame configurations. Class A Customs and Ronco Plastics are names that keep coming up. The downside is they can be brittle in extreme cold, and cheaper ones can develop hairline cracks from road vibration over time.
Aluminum tanks are the step up. $200-$500 for most sizes. Lighter than you’d think, very durable, and they handle temperature swings better than poly. A lot of the more serious builders and full-timers go this route. The downside is they can corrode if chemicals in your waste water eat at the metal, and they’re harder to find in off-the-shelf shapes.
Stainless steel tanks are the premium option. $400-$800 or more. They’re essentially indestructible, they don’t corrode, and they’ll outlast the bus. The downside is weight and cost. I’ve seen a few builds with custom-fabricated stainless tanks and they’re beautiful in that industrial kind of way, but for most people the cost doesn’t justify the upgrade over aluminum or even poly.
For what it’s worth, the vast majority of skoolie builders I’ve seen use poly tanks and they work fine. If you’re on a budget, poly is the move. If you’re a full-timer and want something that’ll last 10+ years of hard use, look at aluminum.
How do you manage the plumbing from drains to tanks?
The plumbing itself is actually the easy part, which surprised me when I first got into it. Here’s how it works.

Your sink drains and shower drain each have a P-trap — that’s the U-shaped pipe section that holds a little water to create a seal against sewer gas coming back up through the drain. Standard P-traps from any hardware store work, but make sure you get the ones rated for RV or marine use since they’re designed to handle vibration better.
From the P-traps, you run ABS or PVC pipe down through the floor to your gray tank. Most builders use 1.5-inch pipe for sink drains and 2-inch for shower drains (showers move more water at once and you don’t want standing water in the shower pan). The pipes need to slope downward toward the tank — gravity is doing all the work here, there’s no pump involved on the waste side. A minimum slope of 1/4 inch per foot is the standard, and more is better.
If you’re running a black water tank with a flush toilet, that toilet drain needs to be 3-inch pipe and it needs a fairly straight, short run to the tank. The shorter and straighter, the better, because you really don’t want solids getting stuck in a long horizontal pipe run. Some builders put their toilet directly above the tank so the pipe is basically a straight vertical drop. Smart approach if your layout allows it.
One thing I’d stress — use threaded or glued fittings, not just friction-fit connections. Your bus vibrates constantly when driving. Anything that can shake loose will eventually shake loose. I read about one builder who used rubber couplings on his waste lines without hose clamps and discovered the hard way that two of them had separated after a long drive on rough roads. That’s a mess you don’t want to clean up.
Does the composting toilet stink?
This is probably the single most asked question about composting toilets, and I get why. The idea of your toilet being six feet from your bed in a 250 square foot space is enough to make anyone nervous about smell.

The short answer from everyone I’ve talked to or read about: no. It doesn’t stink. Not if you’re doing it right.
The reason composting toilets don’t smell is the separation of liquids from solids. It’s when urine and feces mix together that you get that foul sewage smell. Keep them apart, keep the solids covered in coconut coir or peat moss, and keep the vent fan running, and there’s basically no odor. Multiple people have told me their composting toilet smells less than a conventional toilet in a house because there’s no standing water to get stagnant and no sewage gases coming up from a tank below.
The vent fan is critical though. That little 12V computer fan (most composting toilets use something similar to a PC cooling fan) pulls air through the toilet and pushes it outside through a vent hose. It runs 24/7 and draws almost no power — like 0.1-0.2 amps. But if it dies and you don’t notice for a day or two, you’re going to have a bad time. A few people mentioned keeping a spare fan on hand just in case.
Now, black water tanks are a different story for smell management. If you have a standard RV flush toilet and black tank, smell prevention requires a few things working together. Your tank needs a proper vent pipe that goes up through the roof, allowing gases to escape outside instead of backing up through the toilet. You need to keep the tank valve closed until you’re ready to dump (leaving it open at a hookup causes liquids to drain and solids to dry out and create that poop pyramid I mentioned). And most people add a tank treatment chemical or enzyme-based deodorizer every time they dump and start fresh.
Where do you dump your tanks?
Alright so you’ve got a tank full of waste water and it needs to go somewhere. This is the part of bus life that nobody puts in their Instagram stories, but it’s as routine as filling up with gas once you get the hang of it.
RV dump stations are everywhere. Way more common than I realized before I started looking into this. Most campgrounds have one. Many truck stops and travel centers have them. Some gas stations, especially in areas with a lot of RV traffic, have them. State and national park campgrounds almost always have them. Even some Walmart parking lots have dump stations nearby.
The apps that map these out are worth downloading. Sanidumps.com is the big database. The Allstays app has dump station locations. iOverlander marks them. Once you start looking for dump stations on a map, you realize they’re way more plentiful than you’d think, especially along major travel corridors.
How it works: You pull up to the dump station, remove the cap from your dump valve (which you’ve conveniently plumbed to an accessible spot on the side or rear of the bus), connect your sewer hose from your dump valve to the dump station’s sewer inlet (that’s the hole in the ground with a cap on it), open your black tank valve first (if you have one), let it drain completely, then open your gray tank valve. You dump gray second so the soapy water flushes the sewer hose clean. Close everything up, rinse your hose, cap it, done.
Cost: Free to maybe $25, depending on the location. A lot of campground dump stations are free if you’re camping there, or $5-$10 for non-guests. Some truck stops charge $10-$15. State park dump stations are often free with a day use pass. I’ve seen numbers all over the place but $5-$10 seems to be the most common fee.
Time: The whole process takes 10-15 minutes once you’ve done it a couple times. The first time takes longer because you’re figuring out which valve is which and trying not to spray sewage on your shoes. It gets very routine very quickly.
What about composting toilet users?
If you went composting, your dump station visits are only for gray water. You pull up, connect to your gray tank dump valve, open it, let the soapy water drain, rinse, done. Takes five minutes. Your composting toilet solids go in a trash bag into a dumpster (seriously, it’s just dirt-like compost at that point), and the liquid bottle gets dumped into any toilet. Some people dump the liquid at the dump station too, which works fine.
How often do you have to dump your tanks?
This depends on your tank size, how many people are using the system, and how water-conscious you are. I’ll give some real numbers because vague answers don’t help anyone.
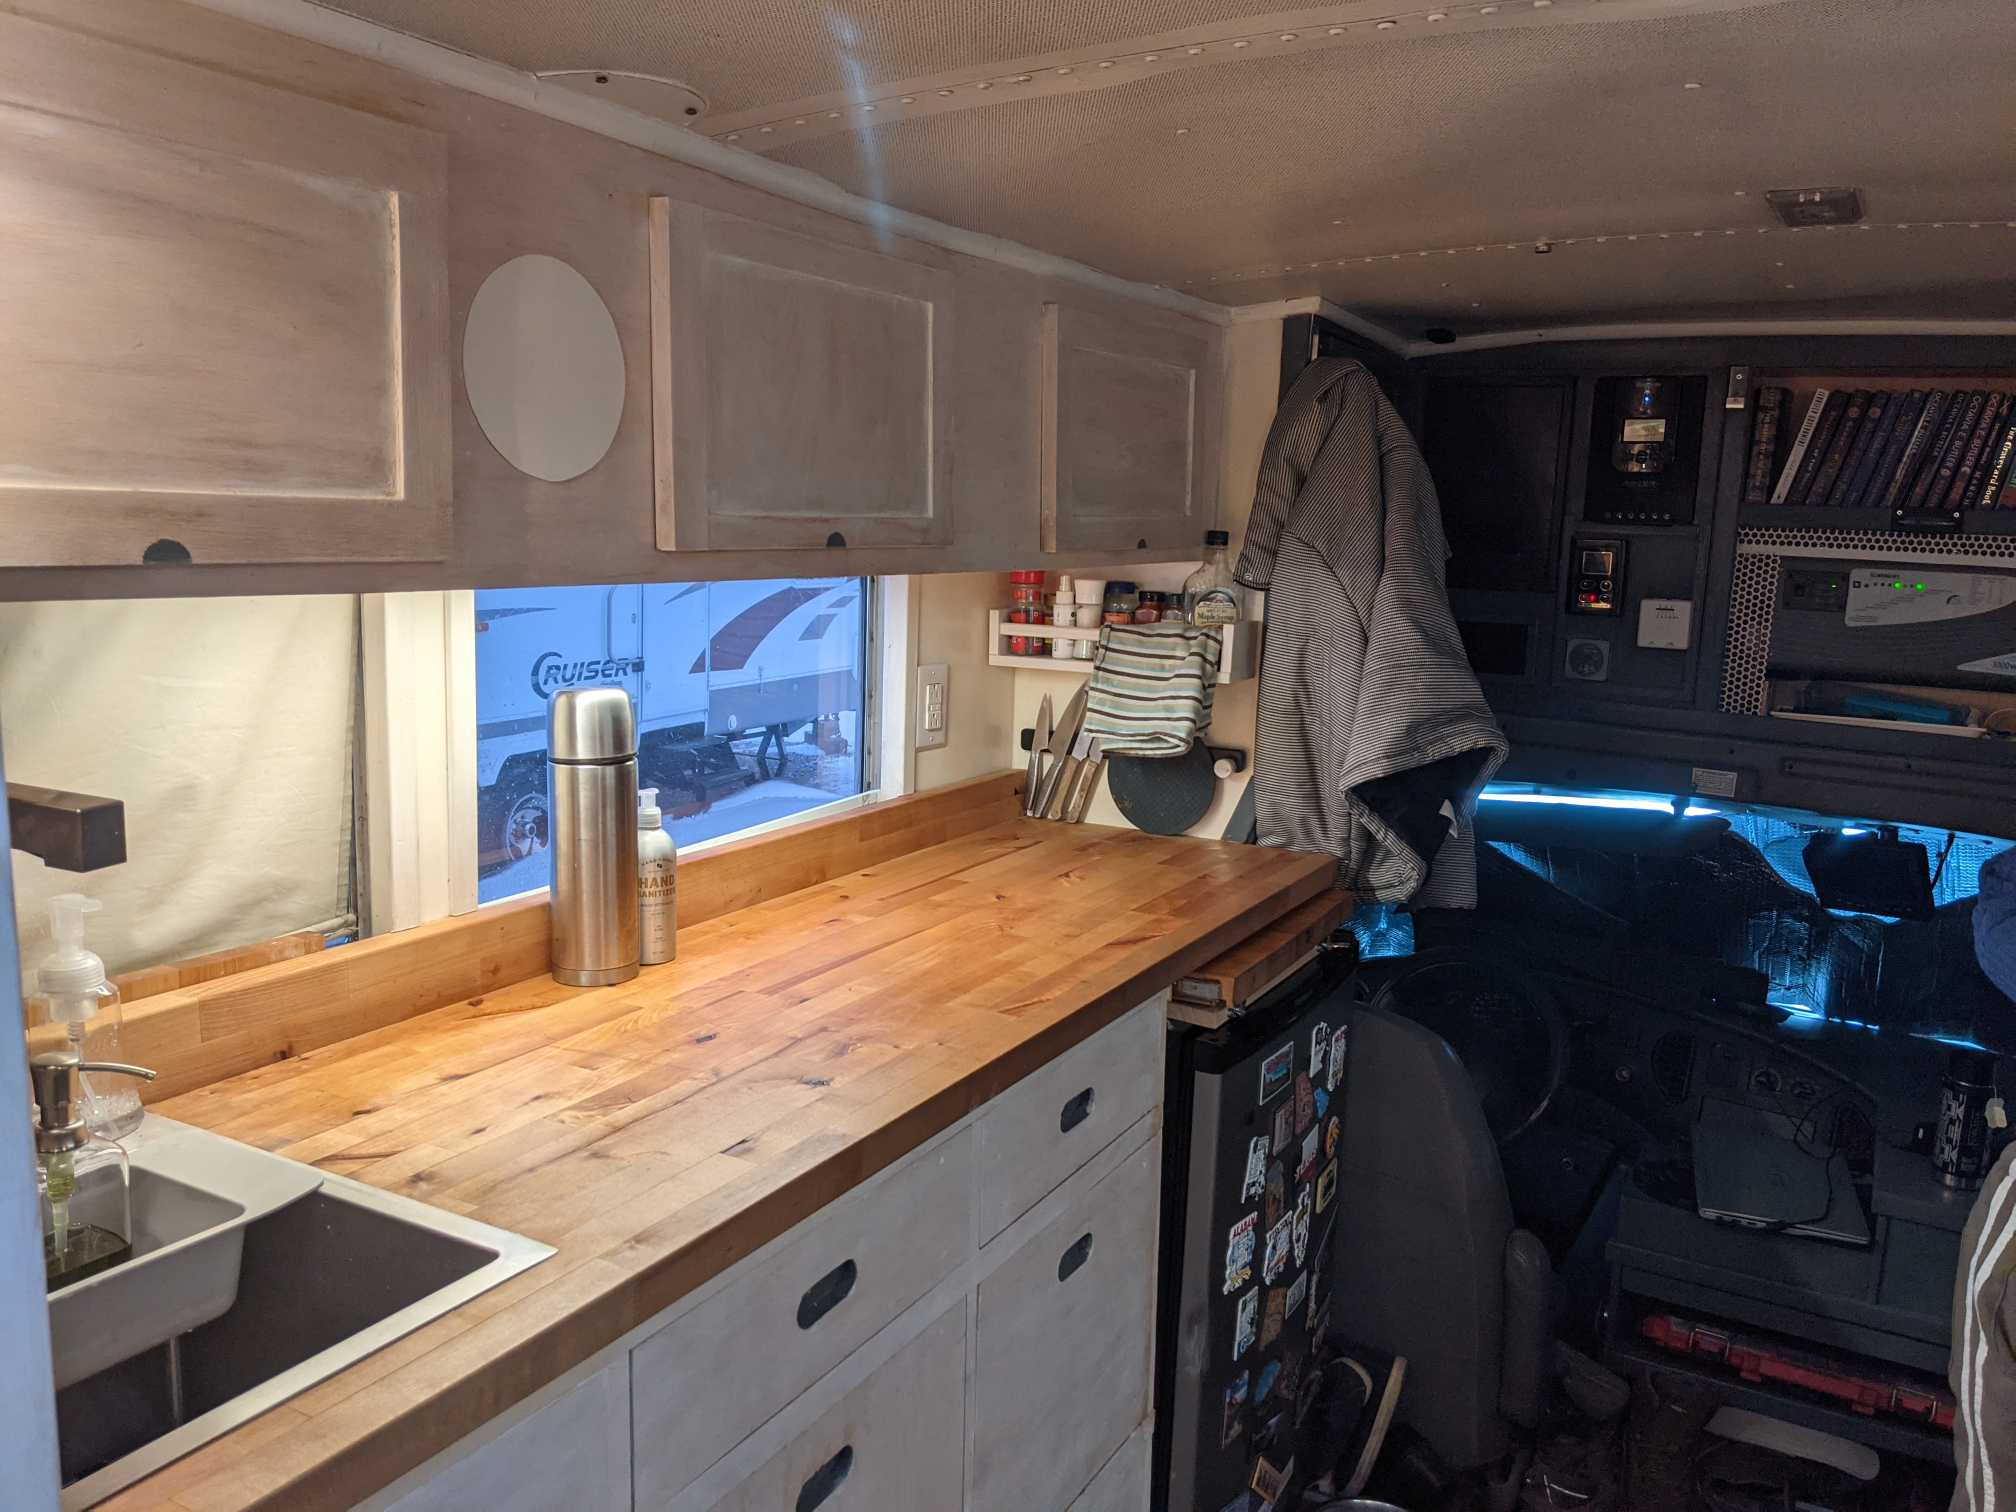
Gray water accumulates faster than most people expect. Every shower, every hand wash, every dish you rinse — it all adds up. A solo person using water conservatively might generate 5-10 gallons of gray water per day. A couple, 10-15 gallons. A family of four, potentially 15-25 gallons per day.
So with a 30-gallon gray tank, a solo person is dumping every 3-5 days. A couple every 2-3 days. A family might need to dump daily, which starts to get old fast. This is why some builders go with 40-50 gallon gray tanks even though the weight adds up.
Black water (if you have a standard flush toilet) accumulates slower because you’re only adding to it when someone uses the toilet and flushes. A 30-40 gallon black tank typically lasts a couple 5-7 days for two people. Longer if it’s just one person.
Composting toilet solids bin needs emptying every 3-6 weeks for a couple, depending on how often you’re both using it. The urine bottle needs dumping every 2-3 days for two people.
I was talking to someone at a campground once who had a 25-gallon gray tank and a composting toilet, and he said his dump routine was basically twice a week for gray water and once a month for the composting solids. He said it took less total time than taking his trash to the curb used to.
Have a feeling the black tank was too big, 100 gallons would’ve been enough, so there could be more space for the fresh and grey water
I saw this comment on a build where the guy had a massive 200-gallon black tank and I had the same reaction. That’s 1,660 pounds of sewage when full. Who needs that?
Tank sizing ratios matter. A common guideline I’ve seen is your gray tank should be roughly the same size as your freshwater tank, or a little smaller. Your black tank (if you have one) can be smaller than both because black water accumulates slower. A typical ratio for a full-size skoolie might be:
- Fresh water: 60-80 gallons
- Gray water: 40-60 gallons
- Black water: 20-40 gallons
Going too big on any tank means unnecessary weight. Going too small means constant dump station visits. The sweet spot depends on how you travel. If you’re mostly at campgrounds with hookups, smaller tanks work because you can dump frequently. If you’re boondocking a lot, bigger tanks give you more days between civilized facilities.
And remember, every gallon of tank capacity is 8.3 pounds when full. A 100-gallon black tank is 830 pounds of waste water. I keep coming back to the weight thing because it matters more than people think, especially in buses that are already pushing their GVWR from the build itself.
Why not have the grey water recycled for use as black water?
Someone asked this and I thought it was actually a pretty creative idea. Take the gray water from your sinks and use it for flushing the toilet instead of using clean freshwater.
In theory it works. Gray water is “dirty” but it’s plenty clean enough to flush a toilet with. You’d save freshwater, extend the time between fill-ups, and reduce your freshwater consumption overall.
In practice, it adds a layer of plumbing complexity that most builders don’t want to deal with. You’d need a pump to move gray water from the gray tank back up to the toilet for flushing (gray water doesn’t pressurize itself). You’d need a filter to keep food particles from the kitchen sink out of your toilet’s flush mechanism. And you’d need to make sure the system is properly sanitized so you’re not growing bacteria in the lines between the gray tank and the toilet.
I’ve seen one or two builds that actually did this and they said it worked fine once they got it dialed in. But the consensus among most builders is that it’s more complexity than it’s worth. The water savings are real but modest — toilet flushing uses maybe a quarter to half a gallon per flush, so you’re saving maybe 3-5 gallons a day for a couple. That’s nice but it’s not going to dramatically change how often you fill your freshwater tank.
If the engineering challenge appeals to you, go for it. But for most people, just take shorter showers and you’ll save more water than the recycling system would.
Great bus, just one question — why didn’t you connect the urine diverter to your grey tank?
This is a specific composting toilet question but it comes up a lot. The urine diverter on a composting toilet separates liquid waste into a bottle that you manually empty. So why not just plumb that diverter line directly into the gray tank and eliminate the bottle-emptying chore entirely?

Some people do exactly this. Run a small hose from the urine diverter directly to the gray water tank. No more emptying bottles every two days. It just drains automatically.
The reasons some people don’t: urine in the gray tank changes the smell profile of the tank. Gray water with just soap and food particles doesn’t smell that bad. Add urine and it gets more noticeable, especially in warm weather. Also, some people who are careful about gray water disposal in nature don’t want urine mixed in because it changes the environmental impact.
But honestly, a lot of full-timers I’ve read about eventually plumb the diverter to the gray tank because they get tired of the bottle routine. If you’re always dumping at a proper dump station anyway, the urine in the gray tank doesn’t really matter.
Venting your waste system
I almost overlooked this section and then realized venting is one of those things that separates a waste system that works fine from one that gurgles, drains slowly, and smells terrible. So let me give it proper attention.
Every drain in your bus needs a vent. When water goes down a drain, it creates a vacuum behind it. Without a vent to let air into the system, that vacuum sucks the water out of your P-traps — and your P-traps are the only thing keeping sewer gas from coming up through your drains into the bus. Lose the P-trap seal and your bus starts smelling like a dump station.
There are two ways to handle venting.
Traditional vent pipe through the roof. This is the same approach used in houses. A vent pipe runs from your drain line up through the ceiling and roof. Air comes in through the top, flows down through the vent to the drain line, and prevents vacuum. It works great but requires cutting a hole in your roof and routing pipe through your walls or ceiling, which adds to the build complexity.
Studor vents (air admittance valves). These are small mechanical valves that you install on your drain line under the sink or wherever it’s convenient. When water drains and creates a vacuum, the valve opens and lets air in. When there’s no vacuum, it stays closed so gas can’t escape. They cost $5-$15 each and they’re super easy to install. Most skoolie builders use these because they don’t require cutting through the roof.
For black water tanks, you really should do a proper roof vent. The volume of gas generated by a black tank is significant enough that a Studor vent may not keep up, and you want those gases going outside, not into your bus even briefly. A 1.5-inch ABS pipe from the top of the tank, up through the ceiling, through a roof vent cap. The pipe should extend above the roofline so the gases dissipate above where you’re breathing.
For gray tanks, a Studor vent on each drain line is usually sufficient. Some builders also add a small vent to the gray tank itself, which helps it drain faster and prevents pressure buildup.
Legal considerations for dumping waste water
I need to touch on this because it varies wildly by location and the consequences of getting it wrong range from fines to genuinely contaminating someone’s water supply.

Black water must be dumped at a designated dump station or sewer connection. Period. No exceptions. Dumping black water on the ground, in a storm drain, or into a body of water is illegal everywhere in the United States and most other countries. The fines are significant — I’ve seen numbers ranging from $1,000 to $10,000 depending on the state and severity.
Gray water is more nuanced. Federal regulations don’t specifically address gray water from recreational vehicles, so it falls to state and local law. Some states allow gray water dispersal on the ground as long as you’re using biodegradable soaps and not near a water source. Others treat gray water the same as black water legally. In practice, a lot of boondockers do disperse gray water on the ground in remote areas, and it’s generally accepted practice on BLM land and national forest dispersed camping areas. But technically, even in those areas, the rules vary.
My suggestion based on everything I’ve read: always dump at a proper dump station when one is available. If you’re boondocking in a remote area and need to disperse gray water, use biodegradable soaps (Dr. Bronner’s, campsuds), don’t dump near any water source, and spread it out over a wide area instead of creating a puddle in one spot. And never, under any circumstances, dump black water anywhere except a proper dump station.
Winterizing your waste system
I covered winterizing the freshwater side in the plumbing guide, but the waste side has its own considerations.
Gray tanks mounted underneath the bus are exposed to freezing temperatures. When gray water freezes in the tank, it expands, and while most gray tanks can handle some expansion because they vent, repeated freeze-thaw cycles can stress fittings and connections. More practically, a frozen gray tank means your sinks and shower won’t drain, so you’re basically stuck until it thaws.
Here’s what most cold-weather skoolie people do:
Heat tape on the dump valve and exposed pipes. The dump valve is the most vulnerable point because it’s a mechanical fitting. Wrap it with thermostatically controlled heat tape that turns on automatically below a certain temperature. Costs $20-$40 and draws minimal power.
Tank heater pads. These are electric heating pads that strap to the bottom or side of the tank. They won’t keep the tank liquid in extreme cold, but they’ll prevent freezing down to maybe 10-15 degrees F depending on the pad. $30-$60 each.
Insulate the tank. Rigid foam board or spray foam around the tank helps retain heat. Some builders build a small enclosed box around the under-bus tank with foam board and that makes a huge difference.
Dump more frequently in cold weather. A mostly-empty tank has less thermal mass to keep liquid, but it also has less water to freeze. Some people in cold climates dump their gray every day or two in winter just to keep the volume low.
Add RV antifreeze to the gray tank. If you’re storing the bus for winter, pour a gallon of non-toxic RV antifreeze into each drain so it fills the P-traps and drains into the tank. This prevents the P-trap water from freezing and cracking the traps.
For composting toilets in winter, the good news is the toilet itself is inside the bus where it’s warm. Just make sure any vent hose that exits through the wall or roof is routed so condensation doesn’t freeze and block the hose. I read about one person whose vent hose froze shut and the fan couldn’t push air through, which meant odors started building up inside until they figured out what happened.
Tank monitoring — how do you know when it’s time to dump?
I spent way too long looking into this because there are so many options ranging from free to surprisingly expensive.
The free method: Look at your gray tank. Most poly tanks are semi-translucent so you can see the water level, especially if you shine a flashlight on one side and look from the other. Some people just mark lines on the tank with a Sharpie. Free, effective, requires you to crawl under the bus.
Float-level gauges. These are mechanical floats inside the tank that connect to a gauge panel inside the bus. They read in quarters: empty, 1/4, 1/2, 3/4, full. They’re the same type used in RVs. $30-$60 for a basic setup. The issue is the float sensors can get fouled with gunk in a gray water tank and give bad readings. Black water tanks are even worse for sensor fouling.
Ultrasonic sensors. These mount on the outside of the tank and use sound waves to measure the liquid level without any component inside the tank. No fouling issues. They’re more expensive ($50-$100 per sensor) but they work reliably long-term. If I were building right now I think this is what I’d go with.
The low-tech method that a surprising number of people use: Just count days. If you know your gray tank lasts three days for your usage pattern, dump every three days. You’ll develop a rhythm pretty quickly and won’t need to check the level at all. Not glamorous, but it works.
For composting toilets, monitoring is even simpler. The urine bottle is clear, you can see when it’s getting full. The solids bin has a line on most models that tells you when it’s time to empty. Some people just go by the crank handle — when it gets hard to turn the agitator, the bin is getting full.
Related: How Do You Do Laundry Living in a Bus?
Related: Can You Put a Washer and Dryer in a School Bus?
Maintenance and keeping your waste system running right
A waste system that’s set up right honestly doesn’t need much maintenance. But “not much” isn’t “none,” and the consequences of neglecting it range from unpleasant smells to expensive repairs.

Gray tank: Flush it with clean water every few dumps. Most dump stations have a fresh water rinse connection, or you can run a hose to the tank’s cleanout port if it has one. This prevents grease and soap buildup from creating a sludge layer on the bottom. Once every month or two, add a tank cleaner or even just a cup of baking soda and some hot water, let it slosh around while driving, then dump it.
Black tank: More maintenance required. Always use enough water when flushing — a dry black tank is a smelly, crusty, difficult-to-dump black tank. Use a tank treatment product after every dump. Happy Campers is the brand that keeps coming up as a favorite, it’s an enzyme-based treatment that breaks down waste and controls odor without harsh chemicals. And periodically (every few months), do a deep clean with a tank wand — that’s a high-pressure nozzle on a stick that you stick into the tank through the toilet opening and spray the interior walls down.
P-traps: Check them occasionally. In a bus that’s parked in heat and not used for a while, the water in the P-traps can evaporate, breaking the seal and letting sewer gas into the bus. If you’re leaving the bus parked for an extended period, pour a little mineral oil into each drain. It floats on top of the P-trap water and prevents evaporation. Learned that trick from a plumber I was talking to who worked on boats.
Dump valve and sewer hose: Inspect the dump valve gasket annually. Replace your sewer hose if it starts cracking or showing wear. A failed sewer hose at a dump station is… memorable. In a bad way. Carry a spare.
Composting toilet: Keep coconut coir stocked up. Replace the vent fan if it gets noisy or slow (they last 1-3 years typically). Clean the urine diverter funnel regularly because urine scale builds up and can clog the drain hole. A little vinegar soak takes care of it.
—
So that’s the waste side of a skoolie water system. I know it’s not the sexy part of the build and nobody’s putting “installed my dump valve” on their Instagram story, but getting this right makes everything else more comfortable. After all the research I did, here’s where I landed: composting toilet plus a properly sized gray water tank underneath the bus handles waste for the vast majority of skoolie builds without the weight, complexity, and hassle of a full black water system. The plumbing is straightforward, the venting isn’t complicated once you understand why it matters, and the dump station routine becomes second nature after three or four visits.
If you’re still early in your planning, don’t overthink the waste system. It’s honestly one of the simpler parts of the build once you pick your toilet type. That single decision — composting vs cassette vs standard flush — determines like 80% of your waste system design. Everything else follows from there. And if the thought of dealing with any of this grosses you out, I promise you get over it fast. Every single person I’ve talked to who lives in a bus says the same thing — it seemed like a huge deal before they started, and now it’s just another chore like taking out the trash. Smaller deal than you think.