
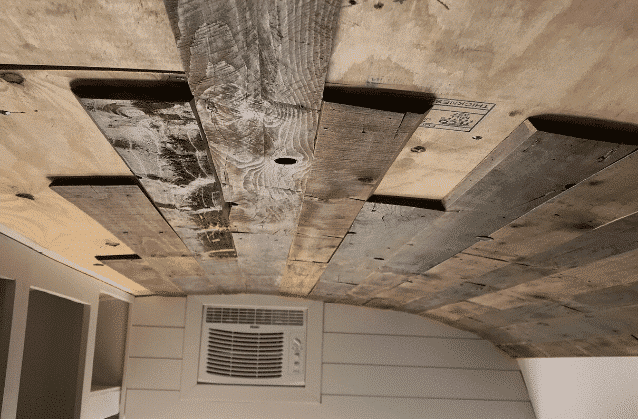
This question comes up every time someone posts a build video with finished walls and a clean white ceiling. People see sheetrock and immediately start wondering if it’s going to crack, fall, or turn into a mold farm once the bus hits the road. (See our guide on How Tall Is the Ceiling Inside a School Bus? for more on this.)
You can absolutely use drywall on a bus ceiling, and plenty of people do. It gives you that clean, house-like finish that’s hard to beat with other materials. But there are real concerns you need to think through before you go this route — weight, vibration, moisture, and ventilation all matter. A standard 4×8 sheet of half-inch drywall weighs about 57 pounds, and quarter-inch (which is what most bus builders use for ceilings) comes in around 38 pounds per sheet. If you frame it properly, screw it to solid backing, and deal with the moisture question, sheetrock can last years on a bus ceiling without issues. If you skip any of those steps, you’re looking at sagging, cracking, or worse.
“Would sheetrock really stay on the ceiling on a moving bus? Also the weight of the sheetrock.”
This was one of the first things I looked into when I started seeing drywall ceilings in bus builds, because honestly it seemed like a bad idea at first. A bus vibrates. It bounces. It goes over potholes and railroad tracks and gravel roads. How is something as brittle as sheetrock supposed to survive all that?
What I found is that the vibration thing is way overblown. Your bus weighs somewhere between 15,000 and 33,000 pounds depending on the size and how loaded it is. That mass absorbs a ton of road vibration before it ever reaches your ceiling. You’re not rattling around like a tin can — the suspension does its job. Highway driving is smooth. Even rough roads aren’t as violent as people imagine when you’re in something that heavy.
The weight question is more practical. If you’re doing a full-size bus ceiling, you might need six to eight sheets of quarter-inch drywall depending on your layout. At 38 pounds each, that’s 228 to 304 pounds just for the ceiling material. Add mud, tape, and paint, and you’re probably looking at 350 pounds total. That’s not nothing, but it’s also not going to break the bus. I’ve seen people put 1,500-pound water tanks in their builds. The bus can handle 350 pounds spread across the ceiling.
The key is how you attach it. You don’t just glue drywall up there and hope for the best. You need framing — wood or metal — screwed or bolted to the bus ribs, and then the drywall gets screwed to that framing every 8 to 12 inches. Some builders go even tighter on the screw spacing because of the vibration factor. One guy I was reading about on a skoolie forum said he used screws every 6 inches along the joists and hasn’t had a single crack after four years of full-time travel. That’s tighter than what you’d do in a house, but the extra screws give you peace of mind. (See our guide on The Complete Guide to Skoolie Framing and Wall Construction for more on this.)
Quarter-inch drywall is the move for bus ceilings. Half-inch is overkill, heavier than it needs to be, and harder to work with on curved surfaces. Some builders even use 3/8-inch as a compromise. If your ceiling has a curve to it, which most bus ceilings do, you can wet the back of the drywall slightly to help it flex into shape before screwing it up. It’s a trick that drywall guys use in houses for archways, and it works just as well in a bus.
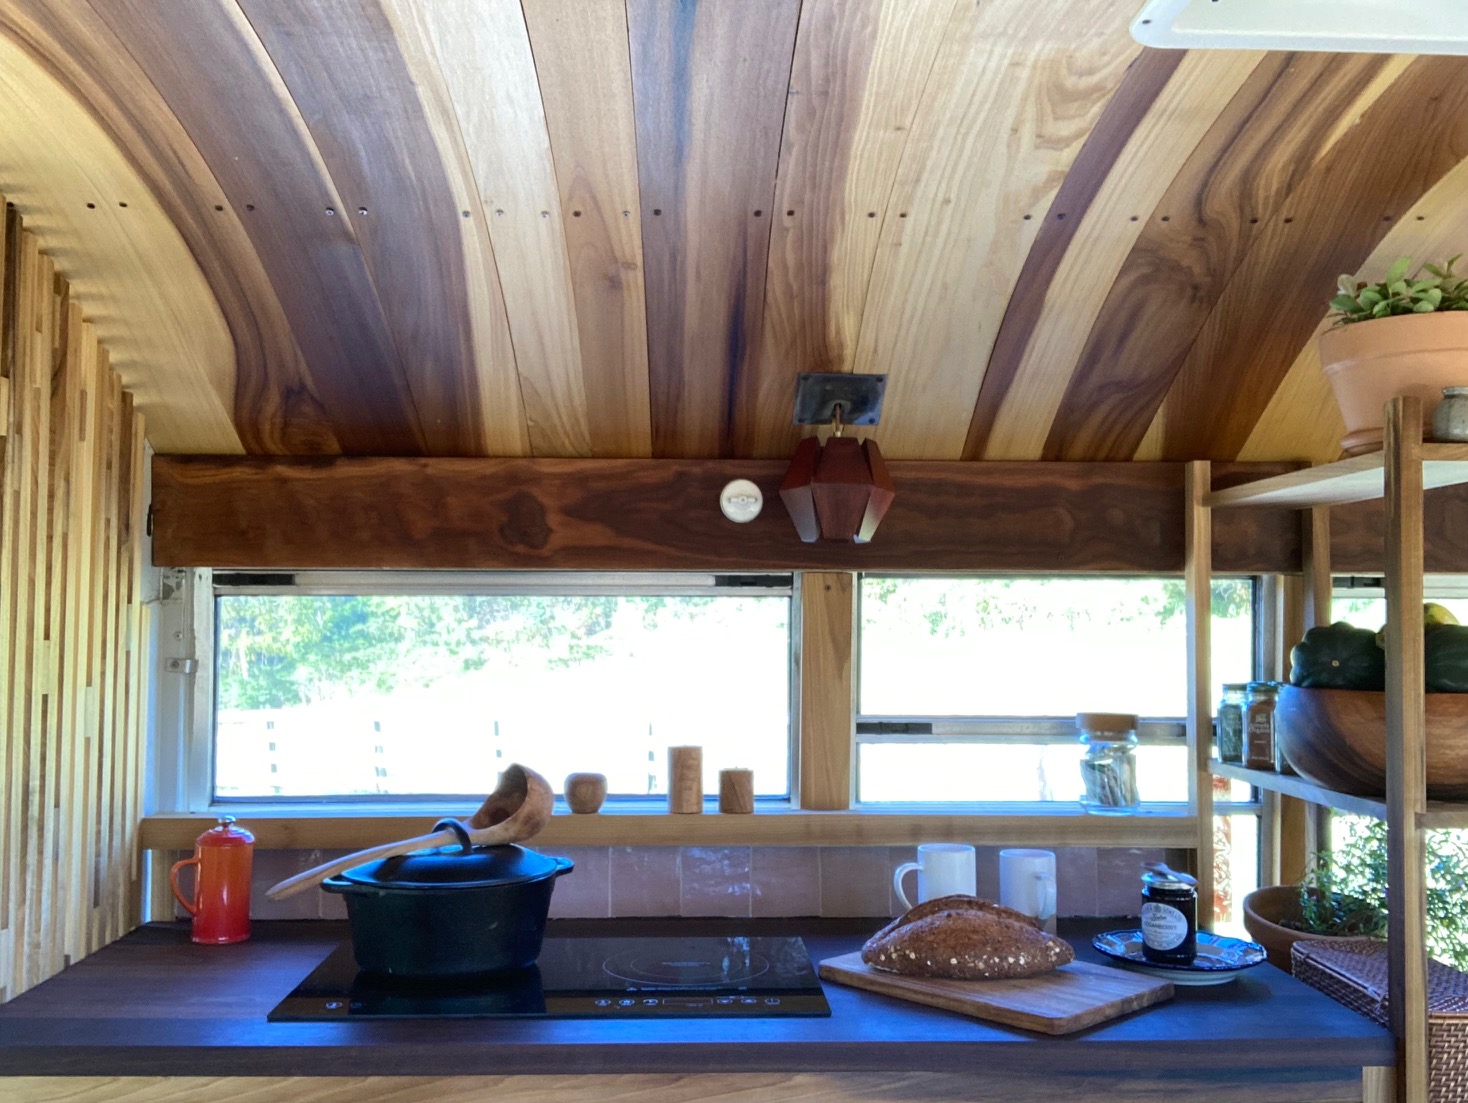
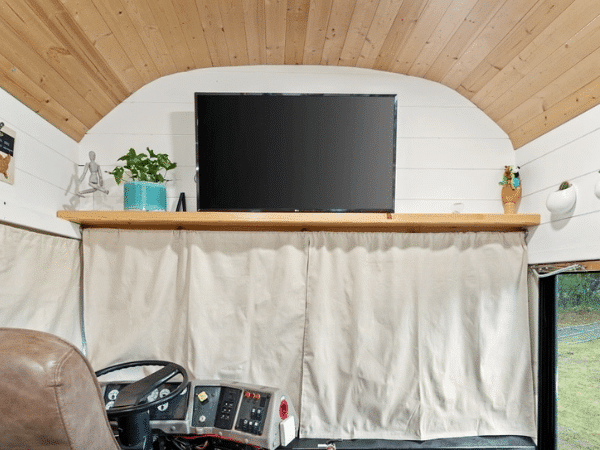
Now, there are alternatives. Luan plywood, tongue-and-groove planks, vinyl plank ceiling panels, aluminum composite. Some of these are lighter than drywall. Some are more flexible. But none of them give you that perfectly smooth, paintable finish that sheetrock does. If the look matters to you, drywall is hard to beat.
“What about ventilation in those enclosed bunk beds?”
I wasn’t expecting this question to connect to the drywall conversation, but it actually matters a lot. When you build bunk beds in a bus and enclose them with walls and a ceiling — often drywall — you’re creating a small sealed space where a human sleeps and breathes for eight hours straight.
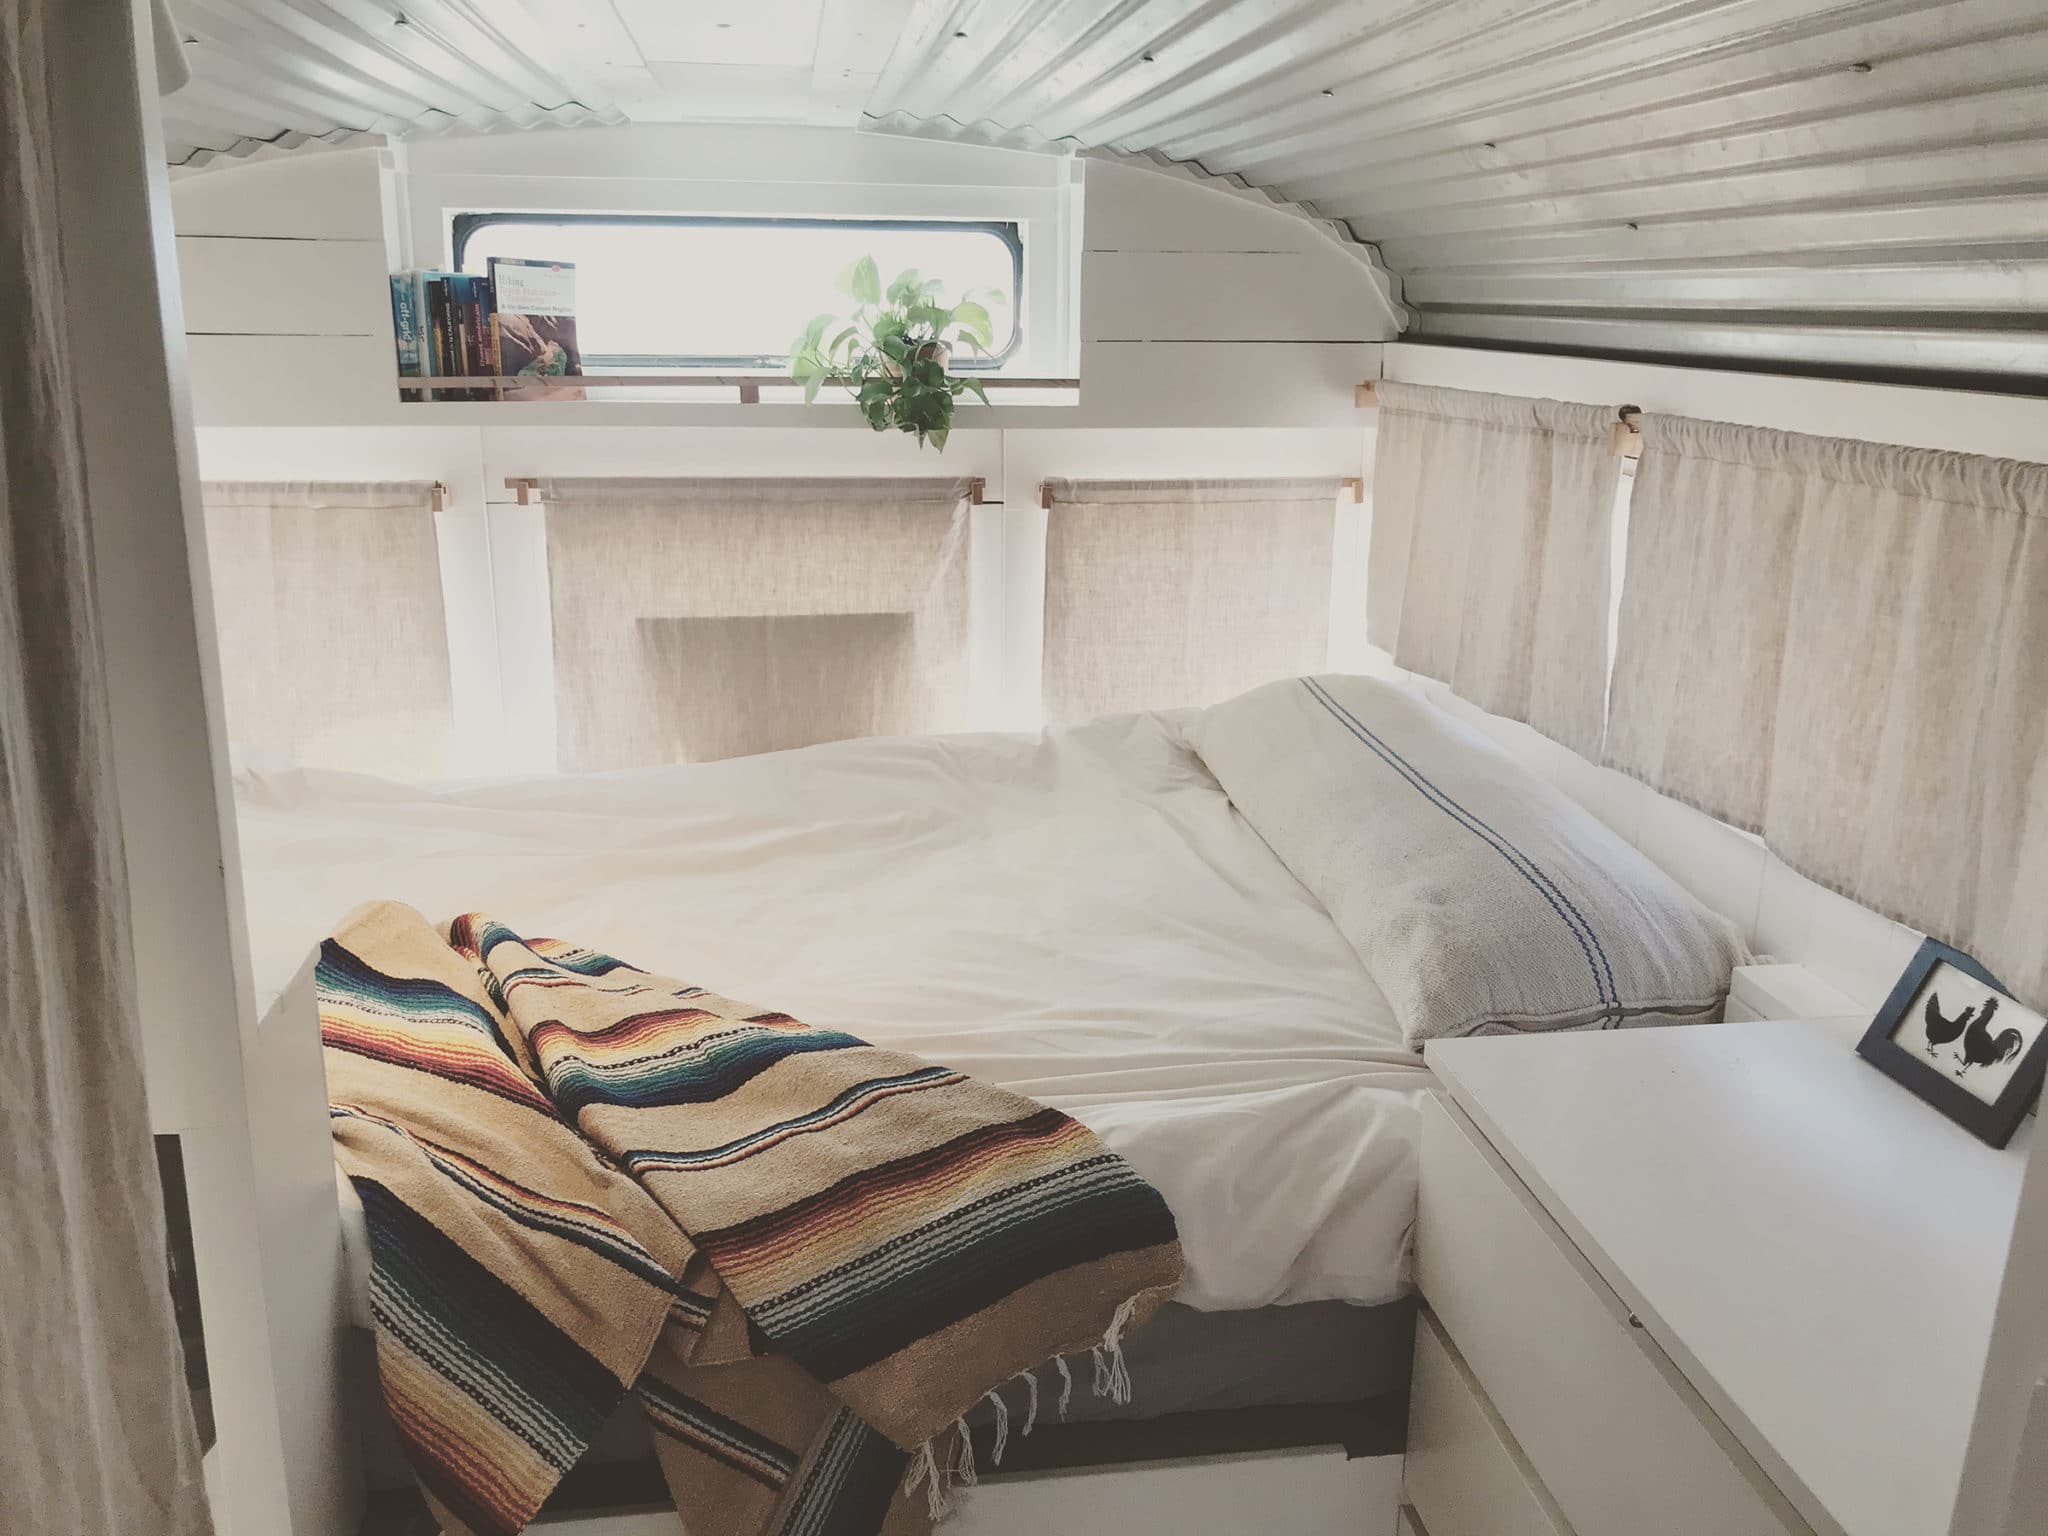
A person exhales roughly a pint of moisture overnight. In an open room, that disperses. In an enclosed bunk with sheetrock walls and ceiling? That moisture has nowhere to go. It’s going to condense on whatever cold surface it can find. And if the drywall is that cold surface, you’ve got a problem.
I talked to a builder who’d done enclosed bunks in a family build, and he said the first winter was rough. The kids’ bunks had condensation dripping off the ceiling by morning. He hadn’t thought about airflow at all. His fix was cutting small vents near the top and bottom of each bunk enclosure, which created passive air circulation. Warm moist air rises out the top vent, drier air gets pulled in through the bottom. Problem solved, more or less.
Some people go further and install a small 12V computer fan in each bunk space, running on a timer or a switch. That forces the air exchange and keeps moisture from settling. It’s cheap — those little fans cost maybe $8 to $15 each — and it makes a real difference.
The takeaway is that if you’re using drywall in any enclosed sleeping area, you need to plan for ventilation from the start. Don’t box someone into a space with no airflow and expect the drywall to stay dry. It won’t. This isn’t just a drywall issue either — any ceiling material in an enclosed bunk needs air movement. But drywall is particularly unforgiving because once it absorbs moisture, it stays damp and becomes a breeding ground for mold.
“What about a vapor barrier to prevent moisture?”
Alright, vapor barriers. I’ve gone back and forth on this topic more times than I want to admit, because the advice out there is all over the map.
Here’s the simple version. A vapor barrier is a layer — usually 6-mil poly sheeting — that stops moisture in the air from passing through your wall or ceiling assembly. In a bus, the concern is that warm, humid air from inside (your breathing, cooking, showering) will hit the cold metal skin of the bus and condense into water. If that water gets trapped behind your drywall, you get mold.
So where does the barrier go? On the warm side. Between your insulation and your drywall. The idea is that the barrier catches the moisture before it can reach the cold metal.
But here’s where it gets tricky in a bus specifically. If you used closed-cell spray foam to insulate your ceiling, you already have a vapor barrier. The spray foam bonds directly to the metal, fills every gap, and doesn’t let moisture through. In that case, adding a separate poly barrier is redundant and some people argue it can actually trap moisture between two impermeable layers, which is worse.
If you used rigid foam board or fiberglass batts for insulation, then yeah, you want a vapor barrier on the warm side before you put up the drywall. I found that a lot of builders who skip this step are fine for the first year, maybe two. Then they start noticing musty smells or discoloration on the ceiling where moisture crept in and set up shop.
The honest answer is that most moisture problems in bus builds come from gaps and seams, not from the material itself. You can have the best vapor barrier in the world, but if there’s a gap at the edge where the ceiling meets the wall, moisture will find it. Taping and sealing every seam matters as much as the barrier itself.
Related: The Complete Guide to Insulating a School Bus Conversion
“Where is the vapor barrier? Hope for the owners that this will hold up without mold in cold or hot/humid weather.”
This question gets at the long-term durability concern, and it’s a fair one. I’ve seen enough “two years later” posts on forums to know that some bus builds hold up beautifully and some turn into mold disasters. The difference almost always comes down to how they handled moisture.
In cold weather, the metal roof of your bus gets cold. The warm air inside hits that cold surface and condensation forms. If there’s insulation between the metal and the drywall, and a vapor barrier on the warm side, condensation either doesn’t happen or it happens on the metal side where it can potentially drain or evaporate. Without that system in place, moisture ends up behind the drywall where you can’t see it.
Hot and humid weather is a different beast. In summer in the Southeast, the outside air is the warm moist air. If you’re running air conditioning inside the bus, now your interior surfaces are the cold side. The vapor drive is reversed — moisture wants to come IN from outside. This is where things get really confusing for people, because the “right” vapor barrier placement technically changes with the season.
Most experienced builders I’ve read about deal with this by not overthinking it. Use closed-cell spray foam on the ceiling. It handles both directions. It doesn’t care whether the moisture is pushing in or pushing out — it blocks it either way. If you can’t afford spray foam, use rigid board with all the seams sealed with canned spray foam, and then put your poly barrier on the interior side. It’s not perfect for the summer humidity scenario, but it handles the bigger threat, which is winter condensation.
One thing I picked up that I thought was really smart — a couple in Florida who did a full drywall interior in their bus started running a small dehumidifier whenever they were parked and plugged into shore power. They said they pulled nearly a gallon of water out of the air every day during summer. That’s a gallon of water that would otherwise be looking for somewhere to condense. Smart move, and it only costs a few cents in electricity.
The other thing that helps long-term is paint. Not just any paint — moisture-resistant or mold-resistant paint on the drywall. Kitchen and bath paint works. It adds another layer of protection between the humid air and the porous drywall surface. It’s a small detail that some people skip, and it matters more in a 250-square-foot bus than it does in a 2,000-square-foot house.
—
So can you use drywall on a bus ceiling? Yeah, you can. People do it all the time and it holds up fine if you do the work right. Frame it solid, screw it tight, insulate behind it properly, deal with the vapor barrier question, and make sure your enclosed spaces have airflow. The weight isn’t a dealbreaker. The vibration isn’t a dealbreaker. Moisture is the thing that’ll get you if you’re not paying attention. That’s really what the whole drywall debate comes down to — it’s not a structural question, it’s a moisture management question. Handle that, and you’ll have a clean, finished ceiling that looks like a real home and lasts for years on the road.
r5mmht