
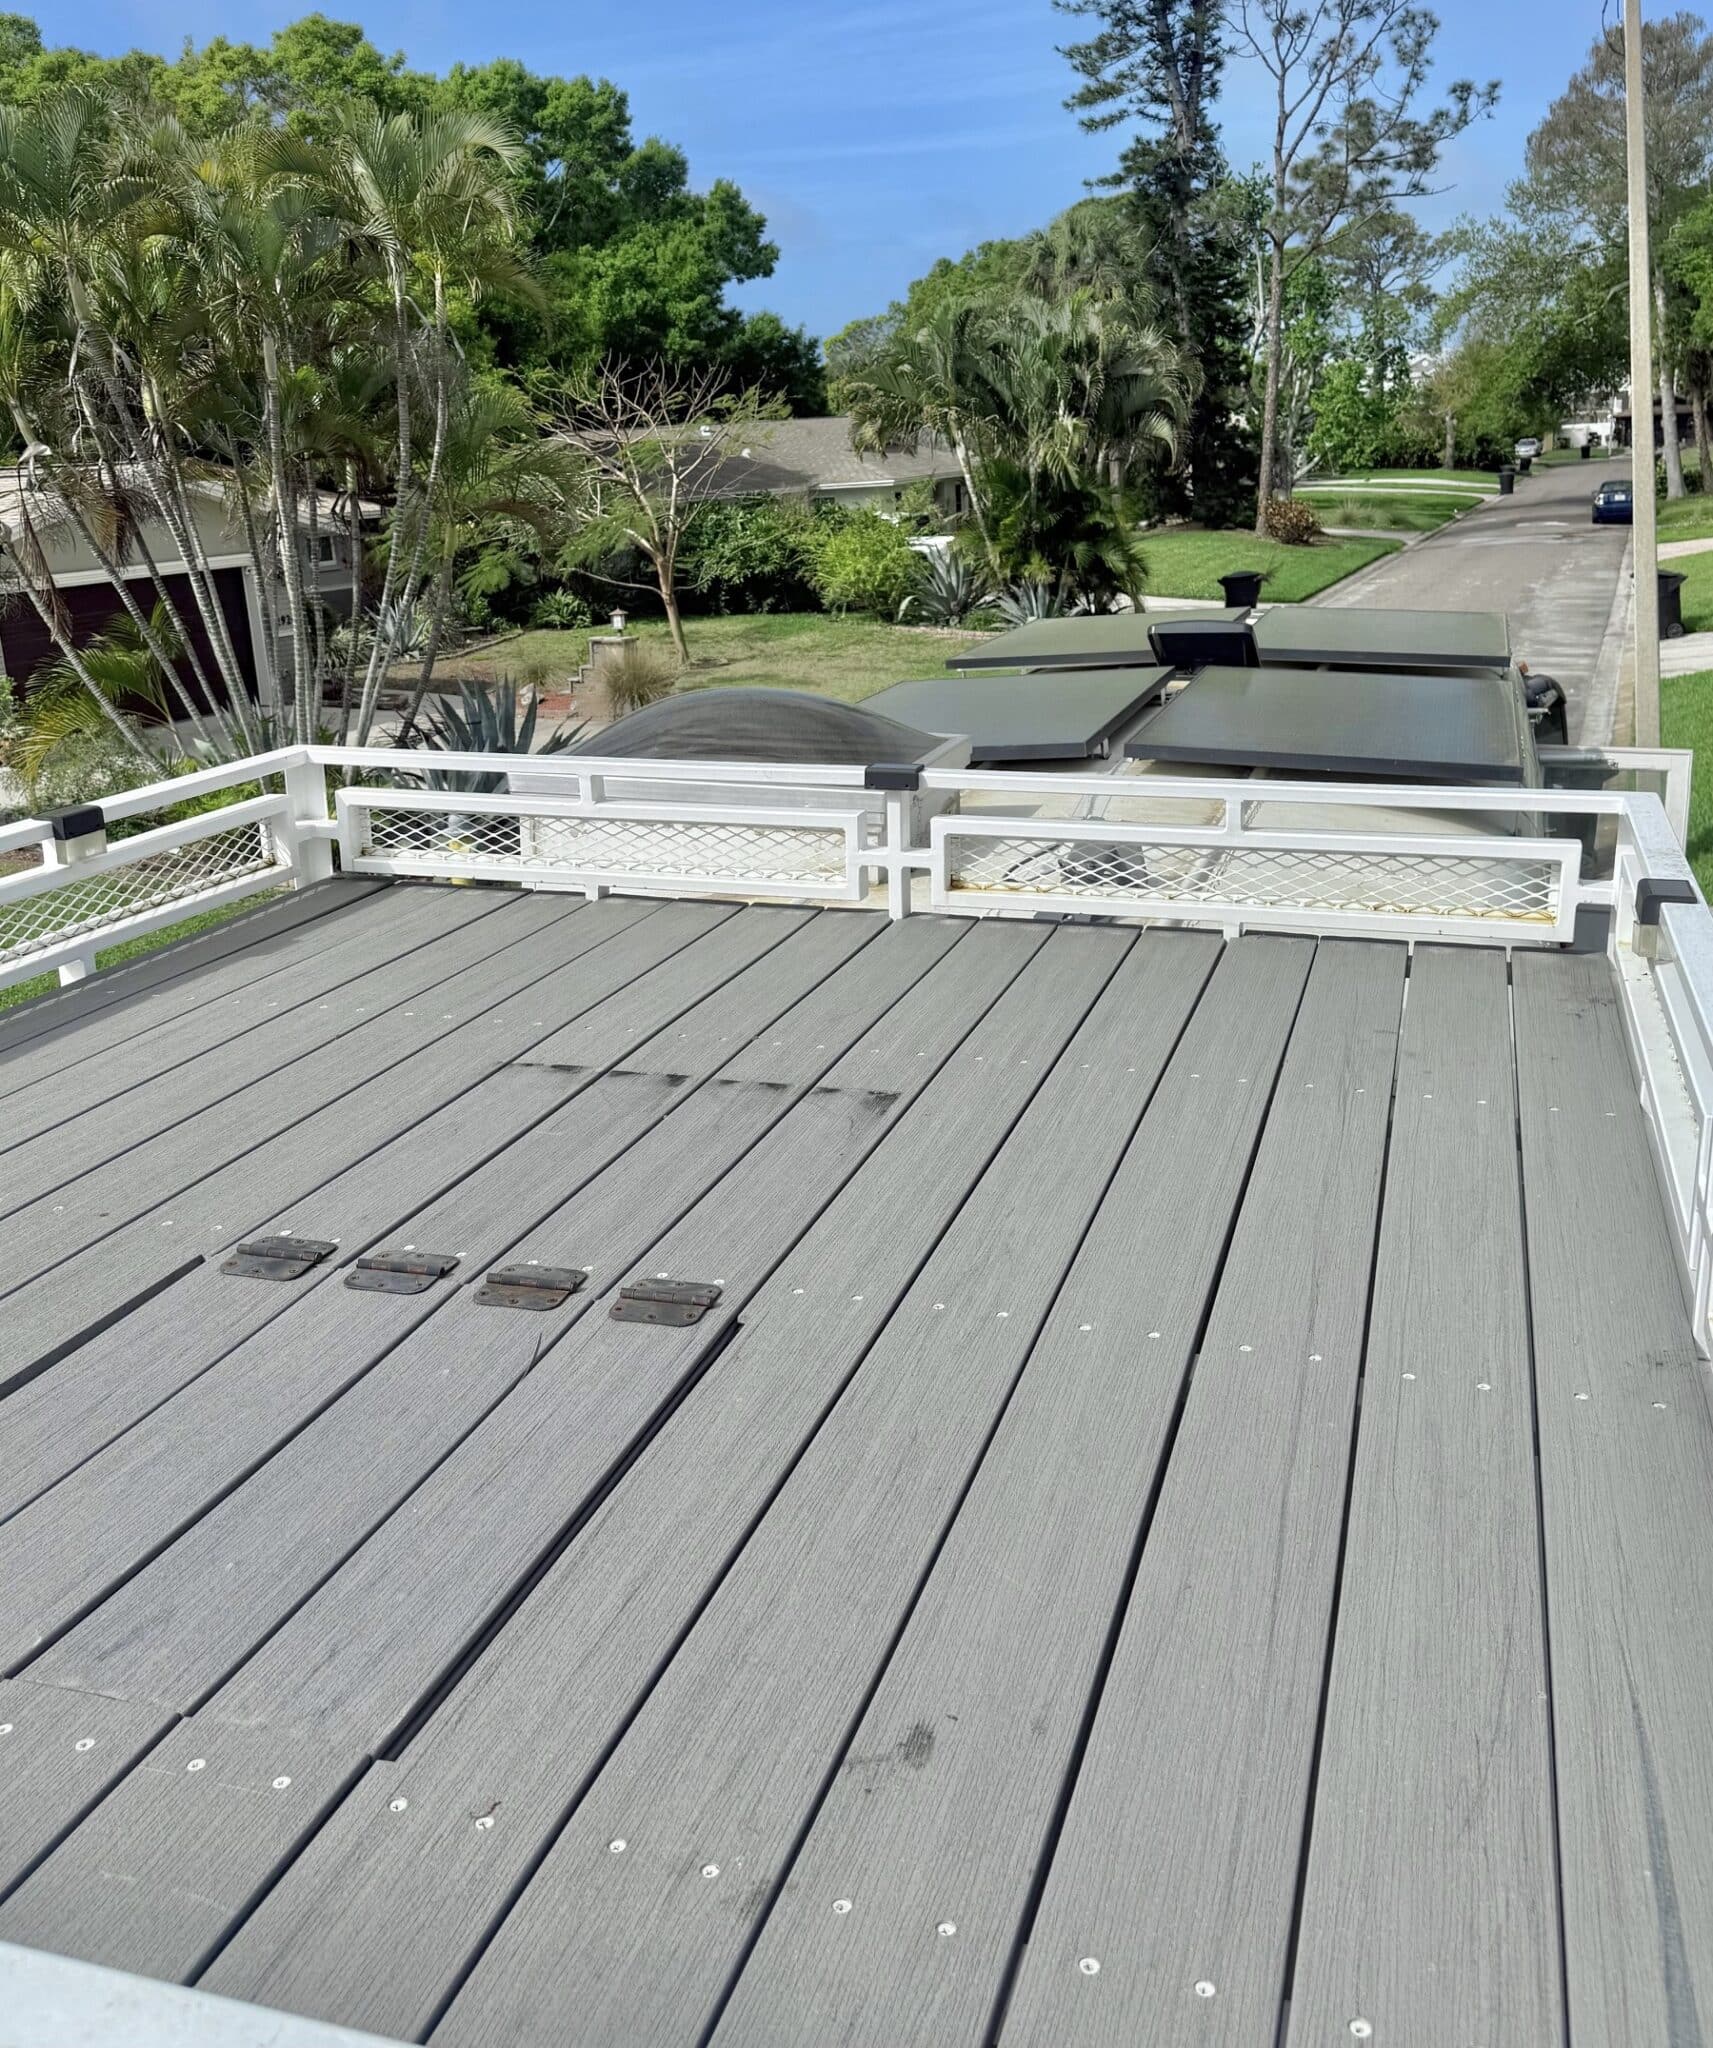
Flooring is one of those decisions that seems simple until you realize your house is going to be rolling down the highway at 60 mph. I spent way too long going back and forth on this one, and after digging through forum posts, talking to builders, and looking at what actually holds up after a year or two of full-time travel, I can tell you the options are more limited than you’d think.
The best flooring for most school bus conversions is luxury vinyl plank (LVP). It’s waterproof, lightweight, handles vibration and flex without cracking, looks great, and costs less than most alternatives. Vinyl sheet flooring is a close second for budget builds. Engineered hardwood can work if you’re careful. Laminate is risky around water. Rubber flooring is functional but limited in looks. And ceramic tile, while it technically can work, adds so much weight and complexity that it’s almost never worth it for a full floor.
Luxury Vinyl Plank (LVP)
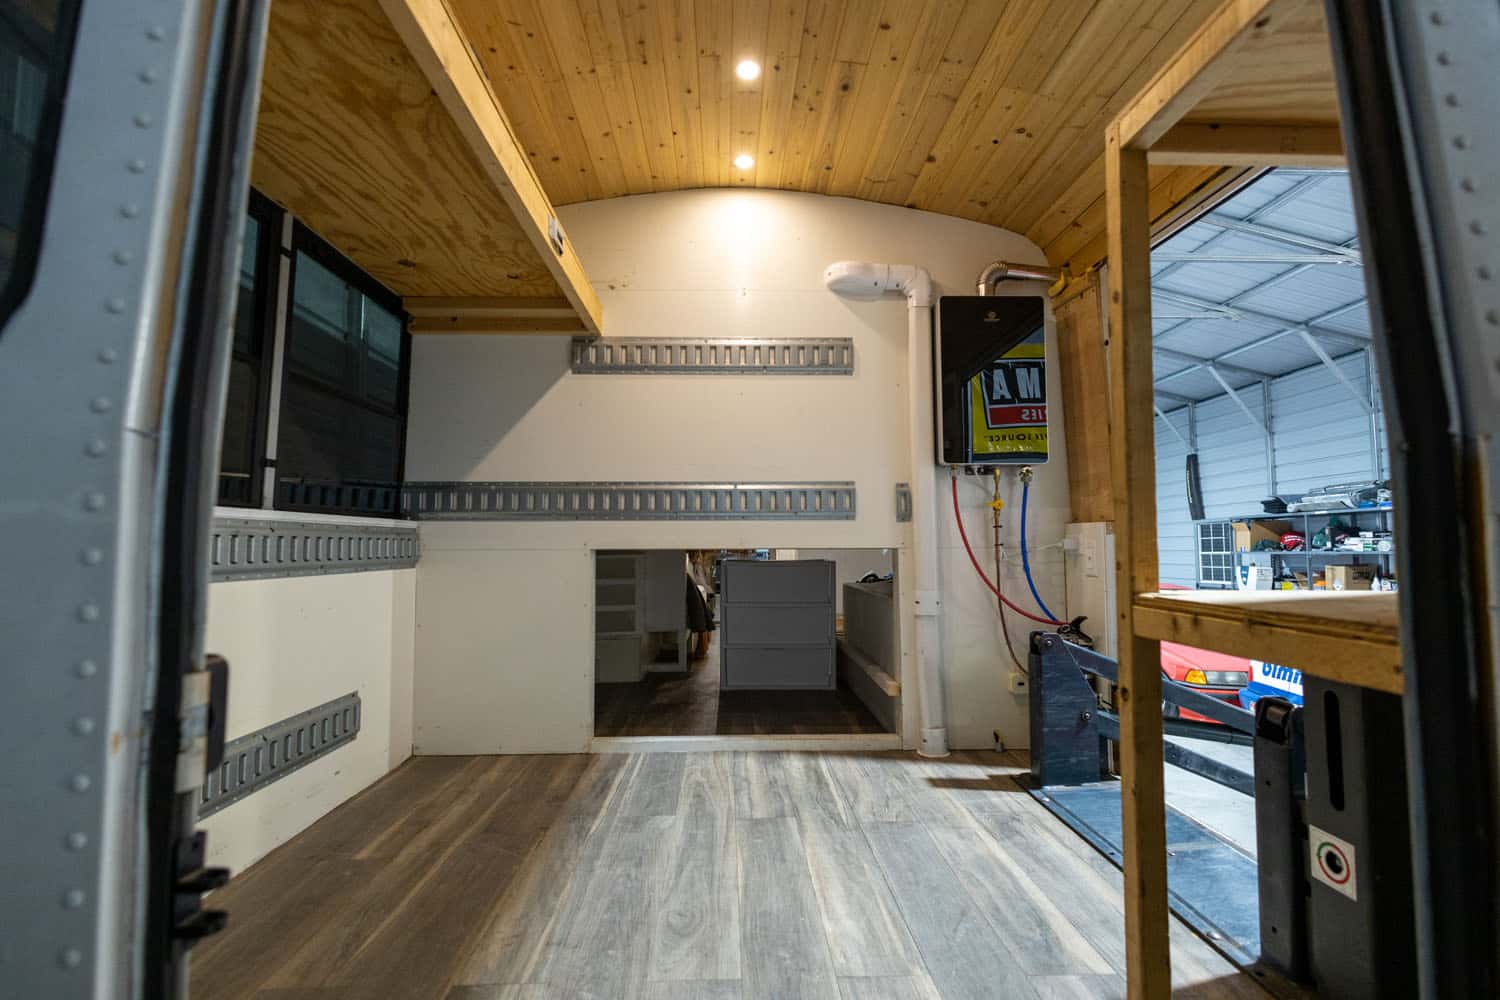
This is what probably 80 to 90 percent of skoolie builders end up going with, and honestly after looking into everything else, I understand why. LVP is engineered specifically to be waterproof, which matters a lot more in a bus than people realize. You’re dealing with tracked-in rain, spilled coffee, condensation dripping off windows in the morning, and if you’ve got a shower or kitchen anywhere near the floor (you do), water is going to find its way there eventually. (See our guide on 7 Skoolie Floor Plan Ideas for Every Bus Size for more on this.)
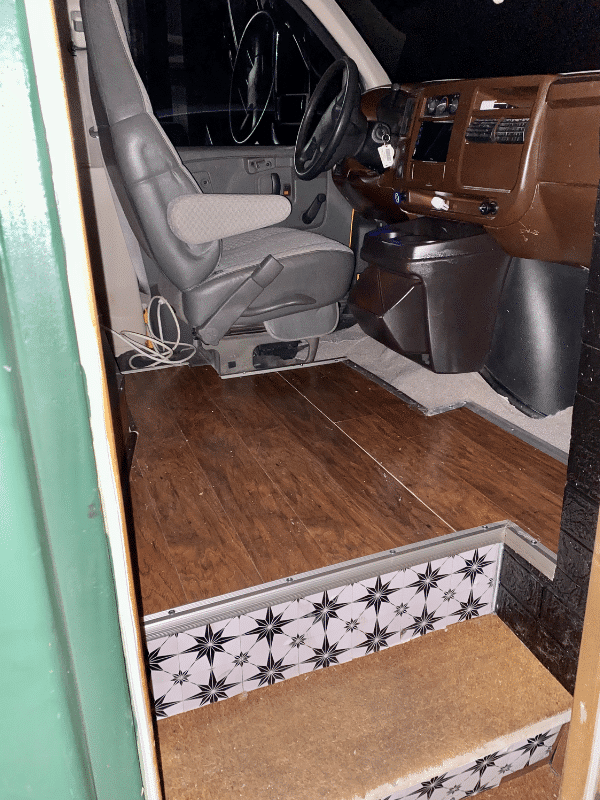
LVP clicks together with a tongue-and-groove system, which means it’s a floating floor. It doesn’t get glued or nailed to the subfloor. That’s actually a big deal in a bus because the metal frame underneath flexes slightly when you’re driving over rough roads. A floating floor absorbs that micro-movement without cracking or separating at the seams. I was reading a build thread where a couple had driven their bus from Texas to Alaska and back, roughly 10,000 miles of some pretty rough road, and their LVP looked the same as the day they installed it. (See our guide on How to Build a Skoolie Bathroom (Shower, Toilet, and Plumbing) for more on this.)
Weight-wise, LVP runs about 2 to 4 pounds per square foot. For a 200 square foot floor on a full-size bus, that’s 400 to 800 pounds including underlayment and subfloor. Compare that to tile at 5 to 8 pounds per square foot and you see why it matters. Every pound of flooring is a pound you can’t spend on water tanks, batteries, or your stuff.
Installation is easy too. I watched a guy on YouTube floor his entire 35-foot bus in a single afternoon. Cut it with a utility knife, snap it together, trim the edges. If a plank gets damaged later, you pull it up and replace just that one piece.
The look has come a long way too. Modern LVP comes in wood grain patterns that honestly fool people. I’ve seen bus tours where visitors assumed the floor was real hardwood until they were told otherwise. Oak, walnut, hickory, wide plank, narrow plank, whatever you’re going for. Price ranges from about $1.50 to $4 per square foot. I wouldn’t go bottom shelf though — the cheap stuff has thinner wear layers and the click locks don’t hold up as well with repeated flexing.
Vinyl Sheet Flooring
If LVP is the popular choice, sheet vinyl is the quiet workhorse nobody talks about. It comes in big rolls, usually 6 or 12 feet wide, which means on most buses you can cover the entire width with a single piece. No seams. No click joints. Just one continuous waterproof surface from wall to wall.
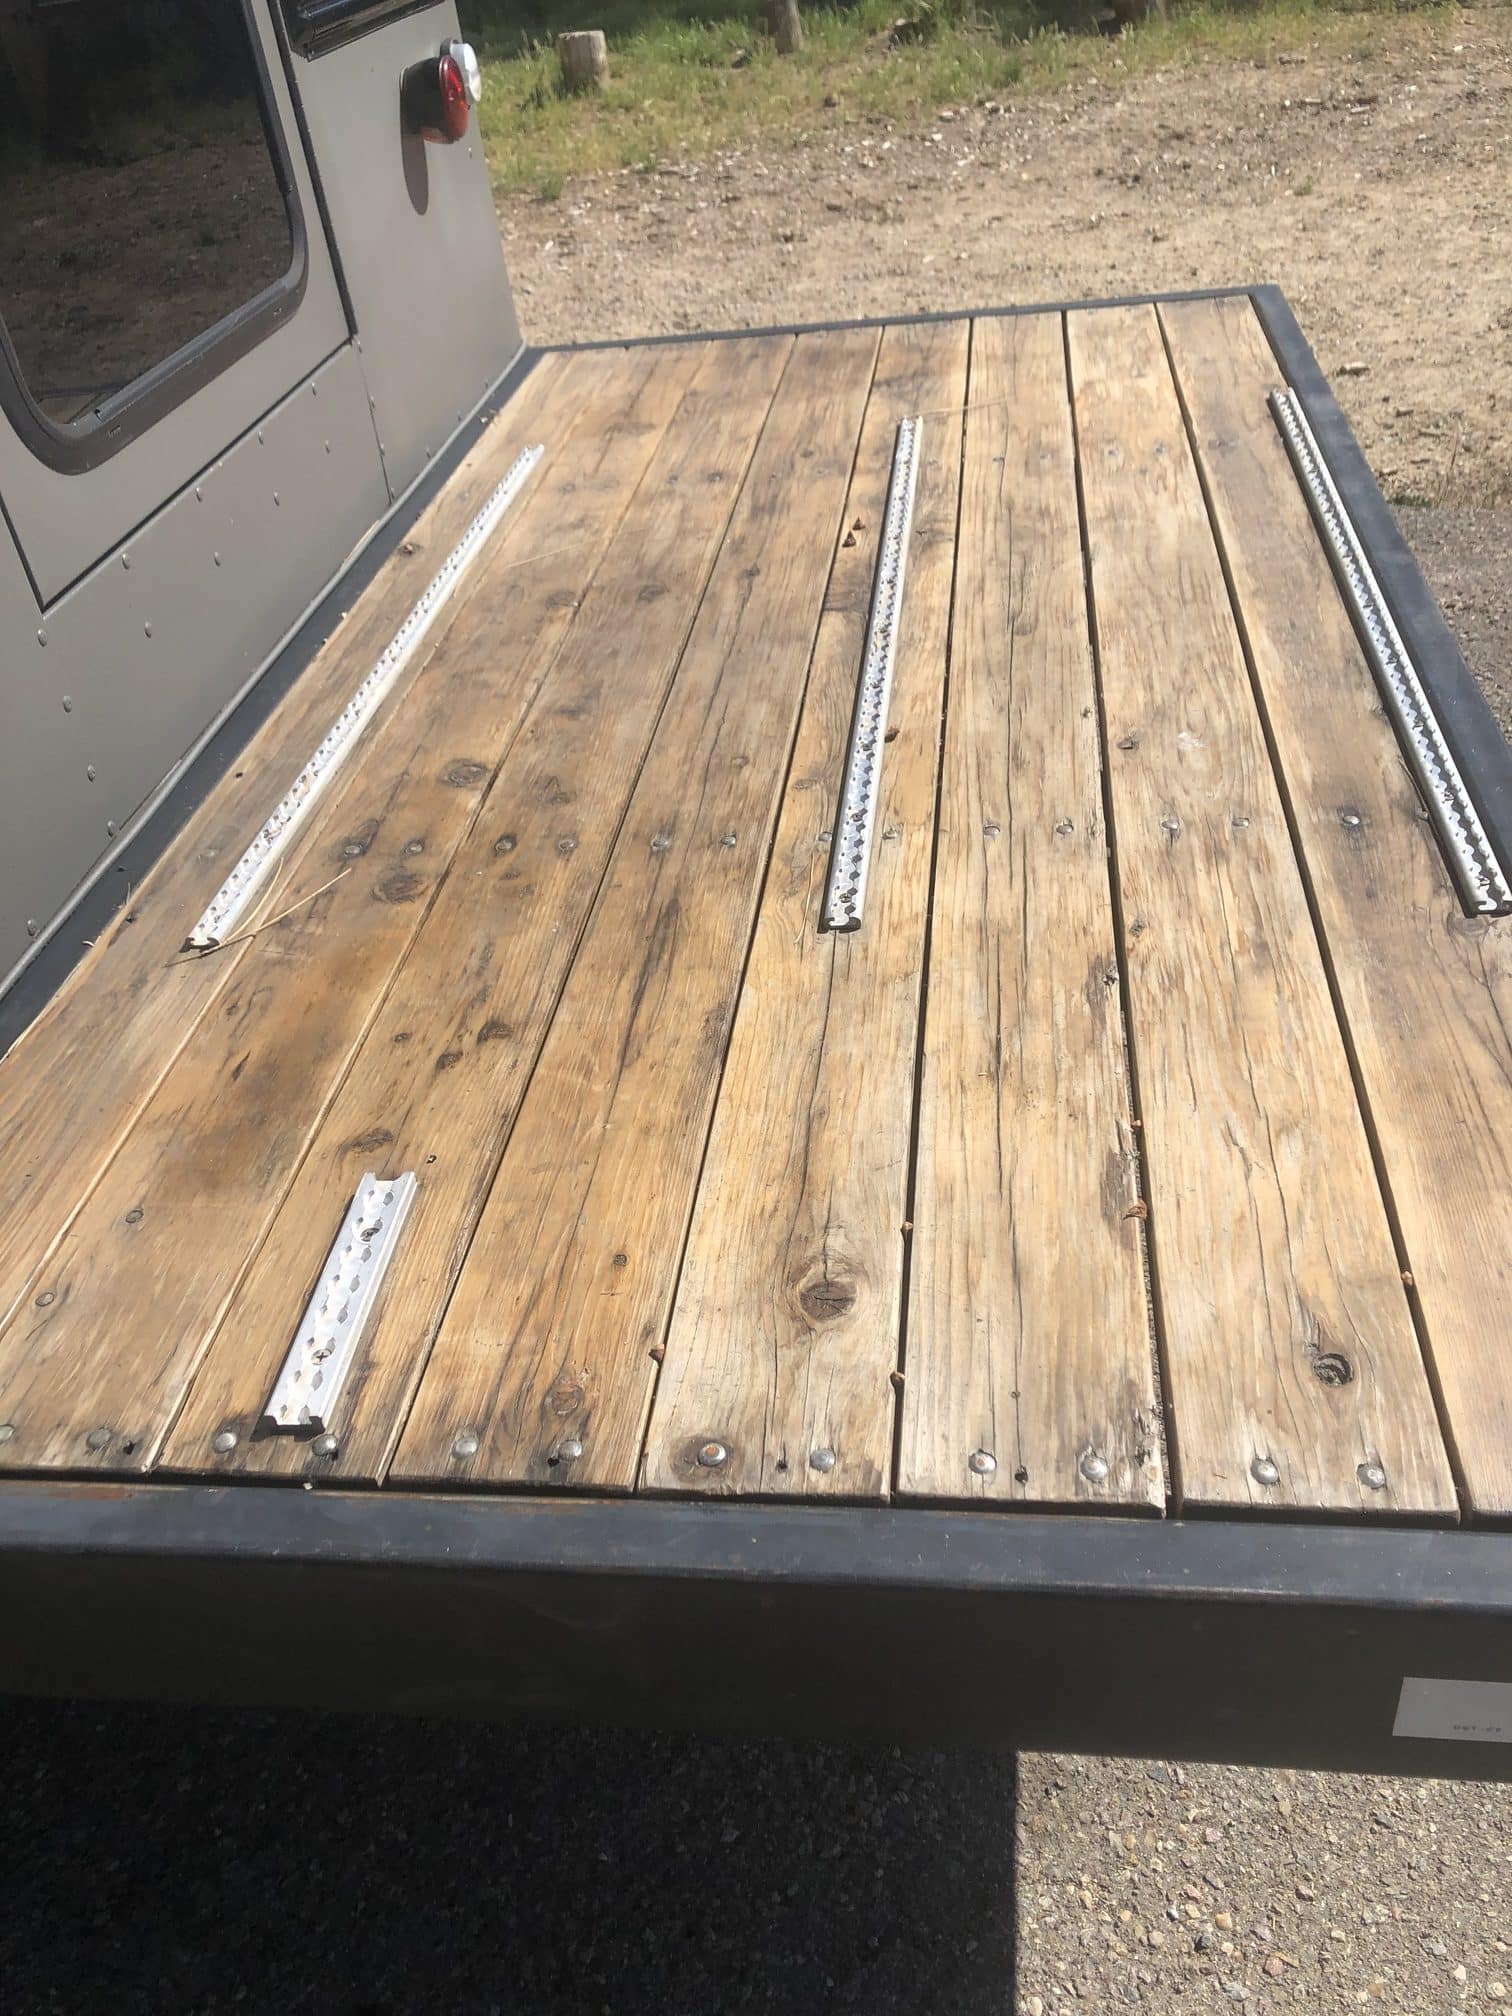
I talked to a builder at a meetup last year who swore by sheet vinyl. He said he’d tried LVP on his first bus and switched to sheet vinyl on his second. His reasoning was interesting — he said the click joints on LVP, even though they’re waterproof on the surface, can let water seep between the planks if something really spills and sits there. Sheet vinyl doesn’t have that problem because there are no seams running down the middle of your floor. He poured a full glass of water on his floor to demonstrate and just wiped it up. Nothing got underneath.
The downsides are real though. Sheet vinyl doesn’t look as good as LVP, at least not to most people’s eyes. It’s thinner, which means it shows imperfections in the subfloor. Screw heads that aren’t perfectly flush, a dip in your plywood — you’ll see it through the vinyl eventually. And cutting it to fit around cabinets and curved walls is trickier than snapping LVP planks together.
Weight is the real advantage. Sheet vinyl runs about 0.5 to 1.5 pounds per square foot. Almost nothing. For a builder already watching every pound because of water tanks and batteries and that cast iron woodstove they couldn’t resist, sheet vinyl lets you save weight where it doesn’t matter so you can spend it where it does. Cost is low too, usually $0.50 to $2 per square foot. You can floor an entire bus for under $200.
Engineered Hardwood
Now we’re getting into the territory where people start arguing. I kept seeing this question come up in different forms:
> “Just wondering how much amount of weight was added. RV materials are always lightweight. Tiles and real wood?”
So let me separate real hardwood from engineered hardwood, because they’re very different animals in a bus. Solid hardwood planks, the kind you’d put in a house, are a bad idea for a bus. Full stop. They expand and contract with humidity changes, they need to be nailed down, and they’re heavy. In a bus where you might wake up in the desert with 10% humidity and drive to the coast where it’s 80%, your solid hardwood floor is going to gap, buckle, and generally make your life miserable.
Engineered hardwood is a different thing. It’s a thin layer of real wood on top of a plywood or composite core, and the cross-grain construction makes it much more dimensionally stable. It handles humidity swings better, it’s lighter than solid hardwood, and it can be installed as a floating floor with click-lock joints, just like LVP.
That said, it’s not waterproof. Spill water on engineered hardwood and don’t clean it up, the edges will swell. The real wood veneer on top can be damaged by standing water. So if you go this route, you need to be vigilant about spills, and I’d keep it out of the kitchen and bathroom areas. Some builders do a hybrid thing — LVP in the wet areas, engineered hardwood in the living space and bedroom. That actually looks really good if you pick colors that complement each other. (See our guide on Can You Put a Bathroom in a School Bus? for more on this.)
Weight runs about 3 to 5 pounds per square foot, so heavier than LVP but lighter than tile. Cost is $3 to $7 per square foot. And the thing that bothers me about it in a bus — the veneer is only 2 to 4mm thick. You get maybe one refinish out of it. In a bus where you’re dragging gear across it and dogs are running around and sand gets tracked in from the beach, that wear layer takes a beating fast.
I think engineered hardwood can work. But LVP gives you 90% of the look with none of the water anxiety, and that trade-off makes sense for most people.
Laminate Flooring
Laminate gets a bad reputation in the bus world and I think that reputation is mostly deserved, but I want to be fair about it.
Laminate flooring is basically a high-density fiberboard core with a photographic image of wood (or stone or whatever) on top, covered by a clear wear layer. It clicks together like LVP. It’s cheap — often $0.75 to $2 per square foot. And it looks decent, especially the higher-end stuff.
The problem is water. That fiberboard core absorbs moisture like a sponge. Get water on a laminate seam and watch it swell over the next 24 hours. In a house where spills get cleaned up immediately and humidity stays relatively stable, laminate can last for years. In a bus where you’ve got condensation issues, a kitchen that occasionally splashes, and humidity that changes every time you drive to a new climate, laminate is living on borrowed time.
I found a few builders online who made laminate work, and the common thread was that they sealed every single seam with a waterproof sealant during installation. One guy said he applied a thin bead of silicone along every tongue before clicking the planks together. He said two years later, no swelling. But that’s a lot of extra work to make a cheap material perform like LVP, which already does it out of the box.
If budget is truly the deciding factor and you’re building a weekend camper that won’t see a ton of water, laminate can be fine. For full-time living, I’d spend the extra dollar per square foot and go with LVP. You’ll sleep better. Literally, because your floor won’t be slowly disintegrating under your bed.
Rubber Flooring
This one’s interesting because of where it shows up in the conversation. Someone asked a question that I think a lot of people wonder about:
> “I think I noticed in one of your other posts that showed you installing the floor right over the rubber flooring. I was thinking about pulling that up to cover holes and check rust.”
So let me address two things here — the original rubber flooring that comes with the bus, and new rubber flooring as an intentional choice.
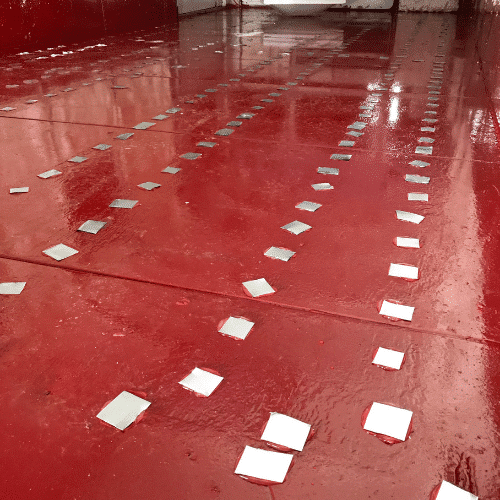
The rubber mat that comes in a school bus has been there for 15 to 20 years. It’s been trapping moisture underneath the entire time. You absolutely should pull it up and check for rust before you do anything else. I cannot stress this enough. I’ve seen photos from builders who left the original rubber in place and laid their new floor over it, and then a year later pulled everything up to find rust holes you could put your fist through. The rubber hides what’s happening underneath, and what’s happening underneath is not good. Pull it up. Treat the rust. Primer and paint the bare metal. Then move on to your subfloor and flooring.
Now, new rubber flooring as a choice. Interlocking rubber tiles or rubber rolls, the kind you see in gyms and commercial kitchens, are genuinely tough. They’re waterproof, they cushion your feet, they’re slip-resistant, and they last basically forever. Weight varies but it’s generally 1 to 3 pounds per square foot depending on thickness.
The downside is aesthetics. Rubber flooring looks like a gym floor. There’s no getting around that. A couple I met at a campground had rubber tiles throughout their entire bus. She was a yoga instructor and he was a mechanic, and they said the cushion on their feet was worth more than how it looked. They could stand on it all day without their knees hurting. Hard to argue with that.
Some builders use rubber strategically — entryway where dirty boots hit first, workshop area, or kitchen where you’re standing for long periods. Then LVP in the living areas. That hybrid approach gives you the best of both.
Related: Is a Propane or Electric Stove Better for a Skoolie?
Ceramic Tile (And Why You Probably Shouldn’t)
Alright, I saved this one for last because it needs context. I already wrote about tile in the shower tile article, and the short version there was that tile works fine in a bus if you install it correctly. But that was for a shower. A shower is maybe 12 square feet. A full bus floor is 150 to 250 square feet, and that changes the math significantly.
Someone asked this pretty directly:
> “are you guys not worried that your floor tile will crack while driving and hitting bumps?”
And the answer for tile floors is more complicated than for tile showers. A shower wall is a small, rigid section attached directly to bus framing. A floor spans the entire width and length of the bus, and the subfloor underneath has to bridge between steel cross members that are 12 to 24 inches apart. Any flex between those cross members puts stress on the tile. The bigger the floor area, the more potential flex points.
But here’s the real reason I’d steer most people away from tile floors. Weight. Ceramic tile with thinset and cement board runs 5 to 8 pounds per square foot. For a 200 square foot floor, that’s 1,000 to 1,600 pounds just for the floor. That’s the weight of a full 150-gallon water tank, or about half of a typical build’s entire weight budget. It’s an enormous amount of weight sitting as low as possible in the bus, which admittedly helps with center of gravity, but it eats into your GVWR allowance in a way that limits everything else. (See our guide on How to Build a Skoolie Kitchen That Actually Works for more on this.)
Another question that came up:
> “Why do the original floors have to be removed?”
This ties into the tile conversation perfectly. The original plywood subfloor in a school bus is typically 5/8 or 3/4 inch and it’s been soaking up moisture for two decades through that rubber mat we talked about. Delaminating, soft in spots, warped. If you tile over a compromised subfloor, the tile is going to crack no matter how good your technique is. Most builders rip out the old plywood and replace it with new 3/4 inch plywood screwed down to the steel frame, sometimes with cement board on top if they’re tiling.
I’ve seen tile floors in buses that look incredible and have held up fine. But those builders were meticulous — double-layer subfloor, flexible thinset, flexible grout, and they built light everywhere else to compensate for the floor weight. If that sounds like you, go for it. But for most people, LVP gives you a floor that looks almost as good, weighs a fraction as much, installs in an afternoon, and won’t punish you for a single imperfection in your subfloor.
—
So after digging into all of this, here’s where I ended up. LVP is the right answer for most bus builds. It checks every box — waterproof, lightweight, durable, easy to install, easy to repair, and it looks good. If you’re on a tight budget, sheet vinyl does the job for even less money. Engineered hardwood is a nice upgrade if you want real wood but you have to respect its limitations around water. Laminate is a gamble I wouldn’t take for full-time living. Rubber is underrated for high-use areas. And tile is a commitment most people shouldn’t make for a full floor.
Whatever you choose, don’t skip the prep work. Pull up that old rubber mat, treat the rust, lay a solid subfloor, and then put your flooring down on a foundation you can trust. The flooring itself is the easy part. What’s underneath it is what determines whether you’re still happy with your choice 20,000 miles from now.
7v5dm3
93nutq