
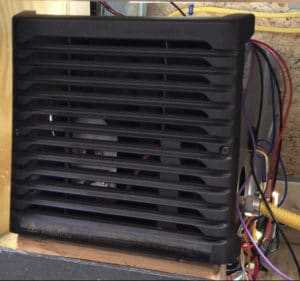
Heating a bus is one of those decisions that touches everything else in your build — your fuel system, your electrical setup, your insulation, your budget, all of it. And there are way more options than most people realize when they’re first getting into this.
After spending a ridiculous amount of time digging into heating options, here’s what I found. Diesel heaters are the most popular choice for good reason — efficient, they run on fuel you already carry, and they heat a bus fast. Propane furnaces are second most common and work great if you’re already running propane for cooking. Wood stoves look amazing but come with real tradeoffs. Mini splits can heat and cool but need serious electrical infrastructure. Electric space heaters are the simplest option on shore power. Radiant floor heating is a luxury upgrade some builders swear by. And your bus’s original heater might still work if you’re willing to run a coolant loop. The right choice depends on your climate, your power system, and how you plan to use the bus.
Diesel Heaters (Chinese Heaters and Webasto/Espar)
I’ll start here because this is what the majority of skoolie builders end up going with, and honestly after all my research I understand why.

Diesel heaters pull fuel from your bus’s diesel tank (or a separate small tank) and burn it to produce heat. They vent combustion exhaust outside through a small pipe, so the air inside stays clean. The heated air gets blown into the cabin through ducting.
There are two camps here and the community has strong opinions about both.
The Chinese diesel heaters — you’ll see them on Amazon and eBay for $100-$200 under various brand names, sometimes no brand at all — are basically clones of the more expensive units. They work. I’ve talked to builders who’ve run them for two, three winters without any problems. One guy I was chatting with in a skoolie forum said he bought a $130 unit off Amazon, installed it himself in an afternoon, and it heated his 35-foot bus down to about 10 degrees outside without breaking a sweat. That’s hard to argue with for $130.
But these cheap units can be hit or miss on quality control. Some run perfectly for years. Others throw error codes after a month, or the fuel pump gets loud, or the glow plug burns out. Replacement parts are cheap, but you’re doing your own troubleshooting.
Webasto and Espar are the name brands. Commercial trucks, ambulances, military vehicles — that’s where these come from. They cost $800-$1,500 for the unit alone, but the build quality is genuinely better. Quieter, more reliable, better temperature control, and actual customer support. A Webasto Airtop 2000 is probably the single most recommended heater in the skoolie community, period.
Fuel consumption is surprisingly low. Most diesel air heaters burn about 0.03 to 0.1 gallons per hour depending on the setting. Even running one all night, you’re using maybe half a gallon of diesel. Over a whole winter month, that’s $60-$150 in fuel. Installation is straightforward too — mount the unit under the bus, run a fuel line to the tank, run exhaust and intake pipes through the floor, wire it to 12V. It draws 10-30 watts while running, which is nothing. Most people can install one in a weekend. (See our guide on Skoolie vs RV: Which One Should You Buy? for more on this.)
Propane Furnaces
If you’re already running propane for your cooktop or water heater, adding a propane furnace makes a lot of sense because the infrastructure is already there. Tank, regulator, gas lines — just add another appliance to the existing system. (See our guide on Is a Propane or Electric Stove Better for a Skoolie? for more on this.)
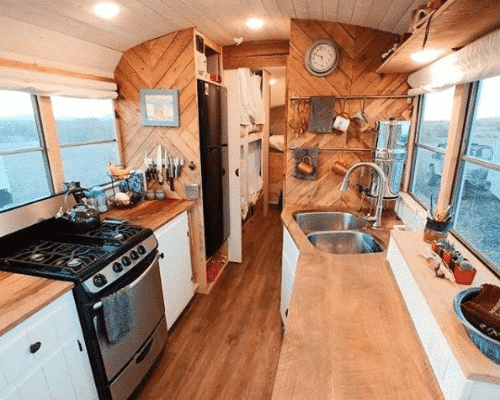
The most common propane furnaces in skoolies are RV furnaces from Suburban and Atwood. Forced-air, meaning a blower fan pushes heated air through ducts. A 30,000 BTU unit heats a full-size bus no problem. Cost is $400-$800 for the furnace.
Where propane gets tricky is consumption. A furnace on a cold night can go through a 20-pound tank in two to three days. That’s maybe $40-$90 a month during heavy use. Not terrible, but noticeably more than diesel. And propane furnaces are loud. That blower fan kicks on at 3 AM cycling to maintain temperature and it’ll wake you up if you’re any kind of light sleeper.
Mr. Buddy heaters come up a lot too, and I need to be straight about those. They’re cheap ($80-$150), work immediately, no installation, and throw serious heat. But they’re unvented — burning propane inside your living space without exhausting combustion gases outside. That means carbon monoxide and moisture. You absolutely need a CO detector, and you’ll wake up to wet windows every morning. I’ve seen people run them full-time and I’ve seen people in the community strongly advise against it. A vented furnace or diesel heater is the safer long-term call.
Wood Stoves and Pellet Stoves
Alright, I have to admit something. When I first started looking into bus conversions, the wood stove builds were the ones that got me. There’s something about a tiny wood stove in a bus with the pipe going out through the roof that just looks right. It’s cozy in a way that no diesel heater will ever be.

And they work. A small marine or tent wood stove — brands like Cubic Mini, Dwarf, or Dickinson — fits in a bus beautifully. They’re designed for small spaces. A Cubic Mini Grizzly is about a foot cube and puts out enough heat to warm a full-size bus in moderate cold. They burn real wood, and some models can burn pellets or compressed logs too. Cost is $400-$800 for the stove itself, plus another $200-$400 for the chimney pipe, heat shields, and roof penetration.
But the tradeoffs are real and I’d be doing you a disservice to skip them.
Fire risk — you’re putting a box of fire inside a vehicle. Heat shields, proper clearances, a properly installed chimney with roof flashing, all of it has to be done right. Insurance is the other big one. Many companies won’t touch a bus with a wood stove. Some specialty RV insurers will, but your options narrow and premiums go up.
And you can’t leave it running overnight and expect it to still be going when you wake up. A Cubic Mini burns through a load of wood in two to four hours. So you either wake up to feed it or wake up to a cold bus at 5 AM. A lot of people combine a wood stove for evening coziness with a diesel heater on a thermostat for overnight, which is actually a really smart setup.
Pellet stoves are the more automated option — a hopper feeds pellets automatically, so they can run 12-24 hours unattended. But they need electricity, they’re heavier, and they run $1,000-$2,500. Not many bus builds use them, but the ones that do seem happy.
Mini Split Heat Pumps
Mini splits keep coming up more and more in skoolie builds, and for good reason. A mini split both heats and cools, which means one system handles all your climate control year-round. That’s a big deal when you’re trying to keep things simple in a small space.

A heat pump moves heat rather than creating it, which makes them incredibly efficient. For every watt of electricity they use, they produce 2-3 watts of heat. The units most skoolie builders install are 9,000 or 12,000 BTU models, costing $700-$1,500 for the unit. Installation is the tricky part — indoor head unit, outdoor condenser mounted on the roof or back of the bus, refrigerant lines connecting them. If you’re not certified to handle refrigerants, a technician adds $500-$1,000.
Here’s the thing most people don’t mention up front. Mini splits need electricity. Running one in heat mode pulls 500-1,500 watts. That means a serious inverter, a hefty lithium battery bank (400Ah+), and enough solar to replenish what you use. On shore power it costs almost nothing. Off-grid, it’s a whole infrastructure conversation. (See our guide on What’s the Difference Between Front Engine and Rear Engine Buses? for more on this.)
The other limitation is temperature. Most standard mini splits start struggling below 25-30°F and basically stop producing useful heat below about 5°F. Cold-climate models (Mitsubishi Hyper Heat, for example) are rated down to -13°F, but they’re pricier. I was watching a build tour from a couple who wintered in Tennessee with just a mini split and they said it handled everything down to the mid-20s before it started struggling. They ended up adding a small diesel heater as backup. That hybrid approach comes up again and again.
Electric Space Heaters
This is the simplest option on the list, and it’s the one nobody wants to write about because it’s not exciting. But for a lot of people, especially those who park in one spot with shore power most of the time, a plug-in electric space heater just works.
A ceramic space heater costs $30-$60. Plug it in, turn it on, bus gets warm. No installation, no fuel lines, no chimney. They pull 750-1,500 watts on a standard 120V outlet.
The catch is power. Running a space heater off-grid would drain a 200Ah lithium battery in roughly two hours. So this is really only practical on shore power — campgrounds, someone’s property with a hookup, that sort of thing.
Someone asked “I just want to know isn’t the gas expensive on a short bus and what does someone do in freezing temps living in it.” Honestly, if you’ve got a short bus parked on a friend’s property with a 30-amp hookup, a $40 space heater through winter might be the cheapest option there is. Electricity runs $30-$60 a month for heating. The problem is the minute you unplug and hit the road, that heater is useless. (See our guide on Is a Short Bus or Full-Size Bus Better for a Conversion? for more on this.)
A lot of people carry one as a supplement — plugging it in when they’ve got hookups and switching to diesel or propane when boondocking. Oil-filled radiator heaters are the preferred type for bus living because they’re quiet, they don’t dry out the air, and they’re safer to leave running while you sleep. A DeLonghi oil-filled radiator for $50-$70 is solid if shore power is your primary situation.
Radiant Floor Heating
This one surprised me when I first came across it in a build thread. Radiant floor heating in a bus? Seems excessive. But the more I looked into it, the more I understood the appeal.
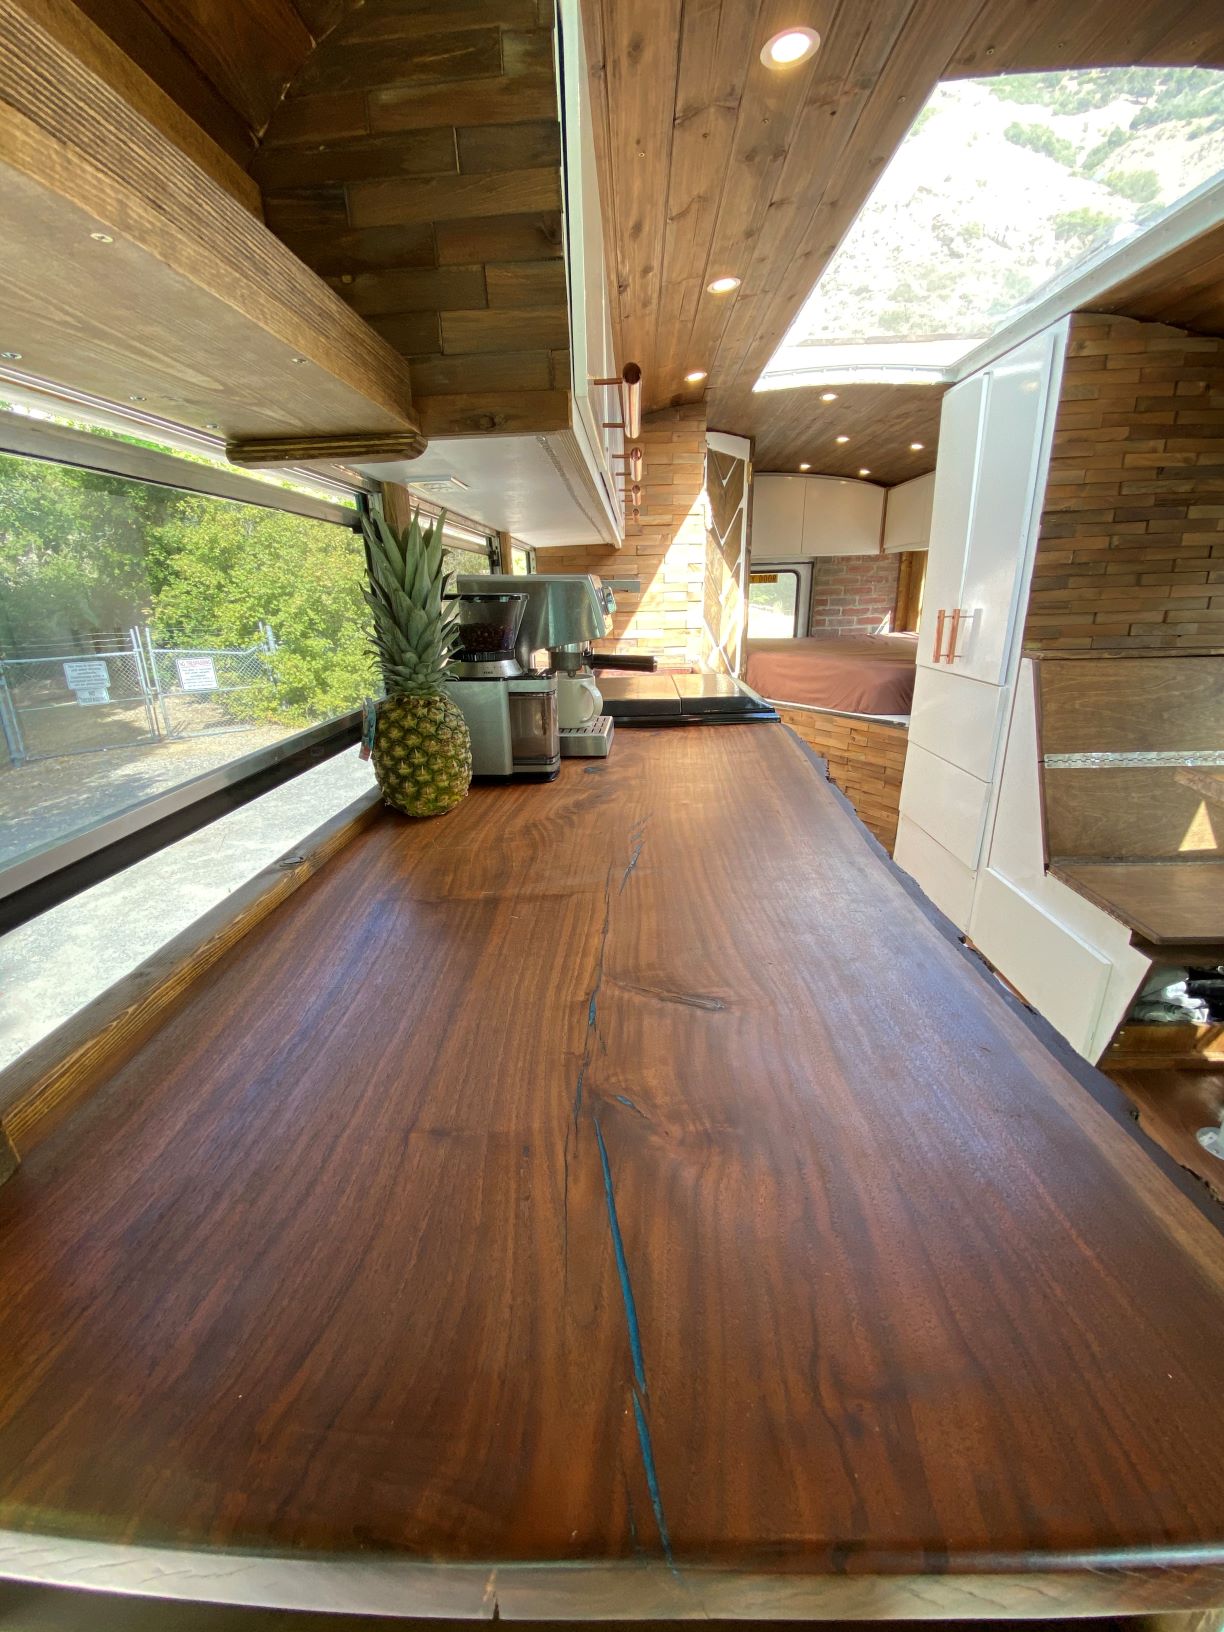
The basic concept is PEX tubing run underneath your floor surface, with hot water or a glycol mixture circulating through it. The heat radiates up through your floor, warming the space from the bottom up. Your feet are warm. The floor is warm. Heat rises naturally so the whole bus stays comfortable. No forced air, no noise, no blowing dust around.
Most bus builds that do this use a hydronic system — a small water heater (propane tankless or diesel-fired) heats fluid that circulates through the floor tubing. You can tie it into your existing water heating setup if you plan it right. Electric radiant floor mats exist too, but they pull a lot of electricity, same problem as space heaters.
Cost is roughly $500-$1,500 depending on how fancy you get. You need to plan for it early though, because the tubing goes in before your subfloor and finished flooring. Retrofitting into an existing build means tearing up your floor.
I talked to a couple at a skoolie meetup who had radiant floor heating in their 40-foot bus and they were almost evangelical about it. Their system ran off a small diesel-fired boiler that also heated their domestic hot water, so one appliance handled two jobs. Floor stayed at 75 degrees even when it was freezing outside. Total cost was about $1,200.
The downside is complexity and speed. More plumbing, more potential leak points, and it heats slowly. Come home to a cold bus and you’re waiting 30-45 minutes before things feel warm. A diesel air heater would have it toasty in 10 minutes. That’s why most people who do radiant floors also keep a diesel heater for quick warm-up and let the floor system maintain temperature.
Related: What Is the Difference Between a School Bus and a Transit Bus?
Using the Bus’s Original Heater
Someone in the comments of a bus tour video mentioned having “a 2006 Bluebird Vision handy bus with twin air-conditioning units and rear heater that gets its heat from engine antifreeze.” That’s actually a really common setup on school buses, and it raises an interesting question. Can you just keep using the bus’s built-in heating system?
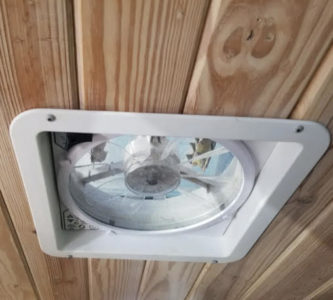
The short answer is yes, with a big caveat.
Most school bus heaters are coolant-based. The engine heats the coolant, and that hot coolant gets routed through a heater core inside the bus, with a fan blowing air across it. As long as the engine is running and warm, you get free heat.
The caveat is obvious. The engine has to be running. Idling a diesel engine just for heat burns 0.5-1.0 gallons per hour, it’s noisy, and it’s terrible for the engine long-term. Diesel engines are designed to run under load, and extended idling causes carbon buildup and premature wear.
But here’s where it gets clever. Some builders install a coolant loop heater — a small diesel or propane-fired burner that heats the engine coolant independently of the engine. Webasto and Espar make these (different from their air heaters) and they plumb right into your existing coolant system. The heater fires up, circulates hot coolant through the same heater cores the engine would supply, and you get the bus’s original heating working without the engine running. Bonus — it keeps your engine warm too, which answers that question people keep asking about how to keep the engine warm during sub-freezing temperatures. One system, two jobs. Cost is $800-$1,500 plus installation.
Those original heater cores were designed to heat 72 passengers. They’re massively oversized for 2-4 people. I’ve heard from builders who kept their rear heater core, connected it to a diesel coolant heater, and said it was almost too much. Had to run the blower on low. If your bus still has the original heater cores and ducting intact, don’t rip them out without considering whether a coolant heater could put them back to work.
—
So after going through all of this, here’s where I landed. For most people building their first skoolie, a diesel air heater is the right primary heat source. The cheap Chinese ones work for budget builds, a Webasto or Espar is the buy-it-once option. Add a space heater or Mr. Buddy as backup and you’re covered.
If you’re stationary and plugged in a lot, a mini split handles heating and cooling in one system. If you’re in genuinely cold climates, a diesel heater with a wood stove for ambiance is a combination I keep seeing in the happiest winter builds. And if the original bus heater system is still intact, don’t rip it out before considering whether a coolant heater could give it new life.
People are living comfortably in buses through northern winters right now. The small space actually helps — you’re heating 200 square feet instead of 1,500. Make sure your insulation is solid first, pick a primary heat source, have a backup plan, and you’ll be fine.
8guh8s