
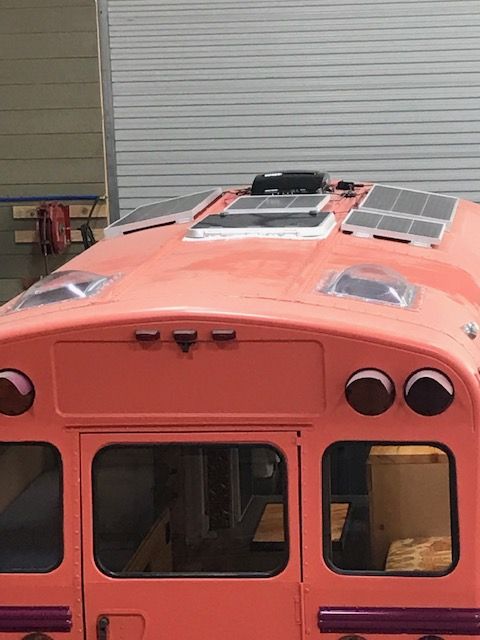
Every time someone posts a finished bus build online, the comments are predictable. “How much did this cost?” “This is fantastic design but how in the world did you afford it?” And my personal favorite, just the blunt version: “what price you need to be prepared to build one?” People see beautiful conversions and assume there’s a secret bank account somewhere making it all possible. (See our guide on How Much Does It Cost to Convert a Bus Into a Home? for more on this.)
There isn’t. Most bus conversions are built on tight budgets by normal people with normal incomes. The average mid-range build runs $20,000 to $35,000 total, but budget builds come in well under $15,000, and some people have pulled it off for under $10,000. The trick isn’t having more money. It’s being strategic about where the money goes, being willing to do the work yourself, and having the patience to build over time instead of all at once. What follows are seven approaches that actually work, based on what I’ve seen from people who made it happen without a pile of cash sitting around.
Buy a Cheaper Bus (What You’re Really Paying For)
I spent way too long looking at buses before I finally understood something. The bus itself is the smallest part of the total cost, but it’s also the part that determines everything else. Buy a bus with a bad engine and you’re going to spend $5,000 to $8,000 fixing it before you even pick up a drill. Buy the right bus and you might not touch the mechanical side for years.

Government auctions are where the deals are. GovDeals, PublicSurplus, and local school district auctions regularly move buses for $1,500 to $4,000. I’ve seen running buses go for under $2,000 at district auctions where there were only three or four bidders. The key is buying from districts that actually maintained their fleet. A bus with 150,000 miles that had regular oil changes and new brakes last year is worth more than a bus with 80,000 miles that sat in a field for three years. And short buses are cheaper across the board — less to buy, less to insure, less to convert. (See our guide on Is a Skoolie Cheaper Than Buying an RV? for more on this.)
Here’s what you’re really paying for when you buy a bus. Not the body or the seats or how it looks. You’re paying for the engine, the transmission, and the frame. Everything else gets ripped out during the conversion anyway. I talked to a mechanic in Georgia who works on school buses, and he put it this way — “if the engine runs clean and the tranny shifts smooth, buy it. Everything else is just sheet metal.” (See our guide on Can You Finance a School Bus Conversion? for more on this.)
Use Reclaimed and Salvaged Materials
This was the single biggest money saver I found when looking into how people keep costs down. Lumber, hardware, fixtures, appliances, even windows — all of it can be sourced used for a fraction of retail price.

Habitat for Humanity ReStores are goldmines. I walked into one about a year ago just to see what they had, and there were solid wood kitchen cabinets for $40 that would’ve been $300+ new. Butcher block countertops for $25. A stainless steel farmhouse sink for $30. Not everything they carry works for a bus build, but enough of it does that you could furnish a whole kitchen for under $200 if you’re patient.
Facebook Marketplace and Craigslist free sections are the other big ones. People give away lumber from deck teardowns, leftover tile from bathroom renovations, appliances that still work fine but don’t match their new kitchen. One builder I read about got all his tongue-and-groove pine ceiling from a guy who was remodeling his lake cabin. Free. Just had to come pick it up.
And honestly, a polite conversation with a job foreman at a construction site about their scrap pile has resulted in a lot of free material for a lot of bus builders. Cut-offs, partial sheets of plywood, leftover insulation. Stuff that’s heading to a landfill anyway.
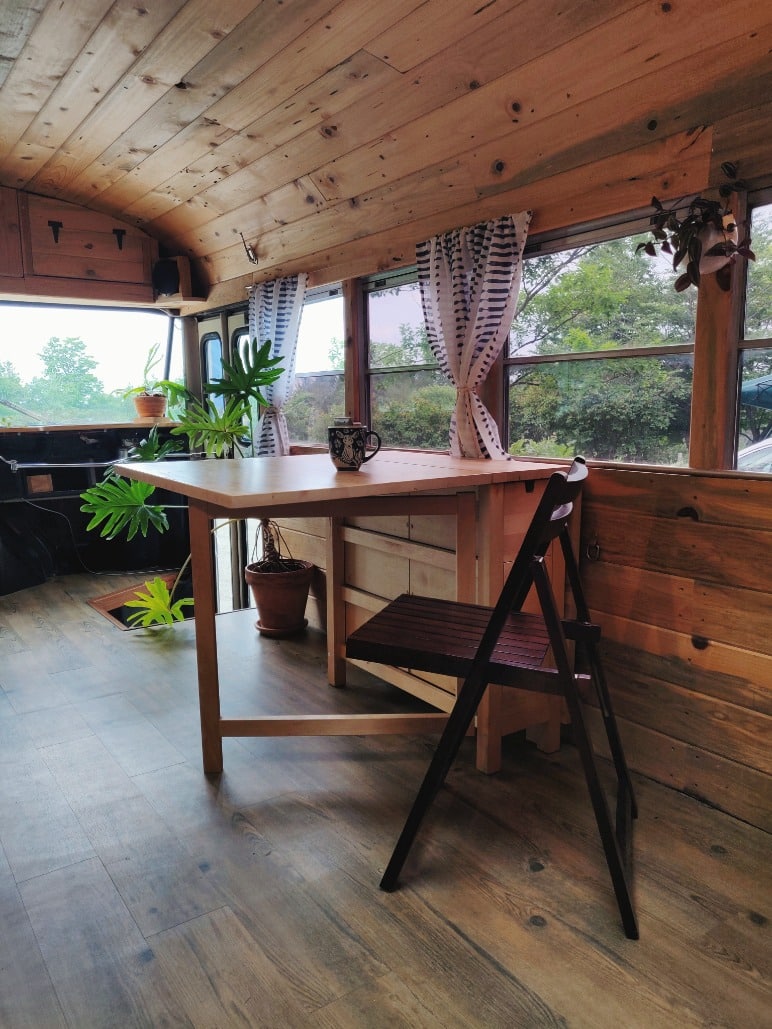
The thing about salvaged materials is they add character too. Some of the most impressive bus interiors I’ve seen were built almost entirely from secondhand materials, and they look more intentional than the ones where everything came shrink-wrapped from a big box store. (See our guide on Where Do You Buy a School Bus for Conversion? for more on this.)
Do the Work Yourself (And Learn as You Go)
“Did you have jobs while doing this or was it part time after work and weekends?” That’s one of the most common questions people ask when they see a finished build, and I think it reveals an assumption that you need to be a professional tradesperson to pull this off. You don’t.

The vast majority of bus builds are done by people who had zero construction experience before they started. I mean literally zero. Never framed a wall. Never wired an outlet. They learned everything from YouTube, forums, and just figuring it out as they went.
Now I want to be careful here because I’m not saying you should wing your electrical system or guess your way through propane plumbing. Those can kill you if done wrong. But framing walls, installing insulation, laying flooring, building cabinets, and most of the finish work in a bus conversion can absolutely be learned by someone with no background. The information is free and the learning curve is real but not as steep as people make it sound. (See our guide on Should You Buy a Gas or Diesel School Bus? for more on this.)
When I was researching this topic, I came across a woman in Oregon who’d built her entire short bus conversion by herself over about eight months. She was a middle school teacher. No construction experience whatsoever. She told me the hardest part wasn’t the building itself, it was getting over the mental block of thinking she couldn’t do it. Once she framed her first wall and it was actually straight, everything after that felt possible.
Labor is the most expensive part of any construction project. Hiring out a full bus build can easily add $15,000 to $30,000 on top of materials. When you do it yourself, that drops to zero. And the knowledge stays with you — when something breaks on the road three years later, you know how to fix it because you built it.
For the stuff that’s genuinely dangerous — electrical panels, propane systems, gas lines — get it inspected by a professional even if you do the install yourself. A $200 inspection is cheap insurance against a fire.
Build in Phases Instead of All at Once
This is the one that changed how I thought about the whole process. You don’t have to finish the bus before you move into it. You don’t even have to finish it before you start using it.

Phase building means you do the essential stuff first and everything else comes later, sometimes months later, sometimes a year later. Phase one is the shell — insulation, subfloor, walls, ceiling. That might cost $1,500 to $3,000 in materials. Phase two is electrical and lighting, maybe another $1,000 to $2,000 depending on your solar setup. Phase three is the bed and basic living area. Phase four is the kitchen. Phase five is plumbing and the bathroom.
Each phase gets funded by the next paycheck, the next bit of savings, the next side hustle payout. You’re never staring at a $25,000 number wondering how you’ll make it work. You’re looking at $800 for this month’s project and figuring out where that comes from.
I’ve talked to several people who were living in their bus before the kitchen was done. They used a camp stove and a cooler for two months while they saved up for the fridge and the counter build. Was it glamorous? No. But they were already out of their apartment, already not paying rent, and that freed up money to keep building. One guy told me he figured out that every month of rent he wasn’t paying was basically a free phase of the build. His $1,400/month apartment became $1,400/month in bus conversion materials. The math worked itself out within about six months.
There’s a psychological benefit too. When you’re looking at one small project instead of an entire house-on-wheels, it doesn’t feel overwhelming. You just need to finish the floor this weekend. That’s it. Next weekend is the walls.
Skip the Luxury Stuff (At Least at First)
Alright, this is where I’m probably going to annoy some people, but I’ve seen too many builds stall out because someone insisted on having butcher block countertops, a tile backsplash, custom cabinetry, and a rainfall showerhead before they’d even consider calling it done.

Here’s a list of things that look amazing on Instagram but cost a fortune and aren’t necessary for a livable bus. Cedar plank ceilings. Custom welded furniture. Residential-style tile work. High-end composting toilets (the $1,000+ ones). Large lithium battery banks. Premium faucets and fixtures. Decorative lighting rigs. Motorized anything.
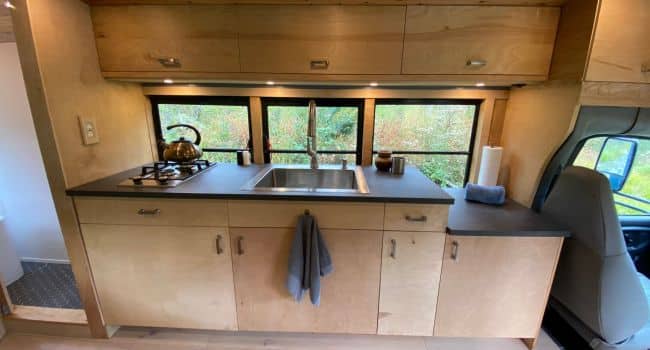
And here’s what you actually need to live comfortably. Insulation that works. A bed. A way to cook food. A way to store food. Lighting. Some form of electrical power, even if it’s a basic setup. A way to deal with human waste, and that can be a $70 bucket toilet with a snap-on seat and some sawdust. Not sexy. Totally functional.
I found a build breakdown from a couple in Arizona who finished their full-size bus for $8,200. Their countertop was a piece of butcher block from a ReStore for $25. Their toilet was a five-gallon bucket system. Their electrical was a single 100-watt solar panel, a used battery from a golf cart place, and a cheap inverter. They cooked on a two-burner camp stove. And you know what? They lived in it full-time for over a year before they upgraded anything. When they eventually did add a proper composting toilet and a bigger solar setup, they paid for it with money they’d saved by not paying rent.
The luxury stuff will still be there in six months. You can always upgrade later. But you can’t upgrade if you never finish the build because you ran out of money trying to make it perfect on the first pass.
Sell What You Own Before You Start
This one sounds obvious but most people don’t do it strategically, and the difference between selling stuff casually and selling stuff with intention is thousands of dollars.
When you move into a bus, you’re going from a house or apartment’s worth of stuff down to maybe 200 square feet of storage. That means most of what you own has to go. Furniture, extra clothes, kitchen appliances, decorations, that treadmill you haven’t touched in two years, books, electronics you forgot you had. All of it has value and all of it can fund your build.
I was surprised at the numbers when I actually looked into this. Even at garage sale prices, most people can pull $3,000 to $8,000 from selling their stuff. If you take the time to list higher-value items individually on Facebook Marketplace or eBay instead of doing one big yard sale, the numbers go up significantly. A couch that goes for $10 at a yard sale sells for $150 on Marketplace. A decent TV pulls $100 to $300. Tools, kitchen appliances, exercise equipment — all of it moves if you price it right.
One couple I read about funded almost their entire bus purchase just from selling their apartment furniture and electronics. They made about $4,500 over a month and bought a short bus at auction for $3,200. The remaining $1,300 bought their insulation and subfloor materials.
Start selling early too, like months before you buy the bus. You get better prices when you’re not in a rush. The “I’m moving next week, everything must go” energy gets you lowballed on everything.
Set a Hard Budget and Track Every Dollar
This is the unsexy one. Nobody wants to hear about spreadsheets when they’re dreaming about vanlife adventures and mountain sunsets. But I’m going to be honest, the number one reason bus builds go over budget isn’t bad luck or unexpected costs. It’s not tracking what you spend.

When I started digging into this, I found that almost every builder who came in on budget or under budget had one thing in common — they tracked their spending obsessively. Like, every single receipt. Every trip to Home Depot. Every Amazon order. Every random fitting they picked up at the hardware store. They knew exactly where they stood financially at all times during the build.
Set your total budget before you buy the bus. Not after. Before. And include everything — the bus purchase, registration and insurance during the build, all materials, tools if you don’t have them, fuel to drive the bus home, and a 15 to 20 percent contingency for mistakes. Because you will make mistakes. I cut a piece of plywood wrong on a project once and that mistake cost me a whole new sheet because I’d already used half of it. Those little things add up fast if you’re not watching.
A simple Google Sheet works fine. Columns for date, item, category, cost, and running total. The method doesn’t matter. What matters is that you do it.
Here’s a budget framework that works for a tight build:
- Bus purchase: $2,000 to $5,000
- Mechanical prep (if needed): $500 to $2,000
- Insulation and shell: $500 to $1,500
- Electrical and solar: $800 to $2,500
- Plumbing: $300 to $1,000
- Kitchen: $400 to $1,200
- Bed and living area: $200 to $800
- Flooring: $200 to $600
- Paint and exterior: $200 to $500
- Tools: $300 to $800
- Contingency (15-20%): $800 to $2,500
Total range: roughly $6,200 to $18,400.
That’s a real budget for a real build. It won’t get you on the cover of a magazine, but it’ll get you a safe, comfortable, functional home on wheels. And that’s the whole point.
So Here’s Where I Landed on All of This
After spending a lot of time talking to people who’ve done this on tight budgets, and looking at the numbers myself, the pattern is pretty clear. The people who successfully build a bus without a lot of money share a few traits. They’re patient. They’re resourceful. They’re willing to live with “good enough” while they save up for “great.” And they treat the build like what it is — a financial project, not just a creative one.
You don’t need $30,000 to start this. You need a plan, some discipline, and the willingness to do things the slow way.
I think the question people should really be asking isn’t “what is the budget to build one?” It’s “what am I willing to do to make the budget I have work?” Because the answer to the first question is whatever number you set. And the answer to the second question is what actually determines whether you end up on the road or just scrolling through other people’s builds wishing you were.
The bus will wait for you. Build it at your pace, with your money, on your terms.
x7y53w
fmicny