
Windows ended up being one of those topics I thought I could figure out in an afternoon, but the deeper I got into it, the more I realized how many decisions branch off from that one starting point. Remove them, keep them, tint them, replace them, seal the openings, frame around them for your walls, add new ones where the bus never had them. Every choice connects to your insulation plan, your floor plan, your budget, and whether you’re going to pass inspection in whatever state you’re registering in. I spent a lot of time digging into this because getting windows wrong means leaks, and leaks mean mold, rust, and tearing your walls apart a year from now. (See our guide on How Do You Remove School Bus Windows? for more on this.)
This guide covers everything I learned about handling windows in a school bus conversion, from removal to replacement to sealing and insulation. Most school buses have either bolt-in or riveted windows, and the removal process depends on which type you’ve got. After removal, you’re choosing between sealing openings with sheet metal, installing RV or residential replacement windows, or keeping some originals for light and ventilation. Window tinting, emergency exit requirements, framing around windows for your interior walls, condensation problems, and adding entirely new window openings are all part of the equation. If you get the sealing right on day one, you won’t think about your windows again. If you don’t, you’ll be chasing water for the life of your build.
Types of School Bus Windows and What You’re Working With
Before you make any decisions about removing or replacing anything, it helps to know what kind of windows your bus actually has. I didn’t realize this at first but there are real differences and they affect everything from removal difficulty to replacement options.
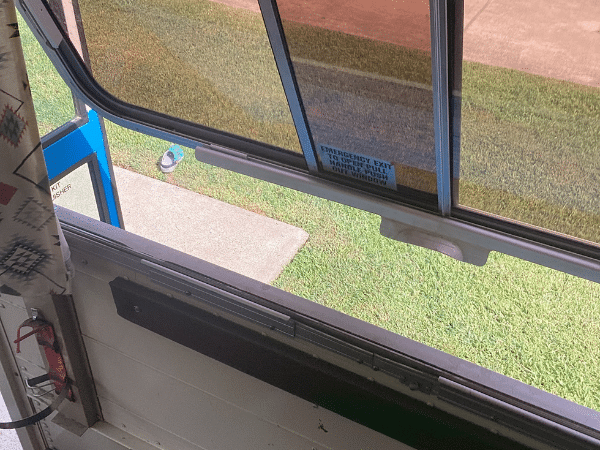
Most school buses have one of three window types. The most common is the split-sash window, which is that classic two-panel design where the top half slides down over the bottom half. These are the ones you see on basically every yellow school bus from the last 40 years. They’re single-pane tempered glass in an aluminum or steel frame, and they’re designed to ventilate, not insulate. The R-value is basically nothing.
Then you’ve got fixed windows, which don’t open at all. These show up on some newer buses and on transit-style conversions. They’re simpler because there’s no sliding mechanism, but they’re still single-pane and thermally useless.
The third type is emergency exit windows. These are the ones with the red latches that swing outward or pop out entirely. Every school bus has at least a few of these and they matter for legal reasons I’ll get into later. (See our guide on What Is the Maximum Legal Height for a Converted Bus? for more on this.)
How the windows are attached to the bus body is actually more important for your build than what type of glass they are. Bolt-in windows have visible bolt heads around the interior frame, usually 10mm. Riveted windows have aluminum or steel rivets holding the frame to the bus body. Some buses have a combination. I found that Blue Bird and Thomas buses from the early 2000s and newer tend to have bolt-in assemblies, while a lot of the older IC Bus and International models use rivets. But it’s not a hard rule, you really need to look at your specific bus.
Keeping Original Windows vs Removing Them
This is the first real decision and it shapes everything else. I spent a while going back and forth on this myself because the answer isn’t as obvious as most build videos make it seem.
The default assumption in the skoolie community seems to be “rip everything out.” And I get the logic. School bus windows are single-pane glass with no insulation value. They rattle. They leak air. The latches are janky. If you’re building an insulated tiny home on wheels, every window is a thermal weak point that’s working against you. On a full-size bus with 14 windows per side, that’s a LOT of weak points.
But here’s what changed my thinking. I visited a couple of finished builds at a meetup last year, and the ones that sealed every single window felt like being inside a submarine. Dark, closed in, completely dependent on artificial light even in the middle of the day. Compare that to a build I saw where the couple kept five windows along their kitchen and living area, and the difference was night and day. Literally.
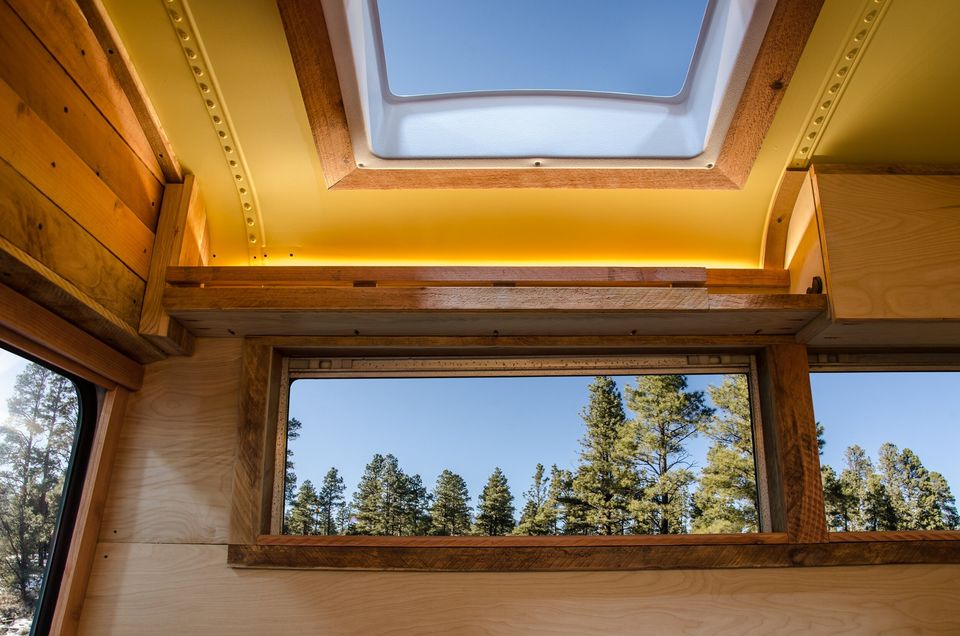
So my advice, and what I’ve seen most experienced builders land on, is to walk through your floor plan before you touch a single window. Mark which walls will have cabinets, shelving, or your bed against them. Those windows are getting sealed anyway because you’re covering them with furniture. The windows along open living space, your kitchen counter, your dinette, maybe the driver area — those are candidates to keep.
Most builders I’ve talked to end up keeping 4 to 6 windows and sealing the rest. That ratio gives you enough light to not feel like you’re living in a bunker while still having enough wall space for insulation, cabinets, and electrical runs.
“What about ventilation if you remove all the windows?”
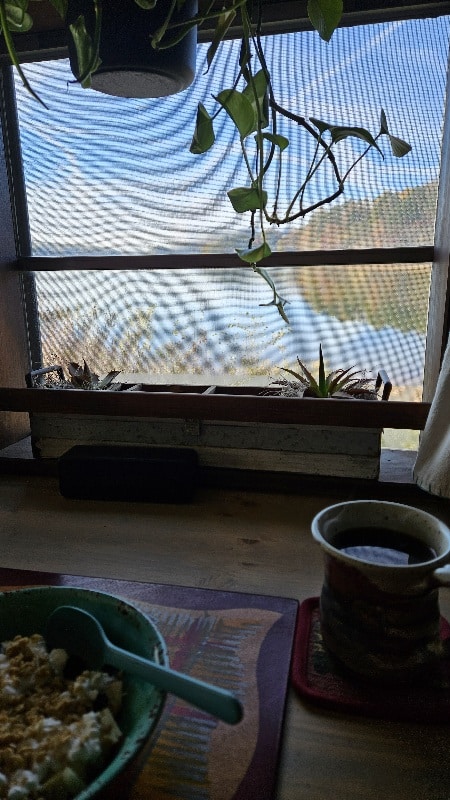
Even with a MaxxAir fan or two, being able to crack real windows on a nice day moves air in ways that fans can’t replicate. I talked to a guy at a campground who kept eight windows and said he barely runs his fans from March to November because cross ventilation handles it. His solar draw was noticeably lower than builders who sealed everything up and rely entirely on fans and a mini split.
If you’re sealing every window and counting entirely on mechanical ventilation, you need to plan for that. Two MaxxAir fans at minimum, one intake and one exhaust, plus maybe a mini split or portable AC for summer. That’s added cost, added electrical load, and more points of failure compared to just keeping a few windows you can open.
“Will the metal covering windows attract the heat?”
This came up in a conversation I had with a builder in Arizona and it’s a fair concern. Steel panels in direct sun absolutely get hot. On a 100-degree day, those panels can hit 140 or 150 degrees on the exterior surface. But here’s the thing, your bus body is already steel. The entire exterior is a giant metal panel absorbing heat. One more sealed panel per window opening isn’t meaningfully changing the heat equation compared to the bus body that’s already there.
What matters more is the insulation behind those panels. A sealed window opening with 1.5 inches of rigid foam behind it is going to perform way better thermally than a single-pane glass window with no insulation, even though the metal is hot to the touch. The insulation is what stops that heat from reaching your interior, not the outer surface material.
“How did you remove the bus windows?”
This is probably the most common question I see in build videos and forum threads. The answer depends entirely on whether your windows are bolted in or riveted, and the difference in difficulty is significant.
Bolt-In Window Removal
Bolt-in windows are the easier of the two types, and if your bus has them, you caught a break. Start from the inside. You’ll see a rubber gasket or trim piece running around the edge of each window frame. Pry that off with a flathead screwdriver or a trim removal tool. Underneath you’ll find bolt heads, usually 10mm, spaced every 6 to 8 inches around the frame. Some buses also have a metal trim ring on the exterior, so check both sides before you start unbolting.
The bolts go through the window flange into nut plates that are either welded or clipped to the bus body. You unbolt from the inside and the window pushes outward. This is the part where you need a second person or a plan. These windows weigh 15 to 25 pounds each and if one drops, it’ll dent your bus body or shatter on the ground. I watched a video where a solo builder rigged a rope cradle on the outside tied to his roof rack so each window would just hang there after he pushed it out. Smart move. (See our guide on Can You Raise the Roof on a School Bus? for more on this.)
Once the bolts are out and the window’s removed, scrape the old sealant off the frame with a putty knife and clean the metal with mineral spirits. You want a pristine surface for whatever goes back in that opening.
Two people can clear all the bolt-in windows on a full-size bus in maybe three to four hours. Solo, plan on a full day because of the logistics of getting around to the outside for each one.
Riveted Window Removal
This is the one everybody dreads, but it’s really more tedious than difficult. Riveted windows show up on a lot of the older buses and the IC Bus and International models.
Here’s the process I found works best after watching a ton of builds and talking to guys who’ve done multiple buses. First, center punch every rivet. Just a light tap with a hammer and a center punch to create a dimple in the rivet head. This keeps your drill bit from skating around on the smooth surface. I cannot overstate how much time this saves. Skip the center punch and you’ll burn through drill bits, scar up your bus body, and want to throw the drill across the parking lot by the fifth window. (See our guide on What Is the Best Way to Paint a School Bus? for more on this.)
Then drill through each rivet head with a 1/8-inch cobalt drill bit. You don’t need to drill all the way through, just enough to remove the head. Once the head pops off, the remaining shaft either falls through or gets knocked out with a pin punch. A single window might have 20 to 30 rivets. Multiply that by all your windows and you’re looking at 300 to 400 rivets on a full-size bus. This is a multi-day job.
A builder I talked to at a meetup said he went through an entire box of drill bits on his bus. Cobalt bits last longer than standard HSS bits. Keep your drill speed moderate. High RPM with no pressure just generates heat and kills the bit.
One thing I’ll add — wear safety glasses. Not sunglasses, real safety glasses. Drilling rivets throws tiny metal shavings and they love to find eyeballs. I read a forum post from a builder who ended up in urgent care because a metal shaving lodged under his eyelid.
“What’s the easiest way to get the bus windows out when they have rivets?”
A right-angle drill attachment helps with rivets in tight spots near the top and bottom of the frame. Costs maybe $15 and saves you from contorting yourself into weird positions. Working in pairs cuts the time roughly in half, one person drills from inside while the other catches windows from outside. And if you’re not planning to reuse the windows, don’t baby them. Once most rivets are drilled out, a couple remaining ones can be pried through. The frame bends a little, who cares, it’s going in the scrap pile.
Budget two to three full days for a full bus with riveted windows, working alone. Bring headphones.
“How do you seal windows after removing them?”
This is where the real craftsmanship happens. Removing windows is just labor. Sealing the openings is what determines whether your bus leaks or doesn’t.
The standard approach is sheet metal panels. Sixteen-gauge steel is the most common, though some builders go with 18-gauge to save a little weight. You cut each panel slightly larger than the window opening, maybe an inch of overlap on all sides, so the panel sits over the opening rather than inside it. Some builders prefer to recess the panel for a flush look, but the overlap method gives you more sealing surface and is more forgiving if your cuts aren’t perfect.
Clean the bus body around each opening before anything else. Scrape off old gasket material, old sealant, surface rust. Hit any rust spots with Ospho or naval jelly. Wire brush the area and wipe it down with acetone. You’re creating a bonding surface.
Now here’s the layering that matters. Butyl tape goes down first — a continuous bead around the entire perimeter of the opening on the bus body. No gaps. Butyl tape is your primary water barrier and it stays flexible forever, which is important because the bus body flexes every time you drive. Press your metal panel into the butyl tape. Secure with self-tapping screws or blind rivets every 4 to 6 inches around the perimeter. Then run a bead of Dicor self-leveling lap sealant or Sikaflex 221 over the screw heads and along every seam where the panel meets the bus body.
That’s a three-layer seal: butyl tape underneath, mechanical fasteners through it, and sealant over the top. Any water that gets past the outer sealant hits the butyl tape. Any water that gets past the butyl tape, well, it shouldn’t, but the overlap design means it would have to travel uphill to get inside.
From the inside, spray foam around the perimeter of each sealed opening to fill the gap between the metal panel and your wall studs. This adds insulation and creates one more moisture barrier.
The Water Test You Can’t Skip
Before you do anything on the inside — before insulation, before framing, before wall paneling — grab a garden hose and spray each sealed opening from the outside for a solid minute. Watch from the inside for any drips. It is so much easier to fix a seal now than after your walls are finished.
A guy I know found a leak six months after finishing his interior because he skipped this step. He had to tear out a section of wall, peel off paneling, remove insulation, reseal the panel, and then redo everything. All because he didn’t spend ten minutes with a hose.
“What kind of material did you put over the windows?”
Steel sheet metal is the most popular. Sixteen-gauge is the sweet spot. A 4×8 sheet at a local metal supplier runs maybe $40 to $60, and you can get 4 to 6 window panels out of one sheet. Aluminum is lighter and won’t rust, but costs more and you need butyl tape between it and the steel bus body to prevent galvanic corrosion.
Rigid foam sandwiched between two thin metal skins is a slick approach I’ve seen a few times. You’re basically building an insulated panel that replaces the window in one step. Polyiso or XPS foam, 1 to 1.5 inches thick, with thin aluminum or steel glued to each side.
Plywood is the budget option. Use exterior grade at minimum, marine grade if you can swing it. I’ve seen builds where plywood covers were holding up fine after three years, and others where they were warping after one wet season. The quality of your seal and the quality of your plywood makes a big difference.
Fiberglass layup is another route. Some builders do it right over the opening for a smooth, permanent, waterproof seal. It’s lighter than steel and tougher than aluminum but messy to work with and there’s a learning curve if you haven’t done fiberglass before.
“What did you replace the windows with?”
If you’re upgrading rather than just sealing openings, you’ve got options across a pretty wide range of price and complexity.
RV Windows
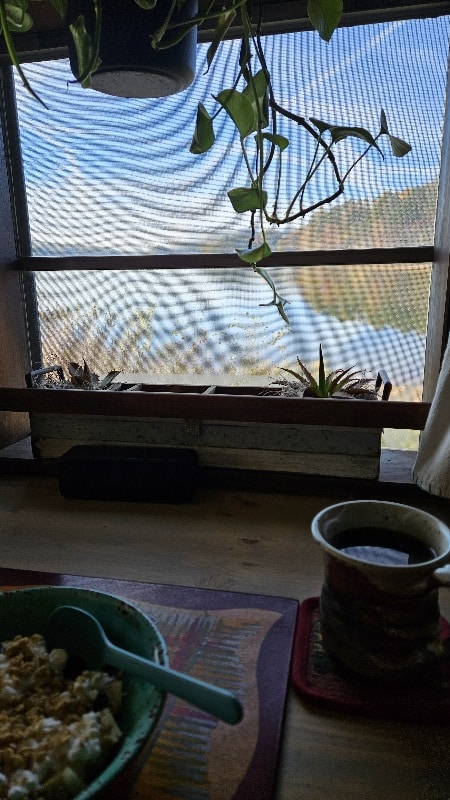
RV-style windows are the most popular replacement and what I see in the majority of builds that go this route. Companies like Hehr, CR Laurence, and Motion Windows make frameless or slim-frame windows that can work for bus openings. The catch is that school bus window openings don’t match standard RV dimensions. You’ll almost always need to modify the opening or build a steel frame adapter.
I talked to a builder who welded steel adapter frames for each opening. He measured the RV windows he wanted, then fabricated frames from 1-inch steel angle that reduced his bus openings to the exact right size. He said each adapter took about an hour to make once he had the technique down. The result was clean and professional, but you need welding skills and equipment.
For pricing, a basic fixed-pane RV window runs $80 to $150. A sliding window is $150 to $300. An awning-style that hinges at the top and opens outward, usually $200 to $350. If you’re replacing six windows with nice operable RV windows, budget $1,000 to $2,000 just for the windows themselves.
“Can you put house windows in a school bus?”
Short answer is yes, people do it, and the results can look really good. Standard house windows from a home improvement store are usually cheaper than RV windows and come in way more sizes. But there are trade-offs that are worth knowing about.
Residential windows are heavier than RV windows. They’re not designed for the vibration of a moving vehicle. And the frames are typically thicker, which means more modification to your bus body or your wall framing to make them fit. A couple builders I’ve come across used residential windows and reinforced them with additional framing to handle road vibration. One guy told me his have been fine after 30,000 miles. But another posted about a cracked pane after hitting a particularly nasty stretch of road in New Mexico. So there’s some risk.
The bigger issue I found is that house windows are designed for a flat, plumb wall. Bus walls are curved. You either need to build out the interior framing to create a flat mounting surface, or you need to modify the window frame to sit against the curve. Neither is impossible but it’s more work than dropping in an RV window that was designed for a vehicle application.
If you’re on a tight budget and you’ve got basic framing skills, residential windows can save you real money. A decent double-hung window at a home store runs $80 to $150, sometimes less on clearance. Compare that to $200 to $350 for an equivalent RV window. Over six windows that’s meaningful savings.
Custom and Marine Windows
There are companies that will fabricate custom tempered glass panels to your exact dimensions. Pricing runs $200 to $400 per window depending on size and whether you want built-in tinting. More expensive per window, but you skip the adapter frame hassle.
Marine-grade porthole or sliding windows are another option. They’re designed for boats, so they handle water and vibration really well. They tend to be smaller than bus windows, so you’d need to reduce your opening or use them as accent windows. They run $200 to $500 each but they look incredible and they’re basically bombproof.
Window Cost Comparison
Here’s roughly what you’re looking at per window opening, including materials but not labor:
- Seal with steel panel: $15 to $30
- Seal with insulated panel (foam + metal): $25 to $45
- Basic fixed RV window: $80 to $150 plus adapter frame
- Operable RV window: $150 to $350 plus adapter frame
- Residential house window: $80 to $200 plus reinforced framing
- Custom tempered glass: $200 to $400
- Marine window: $200 to $500
For a full-size bus where you’re sealing 20 openings and replacing 6 with RV windows, total window budget is roughly $1,200 to $2,800 depending on your choices. Not counting tools, sealant, and butyl tape which add maybe another $100 to $200.
“How do you insulate around bus windows?”
Insulation around windows is one of those details that’s easy to do wrong, and I noticed a lot of builders in forums complaining about cold spots and condensation near their windows — which usually comes back to poor insulation at the window edges.
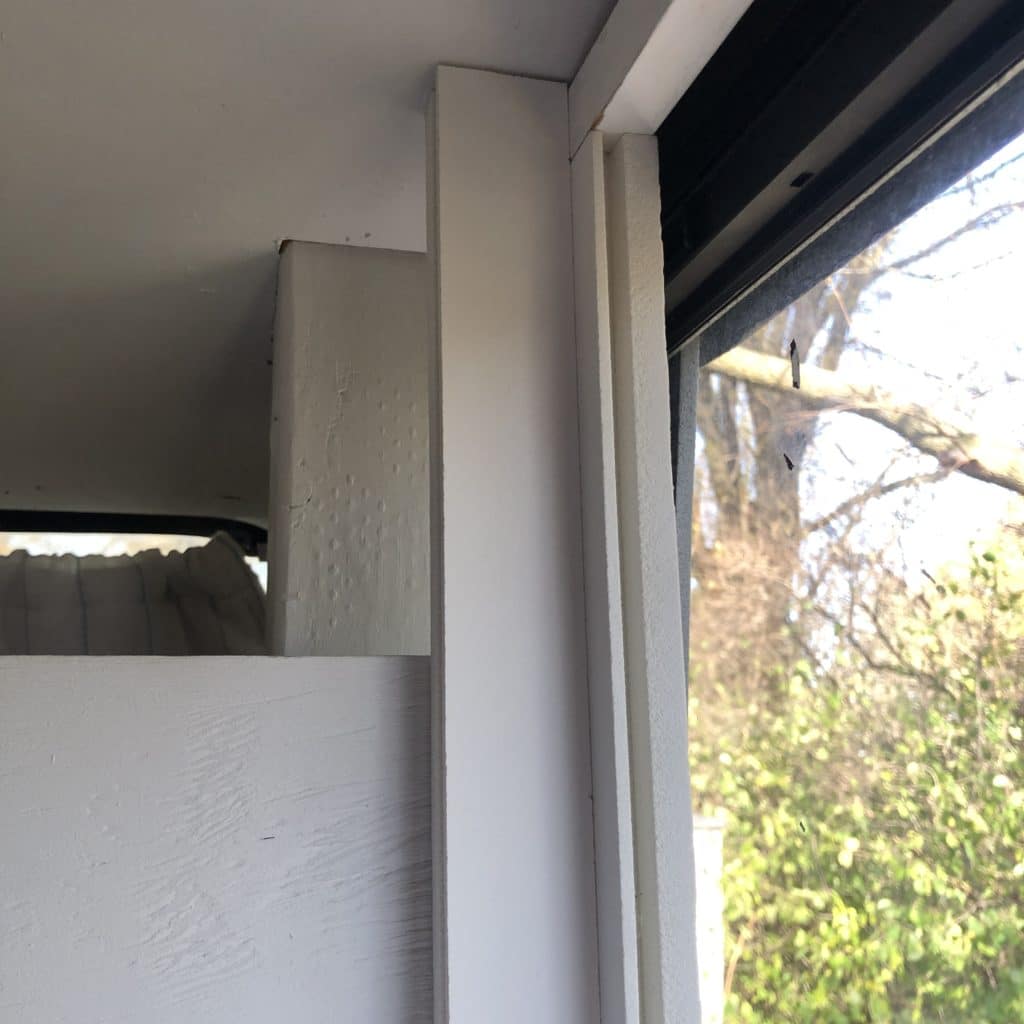
For kept windows, the insulation challenge is filling the gap between the window frame and your interior wall framing without creating a thermal bridge. The bus body steel is a thermal bridge by nature, it conducts heat and cold right through. You need to interrupt that bridge with insulation material wherever you can.
Closed-cell spray foam is the best option for the gaps around window frames because it expands to fill irregular shapes and it’s also a vapor barrier. Squirt it into the cavity between the window frame and your wall studs, let it cure, and trim the excess with a knife. Don’t go crazy with it though, spray foam expands with serious force and I’ve heard of builders actually bowing their window frames by overfilling the cavity. Use the low-expansion stuff and apply in thin layers.
Rigid foam board, like polyiso or XPS, works for the larger flat areas around windows. Cut pieces to fit snugly between the bus ribs and press them into place. Some builders use foam board adhesive, others use Great Stuff to tack the edges. The key is no gaps. Every gap is a spot where air can circulate and carry heat or cold through.
For sealed window openings, insulation is easier because you’re just filling a cavity. The metal panel on the outside, your wall paneling on the inside, and the space between gets packed with rigid foam, spray foam, or even mineral wool. These spots often end up being the best-insulated sections of your wall because there’s no glass breaking the insulation layer.
Condensation Issues Around Windows
This is the thing I kept seeing people ask about and it honestly took me a while to understand why it happens. Condensation forms on windows when warm, moist interior air hits a cold surface. In a bus, that surface is either the glass itself or the steel frame around it. You’re cooking, breathing, maybe showering inside a small metal box, there’s going to be moisture in the air.
The fix is two things working together. First, insulate as much of the cold surface as you can so the interior-facing surfaces stay closer to room temperature. Second, ventilate to move moist air out before it can condense. A MaxxAir fan running on low while you cook or shower makes a huge difference.
I talked to a builder in the Pacific Northwest who said condensation was his number one complaint during the first winter. Water was running down his kept windows every morning and pooling on the sills. His solution was adding interior storm panels — basically a second layer of acrylic or polycarbonate mounted on the inside of each window with a small air gap between. It’s the same principle as a double-pane window, and he said it cut his condensation by about 80%. Cost him maybe $20 per window in polycarbonate sheet and some magnetic strips to hold them in place so he could still open the windows.
Framing Window Openings for Your Interior
Whether you’re keeping an original window, installing a replacement, or working around a sealed opening, you need framing so your wall paneling and insulation have something to attach to. The bus body is curved steel ribs and those ribs are your main structural attachment points, but around window openings you need additional members to create a flat, square mounting surface.
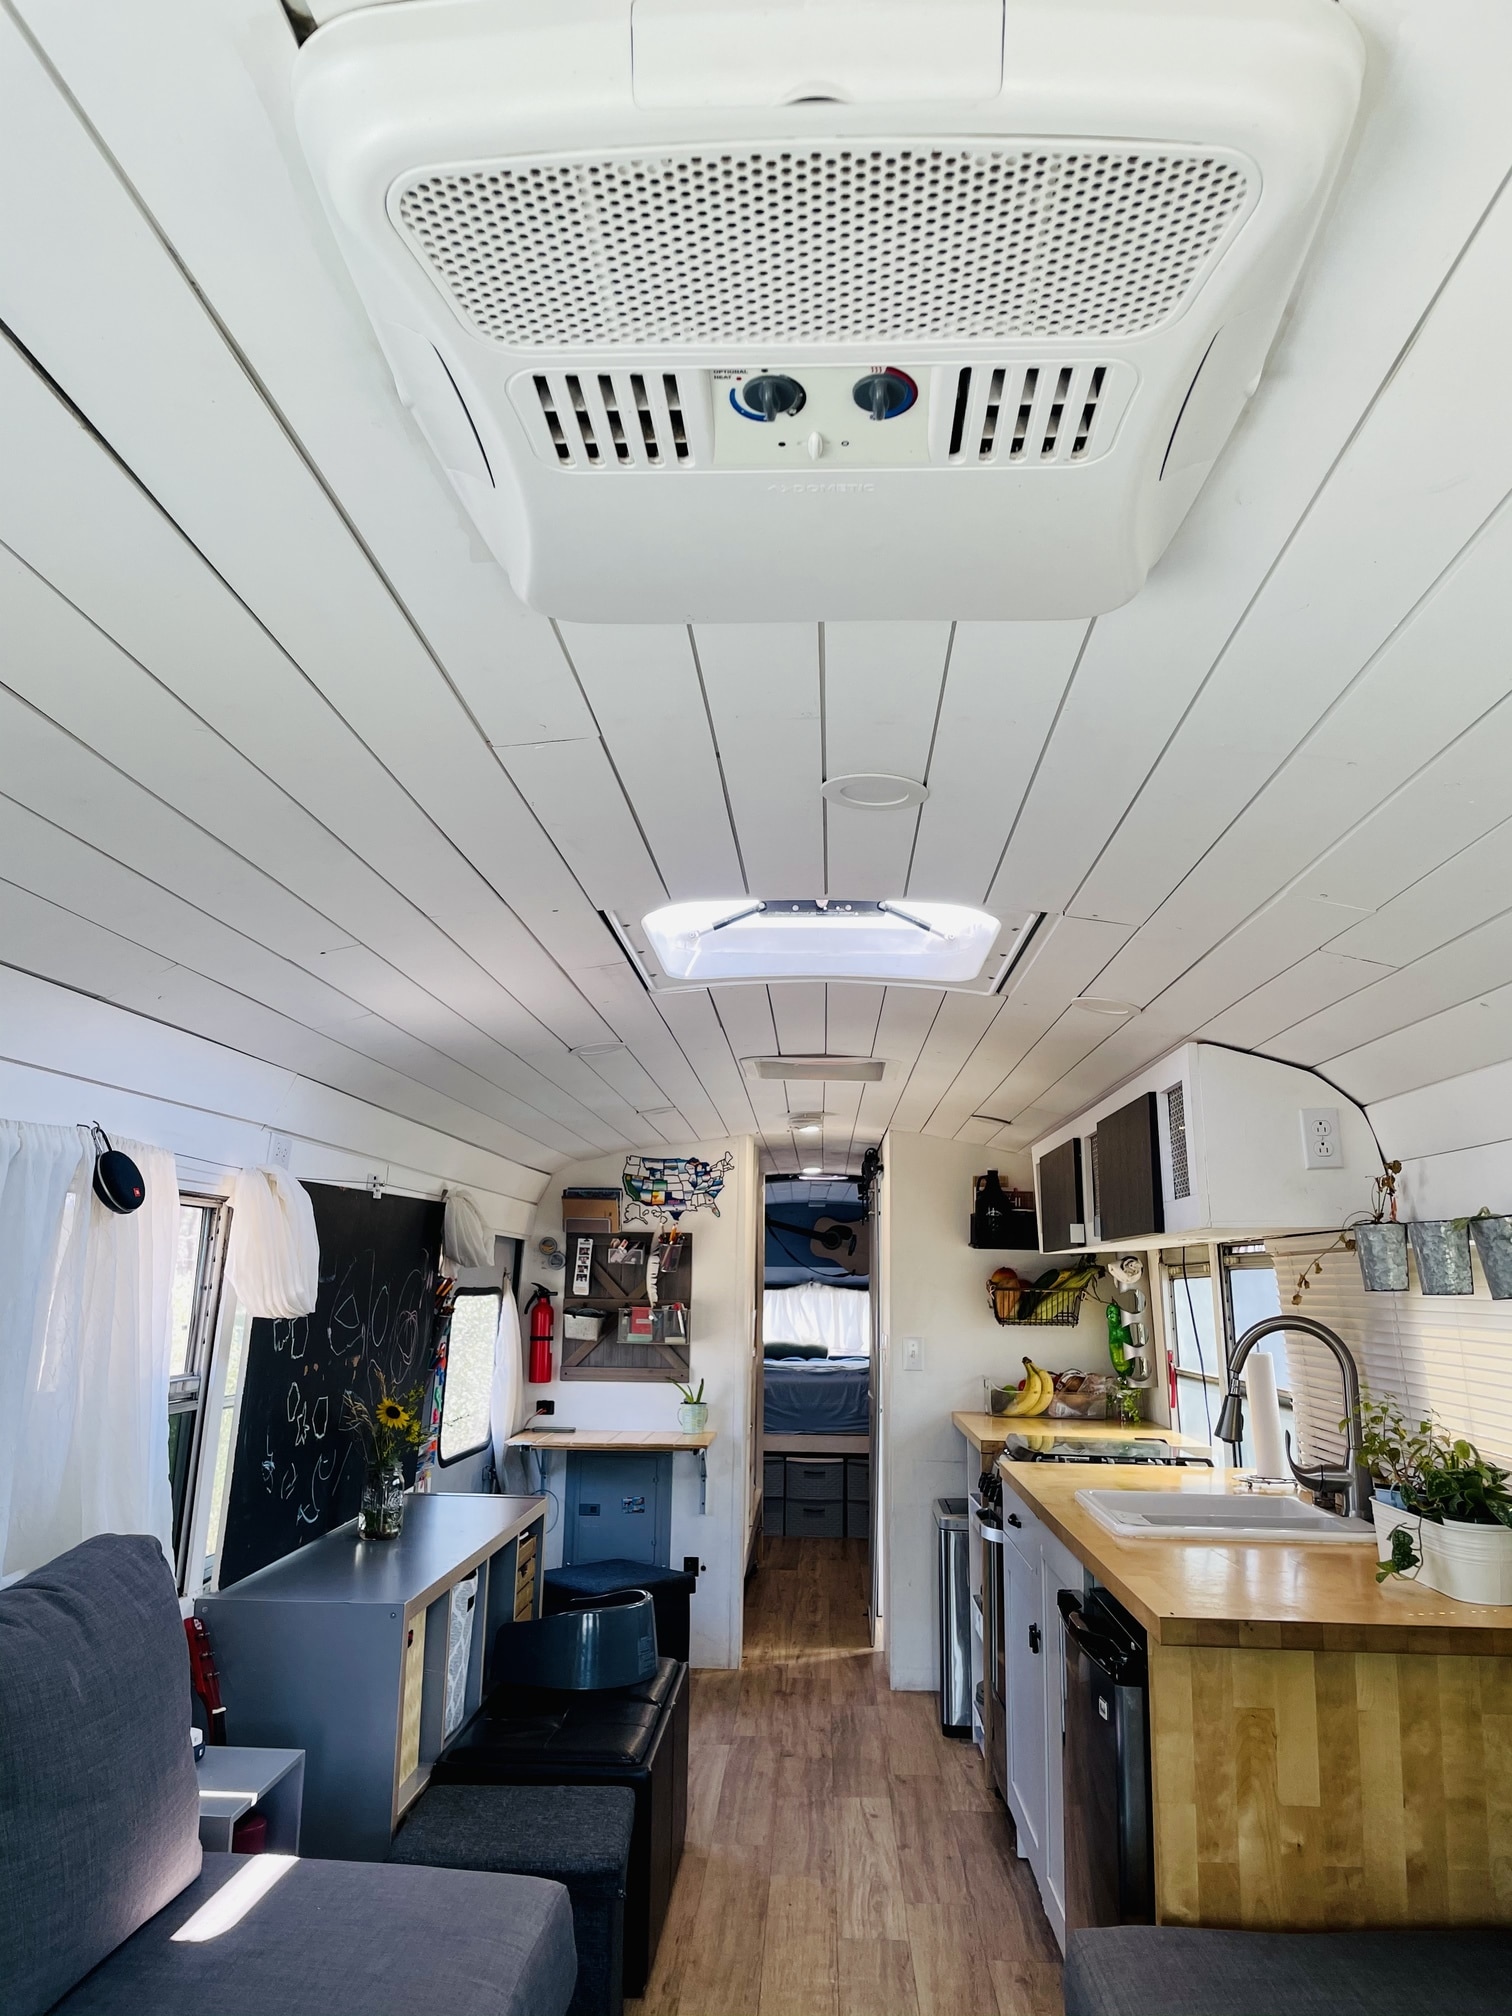
Most builders use 1×2 or 1×3 furring strips attached to the bus ribs running horizontally above and below each window opening. Vertical pieces frame the sides. This creates a rectangular frame that your wall paneling can screw into. For insulation, the cavity between the bus body and the paneling gets filled with rigid foam or spray foam, and the framing provides the depth for that layer.
Here’s a detail I picked up from a builder who’d done two conversions. He recommended making your window frames slightly larger than the window itself, about a half inch on each side, so you’ve got room for interior trim pieces. A piece of 1×2 pine trim around the inside of each window covers the raw edge where your paneling meets the window frame and gives the whole thing a finished look. Without it, you’ve got a rough cut edge of plywood butted right up against the window and it just looks unfinished.
For kept windows, the framing also needs to account for whether you want to be able to open the window. If you frame too tightly, the mechanism might not have room to operate. Test every window’s full range of motion before you finalize the framing around it.
Use self-tapping screws when attaching wood framing to the steel bus ribs, and pre-drill through the wood to prevent splitting. I’ve seen builders try to drive screws straight through 1×2 pine into steel without pre-drilling, and the wood splits, the screw strips, and they end up with a weak attachment point hidden behind their wall paneling. Take the extra 30 seconds to drill pilot holes.
Also, run your electrical wiring before you close up the wall cavities. If you know where you want outlets, light switches, or USB ports near your windows, now is the time to run those wires. I talked to a builder who literally had to cut a hole in his finished wall to add an outlet he forgot, and he was not happy about it.
Adding New Window Openings
This is something I was genuinely surprised to learn people do, but it makes sense when you think about it. Sometimes the factory window placement doesn’t match your floor plan. Maybe you want a big picture window behind your dinette, or a porthole in the bathroom, or a window in the rear where the emergency door used to be.
Cutting a new opening in a school bus body is doable, but it’s not something to take lightly. You’re cutting through structural steel and every cut weakens the body slightly. A few things I learned from builders who’ve done this.
First, never cut through a structural rib. The vertical ribs that run from floor to roof are load-bearing. Cut between them. If you want a wider opening than the space between two ribs, you need to add steel reinforcement above and below the cut to compensate for the lost rigidity. This usually means welding in steel channel or angle across the top and bottom of your new opening.
Second, plan the size around the window you’re installing, not the other way around. Buy the window first, then cut the opening to fit it with about a quarter-inch gap all around for sealant and adjustment. Cutting a hole and then trying to find a window that fits is a recipe for problems.
Third, a plasma cutter or angle grinder with a cutoff wheel are the tools for this job. A jigsaw with a metal blade works but takes longer and the vibration makes it hard to hold a clean line. Mark your cut lines with a Sharpie, tape painter’s tape along both sides of the line to protect the paint, and go slow. (See our guide on How to Paint a School Bus (DIY vs Professional) for more on this.)
I came across a build where the couple cut a 30 by 40 inch picture window opening in the rear of their bus and installed a fixed tempered glass panel. It looked like it belonged there from the factory. They reinforced the opening with welded steel channel and sealed the glass with the same butyl tape and Dicor method. Three years of full-time travel and no leaks. But they also admitted it was the scariest cut of the entire build.
Window Tinting
Tinting was one of those things I initially wrote off as cosmetic until I started researching how much heat comes through untinted glass. A single-pane school bus window lets through about 80 to 90% of the sun’s energy. In the summer, that turns your bus into a greenhouse.
I talked to a builder in Texas who said his interior temperature was hitting 115 degrees on summer afternoons before he tinted, and dropped to around 95 after. Still hot, but a 20-degree difference is massive when you’re trying to keep a small space livable.
DIY ceramic tint film is the cheapest route, $30 to $80 for a roll. Ceramic blocks more heat than the cheap dyed film. The application is straightforward but the curved shape of some bus windows makes it harder than tinting a flat car window. Professional shops will do bus windows for $300 to $600 for a full bus depending on the film.
“How do you shade the windows at night for privacy?”
Most builders go dark tint, 5% to 15% visible light transmission. From outside, people can’t see in during the day. But at night with interior lights on, people can see silhouettes even through dark tint. So a lot of builders add curtains or blinds as a secondary layer.
Magnetic window covers made from Reflectix or foam board with fabric on the inside are popular because they pop in and out easily and add a small amount of insulation. Velcro-mounted blackout fabric is another option that looks cleaner. I saw one build where they used roller shades from IKEA, the ones meant for house windows, and just cut them to fit each bus window. Looked sharp and cost about $8 per window.
One thing to keep in mind is that tinting laws vary by state. Most states have restrictions on how dark you can go, especially on front windows and the windshield. For side and rear windows on a vehicle registered as an RV, the rules are usually more relaxed. But check your specific state before you go full blackout.
Emergency Exit Requirements
This is the section nobody wants to read but you need to. Emergency exit requirements are real and they can affect your registration, your insurance, and whether your bus passes inspection.
When a bus was a school bus, it had designated emergency exit windows, roof hatches, and the rear emergency door. When you convert and re-title as an RV, those school bus requirements technically no longer apply. But your state may have its own rules.
Here’s what I found when I dug into this. Most states require at least one rear emergency exit on any vehicle of a certain length. If your bus still has the rear emergency door, you’re covered. Some builders wall it off for more interior space and in some states that can be an inspection issue.
For windows, most states that require emergency egress want at least one operable window on each side large enough for a person to climb through. The general standard is a minimum of 20 inches wide by 24 inches tall, though this varies. If you’ve sealed every single window and your only exit is the front door and the rear door, some states might flag that.
“Did I nap thru the planning & implementation of fire escapes?”
I saw this comment under a build where the couple sealed all but two windows and walled off the rear door. And it’s a legitimate concern. In the event of a fire or accident, you want multiple ways out. The front door, the rear door or a rear window, and ideally at least one side window you can climb through.
Roof hatches count as emergency exits in most jurisdictions. If your bus came with one, keep it functional. If you’re installing a Fantastic Fan or skylight, it can double as an emergency exit if it’s large enough and easy to open from inside.
My personal take is to keep at least one operable window on each side of the bus regardless of what your state requires. This isn’t just about passing inspection, it’s about not being trapped in a metal box if something goes wrong at 2 AM. I’d rather have two extra windows than I need than one fewer than I need in an emergency.
Skylights and Roof Windows
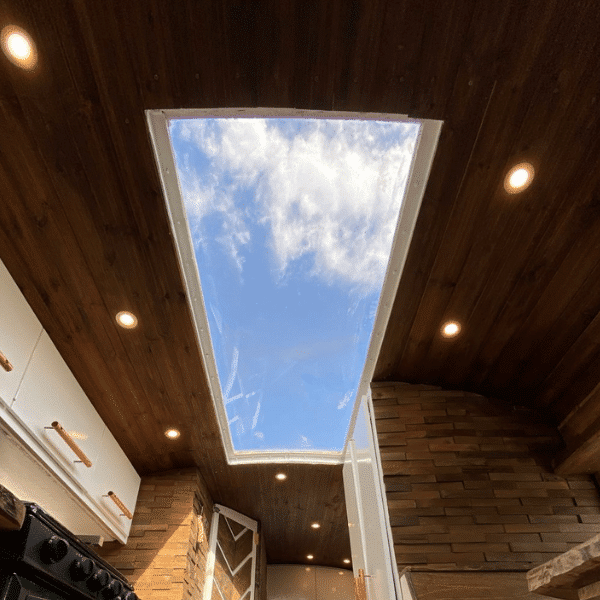
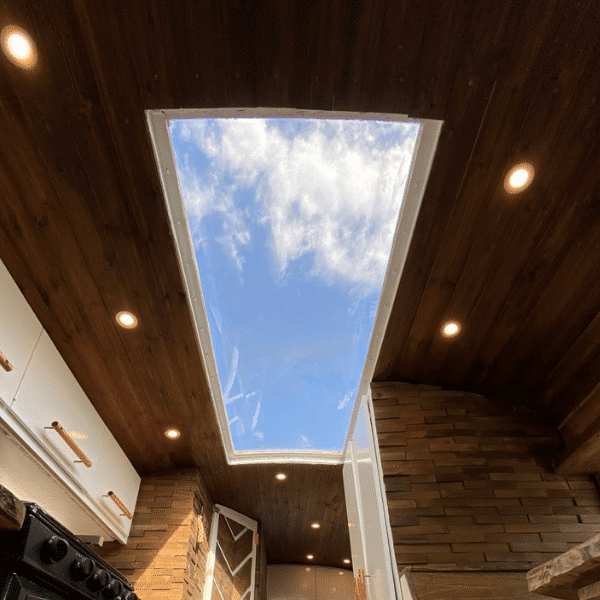
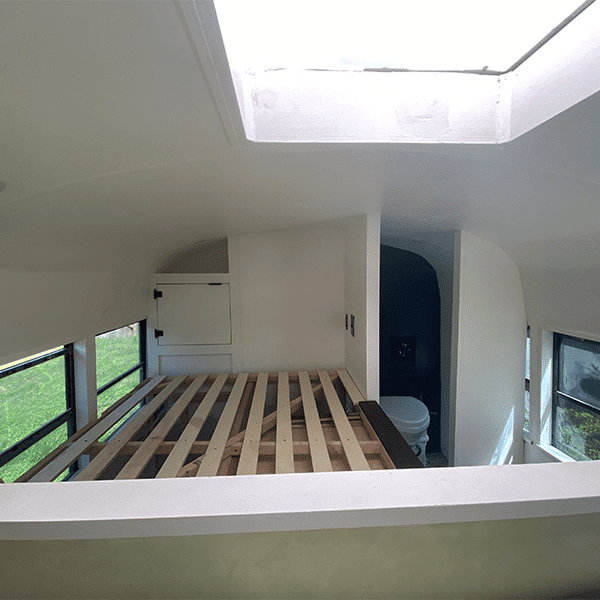
I didn’t think much about skylights at first but after seeing a few builds that had them, I’m convinced they’re underrated. A skylight brings light straight down into the center of the space. Side windows illuminate the areas near the walls, but the middle of a bus, where your kitchen or hallway usually is, stays dim. A skylight fixes that completely.
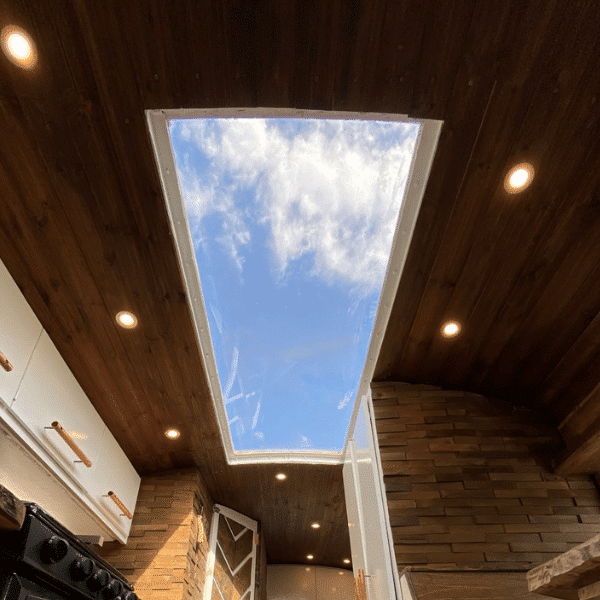
The most popular option is the Fantastic Fan vent with a clear or tinted lid, which doubles as a roof vent and a skylight. You cut a 14×14-inch hole in your roof, apply butyl tape and sealant, drop the unit in, and fasten it down. Runs around $150 to $300 depending on the model.
Dedicated RV skylights from Icon or Heng’s come in several sizes for $40 to $100. And for something custom, polycarbonate panels like Lexan can be cut to any size. One builder I followed cut a 2-foot by 4-foot opening over his kitchen and fabricated a raised frame with polycarbonate on top. Material cost was about $120 total and it completely transformed the feel of his interior.
Cutting a hole in your roof sounds scary. I won’t pretend it isn’t a commitment. But thousands of builders have done it successfully. The key, as always, is getting the seal right. Dicor over butyl tape. Be extra generous up on the roof since it takes the most weather abuse.
So here’s where I landed after all this research
Windows touch almost every other part of your build. Your floor plan dictates which ones stay and which ones go. Your climate plan dictates how many you can afford to keep. Your budget dictates whether you’re sealing with steel panels or upgrading to nice RV replacements. And your sealing technique dictates whether you spend the next five years dry or chasing leaks with a caulk gun.
The one thing I’d prioritize above everything else is the seal. I don’t care if you’re using $50 sheet metal or $350 custom glass — if the butyl tape and sealant aren’t done right, water gets in. And water inside your walls is the single worst thing that can happen to a bus build. Take your time on the sealing. Do the water test with a hose before you close up the walls. Use real RV-grade sealant, not hardware store silicone that dries hard and cracks.
I also came away from this research with a stronger opinion on keeping some original windows than I expected. The “seal everything” approach is popular for good reason, but having walked through builds that went both directions, natural light and real ventilation in a space this small is worth the thermal trade-off for most people. Keep the ones where you’ll actually see and use them. Seal the ones behind furniture and cabinets. That middle ground is where most successful full-time builds seem to end up.
If you’re still in the early stages, the insulation guide ties directly into your window decisions because every opening you seal becomes an insulation opportunity. And if you haven’t figured out your layout yet, our floor plan ideas are worth looking through before you decide which windows stay and which ones go. Getting your windows sorted out before you start framing walls makes the rest of the build go smoother, and that’s one of the few things in this whole process that basically everyone agrees on.