
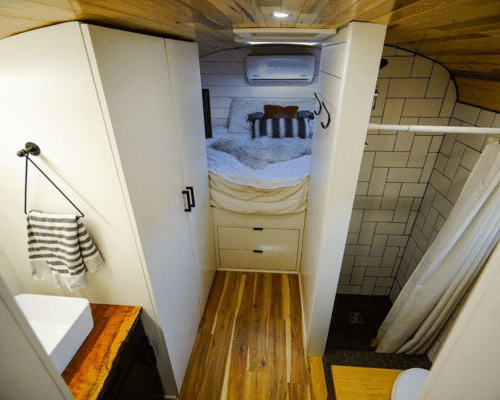
The bathroom was the part of our bus build that I spent the most time overthinking. And I don’t mean a little bit of overthinking — I mean weeks of going back and forth on toilet types, shower materials, waterproofing methods, and drain pipe sizes before I finally accepted that every single decision in a bus bathroom connects to three other decisions you haven’t made yet. Pick your toilet and now your plumbing plan changes. Choose your shower material and suddenly you’re deep in a waterproofing rabbit hole. Decide where to put the bathroom and your entire floor plan shifts. (See our guide on Can You Put a Bathroom in a School Bus? for more on this.)
I went deep on this topic. I talked to builders at meetups, read through more forum threads than I can count, watched probably 40 build tour videos, and came out the other side with a pretty clear picture of what works, what doesn’t, and what most people wish they’d done differently. This guide is everything I found. (See our guide on How to Build a Skoolie Bathroom (Shower, Toilet, and Plumbing) for more on this.)
This guide covers everything you need to know about building a bathroom in a converted school bus — wet bath vs dry bath layouts, every toilet option from composting to incinerating, how to build a shower that won’t leak or crack, waterproofing methods that actually hold up on the road, ventilation strategies to prevent mold, gray water and black water systems, plumbing basics for supply and drain lines, hot water heaters, space-saving bathroom ideas, realistic costs, and the most common mistakes that trip people up. If you’re planning a skoolie bathroom, bookmark this one.
Can You Put a Real Bathroom in a School Bus?
Yes. People do it all the time and the results range from basic but functional to legitimately nicer than some apartment bathrooms I’ve seen in person. I was genuinely surprised the first time I saw a bus bathroom with real tile, a glass door, a vessel sink, and a proper vanity. It looked like something out of a home renovation show, except it was in a 1998 Blue Bird sitting in a campground in Colorado.
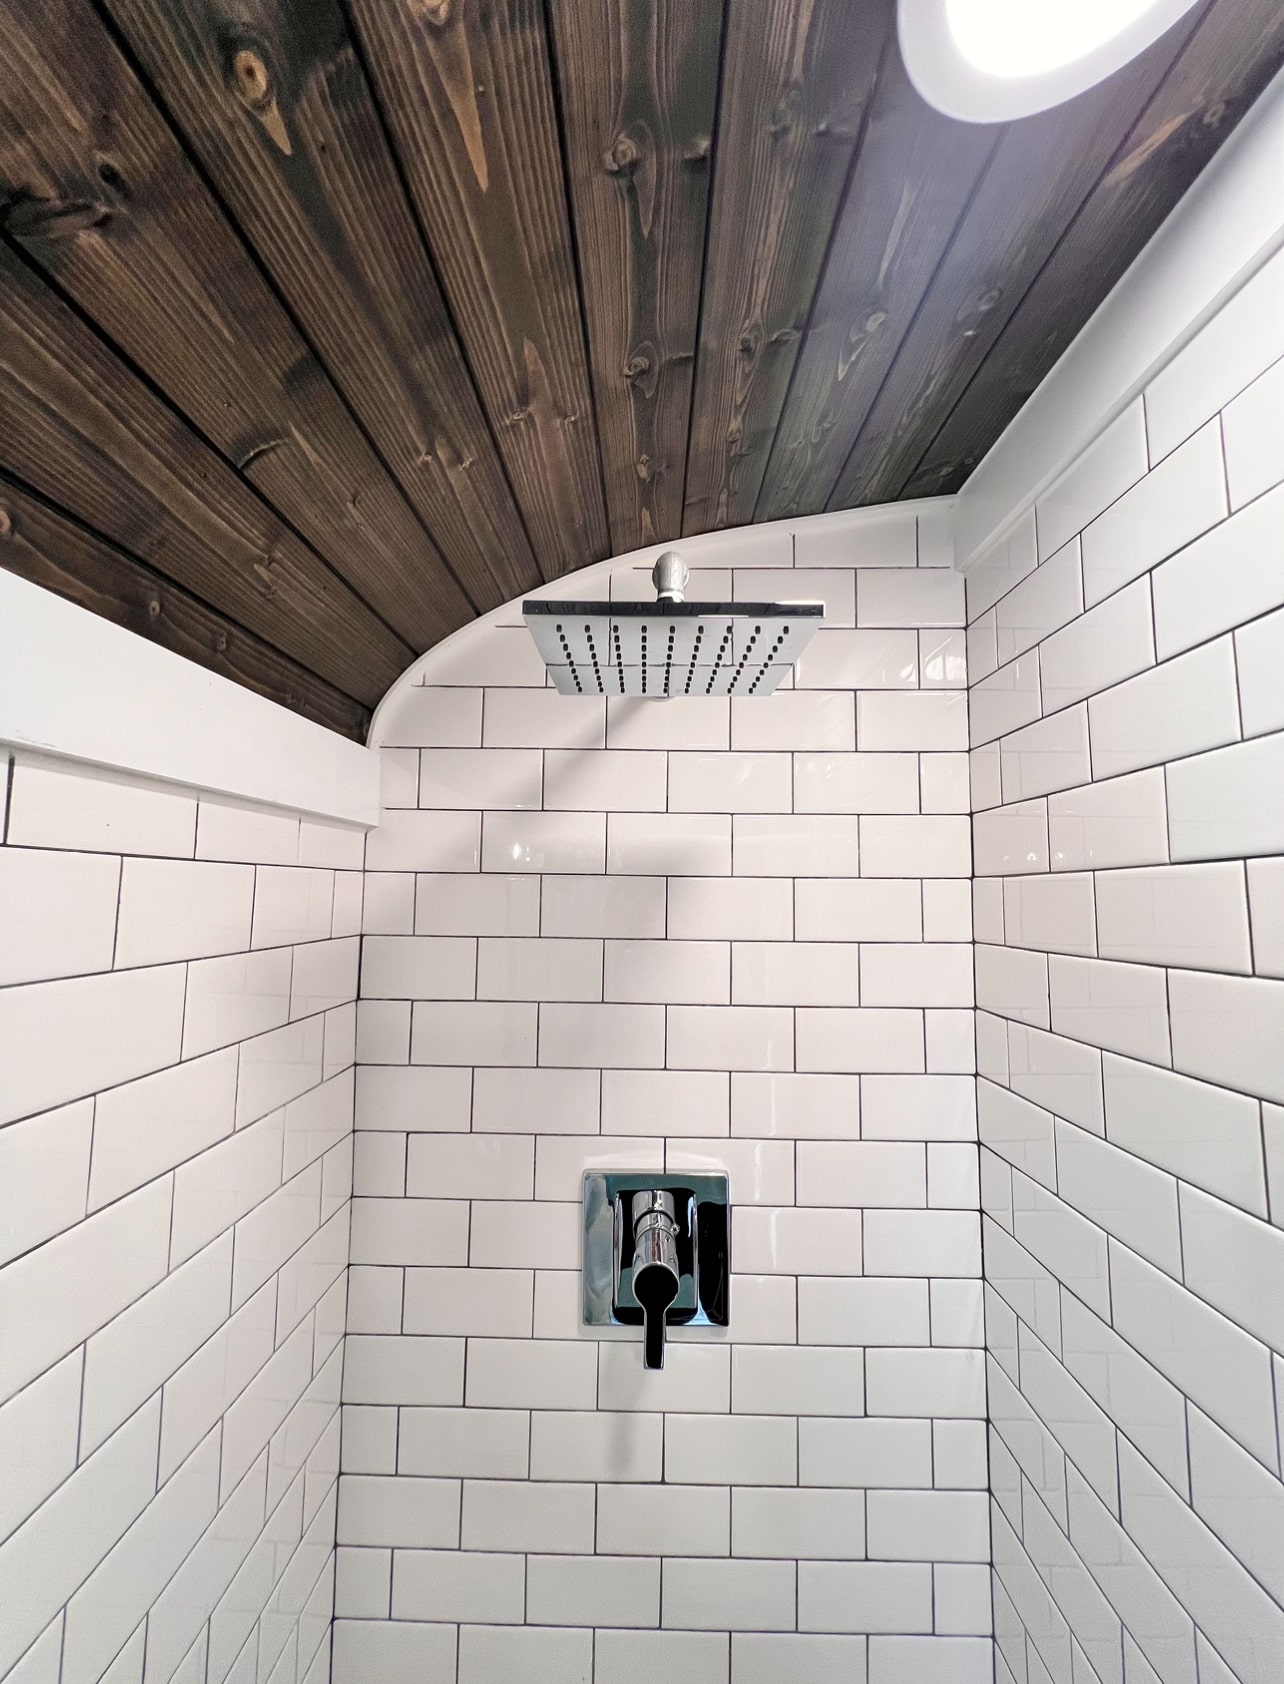
The bus gives you a steel shell, a flat-ish floor, and walls you can frame out just like a house. The hard part isn’t whether you can do it — it’s getting the waterproofing, drainage, and ventilation right. Those three things are what separate a bathroom that lasts five years from one that rots out in eighteen months. Get the boring stuff right and the pretty stuff takes care of itself. (See our guide on 7 Skoolie Floor Plan Ideas for Every Bus Size for more on this.)
One thing I want to clear up because I see this confusion a lot. When people ask “can you put a REAL bathroom in a bus,” they usually mean a permanent, built-in bathroom with a flushing toilet and a real shower — not a portable camping toilet behind a curtain. And yes, you absolutely can. The plumbing principles are the same as a house, just scaled down and adapted for a vehicle that moves.
Where Should You Put the Bathroom in Your Bus?
This is one of those decisions that seems simple until you start thinking about plumbing, weight distribution, privacy, and how the rest of your floor plan fits together.
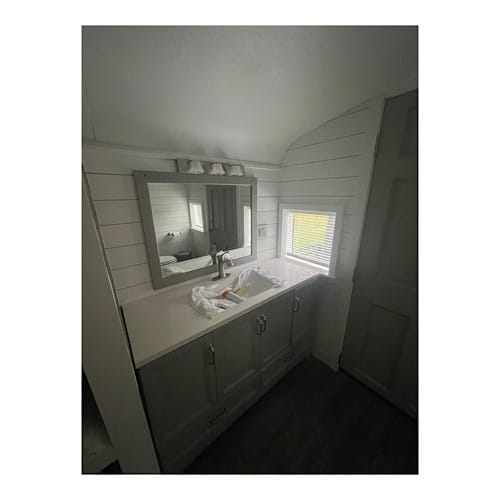
The rear of the bus is the most popular location and there are practical reasons for that. It gives you natural privacy from the rest of the living space, it’s close to the back of the frame where tanks typically mount, and on a rear-engine bus, the raised floor in the back gives you extra clearance underneath for drain pipes. I looked at maybe 60 floor plans during my research and rear bathrooms showed up in at least 40 of them.
“Why not put the bathroom at the very back by the double doors? Bedroom and closet, living area, kitchen near the front?”
This is actually a really common layout and it works well. The back doors give you easy access during the build for getting materials in and out of the bathroom area, and some people even keep one of the rear emergency exits functional as an outdoor shower access point. The main thing to think about is that a rear bathroom means everyone in the bus has to walk past the bedroom to use it, which matters if you have guests or kids.
Mid-bus bathrooms are less common but I’ve seen some clever ones. A builder I talked to at a meetup in Tennessee put his bathroom in the middle of the bus with the bedroom behind it and the kitchen and living area up front. His reasoning was that the bathroom acted as a sound barrier between the bedroom and the rest of the bus. I thought that was actually pretty smart. Downside is your plumbing runs are longer to reach the tanks underneath.
The thing that matters most for placement isn’t aesthetics or traffic flow — it’s proximity to your gray water tank. Every extra foot of drain pipe is another foot that can freeze in winter, another fitting that could leak, and another section that needs proper slope. Keep your bathroom as close to the tank location as possible, then design everything else around that.
Wet Bath vs Dry Bath: Which Is Better for a Bus?
This was one of the first decisions I had to wrap my head around, and it took me longer than it should have because people online throw these terms around like everybody already knows what they mean.
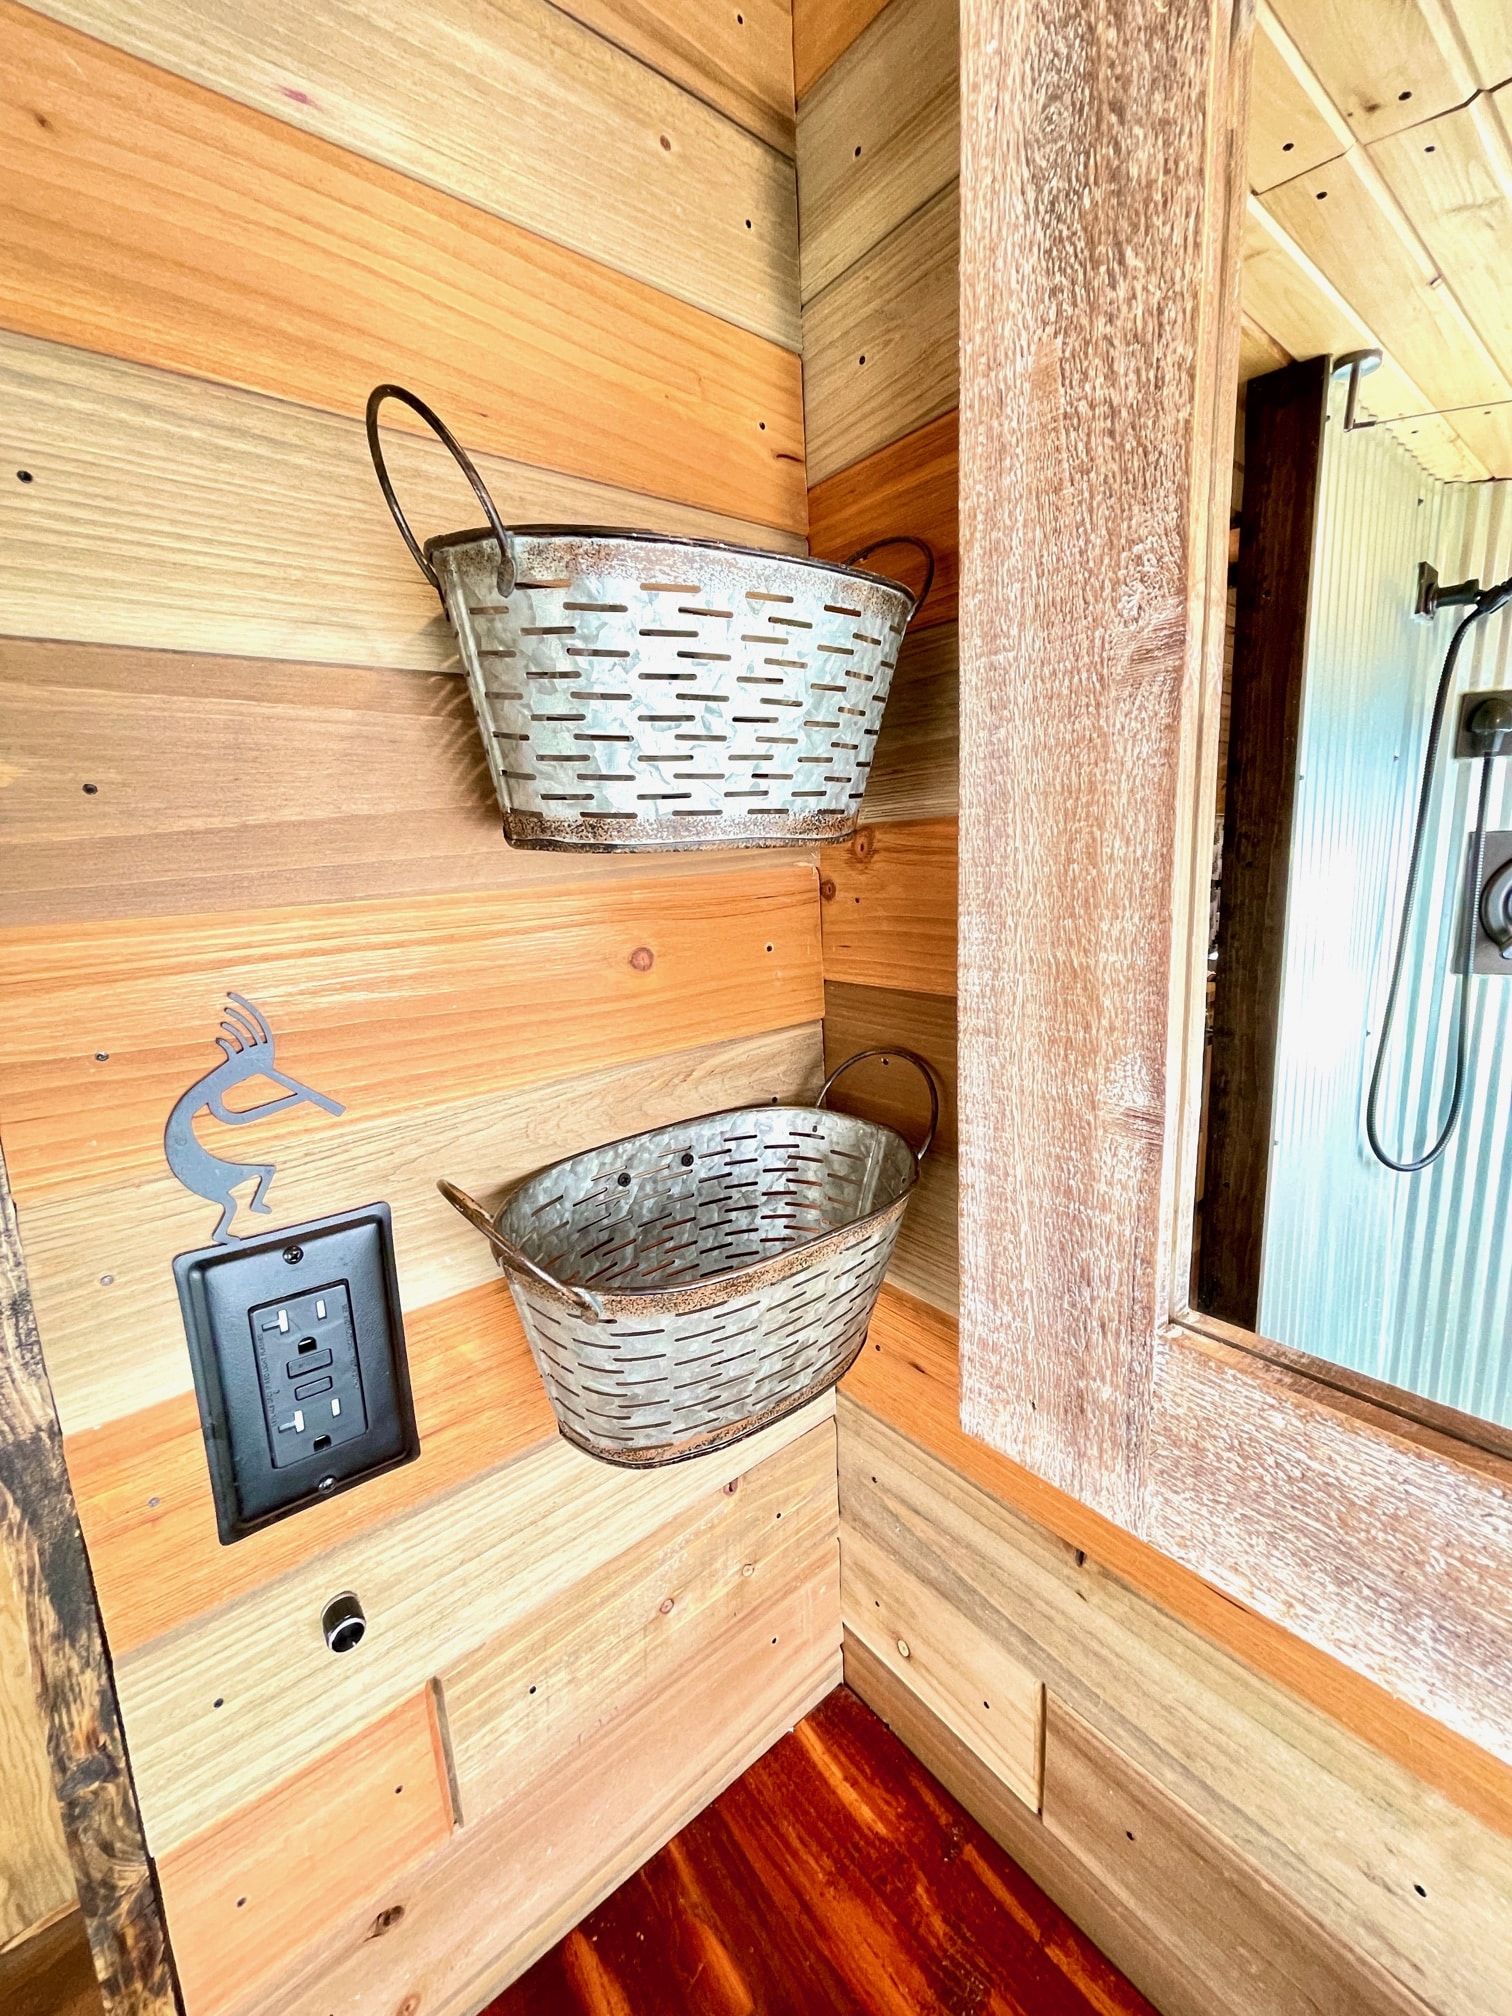
A wet bath is a single waterproofed room where the shower, toilet, and sometimes the sink all share the same space. When you take a shower, the whole room gets wet. Everything in there needs to handle water constantly. A dry bath separates the shower into its own enclosed area so the toilet and sink stay dry while you’re showering.
“How big is your bathroom? Can you actually shower comfortably?”
This question comes up on every single build tour video, and the answer depends almost entirely on whether you went wet bath or dry bath and what size bus you’re working with.
In a short bus, wet bath is almost always the answer. You just don’t have the square footage to dedicate separate walls for the shower. I saw builds under 25 feet and they were wet bath nine times out of ten. A typical wet bath in a short bus is about 3 feet by 3 feet — roughly 9 square feet total. Can you shower comfortably in that? Honestly, yeah. It’s not a spa experience, but you can turn around, reach your feet, wash your hair. Most people are surprised at how usable a small wet bath actually is once they try it.
Full-size buses over 30 feet open up the dry bath option. A dry bath with a separate shower stall typically needs at minimum 5 feet by 3 feet for the whole bathroom, with the shower taking up about a 30 by 30 inch section. That gives you a toilet area that stays dry and a dedicated shower that’s big enough to be comfortable.
The clever thing about a wet bath is the double use of space. Your toilet sits right there in the shower area. When you’re showering, you’re standing next to the toilet. When you’re on the toilet, you’re sitting in the shower. Sounds weird on paper but it’s how you get a functional bathroom in under 15 square feet, and thousands of people live with this setup full-time without complaint.
I was at a bus gathering talking to a couple who’d been full-timing for over two years in a 24-foot short bus. The woman told me their wet bath was “the room we spent the least time thinking about and the room that works the best.” Their whole bathroom was about 3 feet by 4 feet and they’d never once felt like it wasn’t enough. (See our guide on 6 Best Flooring Options for a School Bus Conversion for more on this.)
If you have the room for a dry bath though, it’s the more comfortable option long-term. Keeping half your bathroom dry all the time means you can store things in the toilet area without worrying about them getting sprayed, and the floor near the toilet isn’t slippery right after someone showers.
Toilet Options: Composting, Cassette, Marine, RV, and Incinerating
“What kind of toilet do you use?”
This was one of the first questions I tried to answer when I started researching, and I figured there’d be two options with one being obviously better. Wrong. There are five main categories, and which one makes sense depends on your budget, your travel style, and how much plumbing complexity you’re willing to deal with.
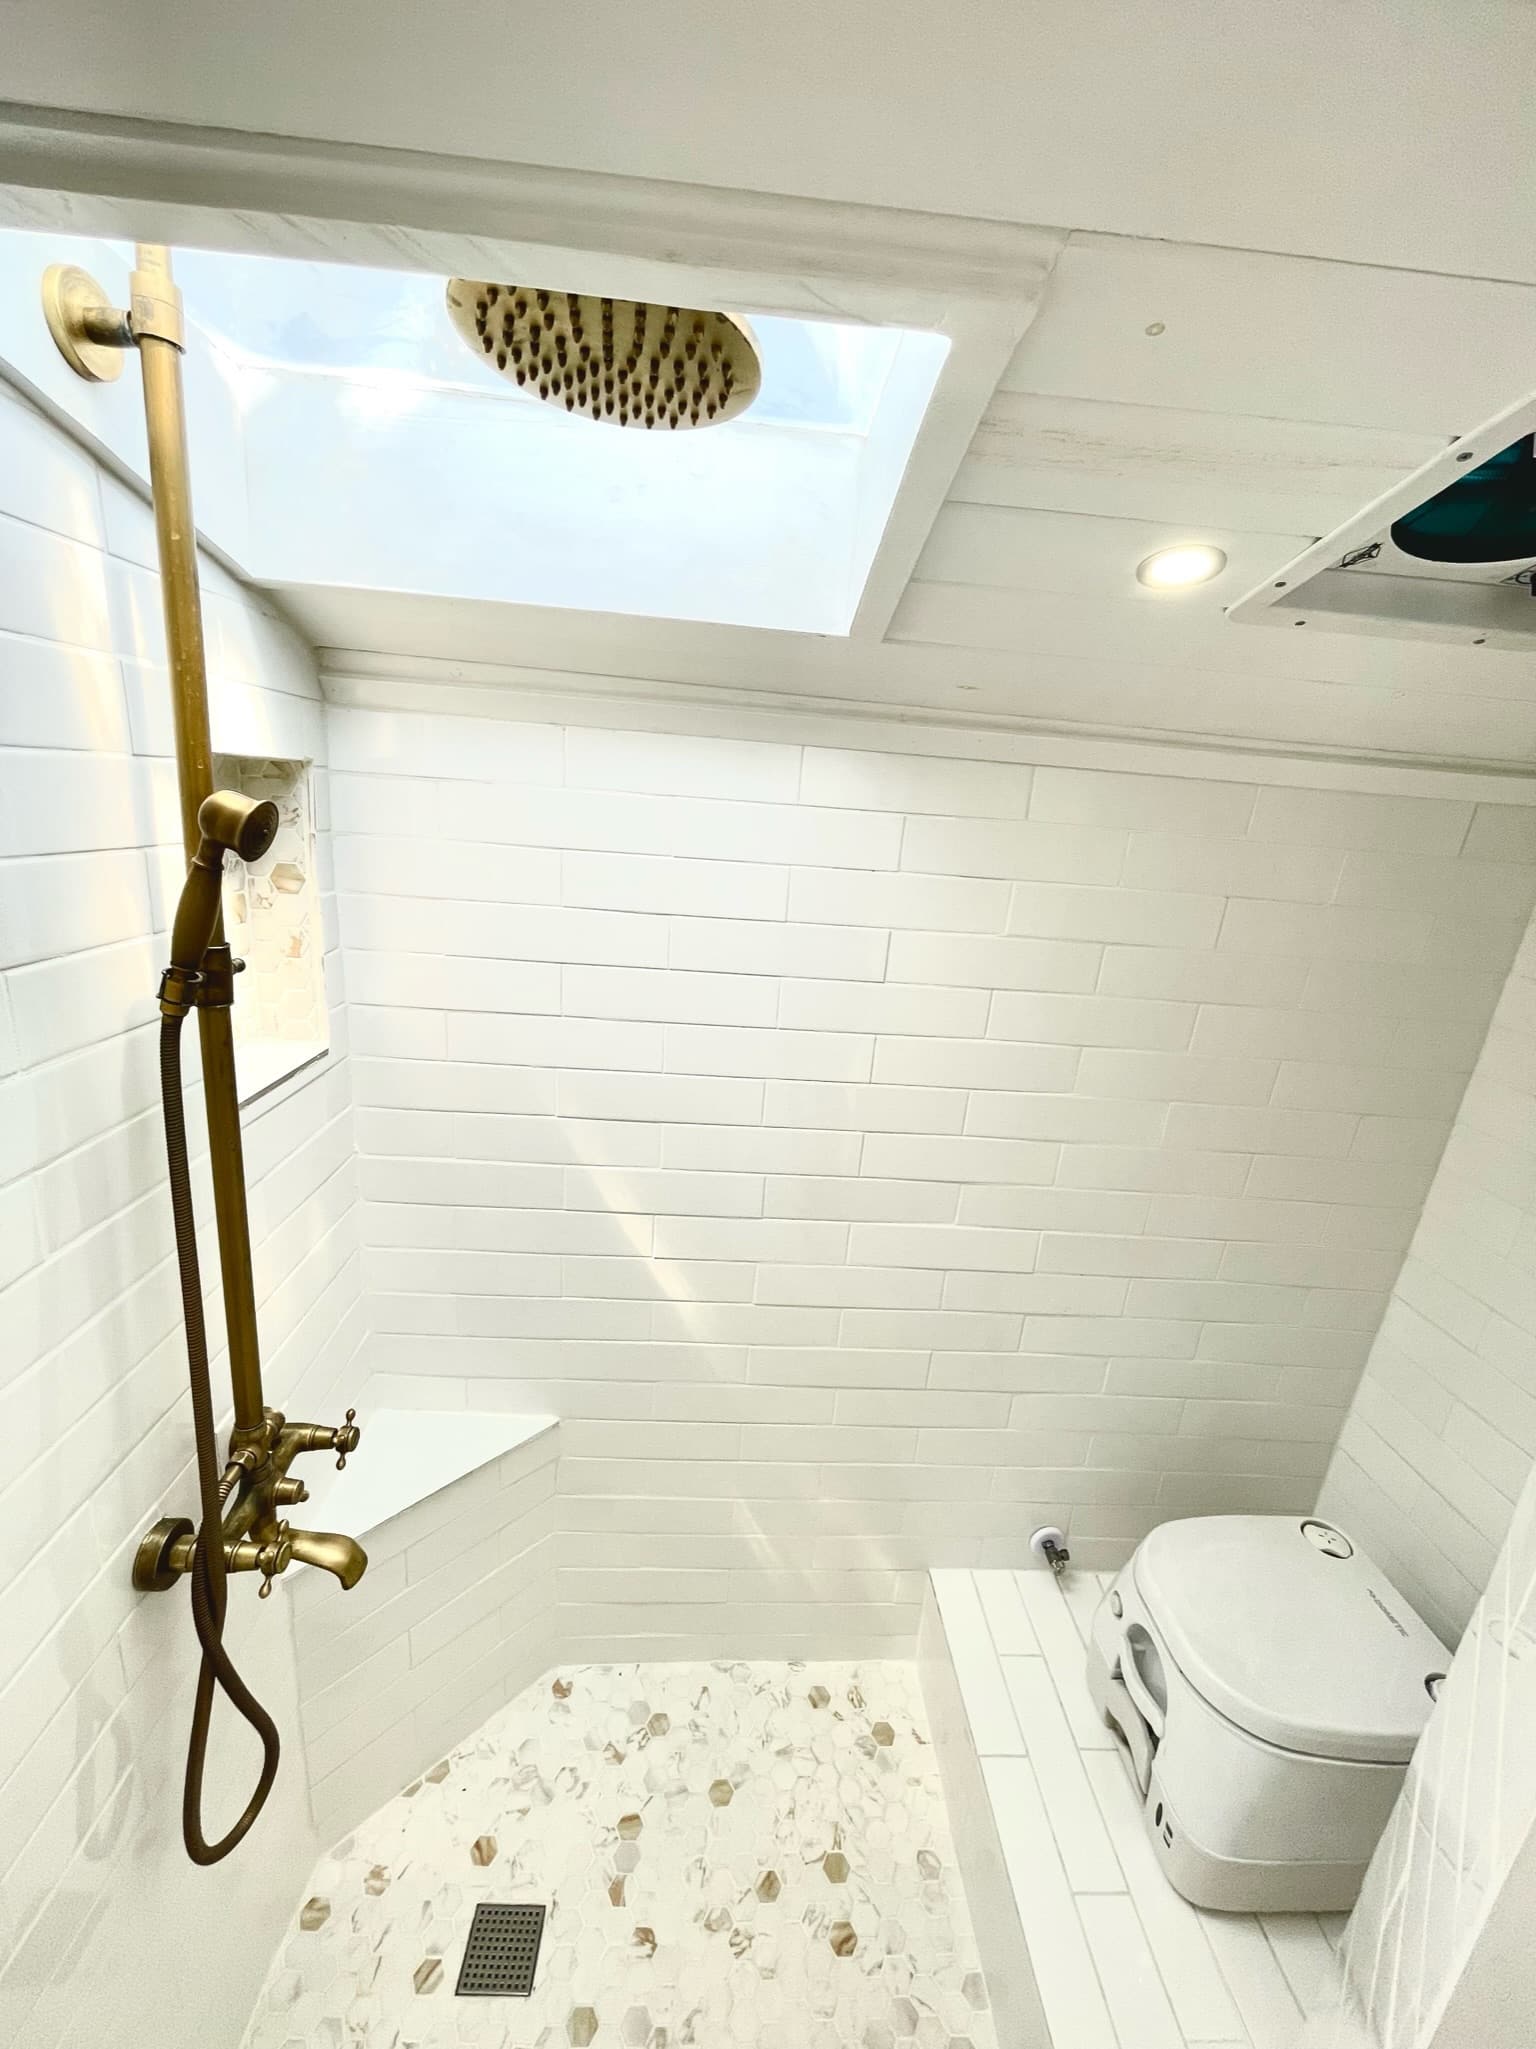
Composting toilets are what most skoolie builders end up with, and after looking at everything, I completely understand why. A Nature’s Head runs about $960, an Airhead around $1,100, and you can build a DIY version with a urine diverter and a five-gallon bucket for under $100. The basic concept is separation — liquids go one way, solids go another. The solids drop into a chamber filled with coconut coir or peat moss, and you churn it with a handle on the side to help it decompose. A small 12V fan vents everything outside through a hose. No water, no plumbing, no black water tank.
You empty the solids every 3 to 6 weeks depending on how many people are using it. By that point the material has broken down enough that it looks and smells more like dirt than anything else. The liquids jug holds about 2 gallons on a Nature’s Head and needs emptying every 2 to 3 days.
“Does the composting toilet stink?”
I asked this exact question to a couple at a bus meetup who’d been running a Nature’s Head for three years straight. The guy told me the only time it ever smelled was the first week when he forgot to hook up the vent fan. Once the fan was running, nothing. His wife said it smelled less than the flush toilet in their old apartment. I don’t know if I’d go that far, but the point is these things work way better than most people expect. The 12V fan creates negative pressure and pulls everything outside. If someone tells you composting toilets stink, the first question to ask is whether their vent fan was connected and running. That’s the issue almost every time.
Cassette toilets are the budget option. A Thetford Porta Potti runs $100 to $150. It’s a portable unit with a removable waste tank you haul to a dump station every few days. Cheaper upfront but more ongoing hassle. You’re dealing with chemical treatment and a dumping routine that gets old. Some people are totally fine with this arrangement, especially if they’re part-timing or still figuring out their long-term setup.
Marine flush toilets look and feel more like a household toilet. They use a small amount of water per flush and connect to a black water holding tank underneath the bus. Jabsco and Dometic make the popular models in the $200 to $500 range. The flush mechanism is manual on cheaper models — a hand pump on the side — and electric on higher-end ones. The downside is you now need a black water tank, sewer plumbing, vent pipes, and regular dump station visits.
Standard RV toilets work similarly to marine toilets but are designed specifically for motorhomes. A foot pedal opens a valve, water rinses waste into the holding tank below. Thetford Aqua-Magic is the one you see in most factory RVs. Same deal — you’re adding a full black water system to make it work.
Incinerating toilets are the option I didn’t even know existed until someone mentioned the Cinderella brand in a forum thread. These literally burn waste to ash using either propane or electricity. No water, no tanks, no dumping — just a small amount of sterile ash you empty every few uses. The appeal is obvious. The problem is cost. A Cinderella incinerating toilet runs $4,000 to $5,000. They also need either a propane connection or a significant electrical draw (around 1,500 to 2,000 watts per cycle), and they take 45 minutes to an hour to complete a burn cycle. I talked to one builder who had an EcoJohn incinerating model and he loved it in theory but said the electrical demand was brutal on his solar system. It’s a niche option for people with big budgets and big power setups.
“What did you use for a toilet since you didn’t mention a black water tank?”
This comes up a lot because people assume toilet automatically equals black water tank. In the traditional RV world, that’s true. But the skoolie community went a completely different direction. Without a black water tank, your options are composting, cassette, incinerating, or a basic bucket system. Composting is the most set-it-and-forget-it of the group. The whole point is that you don’t need the black water infrastructure at all, which saves hundreds of dollars in plumbing, a couple hundred pounds of tank weight, and the hassle of finding dump stations.
For most skoolie builds, I landed on composting as the recommendation. It eliminates an entire plumbing system from your build. No black water tank, no dump valve, no sewer pipe runs, no roof vent for sewer gas. That’s weight you don’t carry and money you don’t spend.
Shower Design and Construction
Building the shower is where the creative problem-solving really kicks in. The basic concept is simple — you need a waterproof basin on the floor that collects water and sends it to a drain, which connects to your gray water system underneath. How you get there is where things branch out in interesting ways.
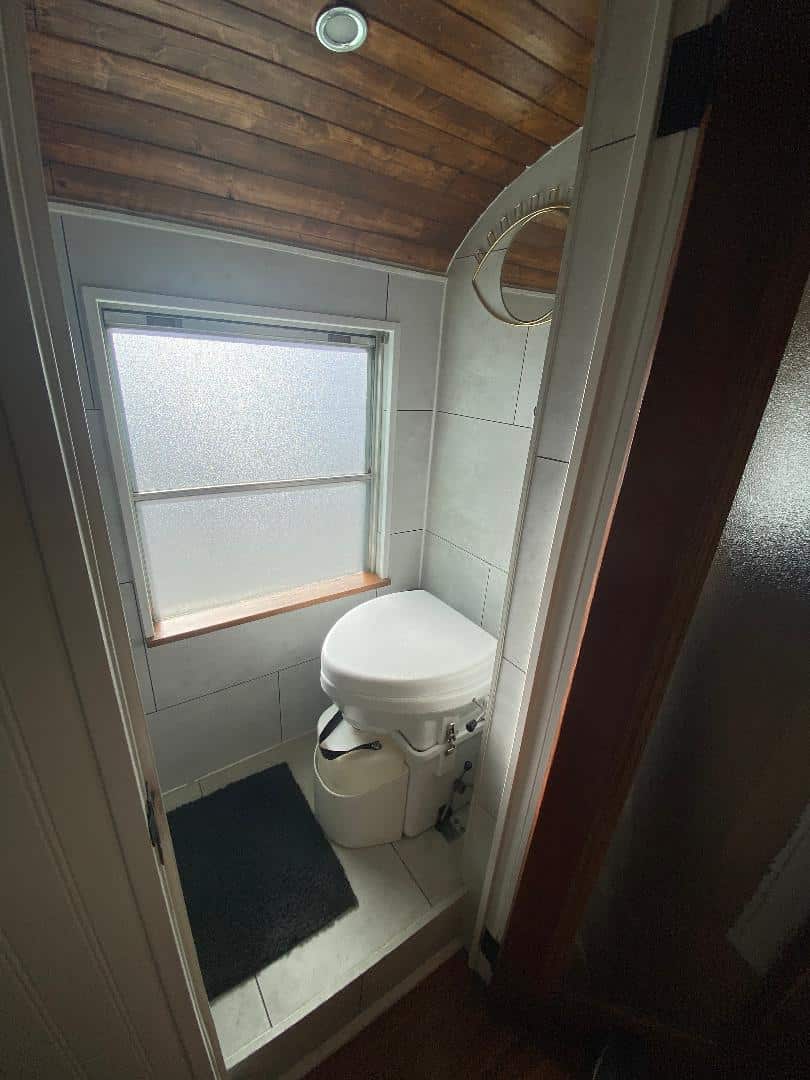
Premade shower pans are the easiest route if your dimensions cooperate. You can buy RV shower pans in standard sizes, with 24×32 inches being common. They drop right in with a drain fitting already built in. If your bathroom dimensions don’t match standard pan sizes, you’re either adjusting your layout or cutting the pan, which kind of defeats the purpose of buying a premade one.
Custom shower pans are what most builders end up with. The usual approach is plywood framed with a slight slope toward the drain — about a quarter inch of drop per foot. Then a waterproof membrane goes over the plywood, and your finish material on top. The drain fitting goes through the bus floor and connects to PVC pipe underneath.
Stock tank or galvanized tub is the option that genuinely impressed me when I first came across it. One builder cut a drain hole in a small galvanized livestock tub, sealed it with marine-grade silicone and a standard drain fitting, and framed around it with cedar. Looked incredible and was basically leak-proof because the tub is one solid piece of metal. Total cost was around $80. That’s the kind of resourceful solution that makes the skoolie community fun to research.
Whatever you go with, the drain connection underneath follows the same basic approach. Standard shower drain to 2-inch PVC, through the bus floor, into the gray water tank. PVC cement on every joint. Pipe strapping to secure the run to the underside of the bus so nothing bounces loose while driving.
“How does the shower tile not crack when you drive and hit bumps?”
This is probably the single most asked question about skoolie bathrooms and I totally understand why. You’re driving a vehicle down the highway at 60 mph, hitting potholes, dealing with constant vibration. How does tile survive that?
The short answer is it doesn’t crack — if you do it right. The bus suspension absorbs most of the road vibration, and the tile is bonded to a solid substrate that moves with the bus as one unit. The keys are flexible thinset mortar and flexible grout. Not the rigid stuff you’d use in a house. And keeping the tiles small. Subway tile and mosaic sheets flex with the bus because there are more grout joints absorbing the movement. Large format tiles — like 12×24 or bigger — have more surface area under stress and are significantly more likely to crack.
I found a builder who had been living in his bus for over two years with subway tile in the shower. I asked him point blank if anything had cracked. He said two tiles had hairline cracks, both in the corners where two walls met, and he just re-grouted them with flexible caulk. Everything else was holding up perfectly. Another builder I came across had used large 12×12 porcelain tiles and half of them had cracked within the first year. Same bus, same roads — the difference was tile size and grout flexibility.
“How’s the tile holding up?”
Now here’s the honest truth. Most experienced builders I talked to had skipped real tile entirely for shower walls and gone with alternatives that are faster, cheaper, and eliminate the cracking question completely.
FRP panels — fiberglass reinforced panels — are what commercial restaurant kitchens use. They’re waterproof out of the box, they handle vibration without any issues, and you can install a whole shower’s worth in an afternoon. They won’t win any beauty contests compared to tile but they’re practically indestructible.
Vinyl plank mounted vertically is another option I kept seeing in newer builds. Some of the luxury vinyl plank on the market now looks genuinely good on walls. It’s waterproof, flexible, and some varieties snap together without adhesive. I saw shower walls done with vertical shiplap-look vinyl that probably took a couple hours to install. Real tile in the same space would’ve been a weekend project minimum.
PVC wall panels are the newer option that kept popping up in builds from the last year or two. They look like tile but they’re lightweight plastic panels that click together. No grout, no thinset, no waterproofing membrane needed behind them because the panels themselves are waterproof.
If you want real tile and you’re willing to put in the work, go for it. Small tiles, flexible thinset, flexible grout, cement board substrate. It’ll hold up. But if the cracking possibility stresses you out, the alternatives are just as functional and way less work.
“I absolutely love that bathroom. I just can’t wrap my head around how to make the wood plank walls waterproof”
This one caught my eye because I had the same question. Wood plank shower walls look amazing in photos, and I kept seeing them in build tours, but water and wood don’t get along. The builders doing it successfully were using one of two approaches. Either they were applying multiple coats of marine-grade spar urethane or epoxy resin to the planks, sealing every surface including the backs and edges before installation. Or they were using the wood planks as a decorative layer over a fully waterproofed substrate — meaning the real waterproofing was behind the wood, and the wood was just there to look pretty. If the wood eventually degrades from moisture, the waterproof membrane behind it is still doing its job.
Waterproofing: The Section Where You Don’t Cut Corners
If I had to pick one part of this entire guide to take the most seriously, it’s this. Water is the enemy in a bus bathroom. Shower spray, condensation, sink splashes — all of it going into a metal box that will rust, next to wood framing that will rot, surrounded by insulation that will grow mold. Every surface that might see water needs to be sealed.
For the shower walls, the main waterproofing layer goes behind whatever finish material you choose. RedGard or Hydroban are liquid-applied membranes that you roll or brush onto cement board or plywood. Once cured, they create a seamless waterproof barrier. I’ve seen builders use these behind tile, behind FRP panels, behind vinyl plank walls. One coat minimum but two is better, and let each coat cure fully before adding the next.
For the shower floor, the same liquid membranes work but you can also use sheet membranes like Schluter Kerdi or even a basic pond liner. The key detail that people miss is that the membrane needs to go UP the walls at least 6 inches above where water could pool. Ideally higher. And every seam needs to overlap and be sealed with the same membrane product.
Behind the walls, between your finish material and the bus skin, closed-cell spray foam handles both insulation and moisture barrier in one shot. If you’re using rigid foam board instead, tape every seam with waterproof tape. Zero gaps. Moisture finds the gaps you didn’t think about.
The ceiling above the shower is the thing people forget about constantly. Steam rises. If your bathroom ceiling isn’t moisture-resistant, you’re going to get condensation dripping down onto everything. FRP panels work great for this. Painted marine plywood works too. Regular drywall absolutely does not — it’ll sag and grow mold within months. I came across a builder who used drywall on his bathroom ceiling thinking it would be fine since it wasn’t “in” the shower, and he had visible mold within four months. Ripped it all out and replaced it with FRP.
Ventilation: More Important Than You Think
This might be the most critical section for long-term livability, and I can’t stress this enough. First-time builders almost always underestimate how much ventilation a bus bathroom needs.
“No overhead fans for ventilation???”
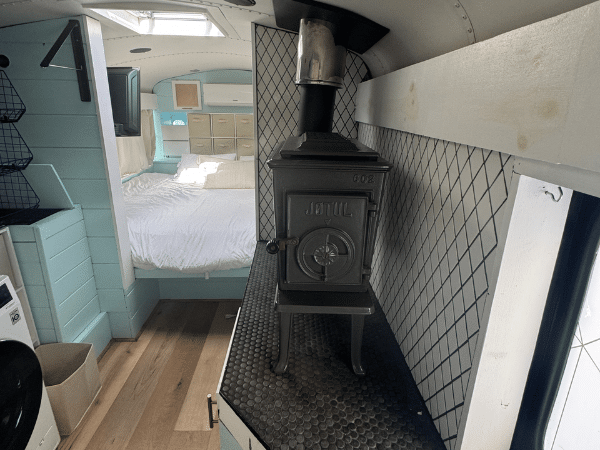
I saw this comment on a build tour video and it hit a nerve because the builder genuinely had no bathroom ventilation plan. A bus is a sealed metal box. When you take a hot shower in a sealed metal box, you create a massive amount of moisture that has nowhere to go. If it doesn’t exit through a vent, it goes into your walls, your ceiling, your insulation. Mold.
I read a post from a builder who did everything right on waterproofing and still found mold behind his bathroom wall after six months. Turned out his only ventilation was a small computer fan in the ceiling. Wasn’t close to enough air movement.
At minimum you want a proper vent fan in the 50 to 80 CFM range, vented through the roof to the outside. A MaxxAir or Fantastic Fan works great and most builders already have one somewhere in the bus, so adding another above the bathroom is a familiar install. Run it during every shower and for at least 15 to 20 minutes after. Some people wire theirs to a humidity sensor so it kicks on automatically.
Here’s something that caught me off guard when I first read about it. If you have a composting toilet in the bathroom, it already has its own vent fan running 24/7. So you’ve got two exhaust sources pulling air out of one room. That’s good for air quality, but you need to make sure replacement air can actually flow in. A sealed bathroom with two exhaust fans and no fresh air intake means neither fan works efficiently because they’re fighting a vacuum. A gap under the bathroom door or a small vent in the door itself fixes this completely.
Plumbing Basics for the Bathroom
The plumbing breaks down into two totally separate systems: supply lines bringing clean water in, and drain lines carrying dirty water out. Different materials, different rules.
“Why did you choose to use SharkBites on some of your plumbing and then regular crimp fittings on others?”
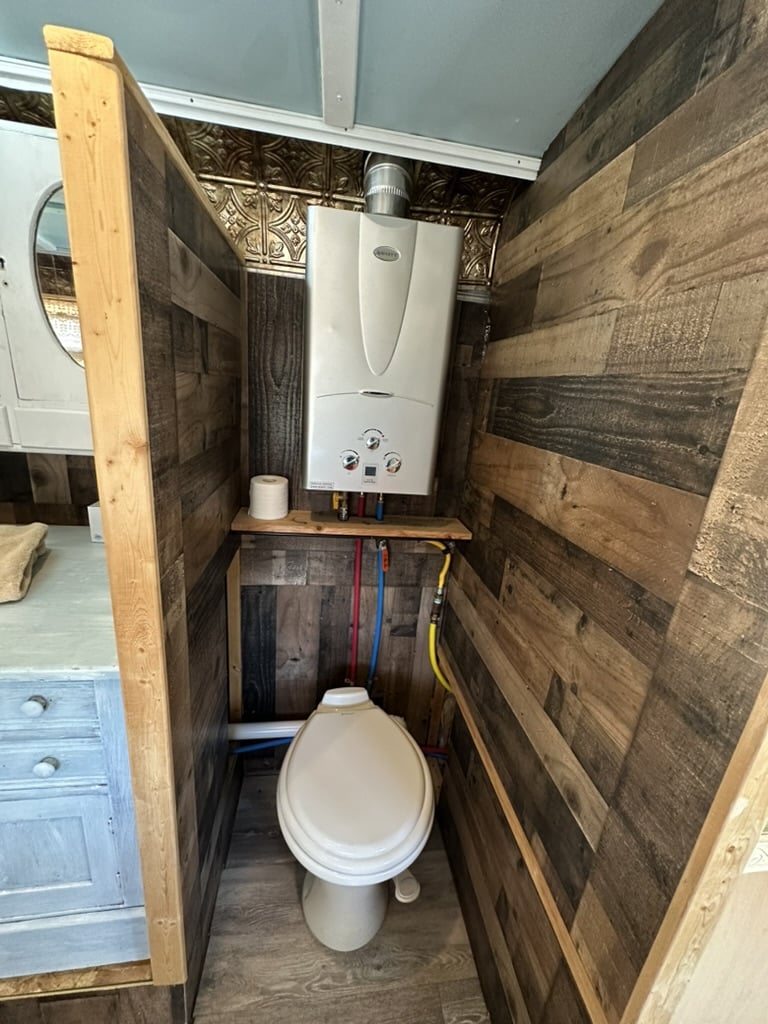
This question came from a build tour comment and it’s actually a really practical discussion. The supply side uses PEX tubing — flexible plastic pipe that handles the vibration of a moving vehicle without cracking. Cold water comes from your freshwater tank, gets pushed through the system by a 12V RV water pump like a Shurflo or Flojet, and splits at a tee fitting between your cold fixtures and your water heater. Hot water runs from the heater back to the shower and sink.
PEX connects with either crimp rings or push-to-connect fittings (SharkBites). I personally leaned toward push-to-connect for a bus build because you can take connections apart later if something needs maintenance, and you don’t need a special crimping tool. The tradeoff is SharkBites cost more per fitting and some plumbers don’t trust them long-term in a vehicle that vibrates. Crimp fittings are cheaper and more permanent. Honestly, both work. The builders I talked to who’d been on the road longest used a mix — crimp fittings for the permanent straight runs and SharkBites at points where they might need future access.
The drain side uses PVC pipe. Your shower drain and sink drain connect to 1.5 or 2 inch PVC that slopes downward through the bus floor to the gray water tank underneath. Every joint gets PVC cement. Every horizontal run needs at least a quarter inch of slope per foot so gravity moves the water. P-traps under your sink and shower keep sewer gas from coming back up through the drains.
A couple things I picked up from builders who’d been doing this a while. First, your drain pipes under the bus are exposed to weather. In winter, water sitting in an exposed pipe at 20 degrees is going to freeze and crack. Heat tape wrapped around the pipes with foam insulation over it is the standard solution. Running your drain lines steep enough that water doesn’t sit in them helps too.
Second, try to plan your bathroom near the gray water tank location. Every extra foot of drain pipe is another potential freeze point, another fitting that could leak, and another section that needs proper slope. I talked to one builder who designed a beautiful floor plan and then realized his shower drain was 15 feet from the tank with three turns in between. He called it his single biggest build regret.
Where Does the Gray Water Go?
“Where does the gray water go? Disposal of grey water?”
Gray water is everything from your shower and sinks. It goes into a tank mounted underneath the bus, typically 20 to 40 gallons for a full-time couple. Most people I talked to landed around 30 gallons, which gives you a few days between dumps if you’re conservative with water. The tank straps to the steel frame with metal strapping or a custom bracket. It needs a dump valve on the bottom for emptying at RV dump stations and a vent on top so it doesn’t create a vacuum that slows your drains.
Sizing the tank is a balancing act that I didn’t fully appreciate until I really dug into the weight math. Water weighs about 8.3 pounds per gallon. A full 40-gallon gray water tank is over 330 pounds just sitting there under your bus. Too small and you’re hunting for dump stations constantly. Too big and you’re hauling serious weight everywhere you go, and weight matters in a bus where you’re always watching your GVWR.
“Can’t the black water tank and the grey water tank just go into the same tank?”
This comes up surprisingly often and I understand the logic — it’s all waste water, why have two tanks? The issue is mainly practical. Gray water from dishes and showers has soap and food particles but it’s relatively clean. Black water from a flush toilet has human waste, and it needs different chemical treatment and more careful disposal. Mixing them means your entire combined tank needs to be treated as black water for disposal purposes, you need to use the formaldehyde-based chemicals in a bigger tank (more expensive), and RV parks that allow gray water dumping on the ground won’t let you dump a mixed tank.
That said, most skoolie builders dodge this entire question by going composting on the toilet and only having a gray water tank. No black water system at all. It’s one of those areas where the skoolie community collectively figured out a simpler path than the traditional RV approach.
Some builders go with a simple gray water drain that empties directly onto the ground through a valve — no tank at all. This works for boondocking in rural areas where gray water dispersal is legal. But it’s not legal everywhere, and most RV parks require you to connect to their sewer hookup or have a contained tank. I’d recommend having a tank even if you plan to dump on the ground sometimes. It gives you options.
Hot Water Heaters
“How does it work getting enough hot water for showers?”
I found a really helpful comment from a builder who actually did the math on his hot water usage. He timed his showers, measured the flow rate, and figured out he used about 2.5 gallons per minute and could take a comfortable shower in 6 minutes — so roughly 15 gallons total with hot and cold mixed. That kind of real-world data is way more useful than manufacturer specs.
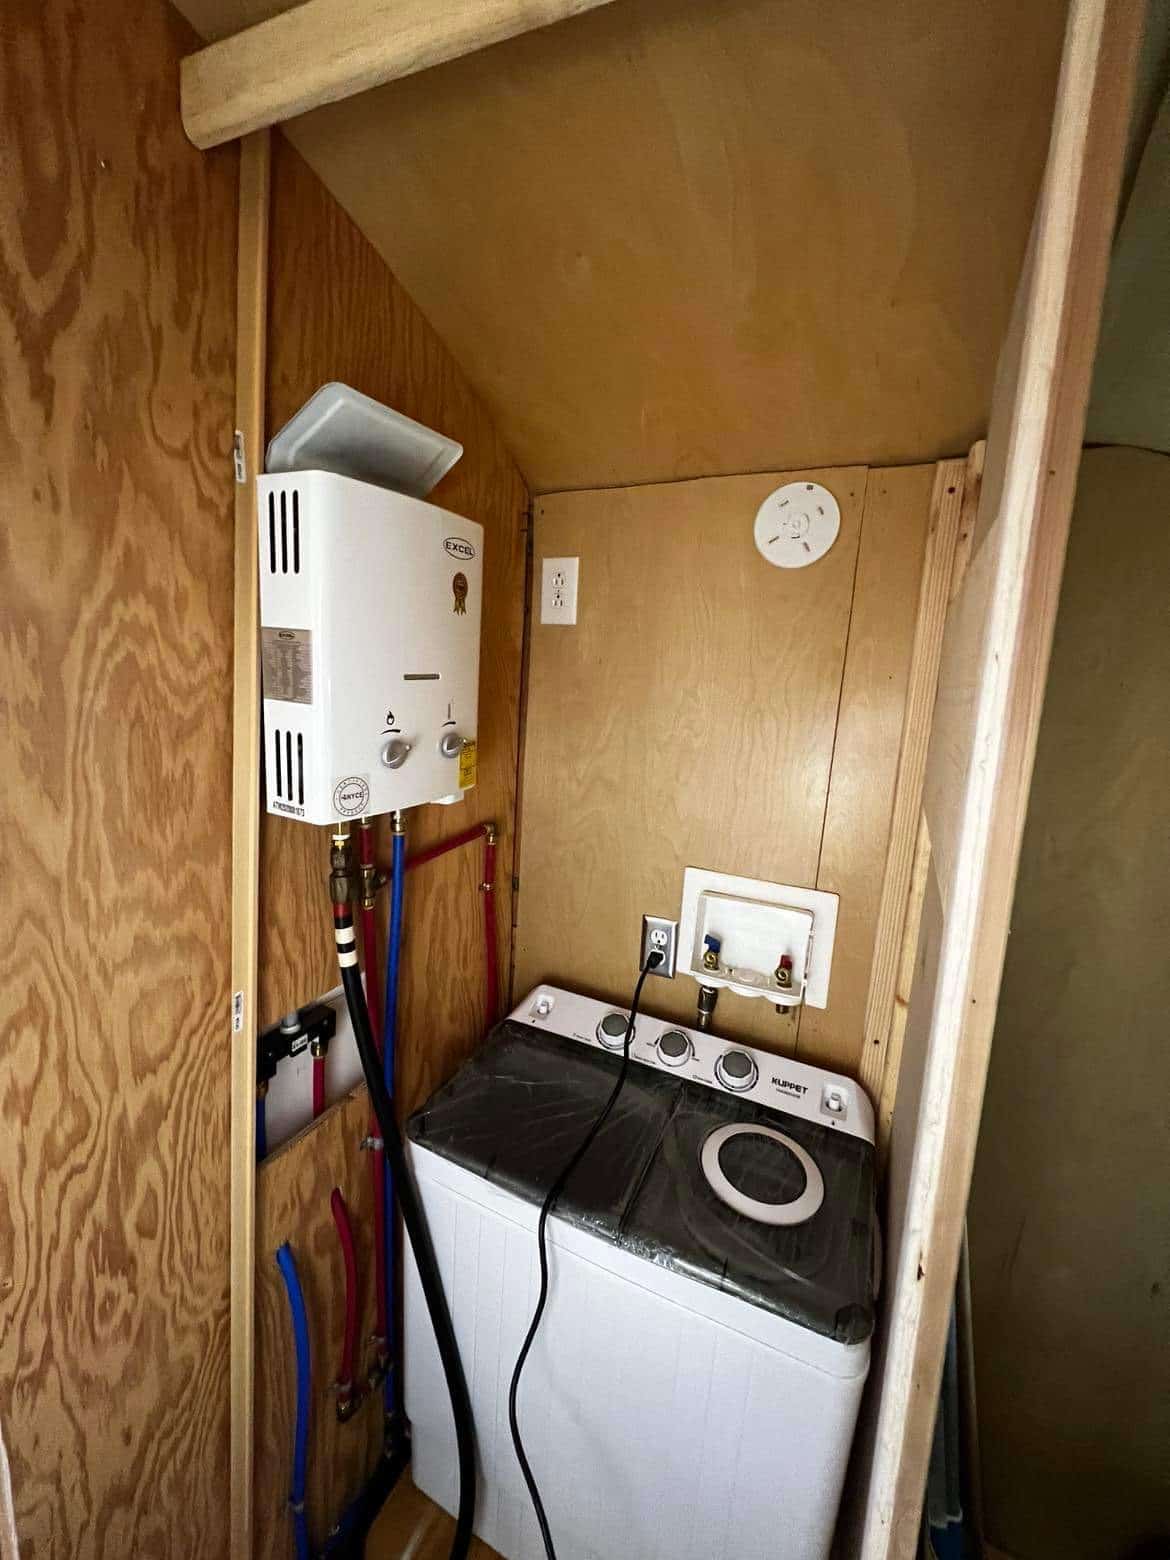
There are three main approaches to hot water in a bus.
Tankless propane water heaters are the most popular option. A Camplux or Eccotemp unit costs $100 to $250, mounts on the wall or outside the bus, and heats water on demand as it flows through. No holding tank, no standby energy loss, and the hot water literally never runs out as long as you have propane and water pressure. A small propane tank lasts weeks of daily showers. These need to be vented outside since they produce combustion exhaust, and they require a minimum water flow rate to activate — usually around 0.5 gallons per minute. If your water pump pressure is too low, the heater won’t fire. Most 12V RV pumps put out enough pressure, but it’s worth checking the specs before you buy.
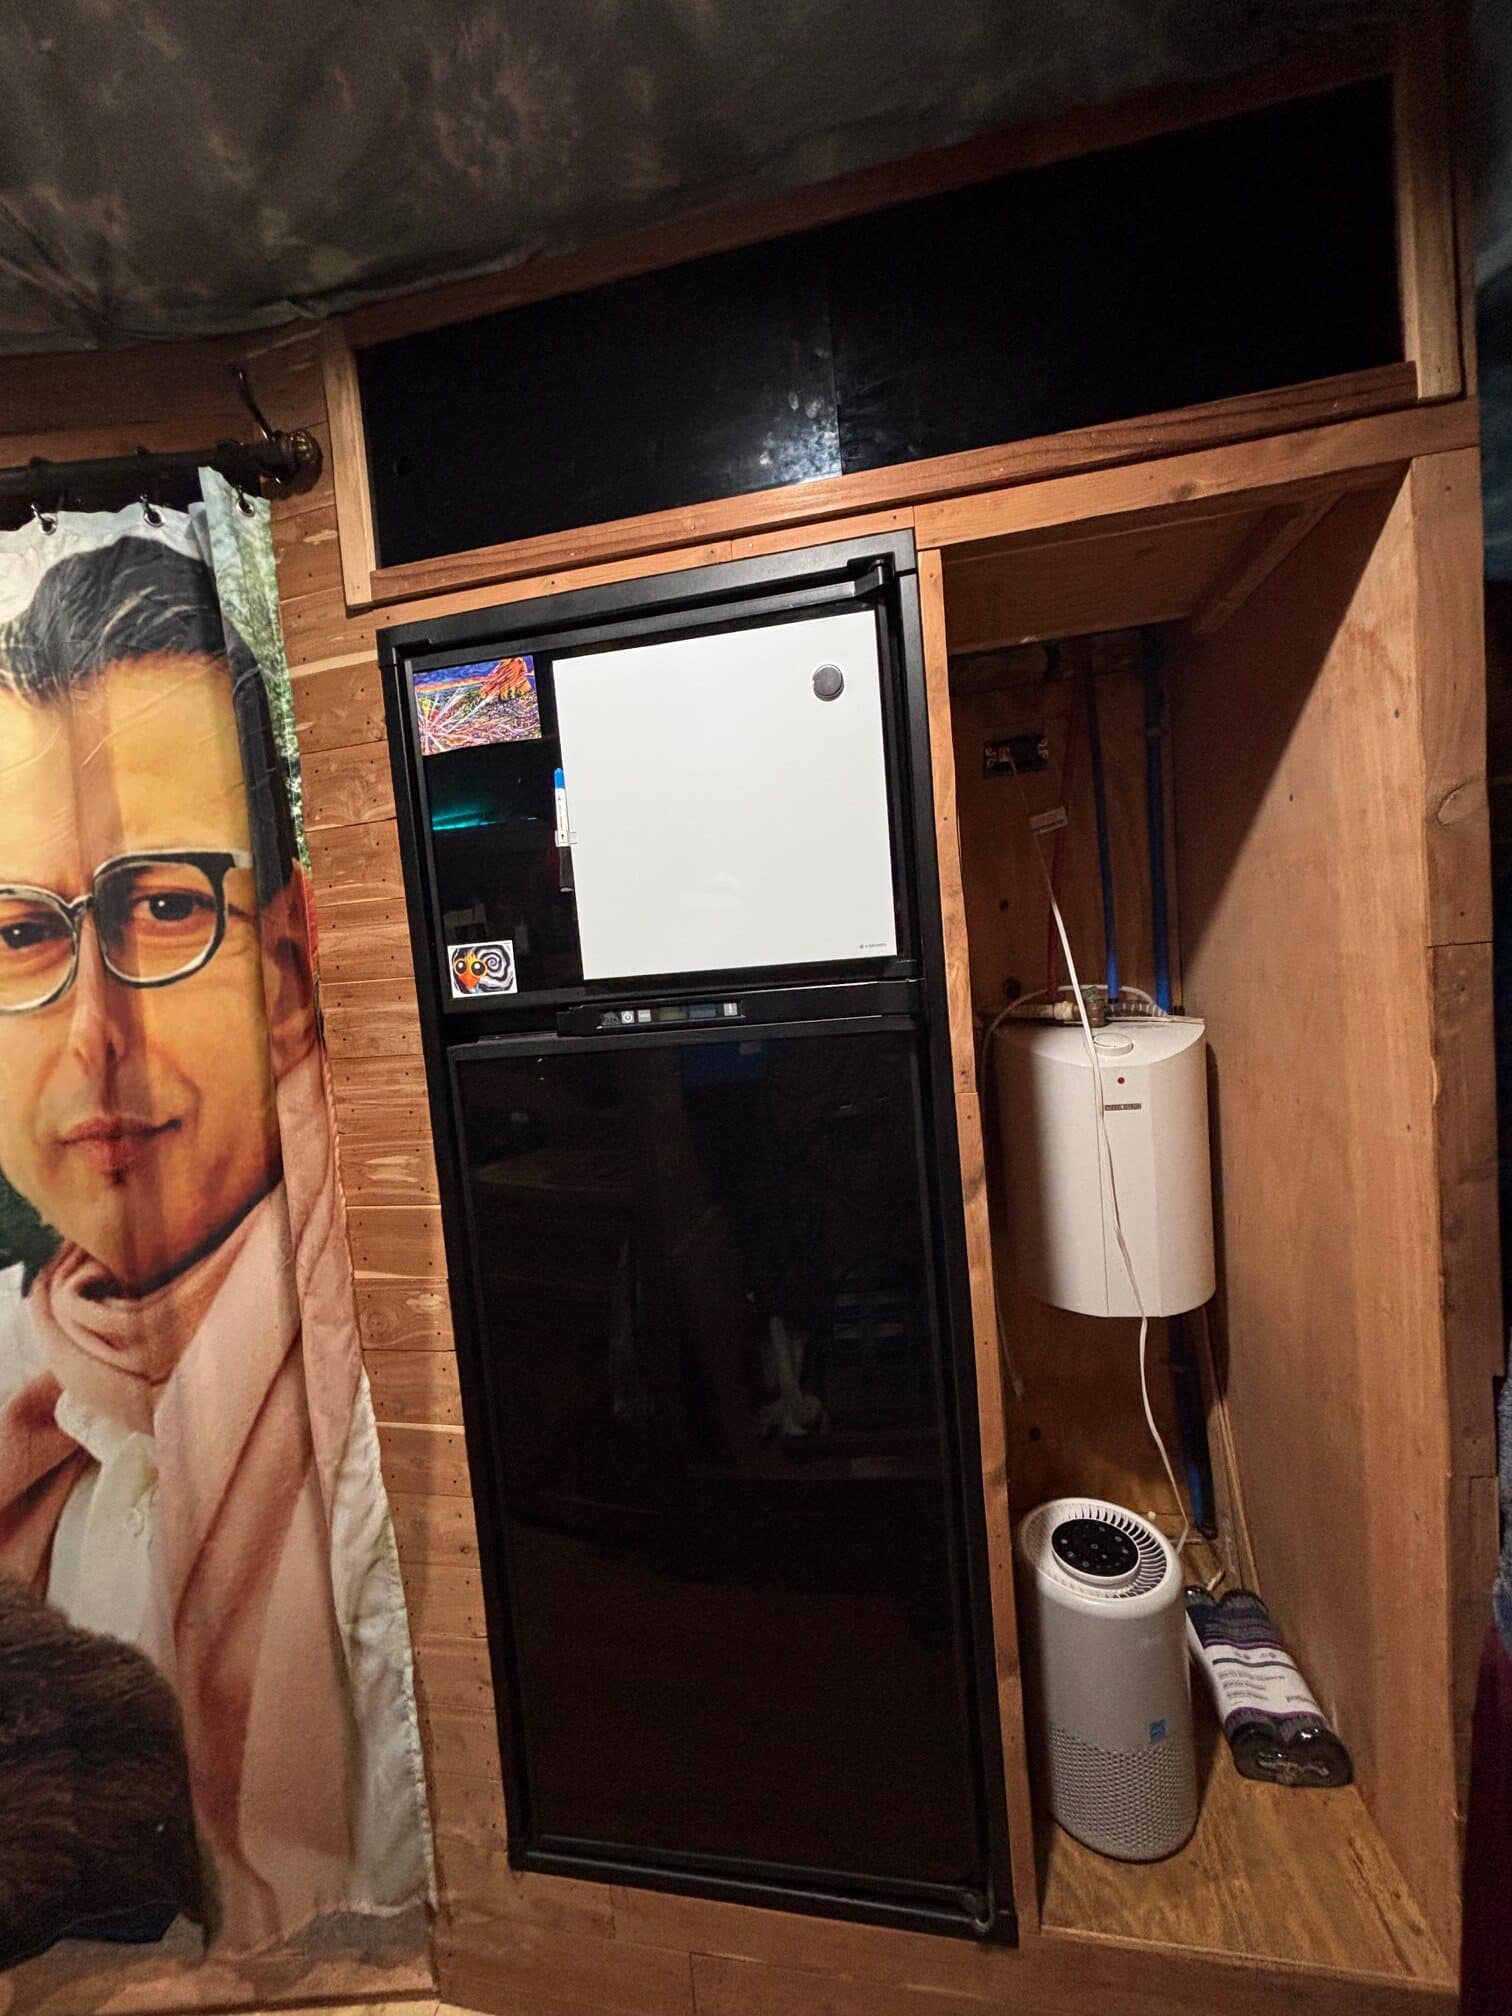
Small tank water heaters are the traditional RV approach. Suburban and Atwood make 6 and 10 gallon propane water heaters designed for RVs. You get a set amount of hot water, then you wait for the tank to reheat. A 6-gallon tank gives you one decent shower before the hot water runs out. For a solo person that’s fine. For a couple, the second person is waiting 20 to 30 minutes. These take up more space than tankless units and they’re heavier, but they’re dead reliable and every RV tech in the country knows how to work on them.
Electric water heaters are less common in skoolies because of the power draw. A small point-of-use electric heater like those Bosch mini tank units runs on 120V and pulls 1,440 watts. That’s a significant load on a solar and battery setup. If you’re frequently on shore power at RV parks, electric is easy and cheap. If you’re boondocking and running on solar, the power math gets ugly fast.
I talked to one full-timer who used a hybrid setup — a tankless propane heater for daily showers and a small electric element in a insulated tank for preheating water when he had shore power. Said it cut his propane usage almost in half when he was at campgrounds. Clever approach if you’re willing to do the extra plumbing. (See our guide on Is a Propane or Electric Stove Better for a Skoolie? for more on this.)
Space-Saving Bathroom Ideas
After looking at dozens of small bus bathrooms, a few space-saving tricks kept showing up over and over.
Pocket doors or barn door sliders instead of swinging doors. A hinged door needs clearance to swing open, which eats into either your bathroom space or your hallway. A pocket door slides into the wall and takes zero floor space. A barn-door slider rolls along a track on the outside of the wall. Either one saves you about 6 to 8 square feet of usable space compared to a swing door.
Corner sinks that tuck into a triangle of space where two walls meet. These take up maybe half the footprint of a standard rectangular vanity and they’re perfectly usable for hand washing and teeth brushing.
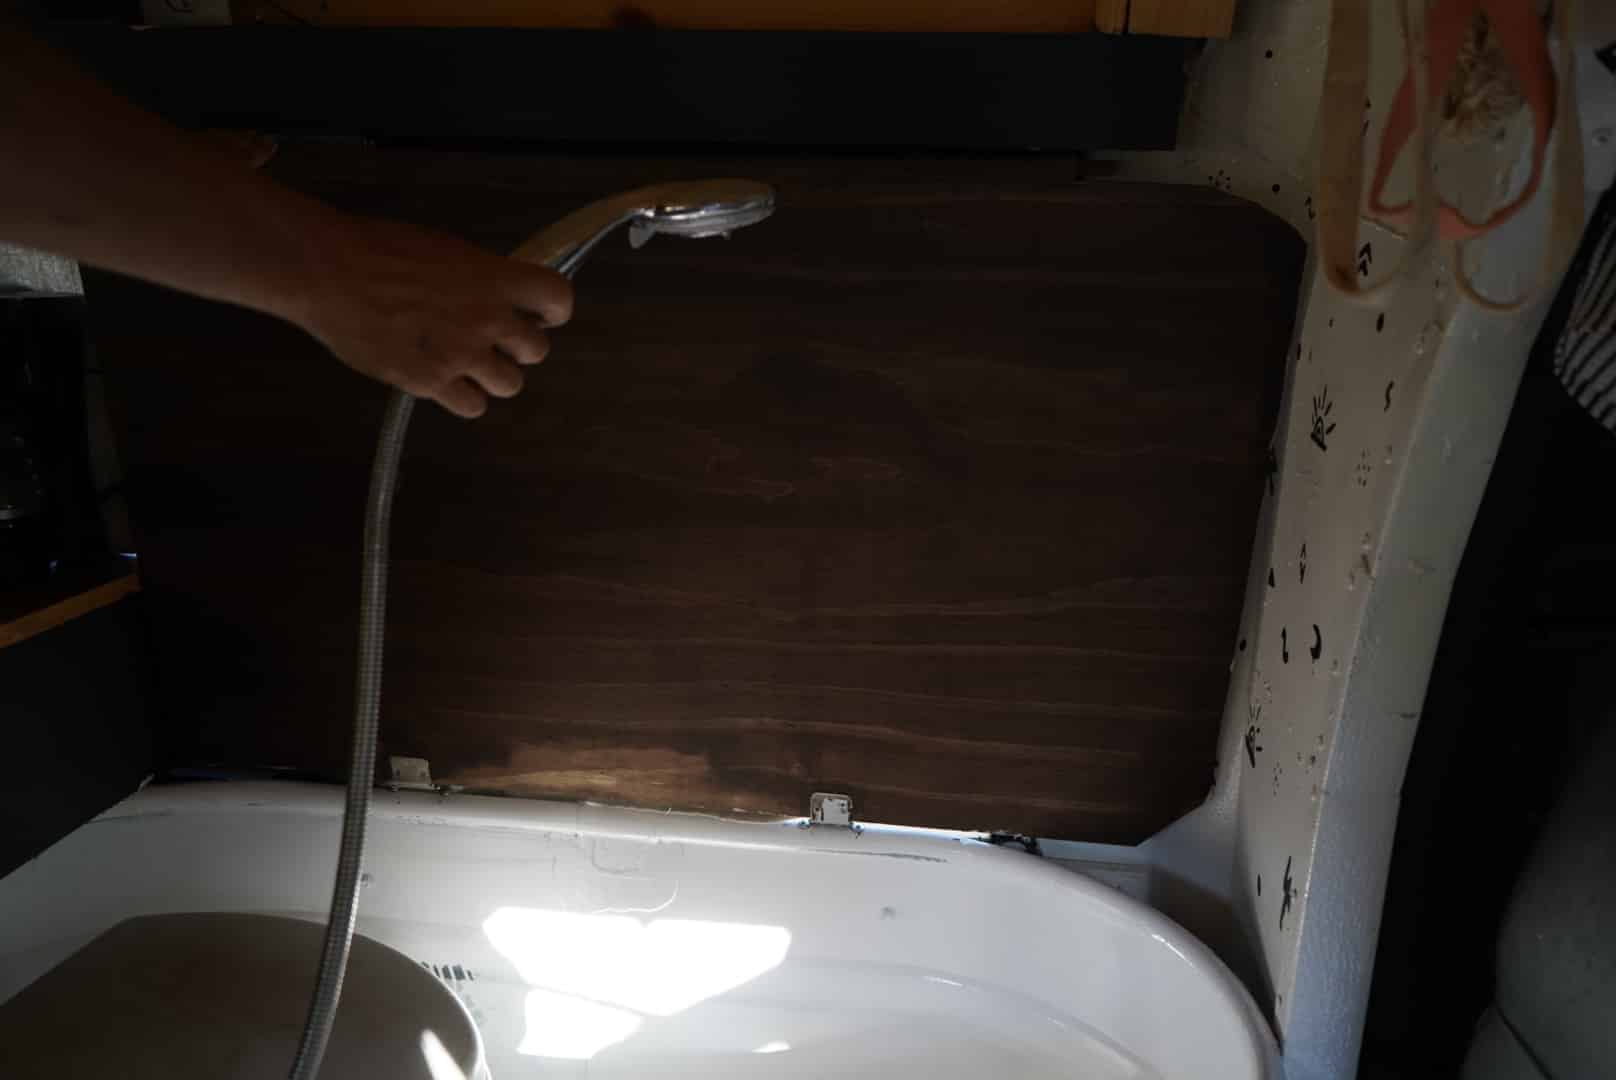
Fold-down shower seats that tuck flat against the wall when not in use. Teak fold-down seats designed for boats handle moisture without rotting and they’re only about 2 inches deep when folded up. Useful for shaving legs, sitting while showering if you want to, or as a shelf when you’re not showering.
Mirror cabinets that combine your bathroom mirror with medicine cabinet storage behind it. You need a mirror anyway, so making it serve double duty is free space.
Hanging toiletry storage on the back of the bathroom door. A clear shoe organizer works surprisingly well for bottles, razors, toothbrushes — basically all the small stuff that would otherwise need shelf space.
The most space-efficient bathroom I came across in all my research was in a 20-foot short bus. The builder made a wet bath that was 28 inches by 36 inches — barely bigger than a phone booth. But it had a corner-mounted composting toilet, a handheld showerhead on a vertical bar, a tiny corner sink, and a fold-down teak seat. Everything you need in maybe 7 square feet. He said you learn to move efficiently in a small space and after the first week it felt completely normal.
Budget Breakdown: What a Skoolie Bathroom Actually Costs
Here’s what I found across different build levels after talking to a bunch of people and reading through dozens of cost breakdowns.
Budget build ($200 to $600):
- DIY composting toilet with urine diverter: $50 to $100
- Premade shower pan or stock tank: $50 to $100
- FRP panel walls: $40 to $80
- Basic 12V vent fan: $20 to $40
- PVC drain plumbing: $30 to $50
- Waterproofing membrane (RedGard): $30 to $50
- Faucet and showerhead: $30 to $60
- PEX supply plumbing: $20 to $40
- Tankless propane water heater: $100 to $150
This gets you a fully functional bathroom. Not pretty, but it works. A lot of full-timers started here and upgraded later.
Mid-range build ($800 to $1,800):
- Nature’s Head composting toilet: $960
- Custom shower pan with tile or vinyl plank: $100 to $250
- Subway tile or PVC panel walls: $80 to $200
- MaxxAir or Fantastic Fan for ventilation: $150 to $250
- Full PVC drain system: $50 to $80
- PEX supply with SharkBite fittings: $60 to $100
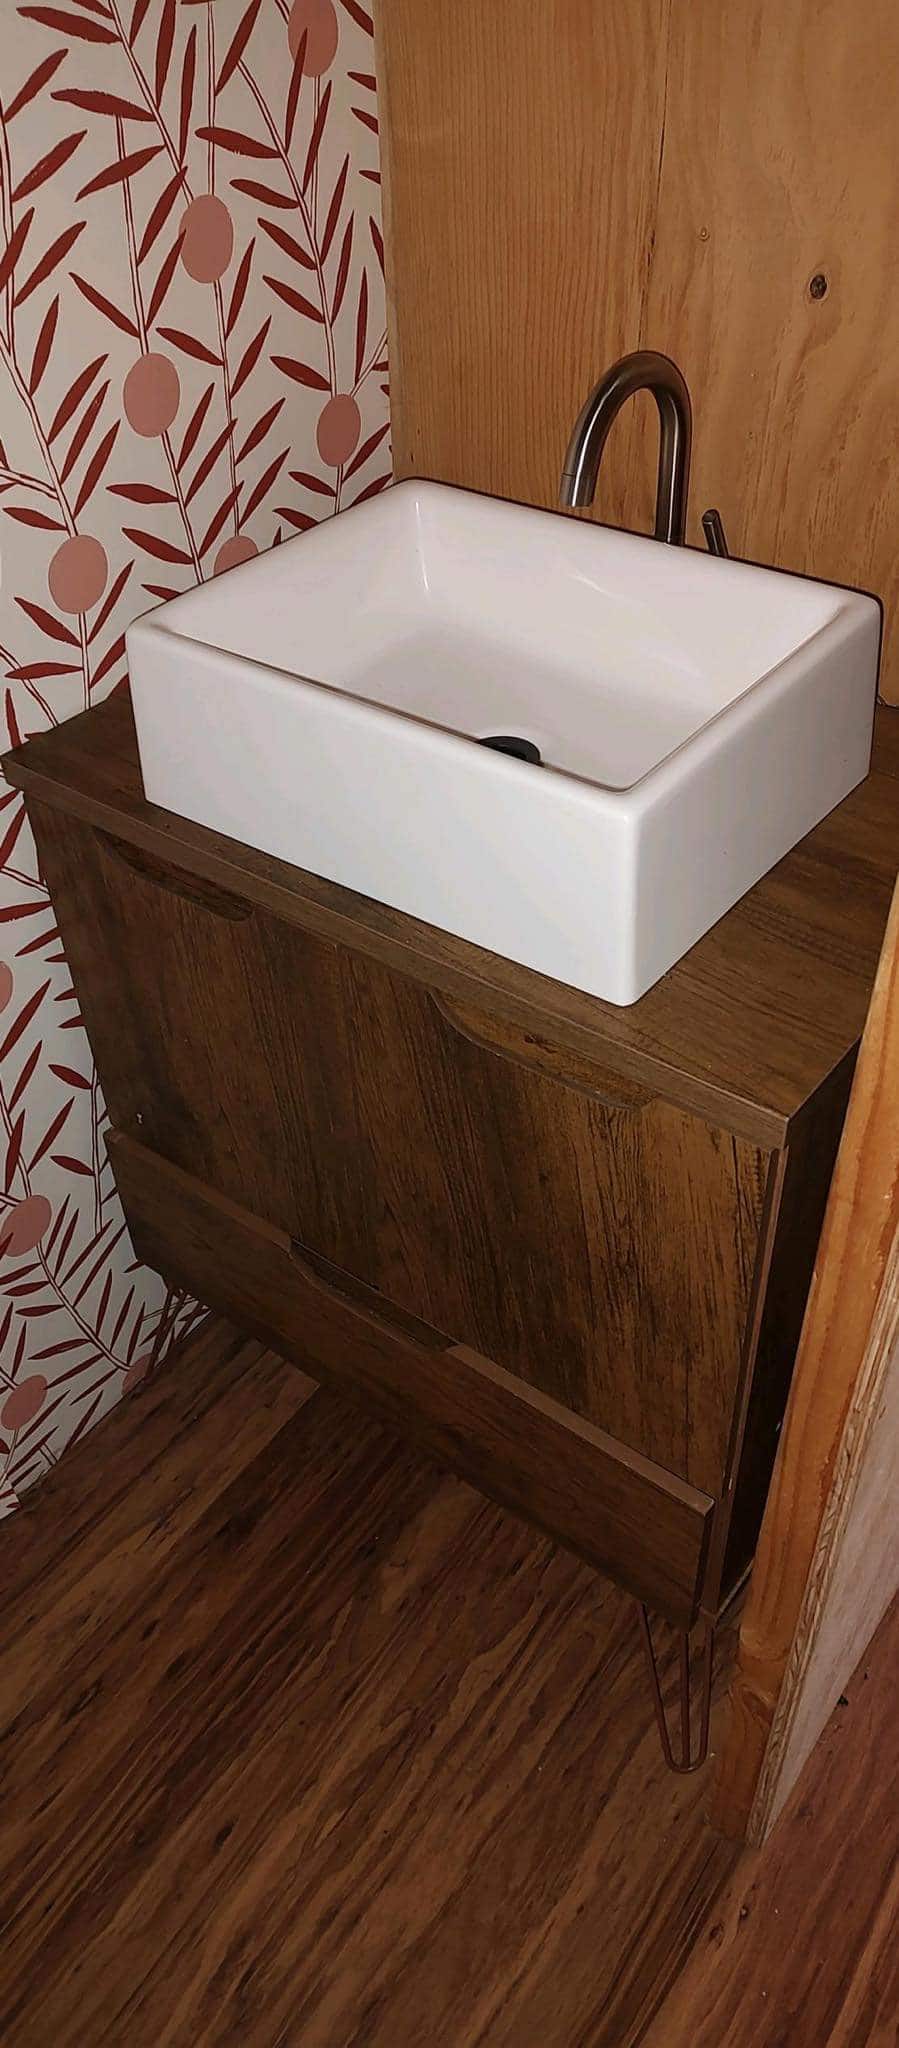
- Vanity sink with faucet: $80 to $150
- Tankless propane water heater: $150 to $250
This is where most builds land. Good quality, functional, looks nice, and it’ll last.
High-end build ($2,000 to $4,000+):
- Nature’s Head or incinerating toilet: $960 to $5,000
- Custom tiled shower with glass door: $300 to $600
- Tile walls with flexible thinset and grout: $150 to $350
- MaxxAir fan with humidity sensor: $250 to $300
- Full plumbing with hot and cold supply: $150 to $250
- Vessel sink with nice faucet: $150 to $300
- LED vanity lighting: $30 to $80
- Custom cabinetry and storage: $100 to $300
This is the “I want my bus bathroom to rival my apartment bathroom” level. Totally doable, and I’ve seen builds at this level that genuinely looked like something from a home design magazine.
Common Bathroom Mistakes to Avoid
After reading hundreds of build threads and forum posts, the same mistakes showed up over and over. Here’s what I’d watch out for.
Skimping on ventilation. I already said this but it keeps coming up because it’s the number one cause of mold in bus bathrooms. A $15 computer fan is not a bathroom vent. Get a real fan, 50 CFM minimum, vented to the outside.
Not waterproofing behind the finish material. Tile or FRP isn’t your waterproofing — it’s your finish layer. The waterproofing happens behind it with a membrane. Skip that step and water will find wood and metal behind your walls, and you won’t know about it until things start smelling off or a wall panel starts warping.
Forgetting to slope the shower floor. If water doesn’t flow to the drain, it sits. Sitting water in a bus is mold. Quarter inch per foot toward the drain, minimum. Test with a level and a marble before putting any finish material down.
Using household materials instead of marine or RV grade. Regular silicone caulk, regular grout, regular drywall — none of it belongs in a vehicle that moves. Vibration breaks seals, cracks rigid materials, and generally destroys anything designed for a stationary house. Flexible thinset, flexible grout, marine-grade silicone, moisture-resistant board. Cost difference is minimal. Lifespan difference is massive.
Not planning for access. Your plumbing will need maintenance eventually. If your shower pan is glued and screwed down with no way to reach the drain underneath, and that drain clogs in two years, you’re tearing out the entire shower to fix it. Build access panels into your design from the start. A removable panel in the wall near the drain fitting, or access from a storage bay underneath, can save you from a full rebuild later.
Ignoring the weight. Tile is heavy. Water is heavy. A full gray water tank is heavy. A composting toilet full of material is heavy. This all adds up fast, and in a bus where you’re watching your GVWR, the bathroom can easily account for 300 to 500 pounds when everything is installed and the tanks are full. Factor this into your weight budget early, not after everything is built.
—
So after spending way too long going down every rabbit hole on this topic, here’s where I ended up. The bathroom is probably the most technically demanding part of a bus build. Not because any single piece of it is impossibly hard, but because everything connects to everything else. Your toilet choice affects your plumbing, your plumbing affects your layout, your layout affects your waterproofing, your waterproofing affects your ventilation. Get the basics right on each one and the whole thing comes together. Cut a corner on any of them and water will find the shortcut before you do. The builds I found that were still holding up after years on the road just did the boring stuff right. They waterproofed aggressively, ventilated more than seemed necessary, kept their plumbing runs short and their drain slopes consistent, and used materials meant for a vehicle instead of a house. None of that makes for exciting build tour footage, but it’s what makes a bathroom that actually lasts. That’s what I found, anyway. Your mileage may vary — literally — but the fundamentals don’t change.