
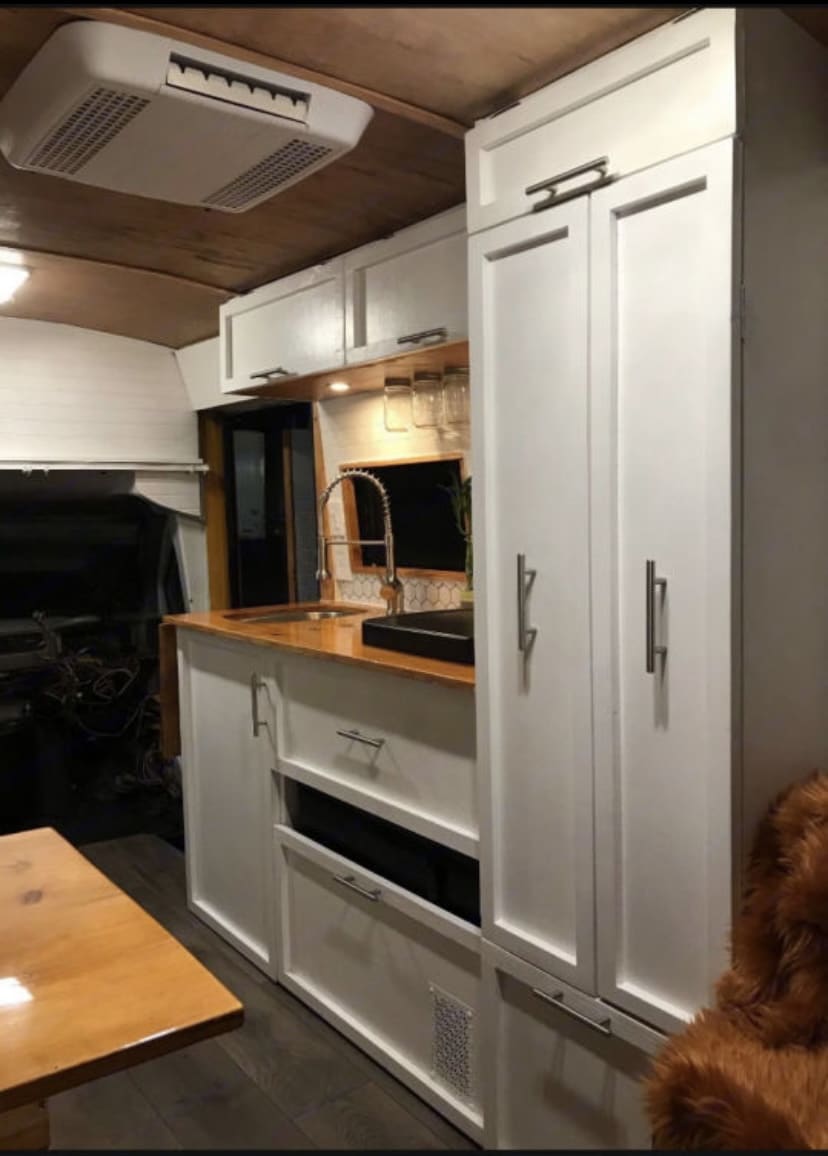
Appliances were the part of the build where I went from casually planning to genuinely overwhelmed. Every single appliance connects to your power system, your fuel system, your weight budget, and your floor plan all at once. I’d pick a refrigerator and then realize it changed everything about my battery bank. I’d settle on a cooktop and then have to rethink my propane tank size. It took me a while to understand that you can’t plan appliances one at a time — you have to think about all of them together as a system. (See our guide on 7 Skoolie Floor Plan Ideas for Every Bus Size for more on this.)
This guide covers every major appliance category for a bus conversion — refrigerators (12V compressor, propane absorption, and residential), cooktops and ovens (propane, induction, electric), microwaves, washer/dryer setups, water heaters, air conditioning, space heaters, and the power requirements that tie everything together. I break down propane vs electric tradeoffs, what runs comfortably on solar vs what needs shore power or a generator, budget picks vs premium options, and which brands actually hold up in a bus that bounces down the highway every week. If you’re trying to figure out what goes in your bus and how it all connects, this is the one to read all the way through.
Refrigerators: The Appliance That Shapes Your Whole Power System
“Where do you put the refrigerator in a bus conversion?”
This question comes up constantly in build tours, and I think it’s because fridge placement affects the kitchen layout more than any other single appliance. Most builders put the fridge at one end of the kitchen counter run — either against the side wall near the cab or at the transition point between the kitchen and the next living zone. What matters more than the exact spot is airflow. Every fridge needs ventilation around the compressor or cooling fins, and if you box it in with zero clearance you’re going to burn through the unit way faster than you should. (See our guide on How to Build a Skoolie Bathroom (Shower, Toilet, and Plumbing) for more on this.)
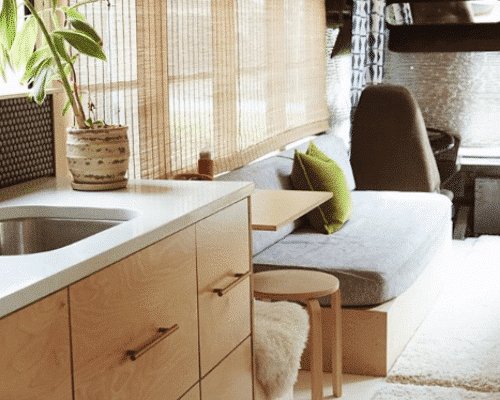
I noticed that builders who’d been living in their buses for a year or more almost always had the fridge within arm’s reach of the main cooking area. Not across the aisle, not around a corner. Right there. The people who put the fridge far from the kitchen for aesthetic or layout reasons always mentioned regretting it in their Q&A videos.
Now let me break down the three main types, because this is where your power system budget gets made or broken.
12V Compressor Fridges
This is what most experienced skoolie builders end up with, and after digging into it I understand why. A 12V compressor fridge runs directly off your house battery bank. No inverter needed. It draws 3-5 amps at 12V, which works out to roughly 35-60 watts. Over a full day that’s maybe 40-60 amp-hours depending on ambient temperature, door openings, and how full you keep it. That’s significant but manageable on a decent solar setup.
The big names are Dometic, Isotherm, Iceco, and Engel. Dometic makes the most options in terms of size and configuration — they’ve got everything from 1.6 cubic foot portable units up to 7+ cubic foot built-in models. Iceco has become really popular in the last couple years as a budget-friendly alternative that still uses quality Danfoss or Secop compressors. I saw a lot of builders recommending the Iceco VL series specifically for skoolies because the price point is about 30-40% lower than the equivalent Dometic.
Budget range: a decent 12V fridge with 3-5 cubic feet of space runs $500-1,200. The chest-style portables (like the Dometic CFX or Iceco VL45) sit at the lower end. Built-in units with a front-opening door and freezer compartment push toward the higher end.
The real advantage beyond efficiency is durability. These things are designed for boats and overlanders. They handle vibration, tilting, altitude changes, and temperature swings that would destroy a household fridge. I read one review from a guy who’d been running the same Engel chest fridge for seven years on a sailboat before putting it in his bus. Still going.
Propane Absorption Fridges
The old-school RV approach. Propane absorption fridges use a chemical process — no compressor, almost no moving parts, and they barely touch your electrical system. Sounds ideal for off-grid living, right? Well, sort of. (See our guide on Is a Propane or Electric Stove Better for a Skoolie? for more on this.)
The problem is they need to be close to level. Within about 3 degrees. A bus parked on a slight slope in a Walmart parking lot might be just enough tilt to make an absorption fridge struggle. They’re also slower to cool down initially, less efficient in hot ambient temperatures, and they don’t recover well from door openings in warm weather. On a 95-degree day in Arizona, a propane fridge has to work hard and it just doesn’t cool as aggressively as a compressor unit.
Norcold and Dometic make most of the propane absorption units you’ll find. A mid-size unit with 6-8 cubic feet runs $800-1,500. They’ve been the standard in RVs for decades, and they work fine if you’re mostly parked on level ground in moderate climates. But I noticed a clear trend in the skoolie community specifically — people are moving away from these toward 12V compressor units, and the ones who’ve used both almost always prefer the compressor.
If you’re doing a build on a very tight electrical budget and you already have propane for cooking and heating, an absorption fridge makes the math simple. But if you’re investing in solar and lithium anyway, a 12V compressor fridge is the better long-term choice.
“How do you run a residential fridge off solar?”
This question comes up a lot, and I’ll be honest — when I first saw people putting full-size Samsung and LG refrigerators in their buses, I thought they were crazy. But after talking to some folks who’ve done it, and after running the actual numbers, it’s not as wild as it sounds.
A standard residential fridge draws 100-400 watts when the compressor is running, but the compressor doesn’t run constantly. On average, a modern Energy Star residential fridge uses about 1-1.5 kWh per day. That’s roughly 80-125 amp-hours at 12V through an inverter. It’s a lot. But on a system with 800+ watts of solar and 400-600Ah of lithium, it’s doable. Especially if you’re in sunny climates most of the time.
The catch is that a residential fridge runs through your inverter 24/7. Your inverter has to stay on all the time, and inverters themselves draw 15-30 watts just sitting there. So you’re adding that parasitic draw to everything else. And the fridge compressor isn’t designed for highway vibration. I’ve heard of people going through two residential fridges in three years because the compressor bearings wear out faster from the constant bouncing.
The appeal is real though. A residential fridge costs $400-600, gives you way more space (18-22 cubic feet vs 3-5 cubic feet in a 12V unit), and if it dies you walk into any Home Depot and buy a replacement that afternoon. With a specialty 12V fridge, you’re ordering online, waiting for shipping, and paying three times as much.
So who should do it? If you have a large bus (35+ feet), a serious power system, and you’re mostly stationary or slow-traveling, a residential fridge can work great. If you’re moving frequently and your power system is modest, stick with 12V.
Cooktops: Propane, Induction, and What Actually Makes Sense
“Is your stove propane or electric?”
I get why this is one of the first questions on every build tour. Your cooktop choice touches your power system, your ventilation plan, your fuel logistics, and your daily comfort all at once. I wrote a separate article breaking down propane vs electric stoves in detail, but here’s how it fits into the bigger appliance picture.
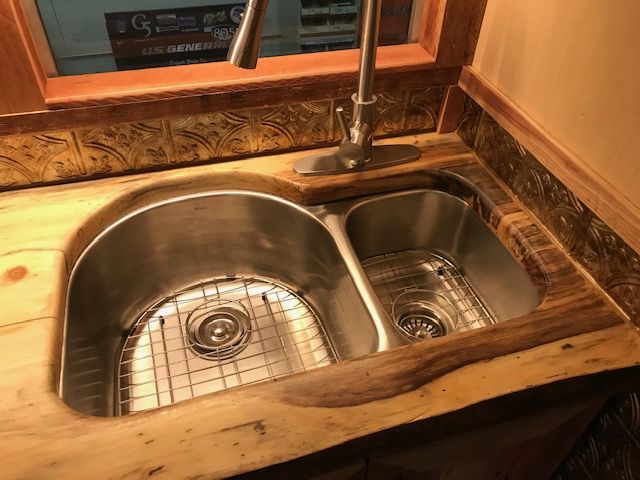
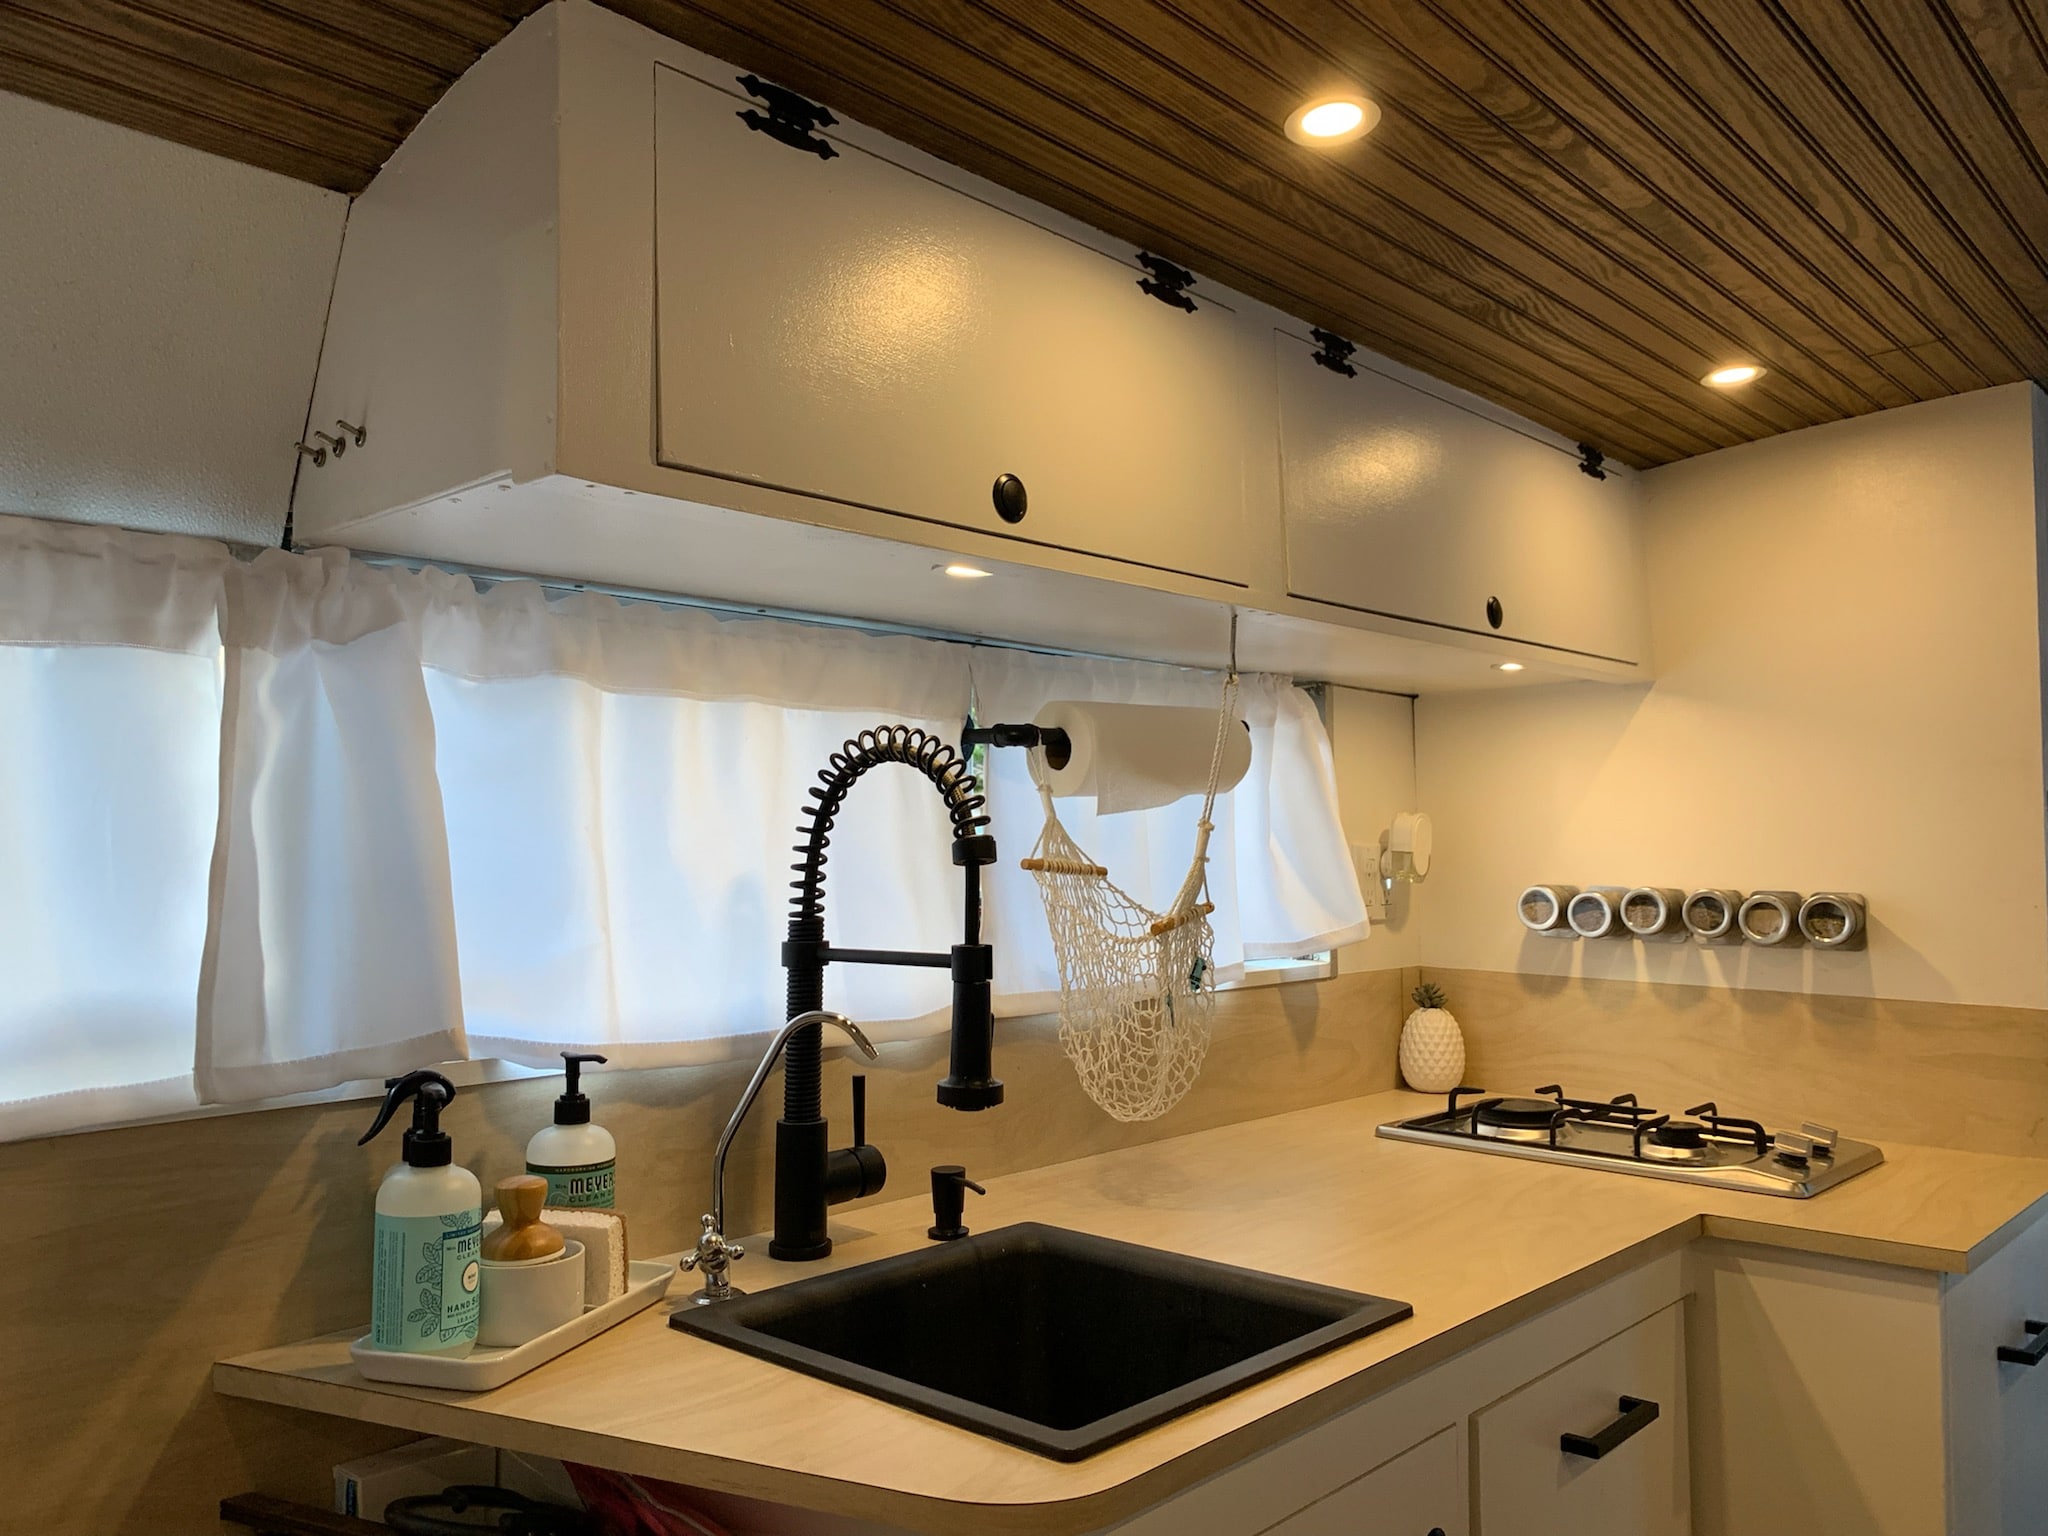
Propane cooktops are what the majority of builders go with, and there are solid reasons for that. A two-burner propane cooktop costs $150-300, runs off a standard 20-pound tank, and uses exactly zero electricity. You can cook when your batteries are dead, when it’s been cloudy for three days, at 2 AM, doesn’t matter. Propane just works. A 20-pound tank lasts most people about three weeks of daily cooking. Refills run $4-5 and you can get them almost anywhere.
Camp Chef, Suburban, and Atwood make the most commonly used propane cooktops in bus builds. The Camp Chef two-burner units are popular because they’re affordable and built sturdy. Suburban makes drop-in cooktops that look more built-in and polished. For three-burner setups, some builders go with a Suburban or Dometic three-burner that includes a small oven section underneath.
The downsides of propane are real though. Burning propane indoors produces both carbon monoxide and water vapor. In a 250-square-foot metal box, that moisture adds up. You absolutely need a range hood venting outside or at minimum a cracked window and a good CO detector. Not optional. And you need a proper gas line from your external tank through to the cooktop — either rigid copper or CSST flex line rated for LP gas, with a shutoff valve accessible near the cooktop.
Induction cooktops are the electric alternative, and they’ve gotten way more popular in the last few years. A portable two-burner induction unit costs $60-120. No open flame, no combustion byproducts, no moisture added to your interior. That last point matters more than most people think when you’re already fighting condensation in a metal bus.
But here’s where induction gets tricky. A two-burner induction unit pulls 1,500-1,800 watts. That’s a massive draw. If you’re on a modest solar setup — say 400 watts of panels and 200Ah of lithium — cooking a full meal could eat 20-30% of your total battery capacity. You need to run it through an inverter rated for at least 2,000 watts, and realistically you want a 3,000-watt inverter to have headroom.
I remember reading a forum post from a full-timer who switched from induction back to propane after about six months. He said something along the lines of “I got tired of calculating whether I could afford to make breakfast.” That pretty much sums up the induction tradeoff. It’s cleaner and simpler to install, but it makes you think about your power budget every single time you cook.
The brands people actually use for induction in buses: Duxtop is probably the most popular portable option. Affordable, works well, easy to replace. Some builders go with the Empava or Gasland built-in induction units for a more permanent, flush-mounted look.
My take after all the research: Propane for cooking is the pragmatic choice for most builds. If your power system is already big enough to handle it (600+ watts solar, 400Ah+ lithium, 3,000W inverter), induction is great. But building a bigger power system JUST to run an induction cooktop doesn’t usually make financial sense. The math doesn’t work out.
Ovens: Do You Actually Need One in a Bus?
I’ll be honest, when I started researching ovens for bus builds, I figured most people would have one. Turns out, probably 60-70% of the skoolie builds I’ve looked at don’t have a traditional oven at all. And the people who skipped it don’t seem to miss it much.
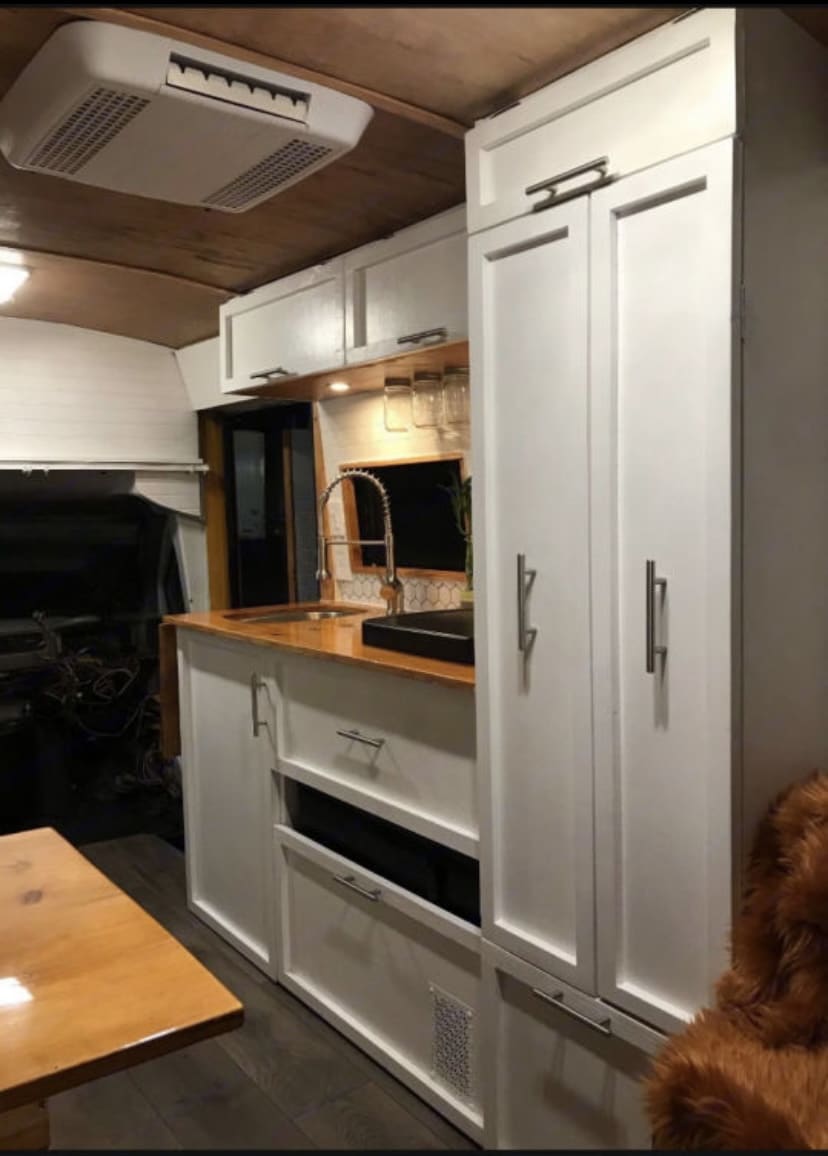
Here’s why. A built-in propane oven takes up a huge chunk of cabinet space — roughly 20 inches wide, 20 inches deep, and 18-24 inches tall. That’s prime real estate in a bus kitchen. And most people use their oven maybe 2-3 times a week at most. The rest of the time it’s just dead space with a door on it.
The alternatives that I saw over and over in bus builds:
A countertop convection oven like the Breville Smart Oven or a basic Cuisinart air fryer oven runs on 1,200-1,800 watts, fits on the counter or in a cabinet, and handles baking, roasting, broiling, and air frying. When you’re not using it, you can slide it into a cabinet. Some builders even mount it on a pull-out shelf so it tucks away completely. Cost is $80-250 depending on the brand.
A propane camp oven like the Camp Chef Outdoor Camp Oven gives you real oven capability that runs on propane, but it’s bulky and most people only pull it out when they’re parked for a while. Not really a daily-use appliance.
For builders who want a built-in oven, the Suburban or Dometic combination cooktop-and-oven units are the most common choice. These are the same units used in traditional RVs. A three-burner cooktop with a small oven below runs $400-800. They work fine, they’re propane-powered, and they’re designed for mobile life. Just know that the ovens in these units are small — you’re not fitting a full sheet pan in there.
I talked to a couple at a skoolie meetup who had done a full residential-style range in their 40-foot bus. They had the space for it and they loved to cook, so for them it made sense. But they were the first to say that it was overkill for most builds. Their advice was to try cooking with just a cooktop and a countertop oven for a few months before committing to a built-in oven. “If you don’t miss it, you don’t need it” is what they told me.
“Do you have a microwave in your bus?”
About half the builds I looked at had a microwave. The other half skipped it. This one really comes down to how you eat.
A standard microwave pulls 1,000-1,200 watts, but only for a few minutes at a time. The total energy used for reheating leftovers or making a bag of popcorn is actually pretty small — maybe 0.02-0.03 kWh per use. That’s nothing. The issue is the momentary spike. Your inverter needs to handle that 1,200 watt draw, so if you’ve already got a 2,000+ watt inverter for other reasons, the microwave is basically free from a system design standpoint.
The builders who skip the microwave usually cite space as the reason, not power. A microwave takes up a solid chunk of counter or cabinet real estate — roughly 18x14x10 inches for a compact model. In a short bus where every inch counts, that’s a meaningful sacrifice.
If you do want one, the smaller 700-watt models work fine and pull less from your inverter. Brands don’t matter much here honestly — the $60 Toshiba or Hamilton Beach from Walmart works the same as anything else. Get the smallest one that fits your plates.
A lot of builders mount the microwave above the cooktop area, similar to how they’re installed in regular RVs. Just make sure it’s secured with actual brackets or a shelf with a lip, not just sitting on a shelf. First hard brake and that thing becomes a projectile.
“What kind of washer/dryer setup do you have?”
I covered laundry in a couple of other articles, but since we’re talking about the full appliance picture, let me lay out the options with their power and space requirements.
Ventless Combo Units
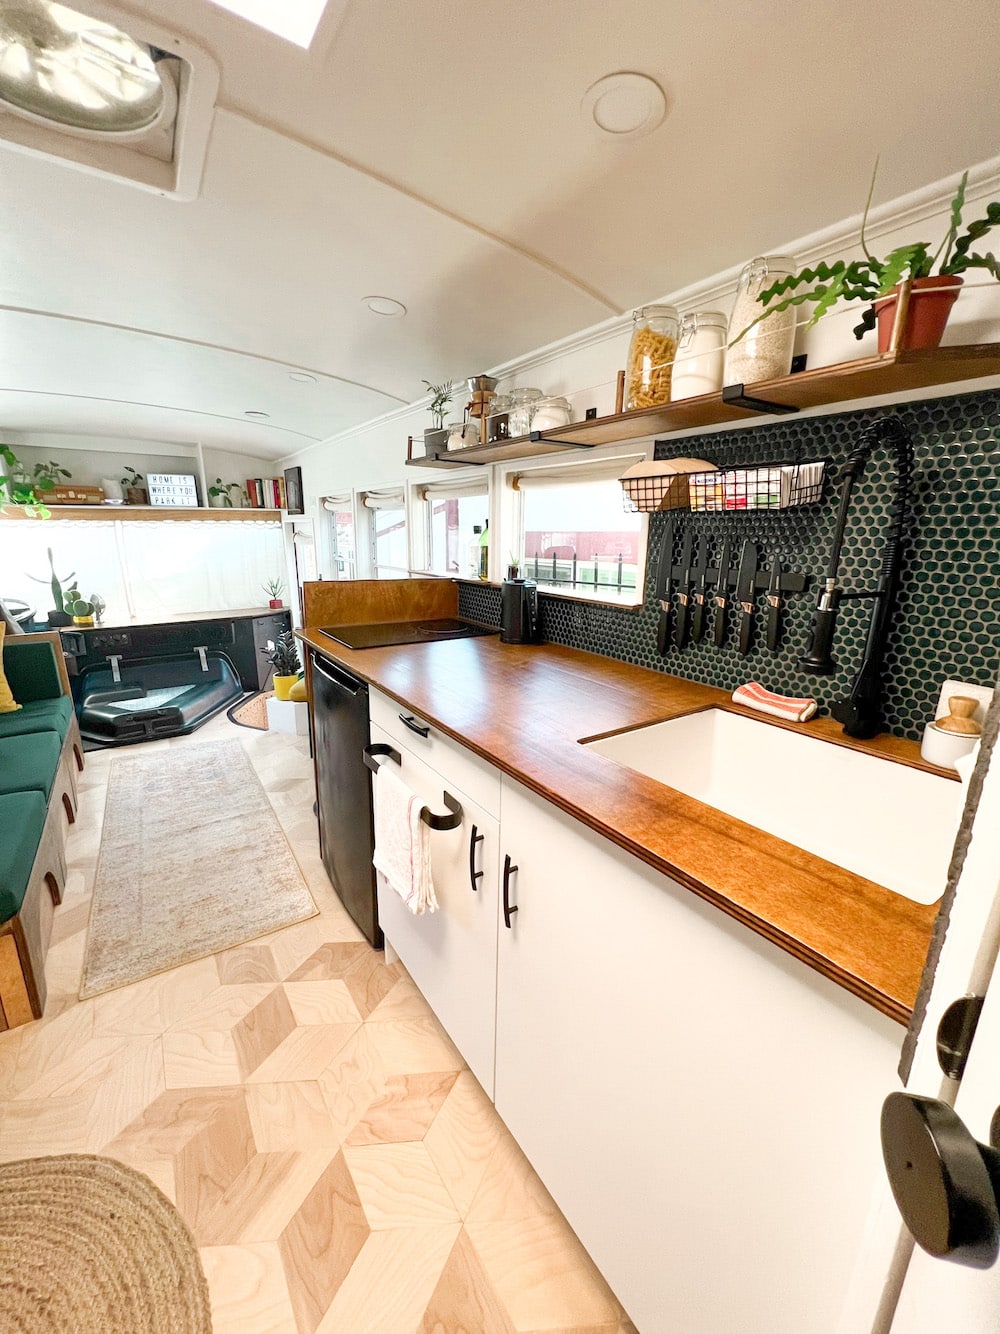
The most common setup in buses with built-in laundry is a ventless washer/dryer combo. These are single units that wash and dry in the same drum. No external vent needed, which matters a lot in a bus where drilling through the wall for a dryer vent is one more thing to seal and maintain.
The brands that show up most in bus builds are Splendide (made by Westland) and Dometic. These are specifically designed for RVs and boats. They run on 120V, pull about 1,500 watts during the heating cycle, and use about 10-15 gallons of water per load. The wash cycle takes about 45 minutes and the dry cycle takes 1.5-3 hours. Yeah, the drying is slow. That’s the main complaint I see. And “does it dry 100%?” is one of those questions that comes up every time someone shows one in a video. The answer is mostly yes, but heavier items like jeans and towels sometimes come out slightly damp.
Cost: $800-1,400 for a new Splendide or Dometic combo unit. They weigh about 150 pounds and need a space roughly 24 inches wide, 24 inches deep, and 33 inches tall.
Portable Washing Machines
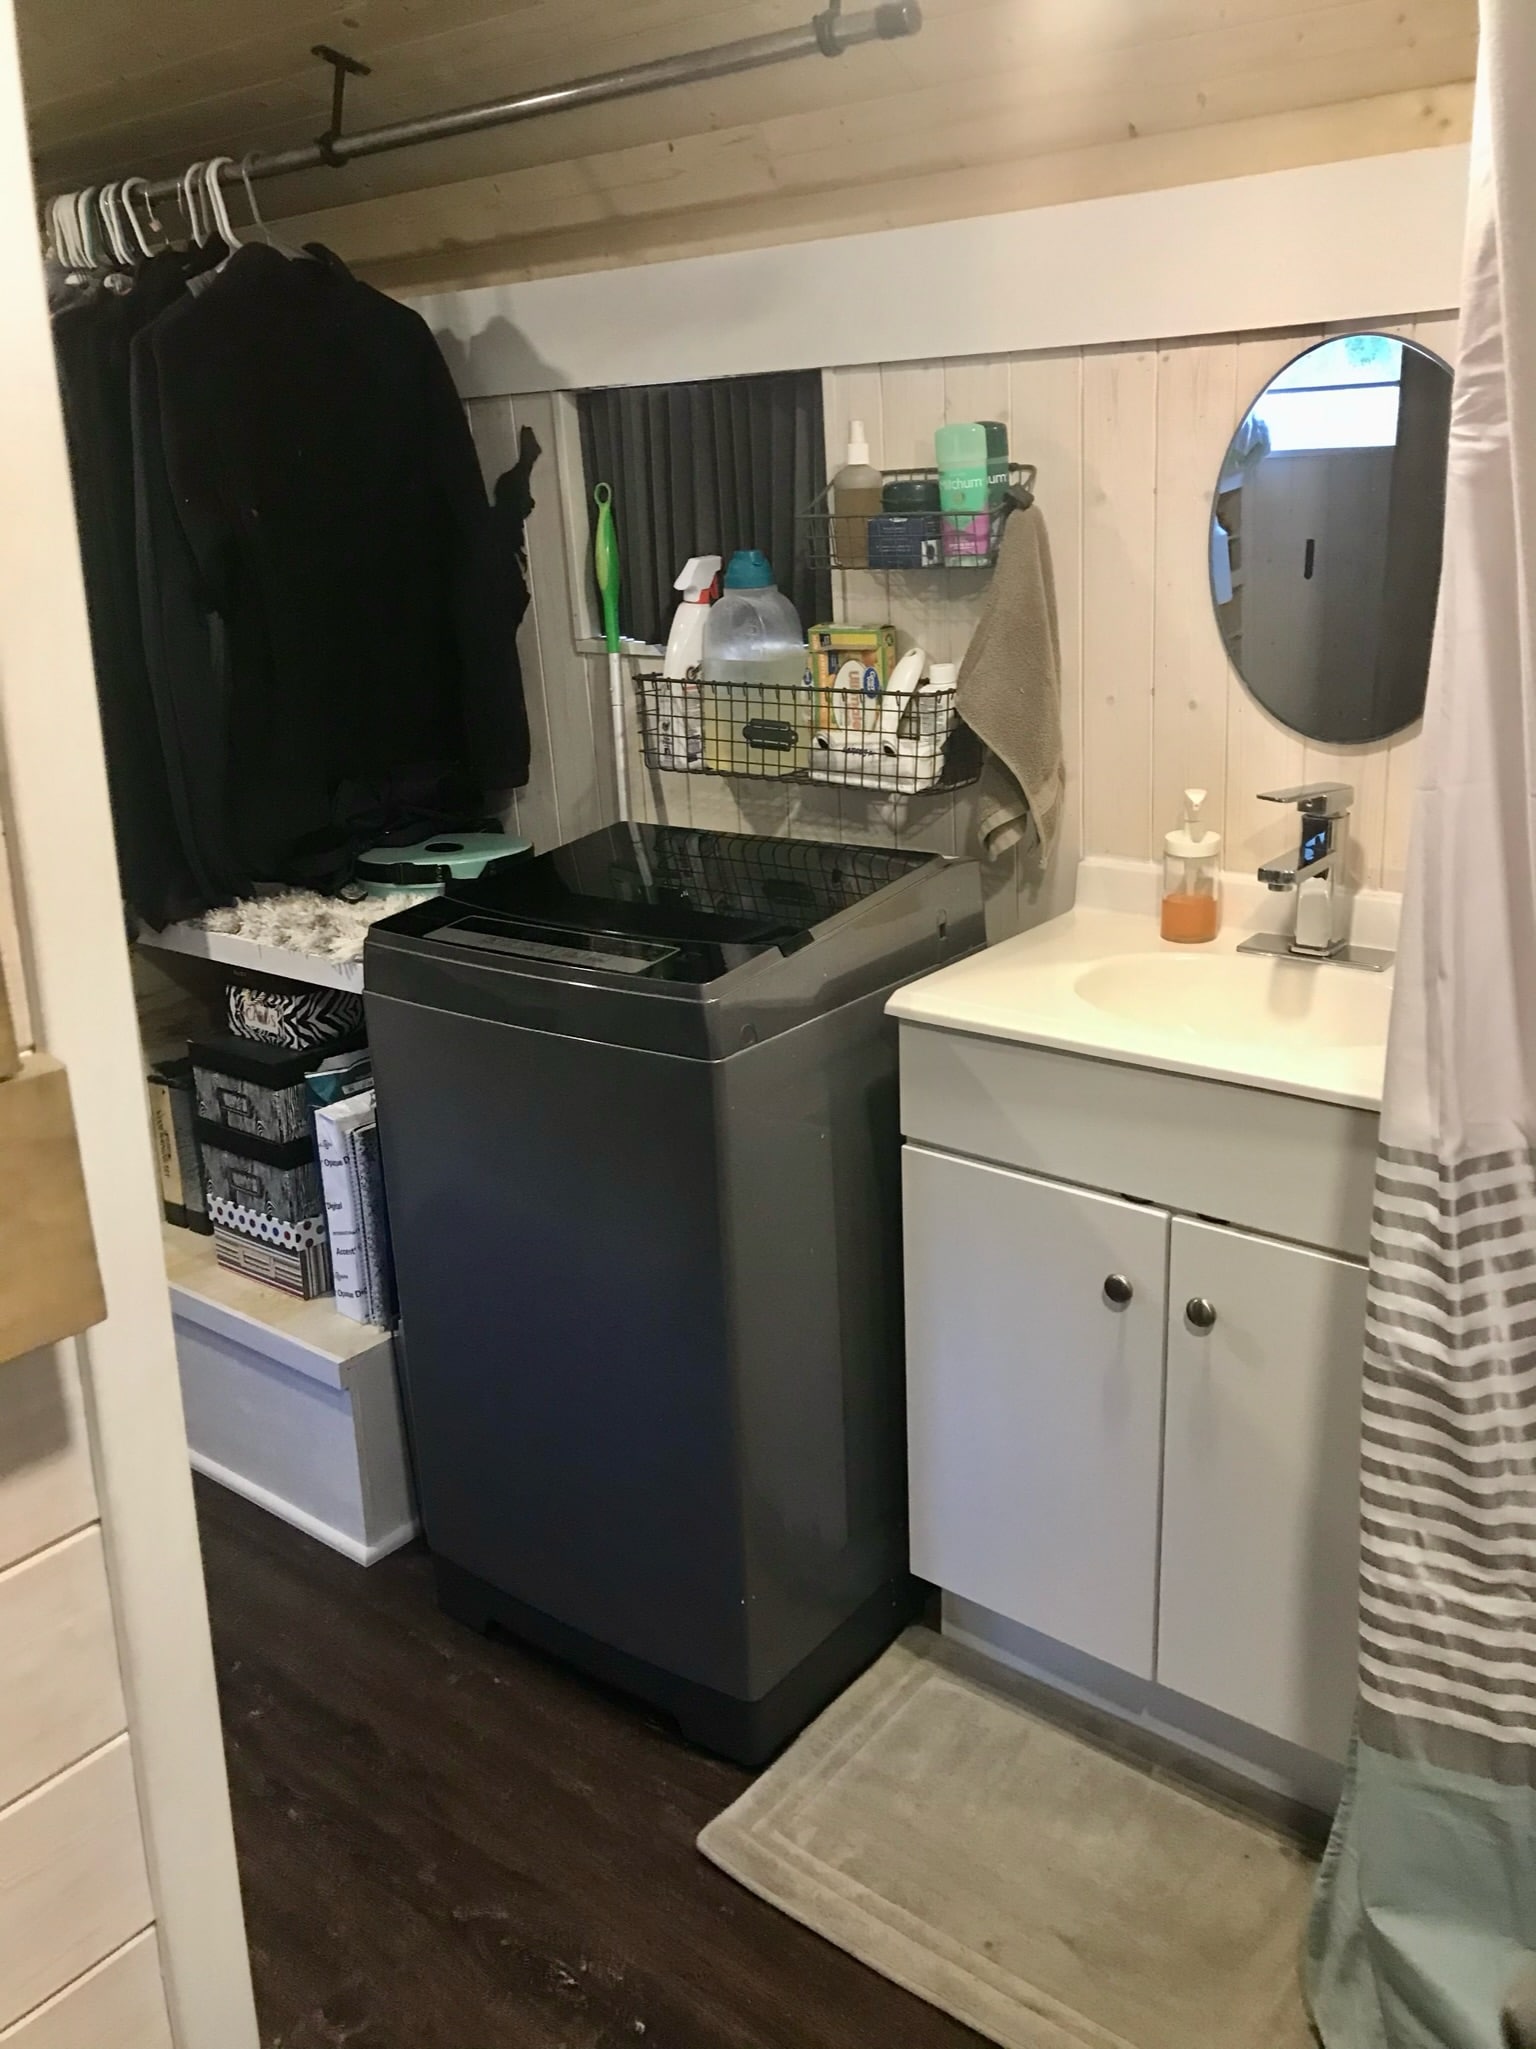
For builders who don’t want to commit the space, weight, or power to a built-in unit, a portable washing machine is the budget alternative. The Giantex, Costway, and Panda portable washers cost $100-250, weigh 25-40 pounds, and plug into a standard outlet. They wash a few pounds of clothes at a time — enough for a day or two of laundry. No built-in drying, so you’re hanging clothes to dry on a line or a rack.
I talked to one full-timer who had a portable washer stored in her bathroom and she’d pull it out, run it in the shower area where the drain was already there, and then hang everything on a clothesline she rigged up outside. She said it worked perfectly fine for one person and the whole thing cost her $150. (See our guide on Can You Put a Bathroom in a School Bus? for more on this.)
The Laundromat Option
Honestly, a lot of full-time bus dwellers just use laundromats. It sounds less glamorous than having your own washer/dryer, but when you factor in the space, weight, water usage, power draw, and maintenance of an onboard unit, doing laundry at a laundromat once a week for $5-10 starts to look pretty reasonable. Especially on smaller buses where that 150-pound combo unit and the 24×24-inch footprint could be a pantry, a closet, or just open space.
Water Heaters
Water heating is one of those things where the options are all genuinely different from each other and the “best” choice depends almost entirely on how you use hot water. (See our guide on 6 Best Flooring Options for a School Bus Conversion for more on this.)
Tankless Propane Water Heaters
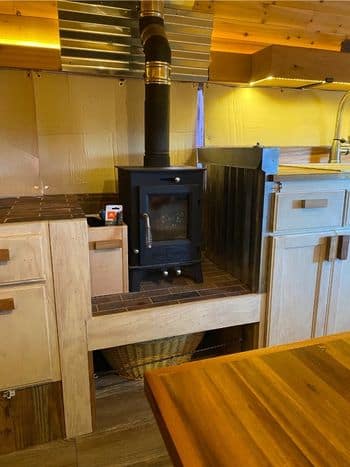
“Why not a tankless water heater?” and “How come nobody does a tankless water heater?” are questions I saw multiple times in the research. Turns out, plenty of people do. Tankless propane water heaters have become one of the most popular choices in skoolie builds.
The Eccotemp L5, L7, and L10 are the models I see most often. They’re outdoor-rated units that a lot of builders mount under the bus or in a ventilated exterior compartment. The L5 costs about $130-150, produces 1.5 gallons per minute of hot water, and runs on a standard 20-pound propane tank. The L10 costs $250-300 and gives you 2.5 GPM, which is enough for a comfortable shower.
The advantage is that you get hot water on demand without storing it. No tank to keep warm, no energy wasted maintaining temperature when you’re not using it. Turn on the faucet, the unit fires, hot water comes out. Turn it off, it stops.
The downsides: flow rate matters. At 1.5 GPM, the L5 gives you a workable but not luxurious shower. If someone flushes the toilet or runs the kitchen faucet at the same time, the temperature drops. Also, these units need adequate water pressure to trigger the flow sensor — usually 20-25 PSI minimum. If your 12V pump delivers less than that, the heater won’t fire consistently.
Tank Water Heaters
A small 6-gallon RV-style tank water heater (like the Suburban or Atwood 6-gallon) stores hot water and keeps it ready. These run on propane, electric (120V element), or both. They cost $300-500, weigh about 40 pounds empty, and take up a decent chunk of space — roughly 16x16x16 inches plus clearance.
The advantage is consistent hot water without worrying about flow rates. You’ve got 6 gallons of hot water sitting there whenever you want it. The downside is recovery time — once you use those 6 gallons, you’re waiting 20-30 minutes for the next batch. And if you’re not using hot water for hours, the tank is still burning propane or electricity to keep the water hot. That idle loss adds up over time.
Electric Tankless
There are small electric tankless units that run on 120V, but they pull serious power — 3,000-4,000 watts for a unit that produces enough flow for a shower. That’s more than most bus inverters can handle, and even if your inverter can do it, you’re draining your batteries fast. I wouldn’t recommend electric tankless unless you’re on shore power or have an absolutely massive electrical system. Propane tankless is the way to go for most off-grid setups.
Heating: What Actually Keeps a Bus Warm
I covered heating options in detail in my heating guide, but here’s the appliance-focused breakdown with real power and fuel numbers.
Diesel Heaters
The most popular heating choice in skoolies right now, and I think deservedly so. A diesel heater taps into your bus’s existing diesel tank (if you’ve got a diesel bus, which most are), so you’re not managing a separate fuel source. They burn 0.1-0.3 gallons per hour depending on the setting, vent all combustion gases outside, and draw very little electricity — about 10-30 watts from your 12V system.
The cheap Chinese diesel heaters on Amazon run $100-200. Thousands of bus and van dwellers use them. They work, but they’re louder and less refined than the name-brand options. Webasto and Espar are the premium choices at $800-1,500 installed. Quieter, more reliable, better thermostatic control.
I spent one evening reading through a diesel heater forum thread that was about 300 posts long, and the general consensus was that the Chinese units are fine for occasional use or a season or two, but people who rely on heat through serious winters eventually upgrade to Webasto or Espar. Something about the fuel pump reliability and the cold-start performance in sub-zero temperatures.
Propane Furnaces
Traditional RV forced-air propane furnaces distribute heat through ducts, which gives you more even heating than a single-point diesel heater. But they consume propane fast — a 20-pound tank might last only 2-4 days in cold weather with regular furnace use. They also need 12V power for the blower fan, usually 6-8 amps, which is more draw than a diesel heater.
Suburban and Atwood make the standard units. A 20,000-30,000 BTU furnace costs $400-700. They’re tried and true, but between the propane consumption and electrical draw, I see fewer new builds going this direction.
Wood Stoves
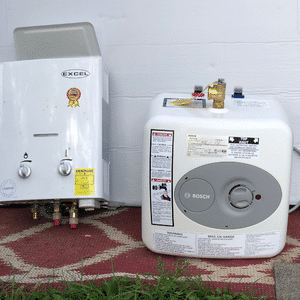
“What brand of wood stove is that?” and “What is the name of the wood stove?” come up constantly in build tours. Small marine or tent stoves from brands like Dickinson, Cubic Mini, and Navigator have become a whole aesthetic in the skoolie world. And beyond aesthetics, they genuinely work. A small wood stove can heat a bus interior from freezing to comfortable in minutes. Almost too fast sometimes.
The Cubic Mini Grizzly is probably the most popular in bus builds. It’s about $400, weighs 30 pounds, and fits in a surprisingly small footprint. Fuel is free if you’re gathering wood, or $5-10 a day buying firewood.
The downsides: you need a chimney penetration through the roof (one more potential leak point), you need clearance to combustibles on all sides, and wood stoves need tending. They don’t thermostat. You feed them or they go out. Not ideal for overnight heating in cold climates unless you’re willing to get up and stoke the fire.
Mini-Split Heat Pumps
“Have you ever thought of using the AC wall units that also are heat pumps?” is a question I found in the research, and it’s a genuinely good idea that more builders are adopting. A mini-split heat pump gives you both heating and cooling in one unit. They’re efficient — producing 2-3 times more heat energy than the electrical energy they consume.
The catch is power draw. A small 9,000 BTU mini-split runs about 700-1,000 watts. That’s workable on a strong solar system during sunny weather, but in winter when you need heat the most, you’ve also got the fewest solar hours. So a mini-split works great for shoulder seasons and moderate cold, but for serious winter heating most people still need a combustion backup.
Pioneer, MRCOOL, and Senville make units that bus builders commonly install. A 9,000-12,000 BTU mini-split costs $700-1,200 for the unit, plus installation. You need a dedicated outdoor compressor mounting location and refrigerant lines run to the indoor unit.
Air Conditioning: Keeping a Metal Box Cool
I have a separate article on cooling options, but here’s the quick rundown for the appliance guide.
Rooftop RV Air Conditioners
The standard approach. A Dometic, Coleman, or Advent rooftop unit mounts on a 14×14-inch roof opening (the same size as a standard RV roof vent). They produce 13,500-15,000 BTU of cooling and draw 1,200-1,600 watts running, with a startup surge of 2,500-3,500 watts.
That startup surge is the killer. You need either a soft-start module (about $70-100, the Micro-Air Easy Start is the most popular) to reduce the surge to about 50%, or an inverter large enough to handle the full surge. Most builders add the soft start and call it good.
Cost: $400-800 for the unit. They work well, they’re designed for mobile life, and replacement parts are available at any RV supply store. The downside is they’re loud, they pull serious power, and running one on solar alone requires a very large system — realistically 1,000+ watts of panels and 400Ah+ of lithium to run AC comfortably through a hot afternoon.
Mini-Split Air Conditioners
Same units I mentioned in the heating section, but for cooling. A 9,000-12,000 BTU mini-split is more efficient than a rooftop unit, quieter, and you get both heating and cooling. The installation is more involved though — you’re mounting an outdoor compressor somewhere on the bus (usually underneath or on the rear bumper area), running refrigerant lines, and mounting the indoor unit on a wall.
I found one builder’s blog post where he compared his power usage before and after switching from a rooftop Dometic to a mini-split. The mini-split used about 30% less power for the same cooling output. That’s significant when you’re running on batteries.
Window Units and Portable AC
Some builders go the simple route and use a window-mount AC unit or a portable floor unit. These cost $150-400, produce 5,000-10,000 BTU, and install with zero permanent modification. The portable units vent through a hose that you run out a window.
They work fine for moderate heat. They’re not going to keep up with 110-degree desert summers the way a rooftop or mini-split unit will. But for seasonal use or mild climates, a $200 window unit gets the job done with minimal fuss.
“Can the AC run on solar?”
The straight answer: technically yes, but it takes a serious system. Running a 13,500 BTU rooftop AC unit for 6-8 hours on a hot day consumes roughly 8-12 kWh. To produce that from solar, you’d need 2,000+ watts of panels in ideal conditions plus a battery bank large enough to handle cloudy stretches. That’s a $3,000-6,000+ investment in solar and batteries just for AC.
Most builders who run AC regularly use either shore power when available, a generator as backup, or a combination of solar and generator. Pure solar AC is possible but it requires going all-in on the power system. I did the math on this one about three different ways before I believed it, because the numbers seemed high. But multiple builders confirmed it.
The Power Budget: How It All Adds Up
Here’s where everything comes together. I’m going to lay out the approximate daily power consumption of each major appliance so you can add up your specific setup and see what kind of electrical system you actually need.
| Appliance | Daily Draw (Wh) | Notes |
|---|---|---|
| 12V compressor fridge | 400-700 | Running 24/7, varies with ambient temp |
| Residential fridge | 1,000-1,500 | Through inverter, 24/7 |
| Induction cooktop | 500-900 | Per meal, 20-40 min of use |
| Microwave | 50-100 | A few minutes per use |
| Diesel heater | 200-500 | 12V draw for fan and controller |
| Mini-split (cooling) | 4,000-8,000 | 6-8 hours on a hot day |
| Mini-split (heating) | 3,000-6,000 | 6-8 hours on a cold day |
| Rooftop AC | 6,000-12,000 | 6-8 hours, less efficient than mini-split |
| Water heater (propane) | 20-50 | Just the igniter and controls |
| Washer/dryer combo | 1,000-2,000 | Per load, including dry cycle |
| Lights, fans, charging | 200-400 | The baseline everything else sits on |
A typical hybrid setup — propane cooktop, 12V fridge, diesel heater, no AC — might consume 800-1,200 Wh per day total. A 400-watt solar system with 200Ah of lithium (2,400Wh) handles that comfortably with room to spare.
An all-electric setup with induction cooking, residential fridge, mini-split AC, and electric water heating could easily consume 6,000-15,000 Wh per day. Now you’re talking 1,500-2,000 watts of solar, 600Ah+ of lithium, and probably a generator for cloudy stretches. The cost of that electrical system could be $5,000-10,000 or more.
This is why the hybrid approach is so popular. Let propane and diesel handle the heavy thermal loads (cooking, heating, water heating), let solar and batteries handle everything else (fridge, lights, fans, electronics), and you end up with a system that’s affordable and manageable.
Propane vs Electric: The Real Tradeoff
I keep coming back to this because it’s the fundamental decision that drives everything. Here’s how I think about it after looking at dozens of builds.
Go propane when:
- Your electrical budget is modest (under 600W solar, under 300Ah lithium)
- You want to cook without thinking about batteries
- You’re on a tighter build budget
- You want simplicity and fewer points of failure
- You plan to boondock frequently in cloudy or northern climates
Go electric when:
- You’re building a large power system anyway (600W+ solar, 400Ah+ lithium)
- You want to minimize combustion sources inside the bus
- Condensation and moisture control are high priorities
- You have shore power access most of the time
- You’re in a sunny climate where solar production is consistent
Go hybrid when:
- You want the best of both worlds (most builders land here)
- Propane for cooking and water heating, electric for everything else
- This keeps the power system reasonable while still giving you reliable cooking and hot water
The one thing I wish someone had told me early on: don’t pick your appliances first and then try to design a power system around them. Pick your realistic power budget first — how much solar, how many batteries, what inverter size — and then choose appliances that fit within it. Going the other direction is how people end up with a $2,000 power system trying to run $5,000 worth of appliances.
Budget Picks vs Premium: Where to Spend and Where to Save
After looking at a LOT of builds and reading a LOT of reviews, here’s where I think the money matters and where it doesn’t.
Spend more on:
- Refrigerator. It runs 24/7 and a failure means spoiled food. A quality 12V compressor fridge from Dometic or Iceco is worth the investment. Budget: $600-1,000.
- Diesel heater. If you’re living in the bus through winter, the Webasto or Espar reliability is worth the premium. Budget: $800-1,500 for a name brand vs $150 for Chinese.
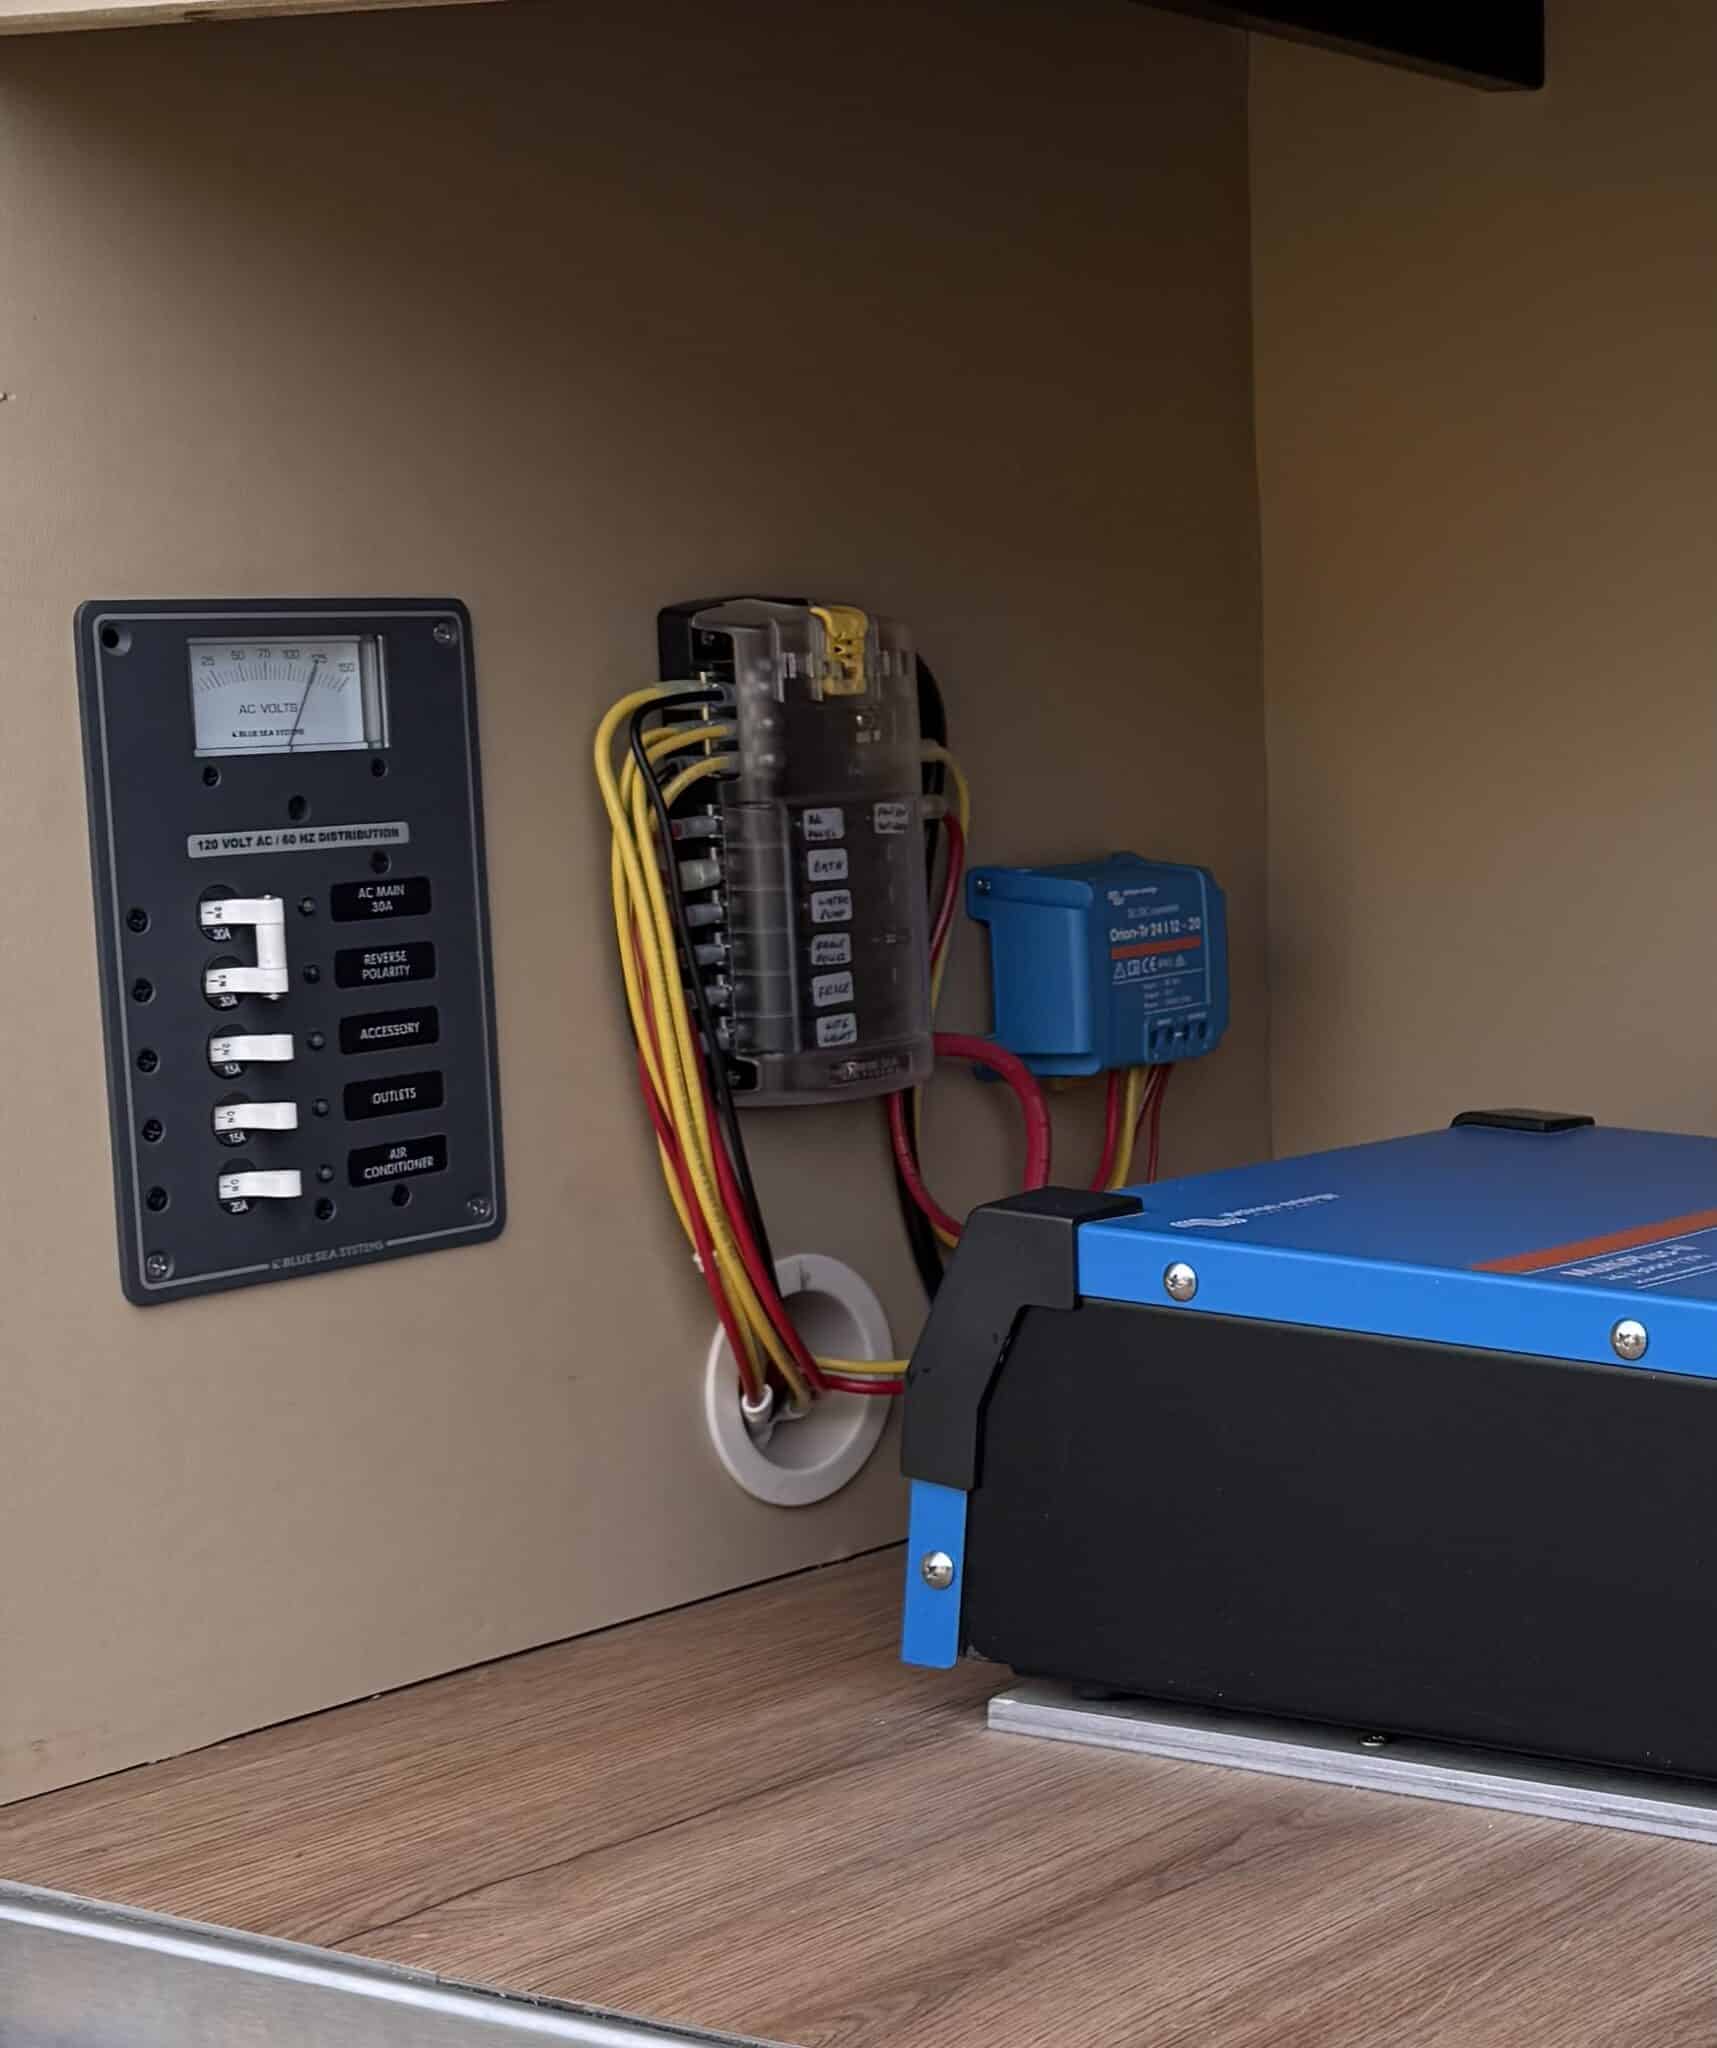
- Inverter. A cheap inverter that fails takes out anything connected to it. Victron, Aims, and Giandel are solid choices. Budget: $300-600 for a quality 3,000W pure sine wave.
Save money on:
- Cooktop. A $150 Camp Chef propane burner works just as well as a $400 fancy one. Same goes for induction — a $70 Duxtop does the same job as a $200 unit.
- Microwave. They’re all basically the same. Get the $60 compact from Walmart.
- Countertop oven. A $100 convection toaster oven from any brand handles 90% of what a built-in oven does.
- Portable washer. The $130 Giantex washes clothes just fine. No need for a $300 unit.
The in-between:
- Water heater. The Eccotemp L5 at $130 works well for basic needs. The L10 at $250 is worth it if you want better shower flow. Don’t need to go higher than that.
- AC. A standard rooftop unit with a soft-start module is the practical choice for most builds. A mini-split is worth the extra if you also need heating and want better efficiency.
Brands That Actually Hold Up in a Bus
I kept a mental list while researching of which brands popped up repeatedly in positive reviews from people who’d actually been living in their buses, not just people who just finished a build and were still in the honeymoon phase.
Refrigeration: Dometic, Iceco, Engel (the three I’d trust for 12V). Norcold for propane absorption if you go that route.
Cooktops: Camp Chef, Suburban, Atwood for propane. Duxtop for portable induction. Gasland and Empava for built-in induction.
Heating: Webasto and Espar for diesel. Cubic Mini and Dickinson for wood stoves. Chinese diesel heaters (various brands, all basically the same product) for budget builds.
AC: Dometic and Coleman for rooftop. Pioneer and MRCOOL for mini-splits.
Water heating: Eccotemp for tankless propane. Suburban for tank-style.
Washer/dryer: Splendide and Dometic for built-in combos. Giantex and Panda for portables.
Inverters (since every electric appliance depends on one): Victron is the gold standard. Aims Power is solid for the price. Giandel works fine for budget builds.
What Runs on Solar vs What Needs Shore Power
Let me put this as clearly as I can, because I wasted a lot of time early on thinking solar could handle everything.
Solar handles well:
- 12V compressor fridge
- LED lighting
- Phone and laptop charging
- Vent fans
- Water pump
- Diesel heater controller
- Microwave (occasional use)
Solar handles with a large system:
- Induction cooking (if you have 600W+ panels)
- Mini-split AC/heat (if you have 1,000W+ panels)
- Residential fridge (if you have 800W+ panels)
Probably needs shore power or generator:
- Rooftop AC running all day
- Electric tankless water heater
- Washer/dryer combo (can work on large solar but pushes limits)
- Space heater (electric resistance heating is incredibly power-hungry)
- Hair dryer, electric kettle, and other high-watt appliances used frequently
The pattern is pretty simple. Anything that makes heat using electricity is going to be a power hog. Heat from propane or diesel is cheap. Heat from batteries is expensive. That one principle basically explains why the hybrid approach works so well.
Putting It All Together
So after all this research, here’s the appliance loadout I see the most in builds from people who are actually living full-time in their buses and seem happy with their setup:
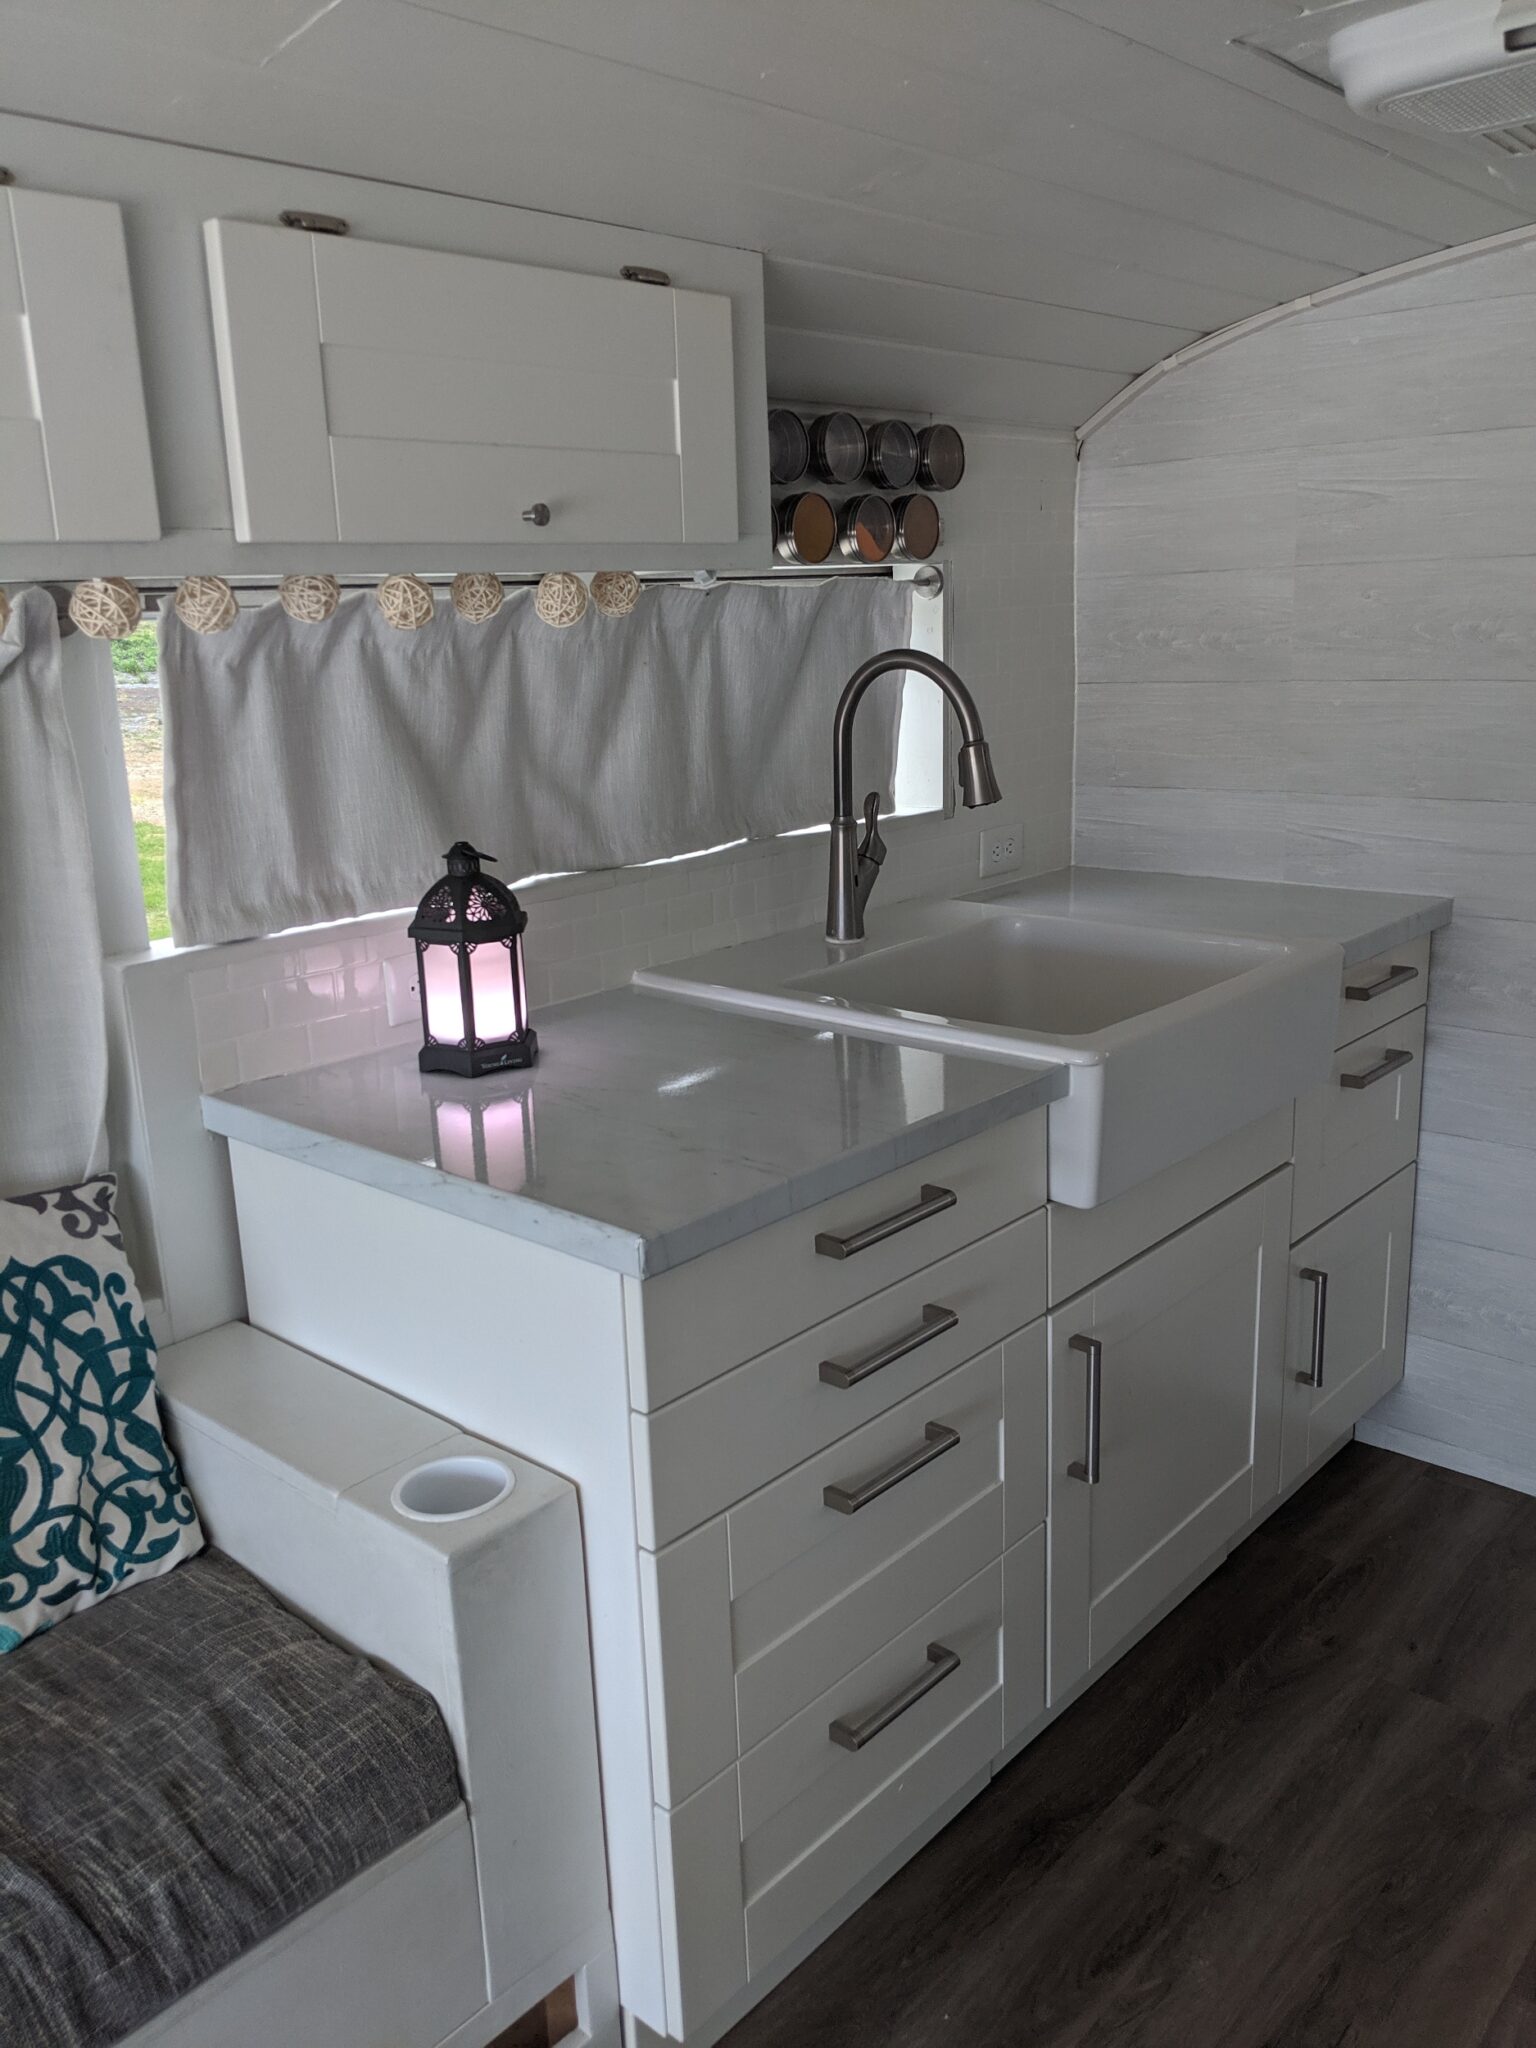
- Propane two-burner cooktop ($150-250)
- 12V compressor fridge, 3-5 cubic feet ($600-1,000)
- Countertop convection oven / air fryer ($80-200)
- Tankless propane water heater ($130-300)
- Diesel heater ($150-1,500 depending on brand)
- Rooftop AC with soft start OR mini-split ($500-1,200)
- No onboard washer/dryer, or a portable unit ($0-250)
- No microwave, or a small compact one ($0-60)
Total appliance budget for that setup: roughly $1,600-4,500, not including the electrical system to run everything.
The power system to support it: 400-600 watts of solar, 200-400Ah of lithium, a 2,000-3,000W inverter, and a charge controller. That’s another $2,000-4,000 depending on brand and capacity.
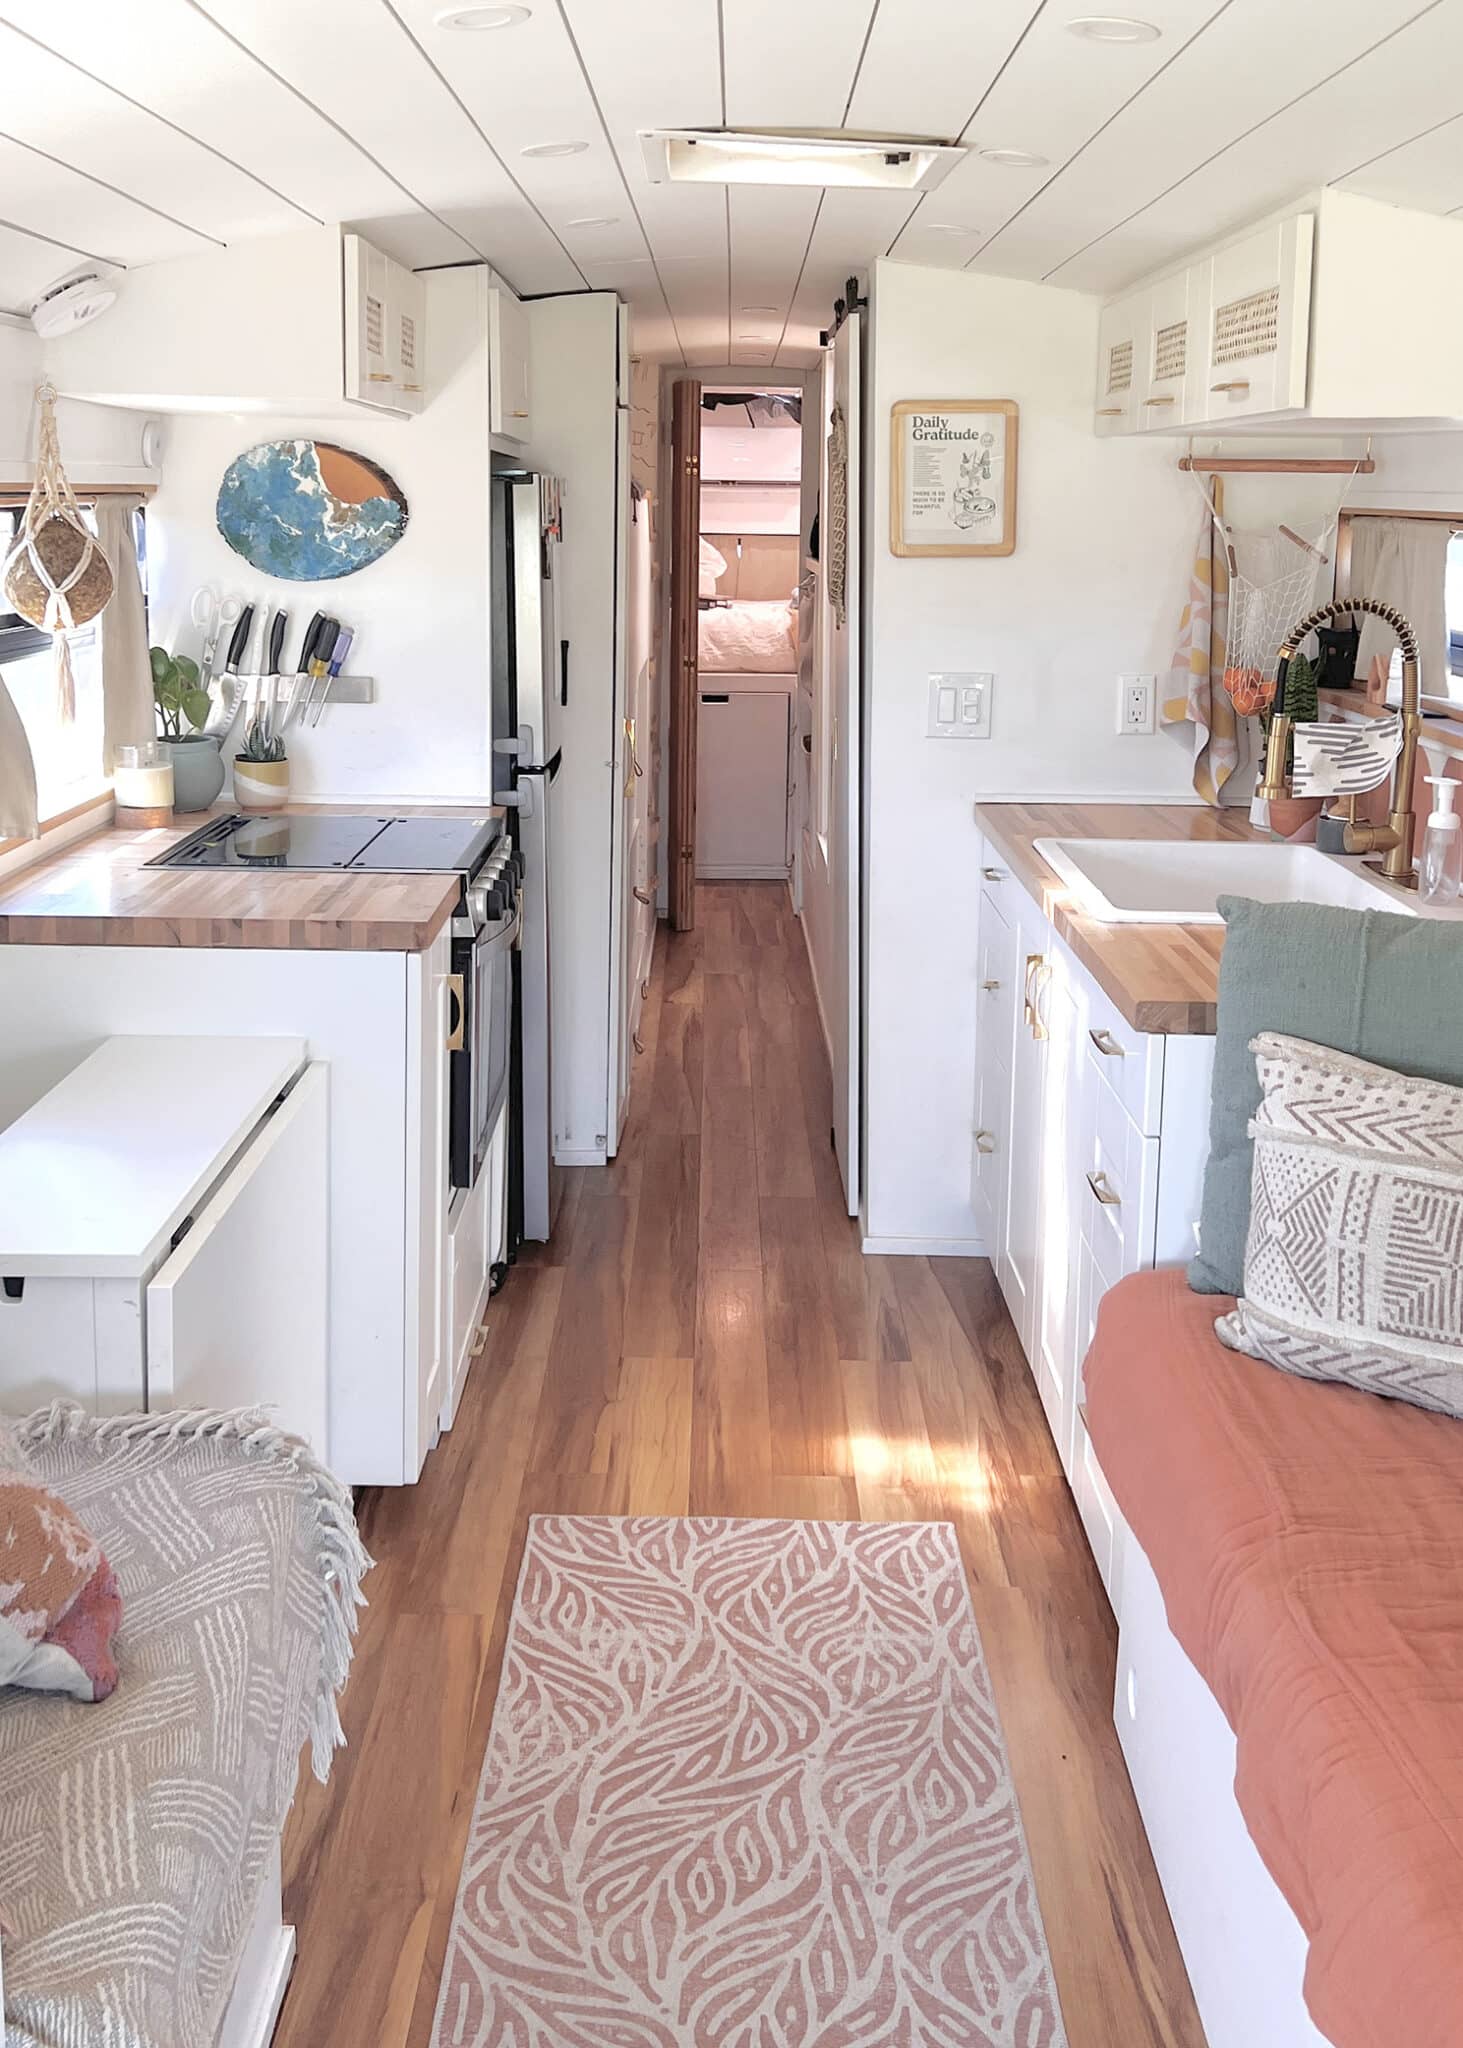
There’s no single “right” answer for any of these. What I found is that the builds where people seemed most satisfied were the ones where the appliance choices matched the power system, and both matched the builder’s actual travel style and daily habits. The people who struggled were the ones who picked appliances based on what looked cool in someone else’s build without thinking about whether their own system could actually support it all.
If you’re still early in the planning stage, start with your power budget. Figure out how much solar and battery capacity you’re willing to invest in. Then work backwards to pick appliances that fit comfortably within that budget. And leave yourself 20-30% headroom, because there’s always something you didn’t account for. There always is.