
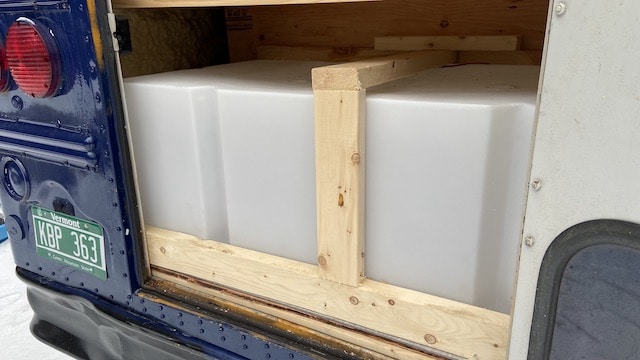
Framing and walls are one of those stages in a bus build where everything you did before — insulation, wiring, plumbing — either gets protected or gets buried. I spent a stupid amount of time researching this because I kept seeing builds where the walls looked gorgeous on day one and then people were posting about cracks, warping, or mold eighteen months later. The difference almost always came down to what happened behind the walls, not on the surface.
This guide covers everything I learned about framing and finishing the interior walls and ceiling of a school bus conversion. We’ll go through the three main framing methods (furring strips on the existing ribs, building stud walls, and metal channel framing), then dive into wall materials — tongue and groove, plywood with shiplap overlay, vinyl plank, luan, fabric panels — and ceiling options including T&G planks, panels, and stretched fabric. I also get into how to attach things to bus walls after they’re finished, working around the curves that every bus has, vapor barriers, making sure your wiring is accessible after the walls go up, weight considerations that a lot of people don’t think about, and the cost differences between all of it. If you’re at the point in your build where the insulation is in and you’re staring at the inside of your bus wondering what comes next, this is the guide I wish I’d had.
Framing Methods: Three Approaches That Actually Work
Before anything goes on the walls, you need something to attach it to. The bare metal ribs of the bus are your starting point, and how you build out from there determines your wall thickness, your weight, and how easy or hard everything else is going to be.
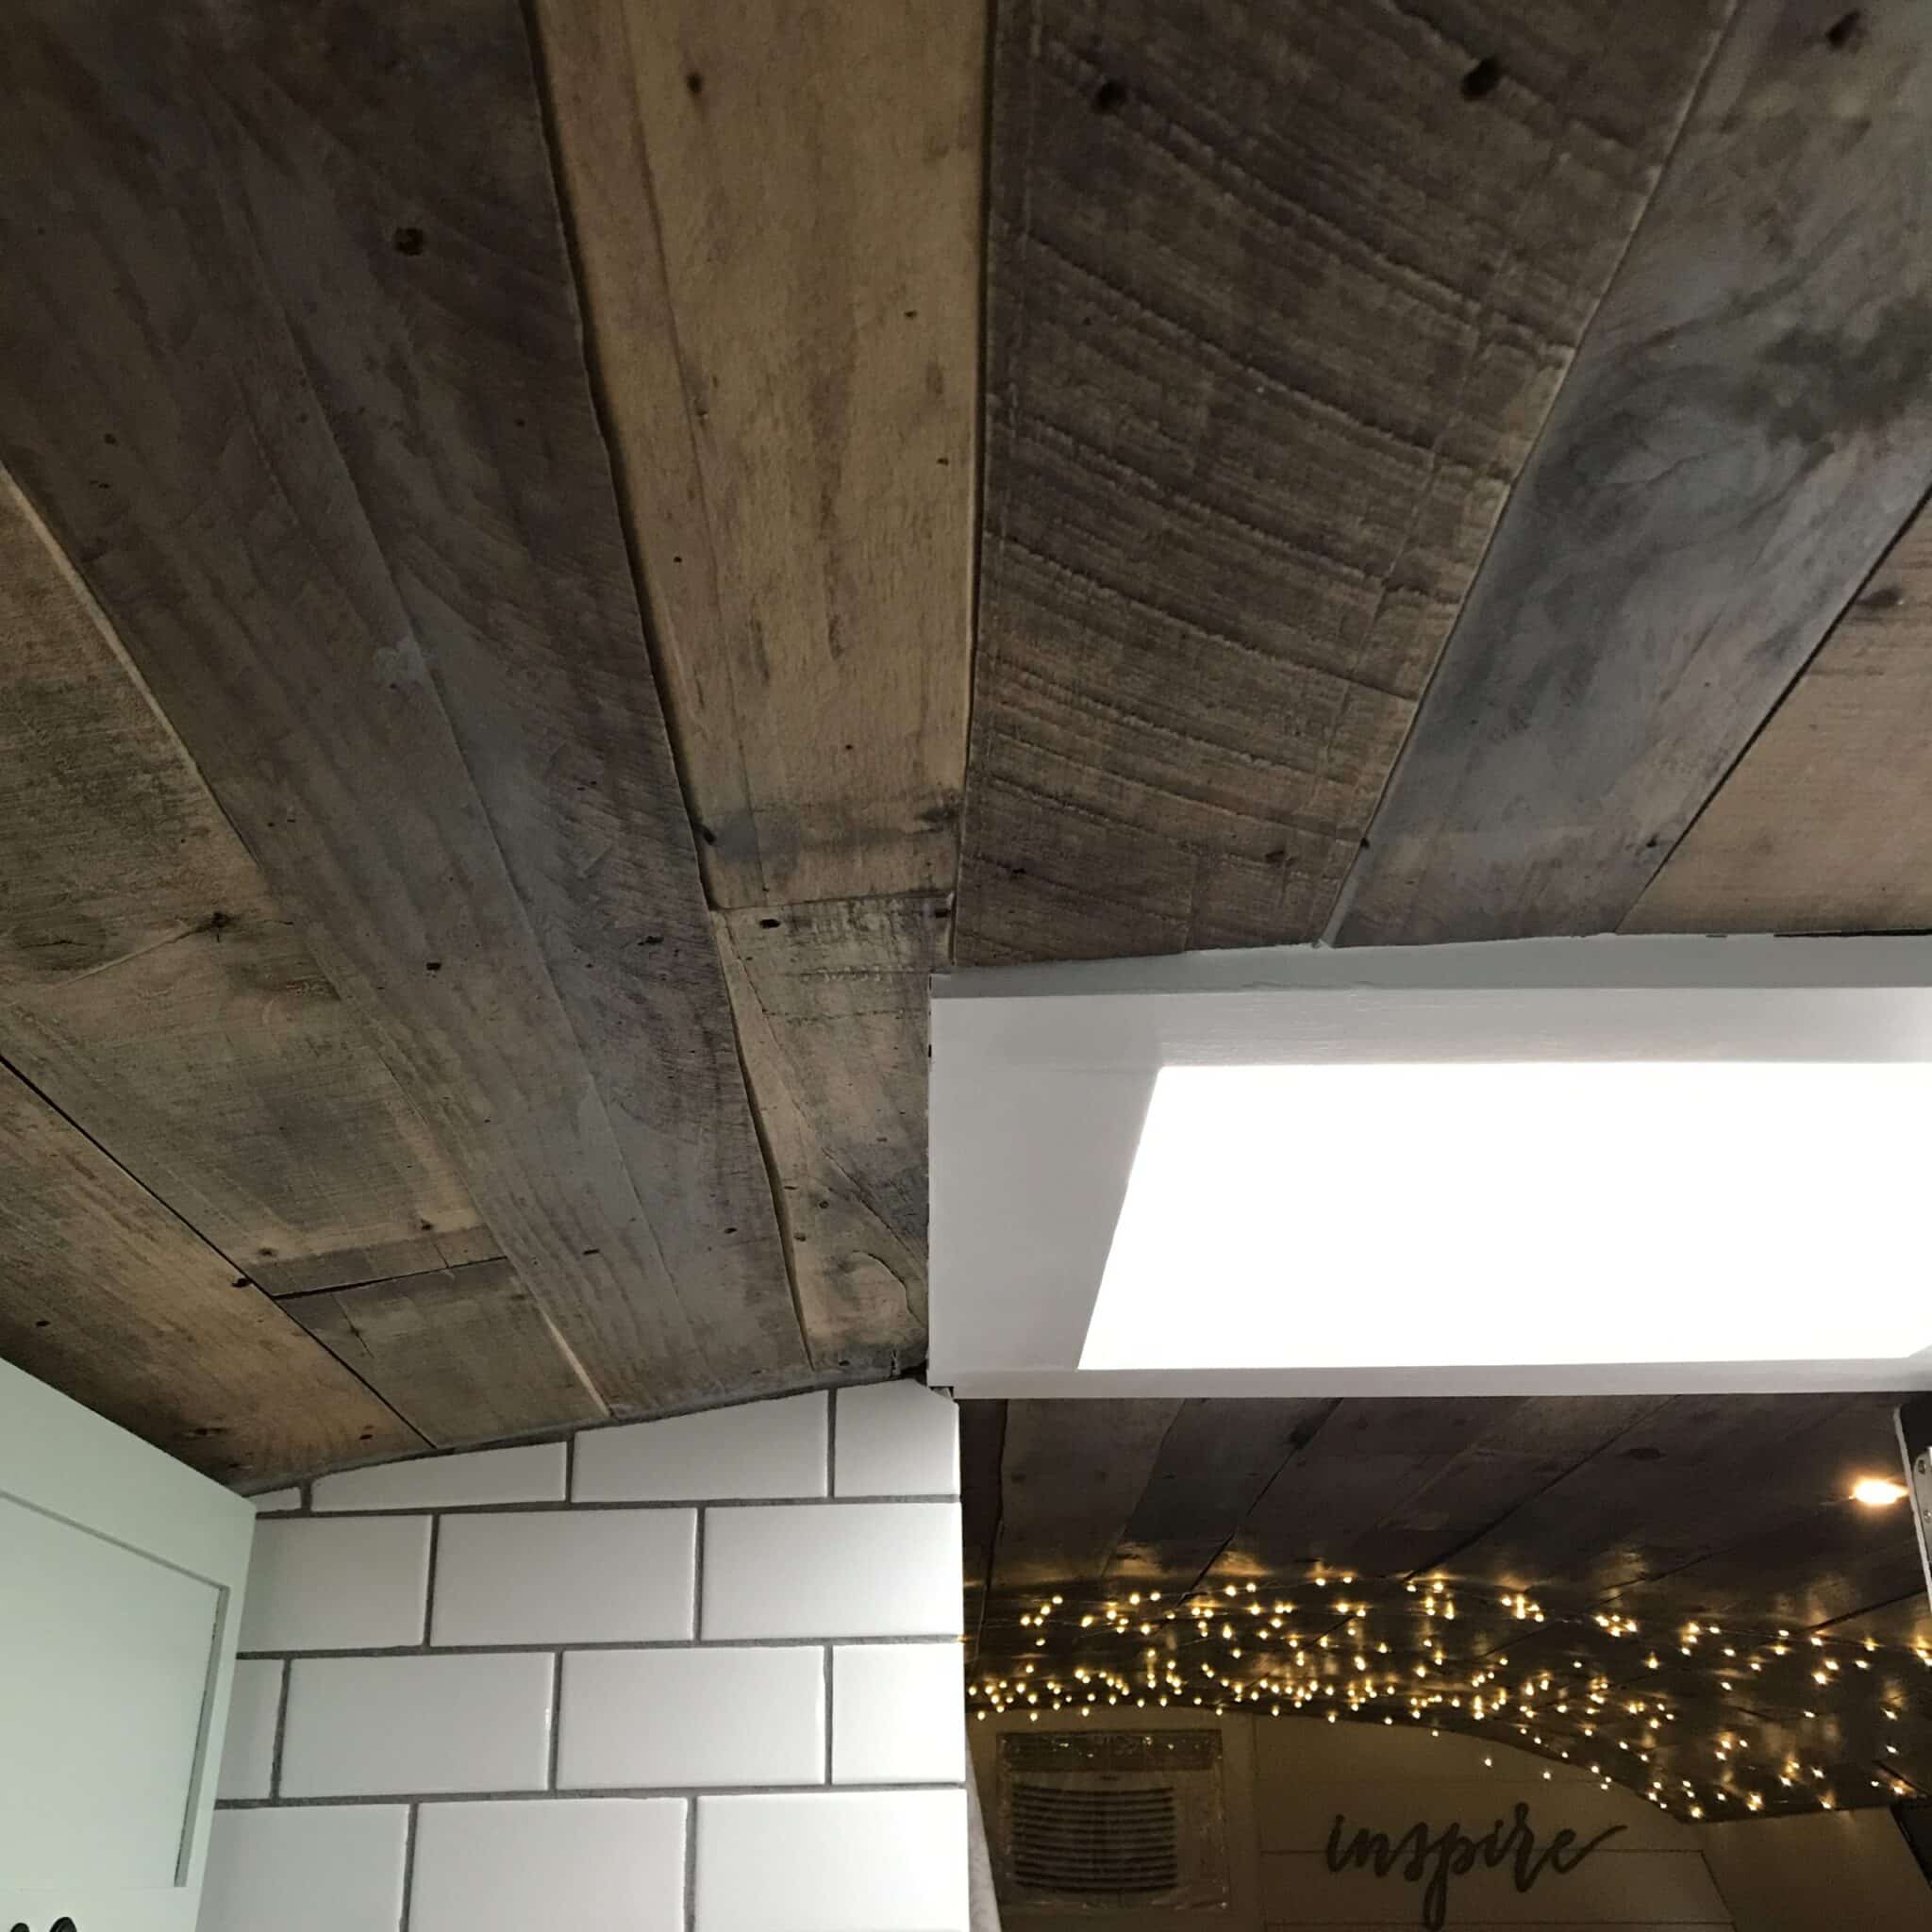
I found three methods that the majority of builders use, and each one has tradeoffs. There’s no single “right” answer here — it depends on your bus, your climate, your budget, and honestly how much wall thickness you’re willing to give up.
Furring Strips on the Existing Ribs
This is the most common method I came across in build after build. You take 1×2 or 1×3 furring strips and screw them directly to the metal ribs of the bus. The ribs are already there, already structural, already spaced at regular intervals. You’re just giving yourself a flat wood surface to attach your wall paneling to.
The beauty of this approach is that it’s thin. A 1×2 furring strip is only 3/4 inch thick. Add your wall paneling — say 1/4 inch luan or 3/8 inch tongue and groove — and your total wall buildup from the metal skin is about one inch. On a bus where every inch of interior width matters, that’s a big deal. You’re losing about two inches total across the bus (one inch per side), which is way less than a stud wall.
To attach furring strips to the ribs, most builders drill through the strip and into the rib with self-tapping screws. Some use Tek screws, which are designed for metal-to-wood connections. I talked to a builder at a meetup who said he pre-drilled every hole because he’d stripped out a bunch of screws trying to go straight through without pilot holes. His tip was to clamp the furring strip to the rib, drill a pilot hole through both, then drive the screw. Takes longer but you don’t waste screws or crack the furring strip.
The downside of furring strips is that they don’t give you a cavity for thick insulation. If your insulation is already between the ribs (spray foam or rigid board cut to fit), then the furring strips sit on top of the insulation surface and everything works fine. But if you were planning on adding insulation depth beyond the ribs, furring strips alone won’t give you that space.
Stud Walls (2×2 or 2×3 Framing)
Some builders go full stud wall, especially on flat-wall buses or in sections where they want extra insulation depth. This is essentially what you’d do in a house — build a frame out of dimensional lumber and attach your wall material to that.
The typical approach in a bus is to use 2x2s instead of the 2x4s you’d use in a house. A 2×2 gives you 1.5 inches of depth beyond the bus rib, which is enough for additional insulation and wiring channels. Some builders go with 2x3s if they want more cavity space, but at that point you’re eating into your interior width pretty fast.
I found a build thread from a couple who did their entire bus in 2×3 stud walls with Rockwool insulation filling the cavities. Their interior ended up about 4 inches narrower than stock on each side. On a standard school bus that’s about 90 inches wide inside the metal, losing 8 inches total brought them down to 82 inches. They said it felt noticeably tighter than buses they’d toured at meetups. Still livable, but they wished they’d gone thinner on the walls.
It sure seems like all the 2×4 framing would add a lot of weight to the chassis springs. And yeah, it does. A full stud wall build on a 40-foot bus can add 400 to 600 pounds just in framing lumber, depending on how many studs and cross pieces you use. That’s before you put a single piece of wall material up. If weight is a concern — and it should be if you’re anywhere near your GVWR — stud walls are the heaviest option.
The advantage is that stud walls give you the most flexibility. You can run wiring anywhere inside the cavity. You can add insulation wherever you want. You can mount cabinets, shelves, and heavy items directly to the studs without worrying about finding a bus rib behind the paneling. It’s the most house-like approach and if you’ve done any residential construction, you already know how to work with it.
Metal Channel Framing (Hat Channel and Steel Studs)
This is the method I was most surprised to learn about. Some builders use light-gauge steel framing — hat channel or C-channel steel studs — instead of wood. The logic is straightforward: steel is lighter per linear foot than wood for the same strength, it doesn’t absorb moisture, it doesn’t warp, and it doesn’t rot.
Hat channel is a galvanized steel profile that screws directly to the bus ribs. It’s only about 7/8 inch deep, so it’s comparable to furring strips in terms of wall thickness. But it’s metal on metal, which means no wood-to-metal moisture issues and no swelling. You can screw drywall, plywood, or paneling directly to hat channel the same way you would to wood furring strips. (See our guide on Can You Use Drywall on a Bus Ceiling? for more on this.)
I’ll be honest, I hadn’t even considered metal framing until I saw a build video from a guy who’d been a commercial drywall contractor before converting his bus. He used hat channel for everything and said the entire framing job weighed about 60% of what the equivalent wood framing would have weighed. His other point was that hat channel creates a thermal break between the metal skin of the bus and the interior wall, which wood doesn’t do as well because wood conducts heat better than people think.
The downside is cost and unfamiliarity. Hat channel and steel studs cost more than dimensional lumber, and most DIY builders have never worked with them. You need aviation snips or a chop saw with a metal-cutting blade to cut them, and the screws are different from wood screws. It’s not hard to learn but it’s one more thing.
How much weight does all the wood used add vs using metal framing? Based on the numbers I pulled together from various builds, here’s a rough comparison for a 35-foot bus:
- Furring strips (wood): 80-120 lbs of lumber
- Stud walls (2×2 wood): 300-500 lbs of lumber
- Hat channel (steel): 50-80 lbs of steel
- Steel studs (full frame): 180-300 lbs of steel
Those numbers don’t include fasteners or wall paneling, just the framing itself. The weight difference matters, but honestly for most builds it’s not the framing that pushes you over GVWR — it’s the water tank, the batteries, and the tile shower.
What Did You Use for Your Walls?
This is probably the single most common question I see in bus build groups and comment sections. Everyone wants to know what’s behind that beautiful finished interior. And the answers vary way more than you’d think.
Tongue and Groove (The Most Popular Choice)
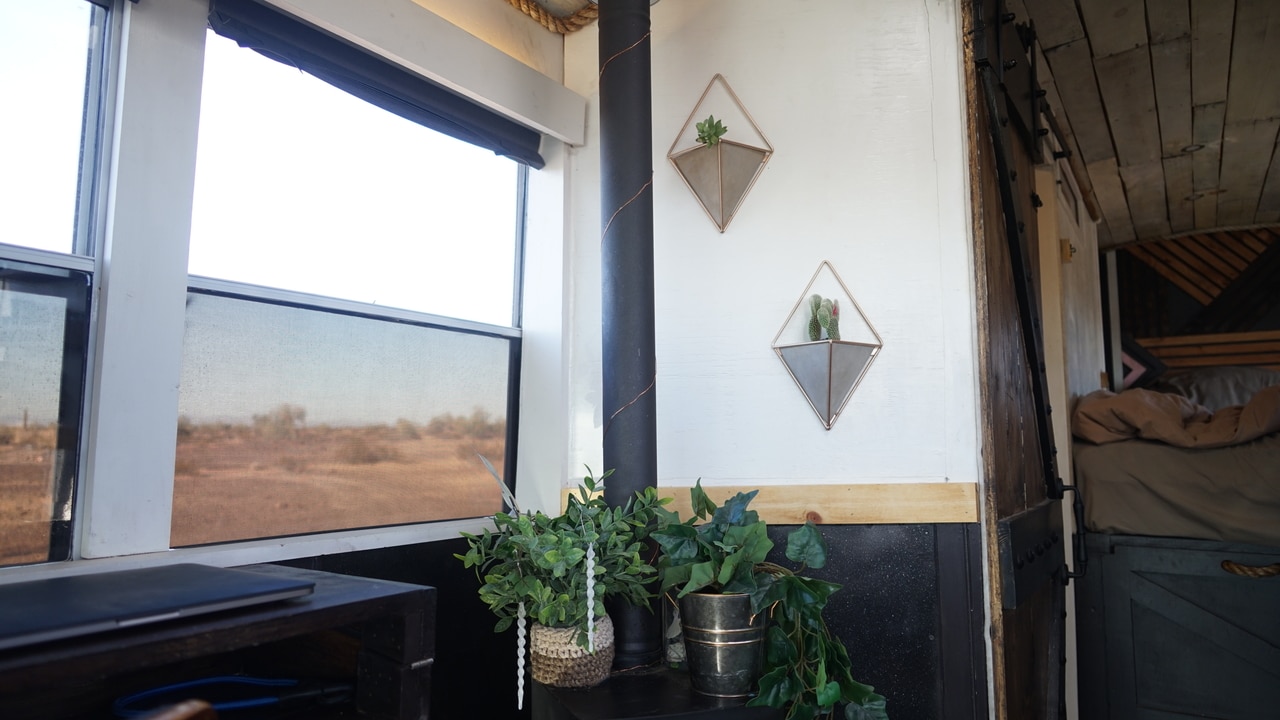
Tongue and groove wood planks are what you see in probably 60 to 70 percent of bus builds. Pine T&G is the most common — it’s cheap, light, easy to work with, and it gives you that warm, cabin-like look that photographs incredibly well.
Standard T&G pine comes in 1×4, 1×6, and 1×8 widths. The 1×6 is the sweet spot for most builders. Wide enough to cover ground quickly, narrow enough to handle the curves of a bus without looking weird. Thickness is usually between 5/16 and 3/4 inch. For bus walls where weight matters, the thinner stuff works fine — you’re not building a load-bearing wall, you’re making a decorative surface.
I spent a long time going back and forth on wall materials and what kept drawing me back to T&G was the forgiveness factor. If you cut a board slightly wrong, you can adjust the next one. If you need to remove a section later to access wiring, you can pull boards off one at a time without destroying the whole wall. Try doing that with a sheet of plywood or drywall.
Cedar T&G is the premium option. It’s naturally moisture-resistant, smells amazing (at least for a while), and has a richer color variation than pine. It also costs roughly three to four times as much. Some builders use cedar in moisture-prone areas like the bathroom and pine everywhere else. That’s a smart compromise if you can’t afford cedar for the whole bus.
Installation is straightforward. Start at the bottom with the groove side down, nail or staple through the tongue into your furring strips or studs, slide the next board’s groove onto the tongue, repeat. A brad nailer makes this go fast. I watched a time-lapse of a couple doing their entire bus in T&G pine and they had the walls done in about three days. That included cutting around windows and working around the curve at the top where the wall meets the ceiling. (See our guide on How Tall Is the Ceiling Inside a School Bus? for more on this.)
Cost for pine T&G runs about $0.80 to $1.50 per square foot depending on grade and where you buy it. Cedar is $3 to $6 per square foot. For a full-size bus with roughly 300 to 400 square feet of wall and ceiling surface, you’re looking at $240 to $600 for pine or $900 to $2,400 for cedar.
Plywood with Shiplap or Board-and-Batten Overlay
Some builders go with a plywood base — usually 1/4 inch luan or birch ply — and then add shiplap boards or board-and-batten trim on top. The plywood gives you a solid, continuous surface behind the decorative layer, which makes it easier to mount things later and provides a smoother vapor barrier transition.
This is the more “finished house” approach and I saw it mostly in builds that were going for a modern farmhouse or Scandinavian aesthetic. The shiplap boards are typically 1x4s or 1x6s with a rabbet cut on the edges to create that characteristic shadow line between boards. You can buy pre-made shiplap or cut your own on a table saw.
The double-layer approach does add thickness and weight. You’re looking at roughly 1/2 inch total (1/4 inch ply plus 1/4 inch shiplap) compared to about 3/8 inch for standalone T&G. And the weight difference adds up across an entire bus. But the trade-off is a sturdier wall that holds screws better for mounting things.
Vinyl Plank on Walls
This one caught me off guard the first time I saw it. People are taking the same luxury vinyl plank flooring they use on the floor and running it up the walls. And honestly? It looks surprisingly good, especially the lighter wood-grain patterns.
The appeal is durability and moisture resistance. LVP is completely waterproof, doesn’t warp, doesn’t swell, and cleans up easily. For a bathroom or kitchen backsplash area in a bus, it makes a ton of sense. Some builders have done their entire bus in LVP walls and swear by it.
The installation is different from flooring, though. On a wall, you can’t just click-lock it and let it float. You need to either glue it or nail it to your framing. Most builders use a combination of construction adhesive and brad nails. The click system still helps keep the boards tight to each other, but the adhesive is what actually holds them to the wall.
Weight-wise, LVP is comparable to thin plywood — about 1.5 to 2.5 pounds per square foot depending on thickness. Not the lightest option, but not bad.
Luan Plywood (The Budget Option)
Luan is a thin (usually 1/4 inch) tropical hardwood plywood that’s cheap, light, and easy to work with. It comes in 4×8 sheets, cuts with a utility knife or circular saw, and takes paint beautifully. If you want smooth white walls like you’d get with drywall but don’t want the weight or cracking risk, luan painted white is the move.
I see this a lot in budget builds. A sheet of 1/4 inch luan costs about $12 to $18 at the big box stores. For an entire bus, you might need 15 to 20 sheets, putting you at $180 to $360 for all your wall material. That’s hard to beat.
The downside is that luan isn’t exciting to look at. Painted white it’s clean and simple. Stained, it looks kind of cheap because the grain pattern isn’t very interesting. And it’s not as moisture-resistant as some other options, so you need to seal it well, especially in bathroom and kitchen areas. Some builders use a marine-grade sealant or polyurethane on luan to give it some water resistance.
Fabric Panels
This is the wildcard option that I didn’t see much of until I started looking at more high-end and design-focused builds. Fabric stretched over a foam backer (like acoustic panels) and mounted on the walls. It absorbs sound, adds a touch of softness to what’s otherwise a very hard interior environment, and gives you a texture that wood and plywood can’t match.
The practical concerns are real, though. Fabric gets dirty. In a bus where you’re cooking, possibly have pets, and track in dust from every campsite, fabric walls are high-maintenance. Most builders who go this route do it in limited areas — a bedroom accent wall, the headboard area, or the ceiling of a sleeping loft. Full fabric walls on an entire bus would be a cleaning nightmare.
Can You Use Drywall on a Bus Ceiling?
I wrote a whole separate article on this topic because it generates so much debate, but let me hit the highlights here since it’s directly related to framing and wall decisions.
Short answer: yes, you can. People do it all the time and when it’s done right, it holds up fine. Quarter-inch drywall is what most bus builders use for ceilings. It’s thin enough to flex with the slight curves of a bus ceiling, light enough not to be a weight disaster, and gives you that perfectly smooth, paintable surface that nothing else really matches.
Can rough roads and the jostling of the bus cause the drywall or windows to crack? This is the question everyone asks, and I get it. Drywall in a house just sits there. Drywall in a bus has to survive highway vibration, potholes, and the occasional gravel road. The answer is that properly installed drywall on a bus ceiling doesn’t crack any more than it cracks in a house. The key words are “properly installed.” That means screwed to framing every 6 to 8 inches (tighter than house standard), with mesh tape on the joints instead of paper tape, and flexible joint compound.
When I saw he was going to use drywall in a vehicle, I just shook my head. I’ve seen that exact comment on probably twenty different build videos. And then six months later those same builds still look perfect. The chassis flex thing is real but it’s way smaller than people think. A bus frame flexes maybe 1/16 of an inch over a 40-foot span during normal driving. Quarter-inch drywall on properly spaced screws absorbs that without cracking.
Wouldn’t the 2 by 4s and dry wall add an awful weight to the wheels and frame and tires? Yes, it’s heavy. Drywall is one of the heavier wall options. A full ceiling in quarter-inch drywall on a 35-foot bus runs about 250 to 350 pounds including mud and tape. But like I said earlier, that’s a fraction of what your water tank weighs. If you’ve done your GVWR math and you have the capacity, drywall is fine. If you’re already tight on weight, go with something lighter.
The real argument against drywall isn’t weight or cracking — it’s access. Once you mud, tape, and paint a drywall ceiling, getting behind it to access wiring or fix a leak is a nightmare. You’re cutting holes and then patching them. With T&G planks, you pop a few boards off and put them back. That’s worth thinking about before you commit to drywall.
Ceiling Options Beyond Drywall
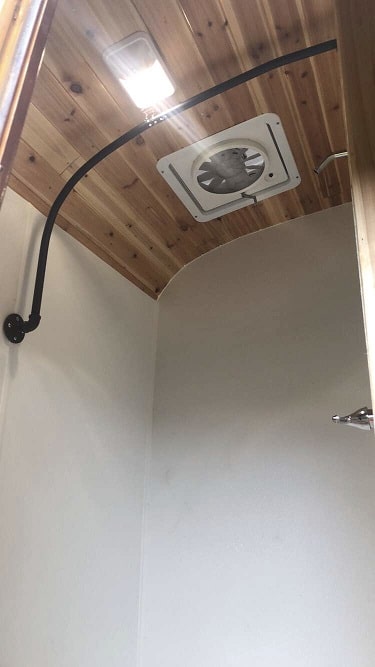
Tongue and Groove Ceiling
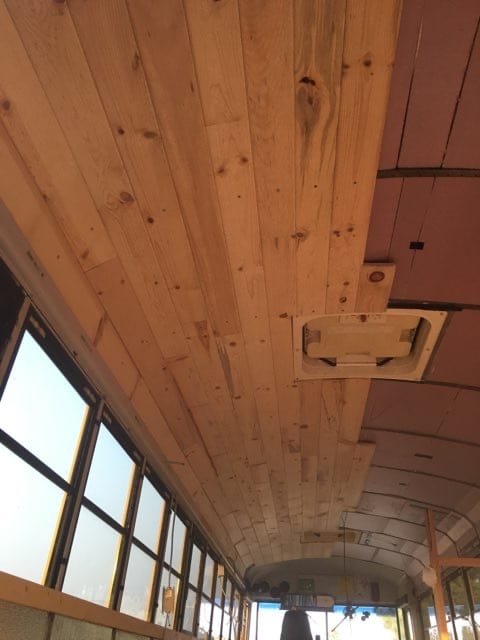
This is what I see in the majority of builds and what I’d probably choose if I were building tomorrow. T&G on the ceiling matches the walls (if you’re using it there too), creates a continuous warm-wood look, and handles the ceiling curve of most buses gracefully because each narrow plank can bend slightly to follow the contour.
Can you tell me the name of the floors you used and the ceiling wood you used? I see this question on almost every build tour video. For ceilings specifically, the most common answers are knotty pine T&G in 1×4 or 1×6, or cedar T&G for a premium look. Some people use poplar, which is lighter in color and weight. The thinner the planks, the easier they bend around ceiling curves.
One thing I noticed in my research is that ceiling T&G is almost always installed perpendicular to the bus ribs, running front to back along the length of the bus. This gives you the most mounting points (each plank crosses every rib) and looks better visually because the lines draw your eye down the length of the space, making it feel longer.
Panel Ceilings (Plywood, Luan, Composite)
Flat panels work fine on ceilings that don’t have much curve to them. Luan is the go-to for budget builds. Cut the sheets to fit between framing members, paint them white, and you’ve got a clean ceiling for under $100.
The trick with panel ceilings is dealing with the seams. In a house, you’d tape and mud the seams like drywall. In a bus, most builders cover the seams with thin trim strips — 1×2 lattice or screen mold. It creates a paneled look that actually ends up looking intentional rather than like a cover-up.
Fabric Ceilings
Is your ceiling still metal? I saw someone ask this on a build where the owner had stretched fabric over the entire ceiling, and you genuinely couldn’t tell what was underneath. Fabric ceilings use a marine-grade headliner material (similar to what you’d find in a car) stretched over a thin foam pad and stapled or glued to the framing.
The look is clean, modern, and different from the typical wood ceiling you see in every other bus. It also has acoustic benefits — fabric absorbs sound where wood and metal reflect it. A bus with fabric on the ceiling is noticeably quieter inside.
The practical issue is sagging over time, especially in heat. If you’re parked in Arizona in July and your interior hits 130 degrees, the adhesive on a fabric ceiling can soften and the fabric starts to droop. Using mechanical fasteners (staples into the framing, hidden by the stretch) in addition to adhesive helps prevent this.
How Do You Attach Things to the Walls of a Bus?
This is one of those questions where the answer depends entirely on what you did with your framing. And it’s something I wish more build guides talked about upfront, because you really need to think about mounting points before your walls go up, not after.
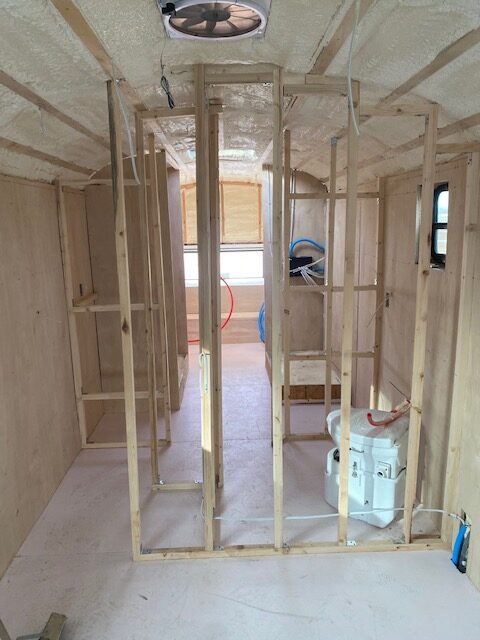
If you framed with studs (wood 2x2s or 2x3s), you’ve got solid wood behind your wall paneling at regular intervals. You can screw into the studs the same way you’d hang a shelf in a house — find the stud, drill a pilot hole, drive a screw. A stud finder works through most wall materials. Easy.
If you used furring strips on the ribs, your mounting points are wherever the ribs are. Bus ribs on a typical school bus are spaced about 24 to 28 inches apart. That’s your mounting grid. If you want to hang a cabinet or a shelf, you need to hit those rib locations. Some builders map out their rib locations before the walls go up and take photos or mark measurements so they can find them later.
Here’s a trick I picked up from a build forum that I thought was really smart: before you put your wall paneling up, take a photo of every wall section with a tape measure visible. Mark where the ribs are, where the wiring runs, where the plumbing goes. Save those photos. When you need to drill into a wall two years later, you pull up the photo and know exactly what’s behind the paneling at that spot. Beats guessing and accidentally drilling into a wire.
For lighter items — picture frames, small shelves, decorative hooks — you can use hollow wall anchors (toggle bolts or snap toggles) that grab the back of the paneling without needing a stud. These work great in luan and plywood walls. They don’t work as well in T&G because the individual boards can flex independently.
Some builders install a french cleat system on their walls during construction. A french cleat is just a board with a 45-degree bevel cut on the top edge, screwed into the framing. Matching cleats on the back of shelves, cabinets, and art pieces hook over it. Everything is removable and repositionable. I saw a bus where literally every item on the walls was on a cleat system and the owners could reconfigure their entire living space in an hour.
Are you not worried about the wood frames becoming loose over time from vibration when the bus is moving? This came up in a comment section and it’s a legitimate concern. Vibration over thousands of miles can work screws loose. The fix is simple but important: use lock washers or thread-locking compound (Loctite Blue) on any structural screws going into the bus ribs. For wall paneling screws going into wood framing, a dab of wood glue on the screw before driving it adds holding power that vibration can’t shake loose.
How Thick Are Your Walls After Insulation and Paneling?
This is a really practical question that affects your livable interior width and I didn’t find a good answer to it anywhere when I was researching, so I put together some real numbers from actual builds.
Here are typical wall stackups from thinnest to thickest:
Thinnest approach (furring strips + thin paneling):
- Metal bus skin: 0
- Insulation between ribs: 1.5″ (closed-cell spray foam)
- Furring strip: 0.75″
- Luan paneling: 0.25″
- Total: 2.5 inches per side, 5 inches total width loss
Mid-range approach (furring strips + T&G):
- Metal bus skin: 0
- Insulation between ribs: 1.5″
- Furring strip: 0.75″
- T&G pine: 0.375″
- Total: 2.625 inches per side, 5.25 inches total
Thick approach (stud walls + shiplap):
- Metal bus skin: 0
- Insulation between ribs: 1.5″
- 2×2 stud: 1.5″
- Additional insulation: 1.5″
- Plywood backer: 0.25″
- Shiplap: 0.25″
- Total: 5.5 inches per side, 11 inches total width loss
On a standard 90-inch-wide school bus interior, the thinnest approach leaves you with 85 inches of living space. The thickest approach drops you to 79 inches. That’s almost a foot of difference, and you feel it when you’re walking through the bus or trying to fit a queen mattress sideways.
Most builders I talked to landed somewhere in the 2.5 to 3.5 inch range per side. That seems to be the sweet spot where you get decent insulation, solid framing for mounting things, and don’t lose so much width that the bus feels cramped.
Working Around the Curves
Every school bus has curves. The walls curve into the ceiling. The ceiling itself has a crown. The area around the windows is never quite flat. And the back of the bus, depending on the model, might have compound curves that are genuinely tricky.
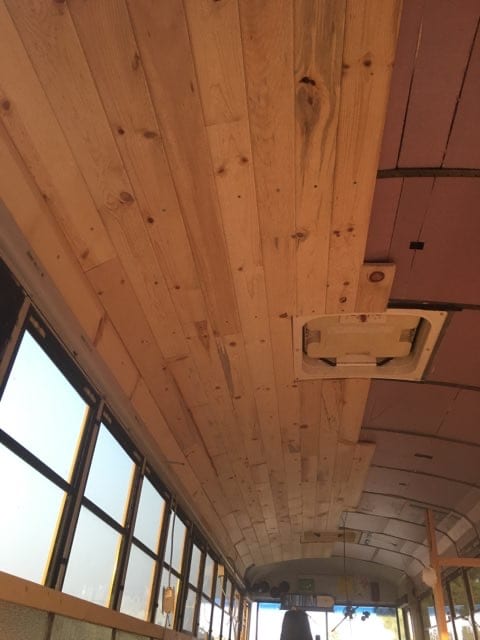
This is where T&G paneling really shines compared to sheet materials. Each narrow plank can follow a gentle curve by bending slightly as you nail it up. For tighter curves, like where the wall transitions into the ceiling on a rounded-roof bus, you can kerf the back of the planks (cut shallow slots across the width) to let them bend more.
For plywood and luan, you’re limited by how far a sheet will bend without cracking. Quarter-inch luan is fairly flexible and can handle gentle curves. Anything thicker than that and you’re fighting the material. Some builders make relief cuts on the back to get plywood around curves. Others just accept that the transition zone between wall and ceiling will be a trim piece or a separate curved section.
I watched a pretty detailed video of a builder tackling the rear curve of a Blue Bird bus. He used thin plywood strips about 3 inches wide, layered and glued in a form, to create a curved transition piece. It took him an entire day for about 4 feet of curve. But the result was seamless. That’s the kind of detail work that separates a “we live in a bus” build from a “we built a tiny house inside a bus” build.
Hello, what is the wall finish? It looks like adobe or is it sheet rock? That comment was on a build where the owner had used joint compound over luan panels and then sanded it smooth before painting. From a distance it looked exactly like plastered walls. Up close you could see it wasn’t drywall, but the effect was convincing. It’s a creative middle ground — lighter than drywall, easier to repair, but gives you that same smooth finish.
Vapor Barrier: Where It Goes and Why It Matters
I covered vapor barriers extensively in the insulation guide, but it’s worth hitting the key points here because the framing and wall stage is where you either seal the deal on moisture management or create problems you’ll find later.
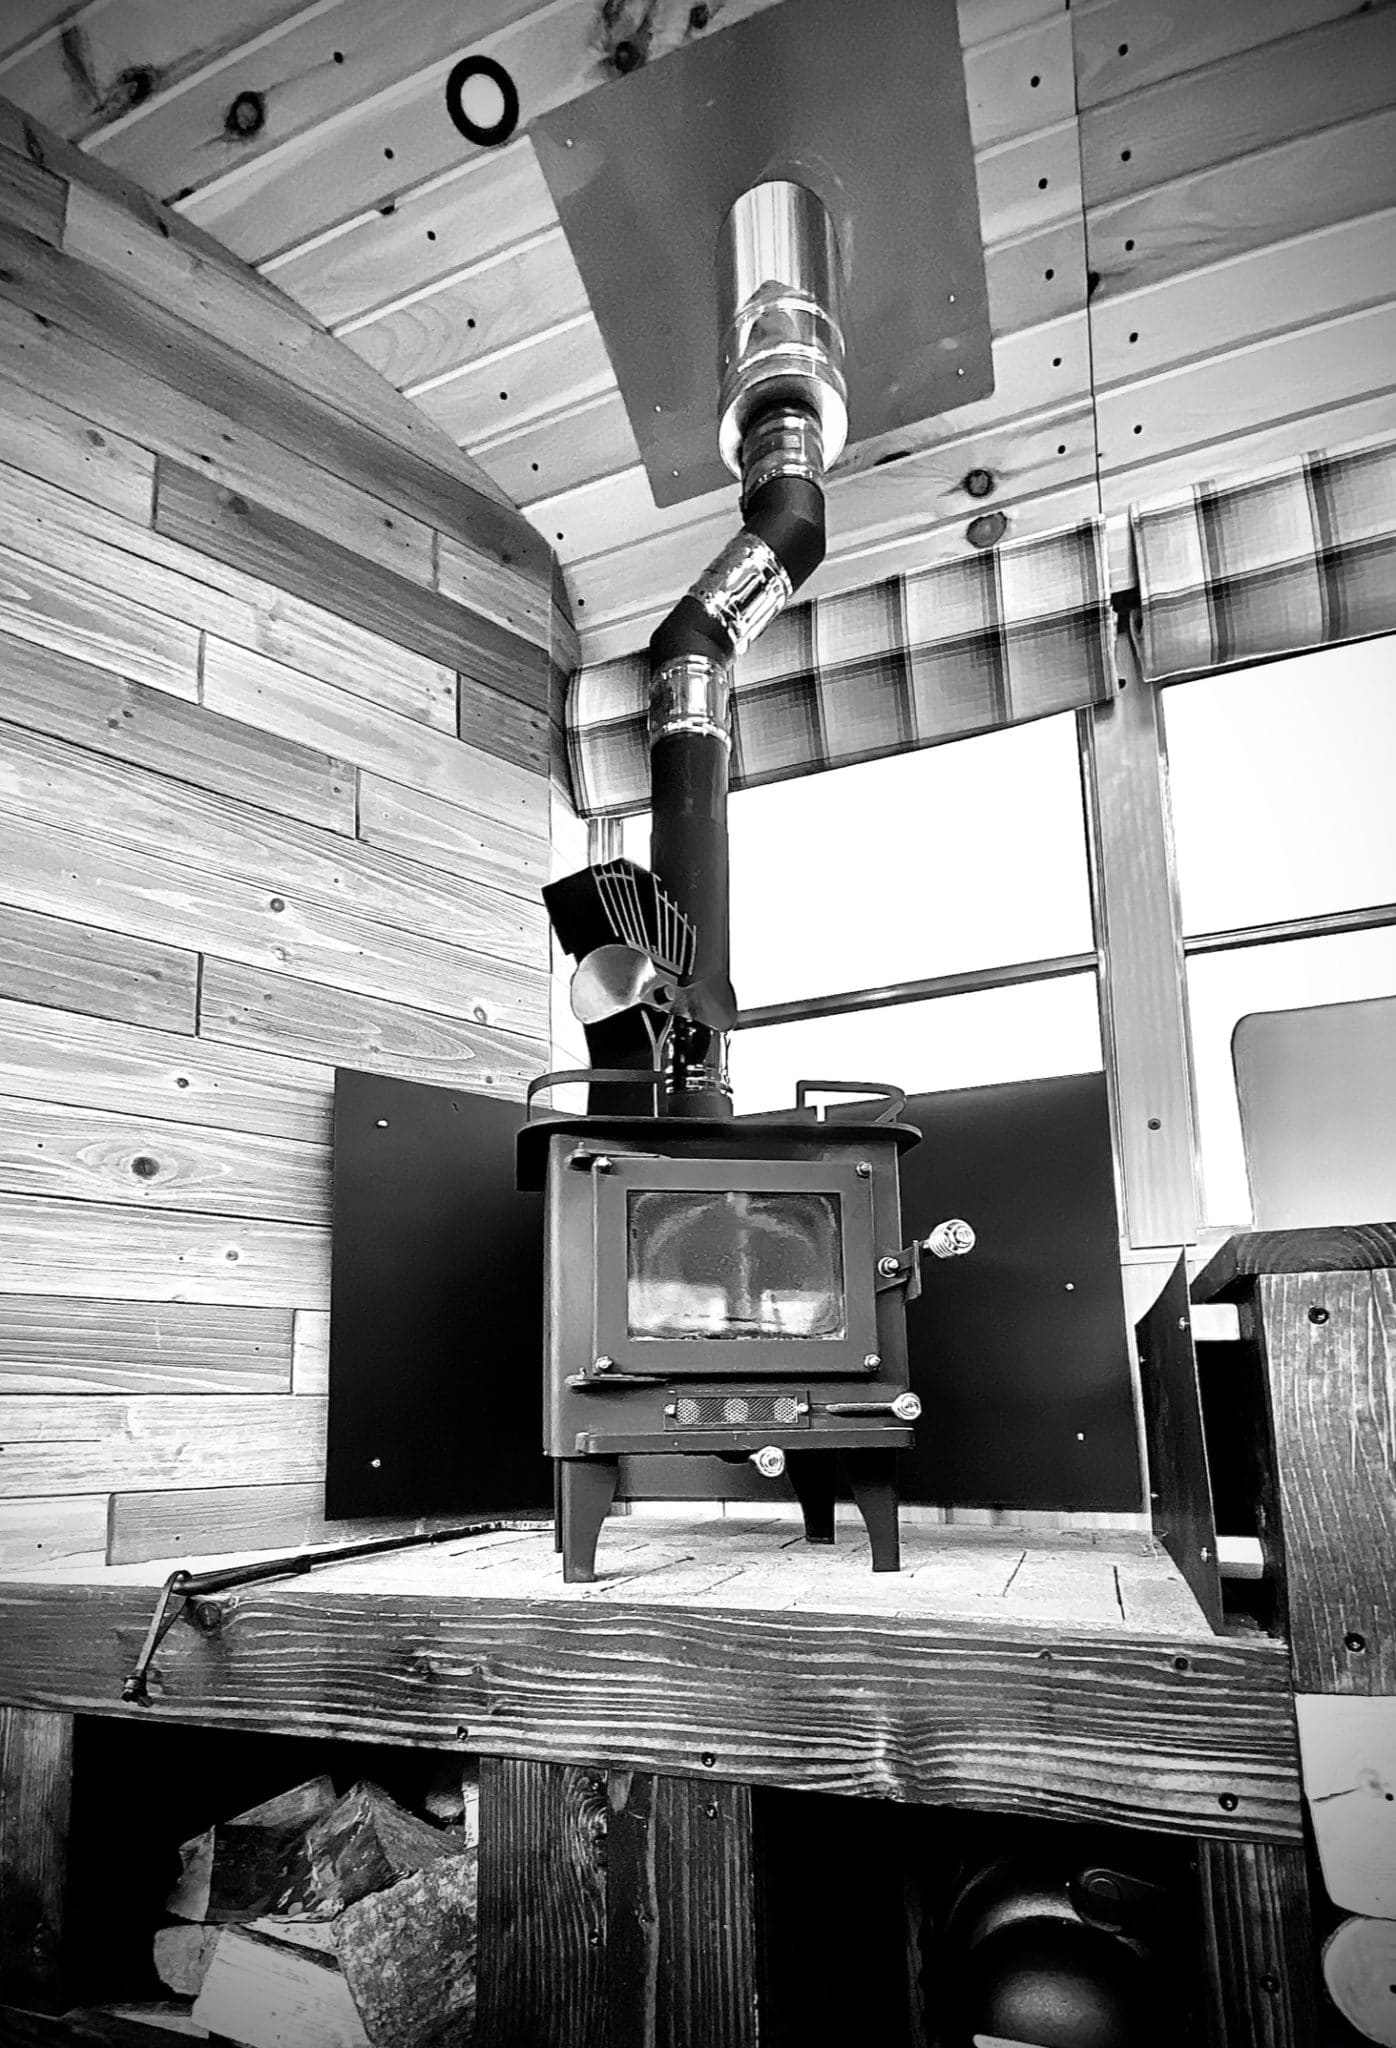
I never see you guys put vapor barrier or anything in the walls to prevent humidity inside the walls and mold. What do you guys do to prevent moisture? This comment shows up on build videos all the time and it’s a fair concern. The answer depends on what insulation you used.
If you went with closed-cell spray foam, your vapor barrier is built in. The foam is impermeable to moisture and bonds directly to the metal, so there’s no air gap for condensation. You frame over it and put up your walls without worrying about a separate barrier.
If you used rigid foam board or mineral wool, you need a vapor barrier on the warm side — meaning between your insulation and your interior wall paneling. This is typically 6-mil polyethylene sheeting stapled to the framing, with all seams taped. The vapor barrier goes up after insulation but before wall paneling. It’s an extra step that a lot of builders skip, and then they wonder why they have moisture behind their walls two winters later.
The framing stage is also when you need to think about air sealing around penetrations. Every spot where a wire, pipe, or vent passes through the wall is a potential leak in your vapor barrier. Canned spray foam around those penetrations closes the gaps. I saw a builder who used acoustical sealant (that black gooey stuff) around every single wire penetration and said his bus had zero condensation issues after two winters in Colorado. Tedious work, but effective.
Wiring Before Walls Go Up
This is not optional. I cannot stress this enough. All of your electrical wiring needs to be in place before wall paneling goes up. This includes:
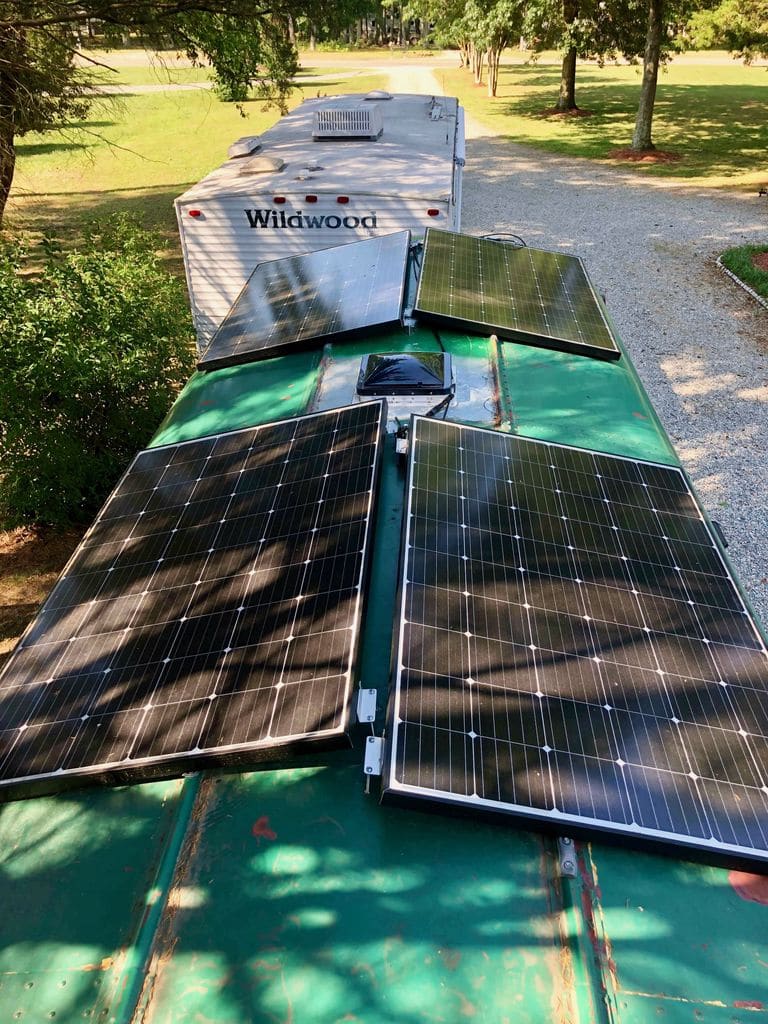
- 12V DC runs for lighting, fans, USB outlets
- 120V AC runs if you’re doing shore power or inverter circuits
- Speaker wires
- Ethernet or coax if you’re wiring for internet
- Thermostat wires
- Any low-voltage wiring for sensors, cameras, or smart home stuff
Do you have a way to get those major appliances out without removing internal walls in case of replacement needed? This question hits on something important. Your wiring plan and your wall plan need to work together. Run wires through the framing cavities before paneling, leave service loops (extra wire) at every junction box and appliance location, and for the love of all things holy, take photos of everything before you cover it up.
Some builders install access panels at key junction points. A small section of wall paneling held in with screws instead of nails or glue, so you can remove it to access the wiring behind it. I saw a builder who color-coded his access panels with a small paint dot in the corner — blue for electrical, red for plumbing. Smart system.
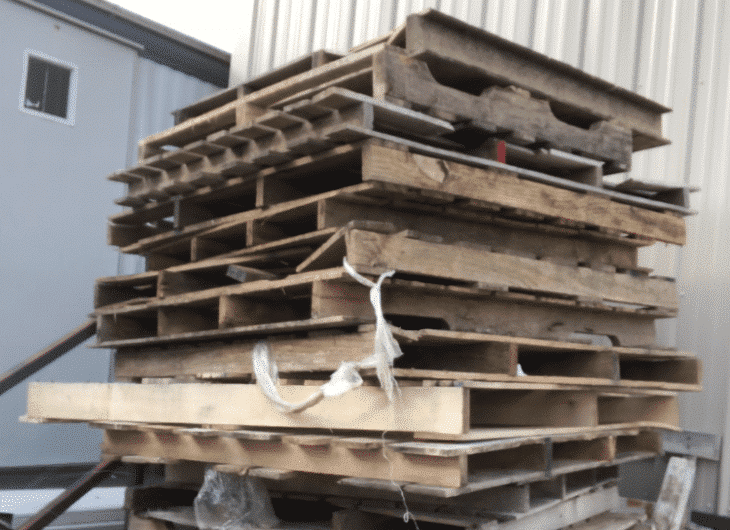
Is there any insulation between the wood on the walls of the bus and the pallet wood? This question from a build video points to something I see a lot of builders get wrong. They put up walls without thinking about the thermal bridge created by the framing itself. A wood furring strip screwed directly to a metal rib is conducting cold from the metal into your wall. In really cold climates, you can actually see frost patterns on the interior wall surface that match the rib locations.
The fix is a thermal break. A thin strip of rigid foam or even a piece of rubber between the metal rib and the wood furring strip breaks the conduction path. It’s a small detail that most builders skip, but in cold climates it makes a noticeable difference.
Weight Considerations for Wall Materials
With all that plywood, etc., that bus must be a lot heavier than it used to be. I wonder about support from lower carriage and wear and tear on so few tires. This is a real concern and I wish more builders talked about it during the planning stage instead of finding out at the scale.
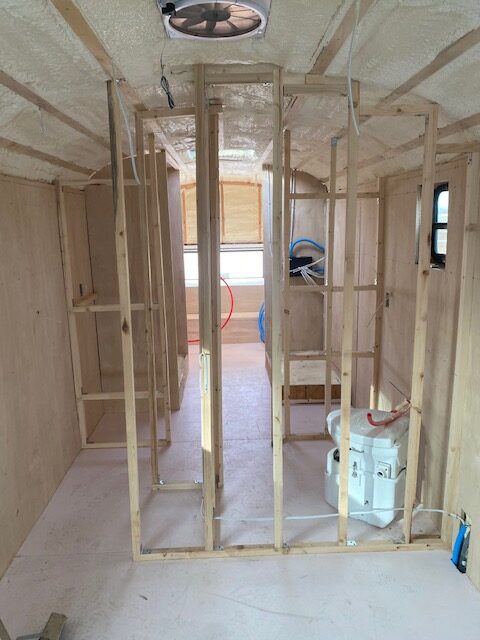
Here’s a weight comparison for wall materials based on covering approximately 350 square feet of wall and ceiling surface on a full-size bus:
| Material | Weight per sq ft | Total (350 sq ft) | Cost per sq ft | Total Cost |
|---|---|---|---|---|
| 1/4″ Luan | 0.7 lbs | ~245 lbs | $0.40-0.55 | $140-$190 |
| 1/4″ T&G Pine | 0.8 lbs | ~280 lbs | $0.80-1.50 | $280-$525 |
| 3/8″ T&G Pine | 1.1 lbs | ~385 lbs | $1.00-1.80 | $350-$630 |
| 1/4″ Drywall | 1.3 lbs | ~455 lbs | $0.35-0.50 | $120-$175 |
| 1/2″ Plywood + Shiplap | 2.0 lbs | ~700 lbs | $1.50-2.50 | $525-$875 |
| 1/4″ Cedar T&G | 0.9 lbs | ~315 lbs | $3.00-6.00 | $1,050-$2,100 |
| Vinyl Plank | 1.8 lbs | ~630 lbs | $1.50-3.50 | $525-$1,225 |
The difference between the lightest option (luan at 245 lbs) and the heaviest (plywood plus shiplap at 700 lbs) is 455 pounds. That’s significant. It’s the equivalent of carrying two extra passengers everywhere you go.
Did you upgrade your leaf springs? I live in a box truck myself, and we had to upgrade our leaf springs. All that drywall, tile, wood, and water tanks are very heavy. This is a real consideration. If your total build weight is pushing you close to GVWR, the wall material choice can be the difference between being legal and being overweight. Some builders specifically choose luan or thin T&G over heavier options just to keep weight down for things they care about more, like a bigger water tank or a full-size fridge.
Cost Comparison
Since I already put the cost-per-square-foot numbers in the weight table, let me break this down a different way that’s more useful. Here’s what a complete wall and ceiling job costs for a 35-foot bus, including framing materials, fasteners, and finishing:
Budget build (furring strips + luan, painted):
- Furring strips: $60-80
- Fasteners: $30-40
- Luan sheets: $140-190
- Paint and primer: $80-120
- Total: $310-430
Mid-range build (furring strips + pine T&G, sealed):
- Furring strips: $60-80
- Fasteners: $30-40
- T&G pine: $280-525
- Stain and sealant: $60-100
- Total: $430-745
Premium build (stud walls + cedar T&G):
- 2×2 lumber for framing: $150-200
- Fasteners: $40-60
- Cedar T&G: $1,050-2,100
- Finish oil: $40-80
- Total: $1,280-2,440
Those numbers surprised me when I added them all up. You can wall an entire bus for under $500 if you go the budget route. That’s less than most people spend on a single appliance. Even the premium cedar build is under $2,500 for wall material, which in the grand scheme of a $20,000 to $40,000 total conversion is a pretty small percentage.
Common Mistakes (Learn From Other People’s Problems)
I spent a lot of time reading build threads and post-build reviews, and certain mistakes showed up over and over. If I could hand this list to every new builder before they started framing, I would.
Not Leaving Access to Wiring and Plumbing
This is the number one mistake and the hardest one to fix after the fact. Builders get excited about closing up the walls and making things look finished, and they forget that eventually something behind those walls is going to need attention. A wire connection comes loose. A PEX fitting develops a slow leak. The 12V line to the bathroom vent fan stops working and you need to trace it.
If your walls are nailed-up T&G with no access panels, you’re ripping boards off to find the problem. If your ceiling is mudded and painted drywall, you’re cutting holes. Plan your access points during the framing stage. Every electrical junction, every plumbing connection, every spot where you might conceivably need to reach in — think about how you’ll get to it after the walls are pretty.
Ignoring Thermal Bridging Through Framing
I mentioned this in the vapor barrier section but it deserves its own callout. Every piece of wood or metal that touches both the bus skin and your interior wall is a thermal bridge. In cold weather, those bridges create cold spots on your interior walls. Cold spots attract condensation. Condensation behind walls creates mold.
The fix is easy during construction and nearly impossible after. Put a thermal break between framing members and the bus metal. A strip of 1/4 inch rigid foam, a piece of closed-cell foam tape, even a rubber shim. Something that interrupts the metal-to-wood conduction path.
Framing Before Insulation Is Complete
I saw a build where the owner put up all the framing, then tried to spray foam between the framing members. The foam expanded around the framing and made a mess. It’s way easier to insulate first, let the foam cure, trim it flush with the ribs, and then put up your framing on top of the cured insulation.
If you’re using rigid board insulation, same principle. Cut and fit your board between the ribs first. Seal the edges with canned foam. Let everything cure. Then put up your furring strips or studs.
Not Accounting for Expansion and Contraction
Wood moves. It swells when it’s humid and shrinks when it’s dry. In a bus that might be parked in the Louisiana bayou one month and the Arizona desert the next, that movement is dramatic. T&G handles this naturally because the tongue-and-groove joint allows boards to expand and contract without showing gaps. But if you butt-joint plywood sheets with no gap, they’ll buckle when humidity rises. Leave a 1/16 inch gap between sheet goods and cover the seam with trim.
Over-Tightening Screws Into Bus Ribs
The metal ribs on a school bus are not thick. They’re typically 16 to 18 gauge steel. If you over-torque a self-tapping screw, you strip the hole and now you’ve got a fastener that’s just spinning in place. Use a clutch setting on your drill or go the last half-turn by hand. Once you strip a hole in a rib, you either need to move the screw location or use a larger diameter screw, and neither option is ideal.
Building Walls Too Tight to the Ceiling
I found this one in a forum post from a builder who’d done beautiful T&G walls all the way up, tight against the ceiling paneling. Looked perfect. Then he drove the bus for the first time and the wall panels cracked where they met the ceiling because the bus body had enough flex to shift the ceiling relative to the walls by a fraction of an inch.
The fix is a trim piece — crown molding, a quarter round, or even just a thin strip of matching wood — where the wall meets the ceiling. The trim covers a small intentional gap that allows for movement. It’s the same principle as expansion gaps in flooring.
Putting It All Together: The Build Sequence
Since framing and walls touch so many other systems in the bus, getting the sequence right matters. Here’s the order that most experienced builders follow:
- Strip the bus to bare metal (seats, floor, old insulation, everything out)
- Treat rust on walls, ceiling, and ribs
- Run any wiring or plumbing that goes behind walls (rough-in stage)
- Insulate walls and ceiling
- Install vapor barrier if needed (depends on insulation type)
- Install framing (furring strips, studs, or hat channel)
- Run remaining wiring through framing cavities
- Take photos of everything before covering it up
- Install wall and ceiling paneling
- Install trim (window frames, ceiling-to-wall transitions, corners)
- Finish (paint, stain, seal)
Step 8 is the one everybody skips and everybody regrets skipping. Take the photos. Save them somewhere you won’t lose them. Future you will be grateful.
Related: The Complete Guide to Insulating a School Bus Conversion
So Where Did I End Up On All This?
After digging through dozens of builds, reading more forum threads than I can count, and talking to builders at two different meetups about their wall choices, I came away thinking that most people overthink wall materials and underthink framing and what’s behind the walls. The pretty surface stuff is the easy part. It’s the framing method, the thermal bridging, the vapor management, the wiring access — that’s what determines whether your bus is still in good shape five years down the road.
If I had to give one piece of advice to someone about to start their walls, it would be this: slow down during framing and speed up during paneling. Get the framing right. Make sure everything behind the walls is accessible, insulated, and sealed. Then slap the pretty wood up there and enjoy it.
The wall material itself almost doesn’t matter as long as the structure behind it is solid. I’ve seen gorgeous buses with $200 in painted luan and I’ve seen buses with $2,000 in cedar that had mold problems because the builder skipped the vapor barrier. The stuff you can’t see matters more than the stuff you can. That’s true in a house and it’s just as true in a bus, maybe more so because everything in a bus is closer together and harder to fix after the fact.
Whatever you go with, take your time on the framing, photograph everything before you close it up, and leave yourself a way to get behind those walls when you need to. You’ll thank yourself later.