

Your bed is the one thing in the bus you absolutely can’t compromise on. You’re going to spend a third of your life on it, you’re going to be sore from building all day, and if your sleeping situation isn’t right, nothing else in the bus matters.
The bed you pick depends on your bus width, ceiling height, how many people are sleeping in it, and whether you’re willing to give up floor space for a permanent bed or convert something every night. Most full-width school buses fit a standard queen running side-to-side. Short buses may need a custom-cut mattress or a Murphy bed or convertible dinette. For families, bunk beds work but come with ventilation and growth challenges you need to plan for. And the mattress matters just as much as the frame — memory foam and latex are the top choices because they handle moisture and movement better than springs.
Standard Bed Sizes vs Custom Builds
How long is your bed? Is it custom made to fit the bus or is it a standard length?
So this was one of the first things I had to wrap my head around when I started planning the sleeping area. The interior width of a standard full-size school bus is roughly 90 inches — that’s 7.5 feet. A standard queen mattress is 60 inches wide by 80 inches long. If you run it side-to-side (which most people do), the 80-inch length fits inside the 90-inch bus width with about 5 inches of clearance on each side. That’s enough for a thin nightstand shelf or just breathing room.
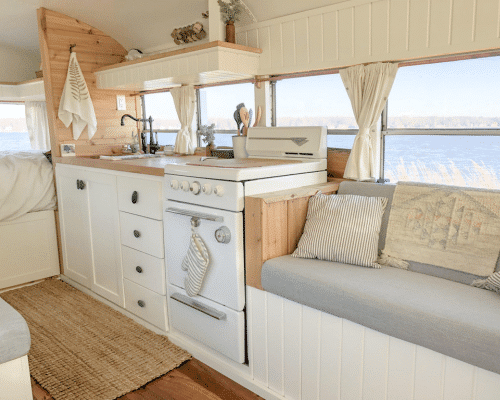
Here’s where it gets interesting. A king mattress is 76 by 80, and yes, it technically fits too. You’re tight on the walkway, but some couples make it work in a full-size bus.
Short buses are a different story. A lot of them have a narrower interior — sometimes as narrow as 72-76 inches. A queen running sideways won’t fit. Your options are a full-size mattress (54 by 75), a custom-cut mattress, or running the bed lengthwise, which eats way more floor space. (See our guide on 7 Skoolie Floor Plan Ideas for Every Bus Size for more on this.)
Here’s a quick reference:
- Twin: 38 x 75 in — fits easily, good for bunks or solo short bus builds
- Full: 54 x 75 in — works in most buses sideways, popular for short buses
- Queen: 60 x 80 in — the standard choice for full-size builds, fits side-to-side
- King: 76 x 80 in — tight but possible in full-width buses, sacrifices walkway
- Custom: whatever you need — usually cut down 2-4 inches from a standard size
The honest answer is that most people end up with a standard queen and it works fine. Custom mattresses are available from a handful of companies online — you give them the dimensions, they cut it. Expect to pay $400-800 for a decent custom foam mattress. Not cheap, but sometimes that’s the only way to get the fit right.
Fixed Platform Beds
A fixed platform bed is the most common setup in skoolie builds, and there’s a good reason for that. You build it once, you throw a mattress on it, and it’s done. No folding, no converting, no daily setup. (See our guide on How to Build a Skoolie Bathroom (Shower, Toilet, and Plumbing) for more on this.)
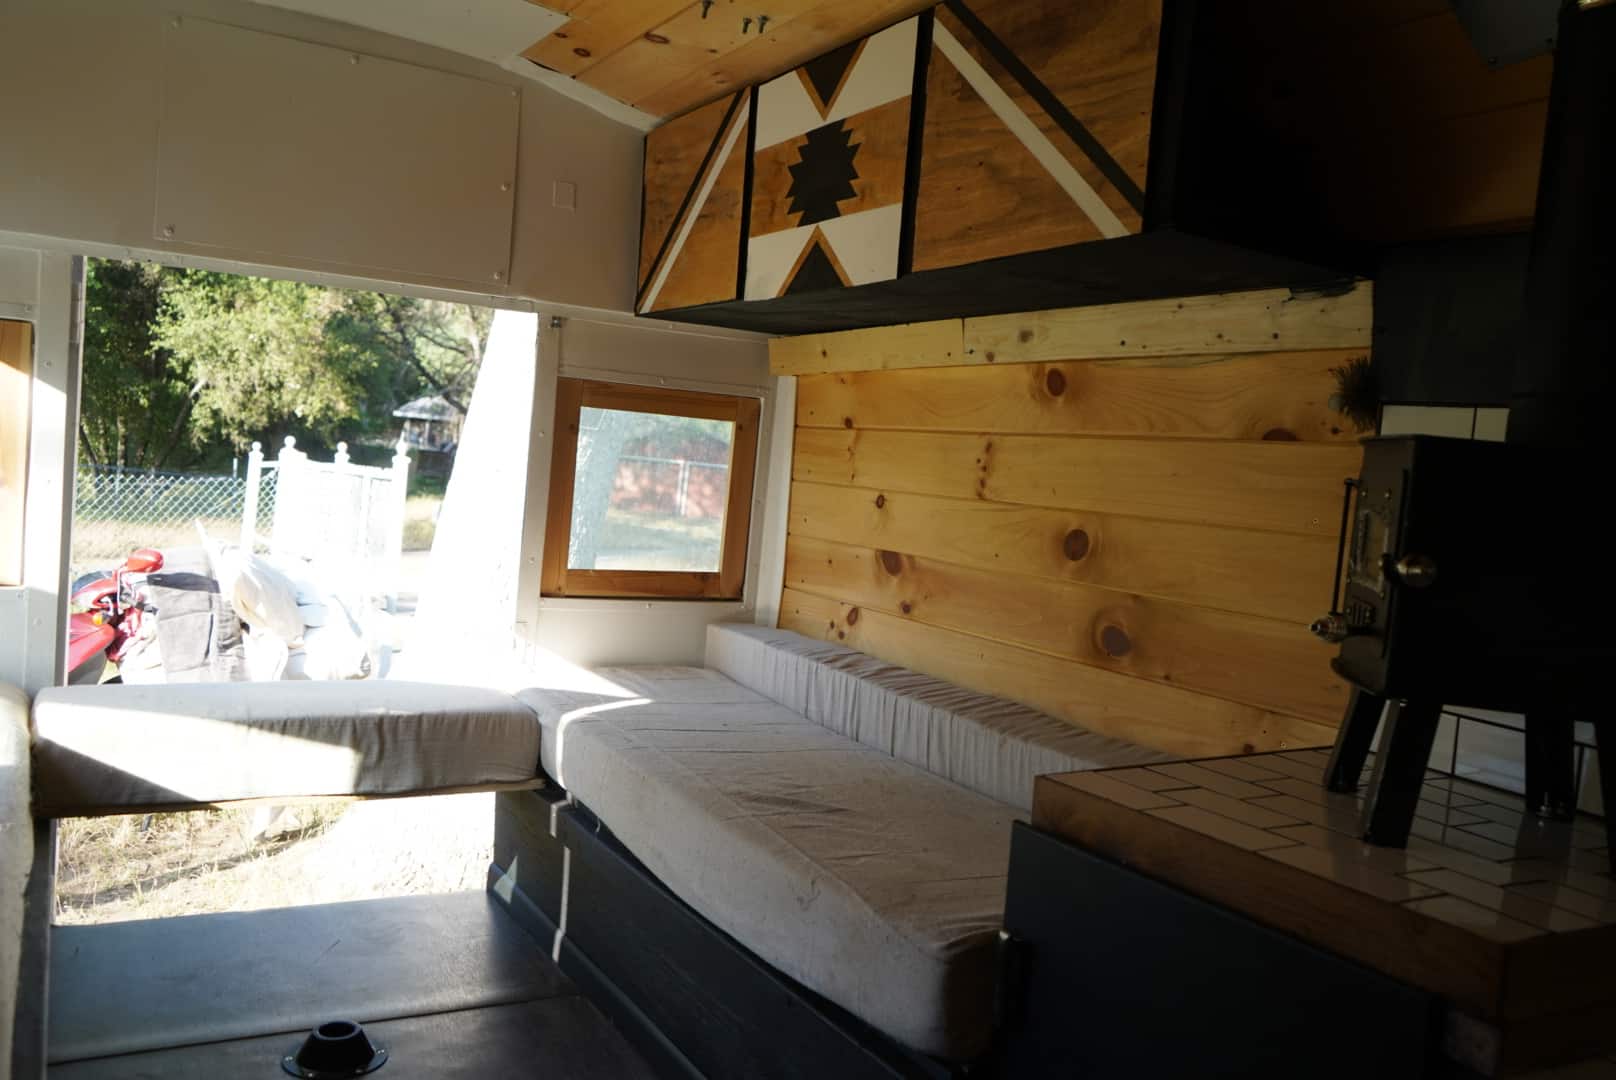
The typical approach is a wooden frame — 2x4s or 2x6s depending on how much storage height you want underneath — bolted to the bus walls and floor. Most people raise the platform 18-30 inches off the floor to create a storage garage underneath. I’ve seen builds where the entire rear third of the bus is a raised platform with enough room below for bikes, tools, bins, you name it.
When I was researching platform beds, I kept running into the same debate: slats or solid platform? The answer comes back to airflow. A solid plywood platform traps moisture between the mattress and the wood, and that’s a mold factory. Slats let air circulate underneath and that alone prevents most moisture problems.
One thing people overlook is ceiling height. If your bus has a stock 72-inch ceiling and you raise your platform 24 inches, you’ve got 48 inches of headroom. Fine for lying down, but you’re not sitting up comfortably. In a stock-height bus, keep the platform around 18-20 inches.
The advantage of a fixed bed is obvious — it’s always ready. The disadvantage is equally obvious — it eats a permanent chunk of your floor plan. In a 40-foot bus, that’s a reasonable trade-off. In a 25-footer, you’re giving up 20-25% of your living space to a bed that sits empty 16 hours a day.
Murphy Beds and Fold-Downs
What about a Murphy bed? Should it be slatted or can I put something on the wood to prevent mold?
Murphy beds are the best space-saving trick in a short or medium bus. When the bed is up, you have a living room. When it’s down, you have a queen-size sleeping area. It’s like getting two rooms in the space of one. (See our guide on 6 Best Flooring Options for a School Bus Conversion for more on this.)
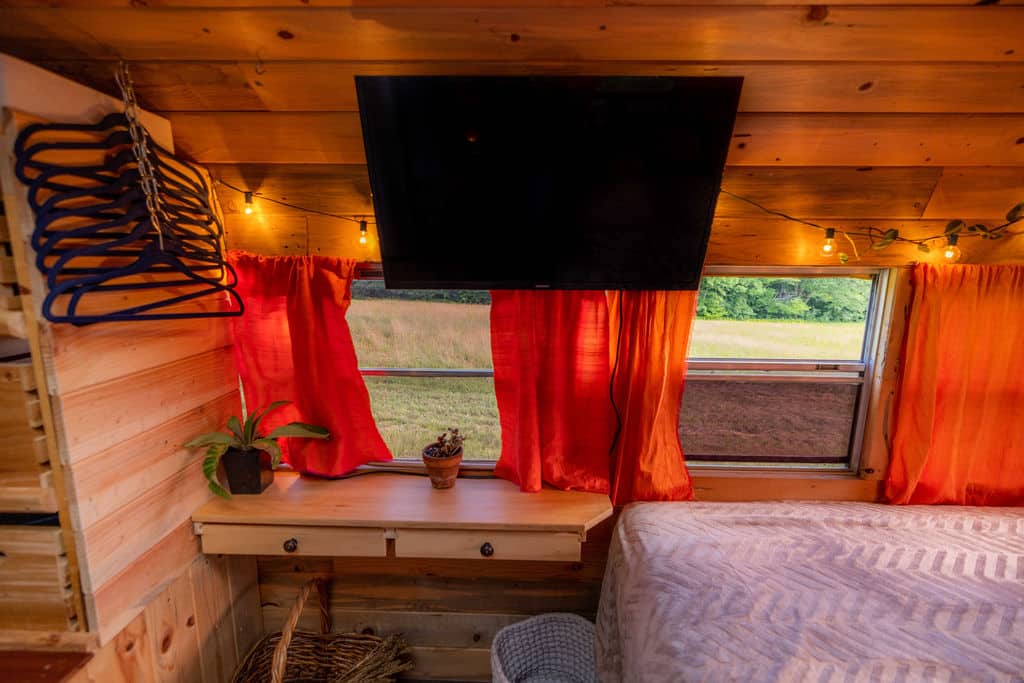
I talked to a guy at a meetup last year who had a Murphy bed in a 28-foot bus, and he said it completely changed how the space felt during the day. With the bed folded up against the wall, he had enough open floor space to do yoga, set up a desk, whatever. At night, he’d pull it down and it was a totally normal bed. Took about 30 seconds each way.
Now, the mold question. This comes up constantly, and it matters. A Murphy bed that folds flat against the wall is essentially trapping whatever moisture is on the mattress surface between the mattress and the wall panel. If you use a solid backing, that moisture has nowhere to go.
So here’s what actually works. Use slats for the bed platform, not solid plywood. When the bed is in the upright position, the slats let air move through. If you absolutely want a solid backing for structural reasons, drill a grid of 1-inch ventilation holes every 6-8 inches across the whole panel and put a breathable mesh or moisture barrier over it.
The hardware for a Murphy bed mechanism runs about $200-400 for a good set of gas struts or spring mechanisms. The tricky part in a bus is anchoring the mechanism to the wall — you’re bolting into bus ribs, not wall studs, so you need to figure out your attachment points before you design the bed. Welding steel tabs to the bus ribs for anchor points is the way to go. Lag bolts into a wooden wall frame can work, but over time the constant folding puts stress on those connections.
One more thing nobody tells you — the mattress needs to stay attached to the frame when it’s folded up. Straps or a retention bar are essential. Otherwise you fold it up and the mattress slides right out onto the floor. The guy at the meetup made sure to mention that one twice.
Convertible Dinette Beds
The convertible dinette is probably the second most popular sleeping solution for short and medium buses. Table with bench seats during the day, table drops down at night, cushions rearrange, and it becomes a bed.
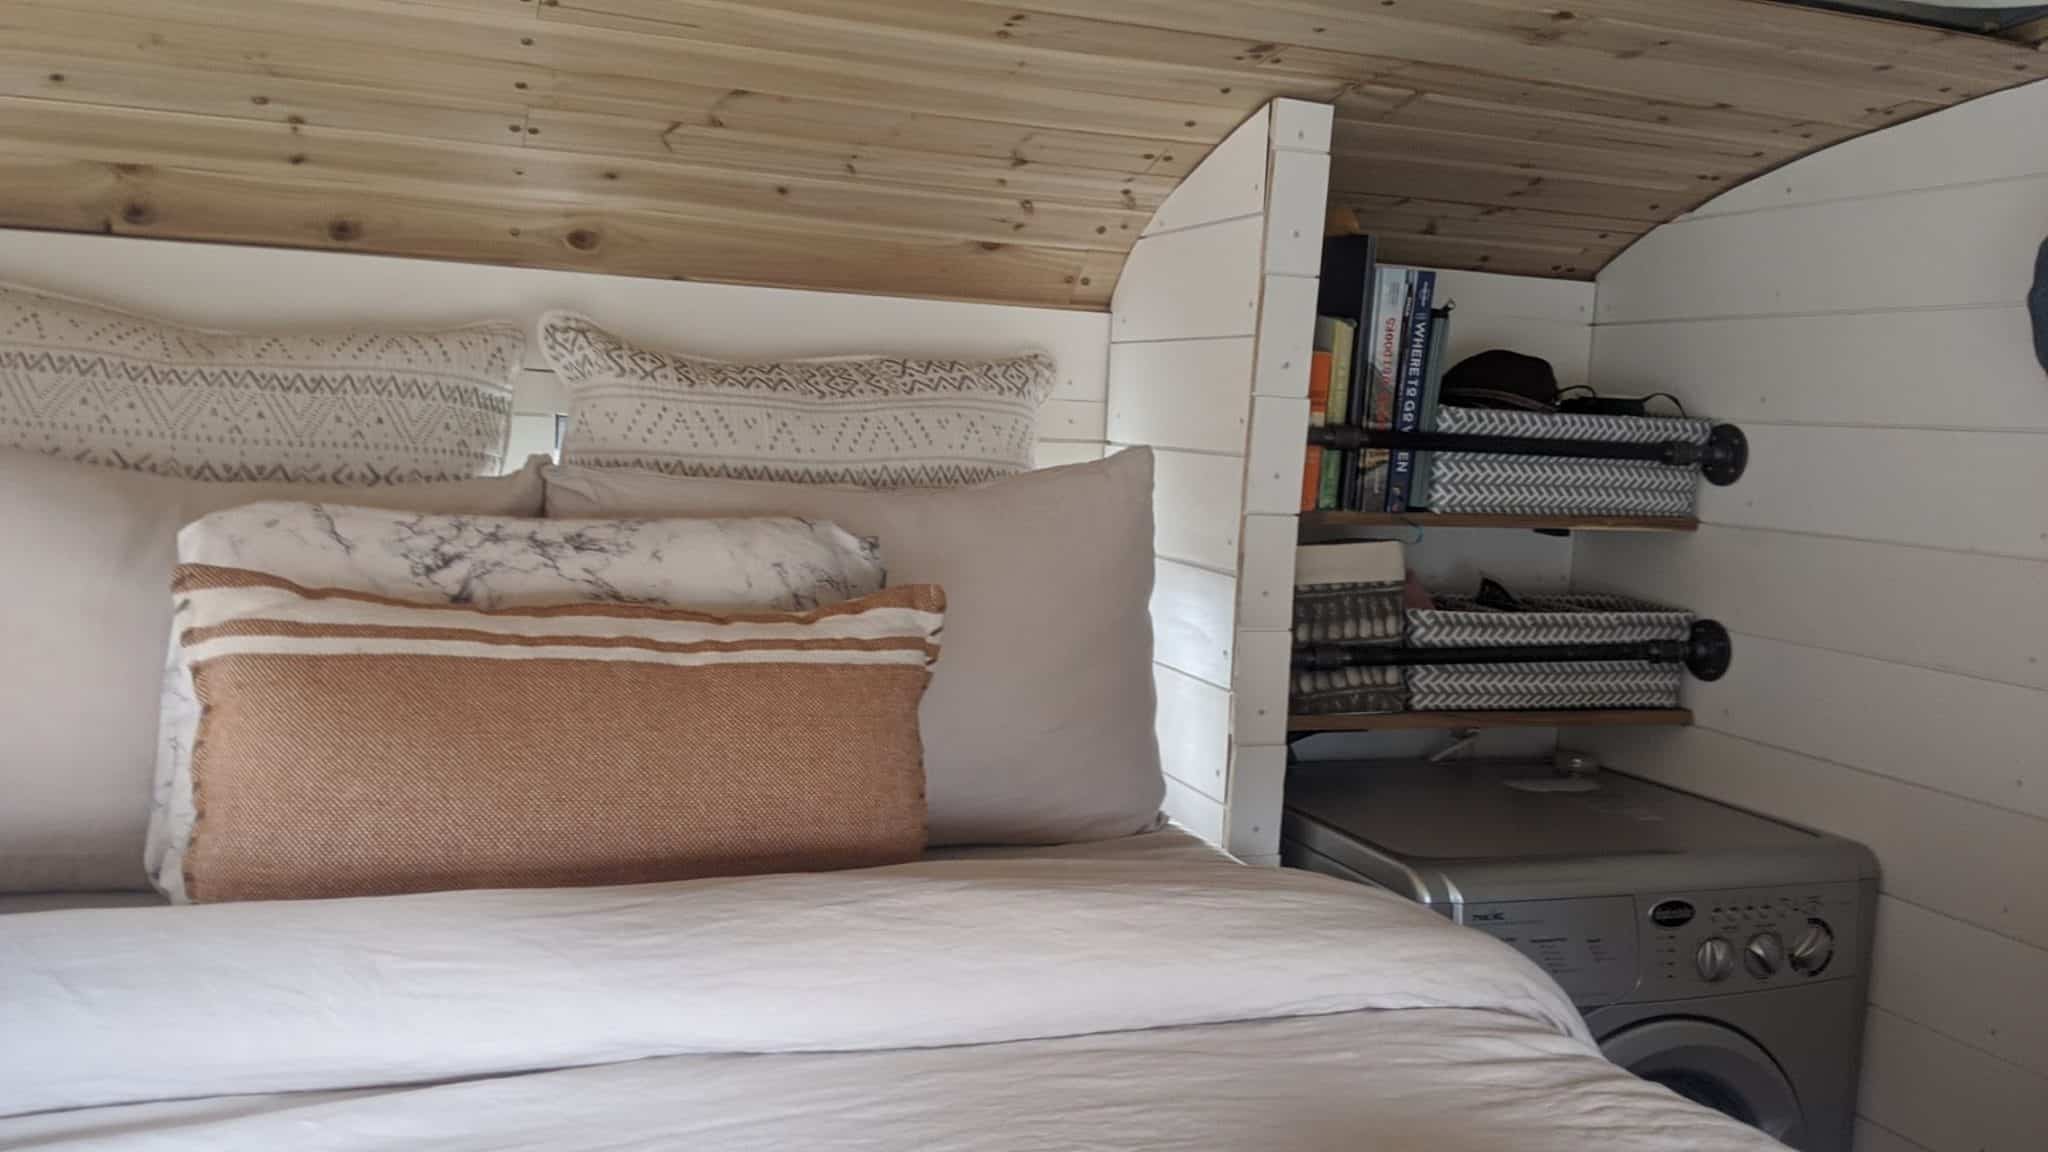
Sounds great in theory. For guest sleeping or a kid’s area, it works well. The problem is when it’s your primary bed. You’re setting it up and breaking it down every single day. Some people are fine with the routine. Others abandon it within two weeks and wish they’d gone with a fixed bed.
The typical dinette bed converts to about a full-size sleeping area (roughly 54 by 75 inches). You’re not getting a queen out of this unless you design an oversized dinette, which kind of defeats the space-saving purpose. For a solo traveler or a couple who doesn’t mind being cozy, it works. For two adults who like their space, it’s going to feel cramped every night.
Building one requires a table with a removable or drop-down center post, bench seats with storage underneath, and cushions that are firm enough to sit on but comfortable enough to sleep on. That last part is harder than it sounds. Most people end up with cushions that are okay at both and great at neither.
If you’re going the dinette route, invest in high-density foam for the cushions — at least 4 inches thick, 2.0 lb density or higher. Anything less and you’ll feel the plywood underneath by the second night. Some builders throw a separate mattress topper on when converting to bed mode, which is actually a solid workaround.
Bunk Beds for Kids
The question is: children go through growth spurts, and these bunk beds will not fit the growing kids. What will happen to the small beds when the kids have grown?
What is your plan for when the littles need larger beds?
Alright, so bunk beds for kids in a bus. This is where things get practical and a little bit emotional, because you’re building for people who are literally going to outgrow what you build.
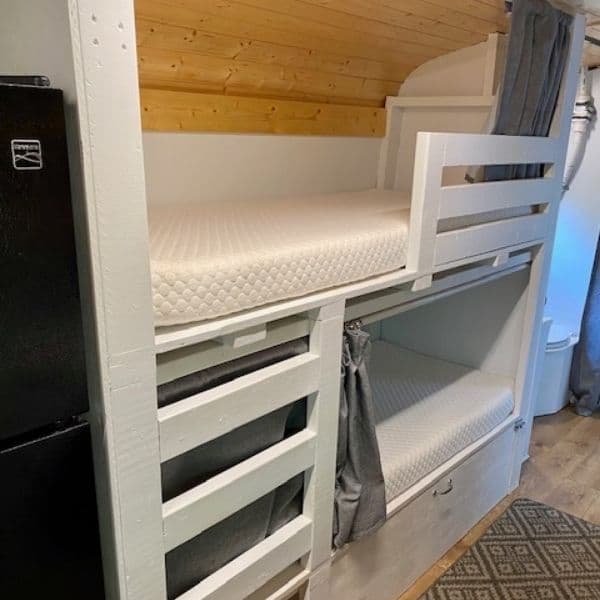
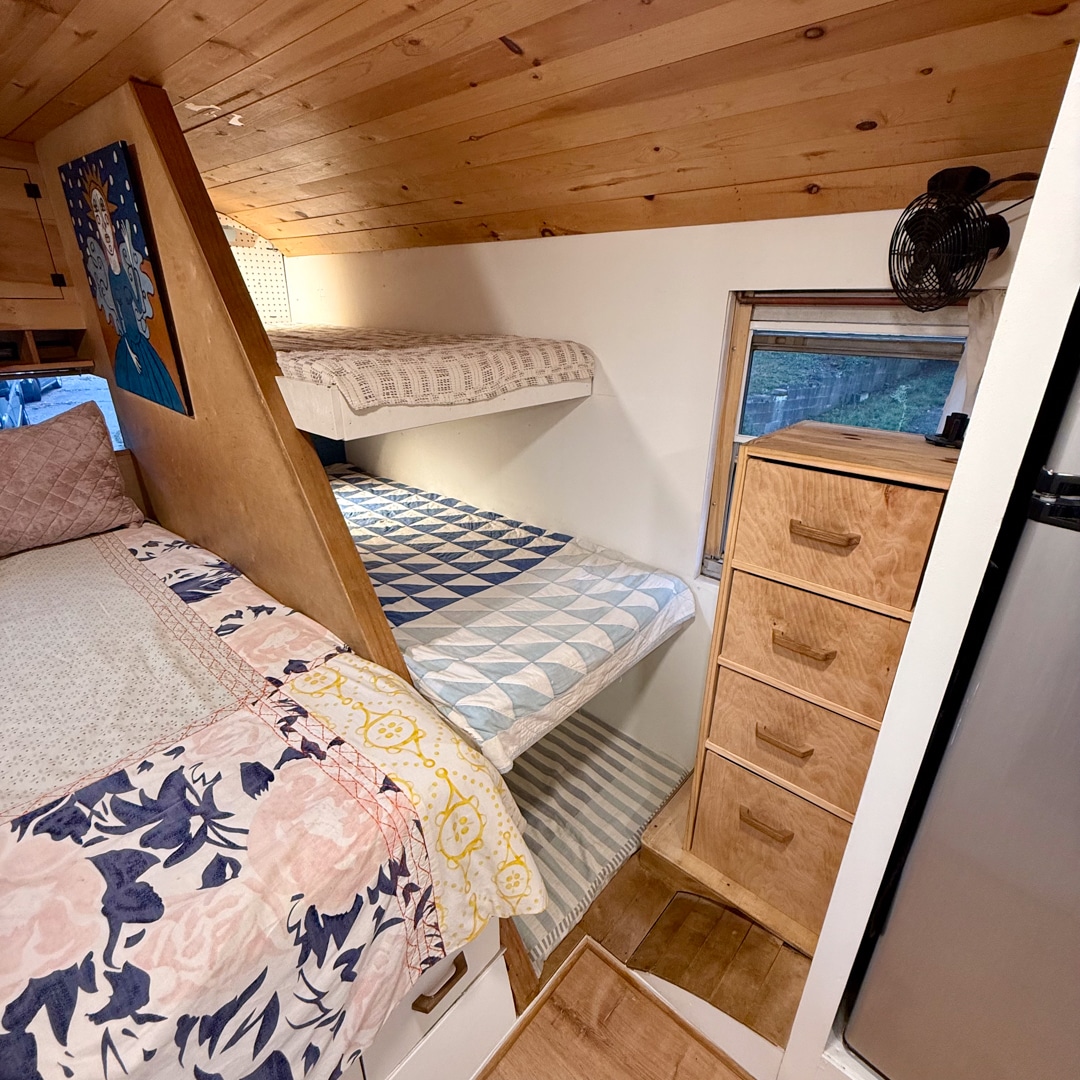
Most skoolie bunks are somewhere between 24 and 30 inches wide and 60 to 72 inches long. That works great for a 5-year-old. It works fine for an 8-year-old. By the time they’re 12 or 13? They’re hanging off the edge, and the bunk that felt like their own little bedroom now feels like a shelf.
I found that the families who handle this best design with change in mind from the start. Instead of permanent bunk enclosures, they use a modular framing system. The bunk platforms bolt to the wall ribs and to each other, and when the kids outgrow them, you reconfigure. Two small bunks become one larger sleeping platform. Three stacked bunks become two with more headroom. The key is using bolts instead of screws so disassembly doesn’t mean destruction.
Here’s the other approach I keep seeing — build the bunks to adult twin size (38 x 75) from the start and just let the smaller kids have extra room. They won’t complain about having too much bed. The downside is you need more linear wall space for each bunk, so you might only fit two instead of three. But those two bunks will last until the kids move out, which is the whole point.
Some families plan a full rebuild at the 5-year mark regardless. Kids’ needs change, the family’s travel style changes, and what worked when they were toddlers won’t work when they’re teenagers. If you build with screws and easily removable panels, a bunk area rebuild is a weekend project, not a month-long renovation.
What about ventilation in those enclosed bunk beds?
This is the one that trips up so many family builds. You see these gorgeous enclosed bunks on Instagram with curtains, reading lights, the whole deal. They look incredible. But without airflow, they’re basically humidity boxes.
A kid sleeping in an enclosed bunk generates moisture from breathing and body heat all night. Small space, no air exchange, condensation on the walls by morning. Over time, that’s mold.
Every bunk needs airflow. At minimum, install a small 12V fan in each bunk — computer cooling fans work perfectly and draw almost nothing. Leave the front open or use curtains instead of solid doors. If the bunk is against an exterior wall, a small adjustable vent gives you fresh air exchange.
The best bunk designs I came across during my research were the ones that looked the least “finished” — open fronts, mesh panels instead of solid wood on the ends, and a gap at the top where warm air can escape into the main cabin. They don’t photograph as well, but the kids are actually comfortable sleeping in them, which is sort of the whole point.
Mattress Types That Work in a Bus
The mattress itself matters more than the frame, and this is where a lot of people waste money or end up uncomfortable. Not every mattress type works well in a bus.
Traditional innerspring mattresses are mostly a no-go. They’re heavy, they’re tall (which eats into your ceiling clearance), and the metal coils don’t love the constant vibration of a moving vehicle. Over time, the springs can fatigue and develop squeaks or soft spots faster than they would in a house. Plus, they don’t handle moisture well — the coils rust.
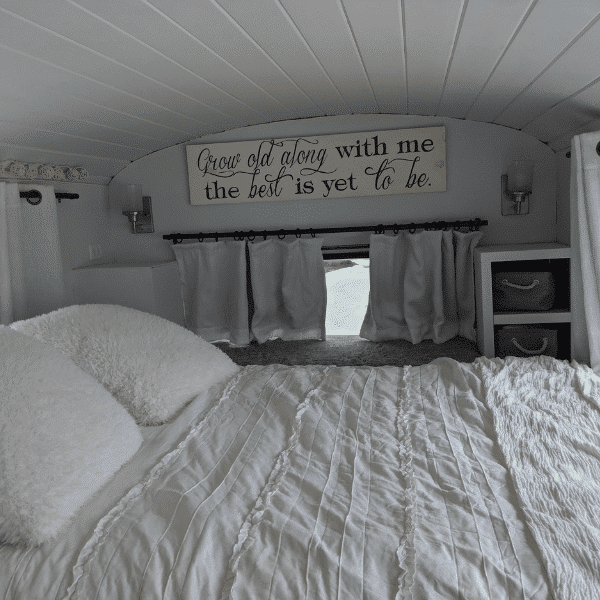
Memory foam is the most popular choice, and I get why. It’s lightweight, conforms to uneven platform surfaces, doesn’t squeak, and you can get it in any thickness from 4 to 12 inches. For a bus, 6-8 inches of medium-firm memory foam is the sweet spot. Thinner than 6 and you feel the platform. Thicker than 8 and you’re wasting ceiling height.
Latex foam is the other top option. More expensive — usually $600-1,200 for a queen — but it breathes better, sleeps cooler, and is naturally antimicrobial. In a bus where moisture is constant, that’s a real advantage. Latex also bounces back faster, so if you don’t like that sinking-into-the-bed feeling, it’s worth the extra money.
Whatever mattress you choose, put a moisture barrier between it and the platform. Not a plastic sheet — that traps moisture too. A breathable mattress protector or a moisture-wicking pad is what you want. These are $30-50 and they prevent the underside of your mattress from developing mold. Combined with a slatted platform, this setup keeps things dry.
One last thing on mattresses. If you’re buying one that ships compressed in a box (which most foam mattresses do now), make sure you can actually get the box through your bus door before it expands. Once those things unroll, there’s no getting them back in the box. I read a post from a guy who opened his mattress on the ground outside the bus, then couldn’t fit the expanded queen through the emergency door. He ended up cutting it down with an electric knife. Plan ahead on that one. (See our guide on Is a Propane or Electric Stove Better for a Skoolie? for more on this.)
Getting the Bed Right Changes Everything
Here’s what it comes down to. Fixed platform beds are the simplest choice for full-size buses. Murphy beds are the play for short and medium buses where daytime floor space matters. Convertible dinettes work as secondary sleeping areas or for people who don’t mind the daily setup. Bunks need to be built with growth and ventilation in mind. And for the mattress, go foam or latex, keep it 6-8 inches thick, use slats, and put a moisture barrier underneath.
The bed was the first thing I wanted to nail down when I started planning, and it should be one of the first things you figure out too. It determines where the bedroom goes, which drives bathroom placement, which drives the kitchen layout. Get the bed wrong and you’re rearranging everything to fix it. (See our guide on Can You Put a Bathroom in a School Bus? for more on this.)
Measure your bus, pick the style that fits your life, and build something you’ll actually sleep well on. That’s it.