
You’ve got the bus. You’ve been staring at that empty tube of metal for a week now, maybe walking back and forth inside it with a tape measure, trying to picture where the bed goes, where the kitchen goes, whether you even have room for a bathroom. This is the part where most people get stuck — and it makes sense, because your floor plan decides everything that comes after it. (See our guide on Can You Put a Bathroom in a School Bus? for more on this.)
The best skoolie floor plan depends on your bus length, who’s living in it, and what you’re not willing to give up. A short bus (20-25 ft) forces hard trade-offs between a bathroom and a real kitchen. A medium bus (25-32 ft) opens up room for both plus a dedicated sleeping area. A full-size bus (35-40 ft) gives you enough space for a family layout with bunks, a full bathroom, and actual living room space. The key is to start with your non-negotiables and build around them.
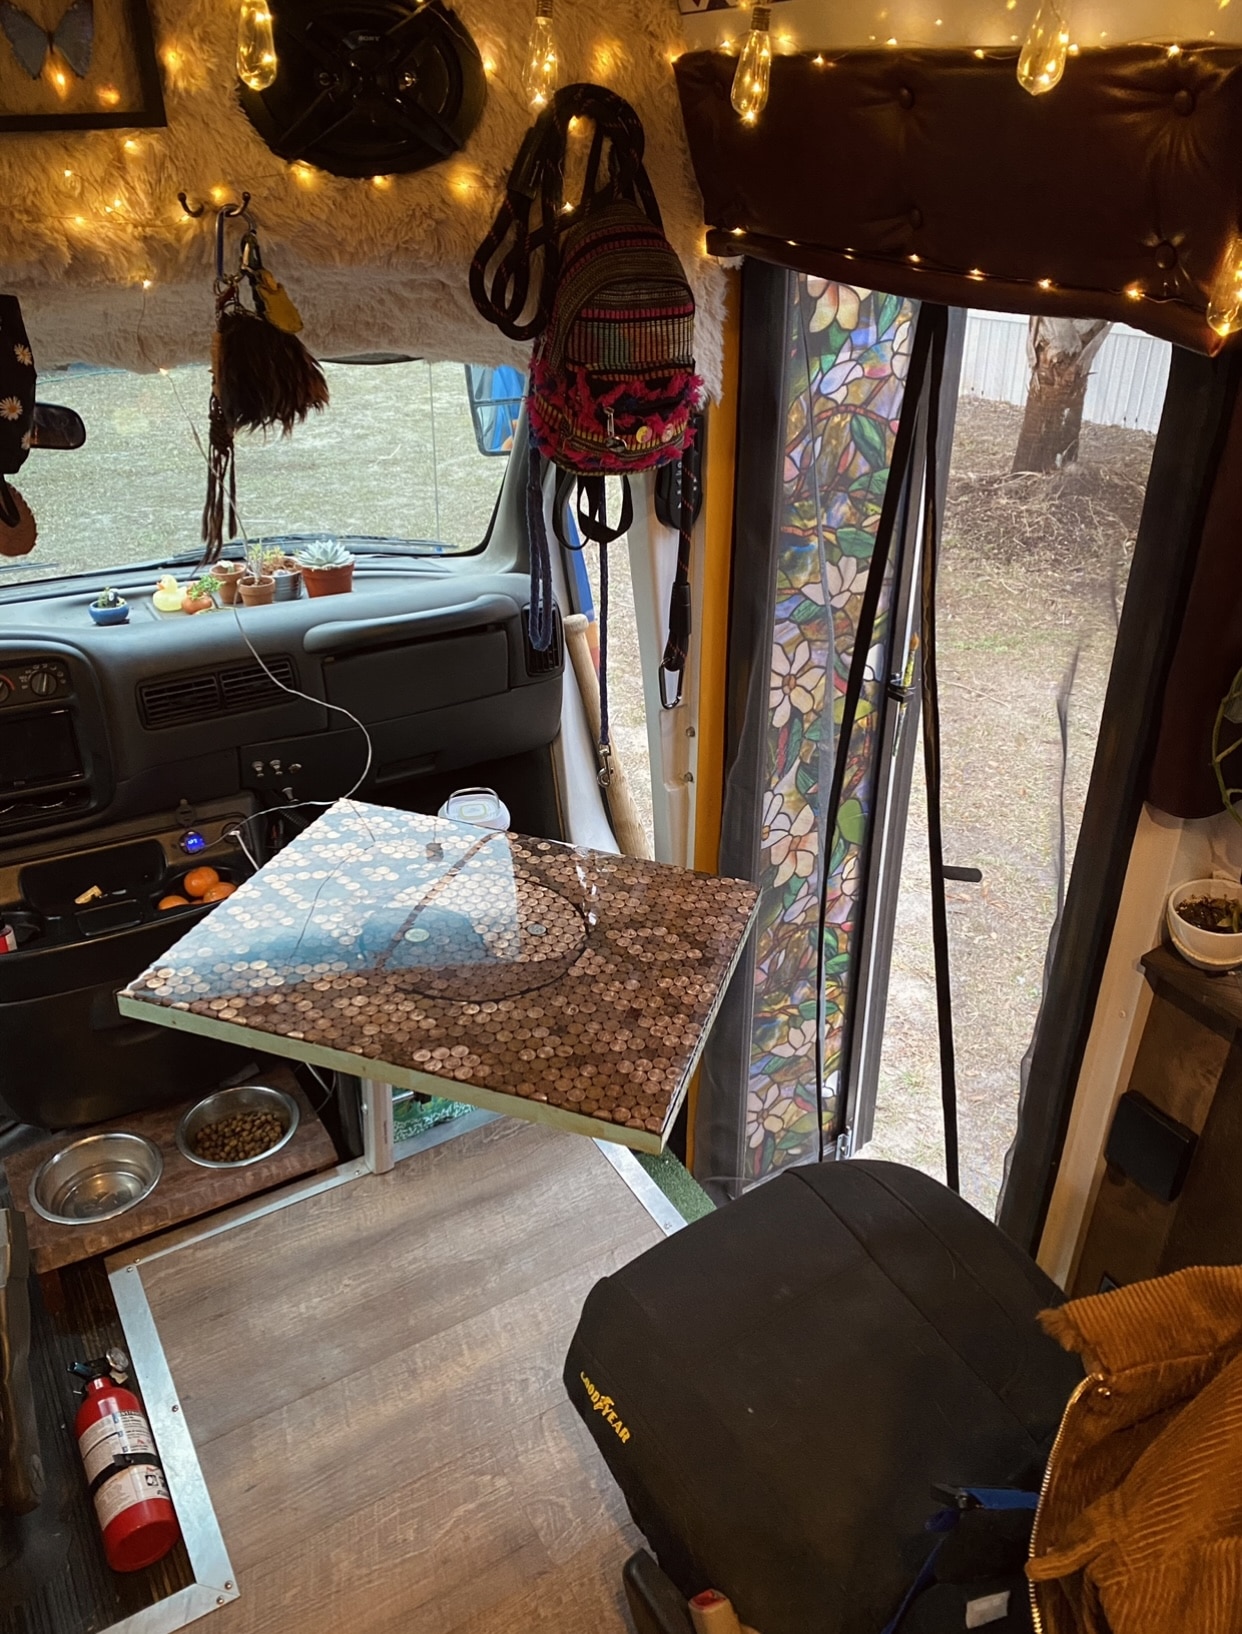
1. The Solo Short Bus (20-25 ft)
A short bus gives you roughly 80-120 square feet of usable interior space. That’s about the size of a large bedroom. So how do you fit a life into a bedroom?
Well, the trick is to make everything do double duty. You’re looking at a rear bed platform with storage underneath, a two-burner cooktop on one side, and a small sink across from it. That’s your core. In a 20-footer, you’ve probably got about 13-14 feet of actual buildable space once you account for the driver’s area and the back wall.
Now, I’m not saying you can’t fit a bathroom in a short bus — you can. But it’s going to eat into something else. Most solo short bus builds that include a wet bath end up losing either counter space or storage. It’s a trade-off, and you’ve gotta decide which one hurts more.
What about a Murphy bed? Should it be slatted or can I put something on the wood to prevent mold?
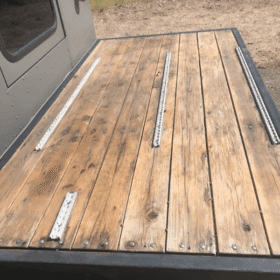
A Murphy bed is one of the smartest moves for a short bus. When it’s folded up, you suddenly have a living room. When it’s down, you have a real queen-size sleeping area. For the platform, go with slats — always. A solid wood platform traps moisture between your mattress and the wood, and in a bus where humidity is already an issue, mold will find it. If you’re set on a solid base, drill ventilation holes and lay down a breathable moisture barrier. But honestly, slats are simpler and they work better.
How tall is the ceiling? I’m guessing around 6’1?
Stock school bus ceiling height is usually right around 6 feet, give or take an inch. If you’re 5’10” or shorter, that’s workable. If you’re taller, you’re going to be ducking, and that gets old fast. This is why a lot of people do a roof raise — usually 12-18 inches — but that’s a major project. On a short bus, consider whether it’s worth it for the amount of living space you’re actually getting. Some folks just accept the low ceiling and design around it. Others won’t live without standing headroom. Do you see what I’m saying? It’s personal.
2. The Couple’s Medium Bus (25-32 ft)
Here’s where things get interesting. A medium bus gives you 140-190 square feet to work with. That’s enough space to have a real kitchen, a permanent bed, and a proper bathroom — without everything being stacked on top of each other.

The classic couple’s layout puts the bedroom in the rear with a fixed queen bed running side-to-side (you’ll need at least 60 inches of width for a standard queen — most buses are 90 inches interior width, so this works). The bathroom goes just forward of the bedroom, and the kitchen and living area take up the front half.
Alright, here’s the deal with medium buses — you have enough room to make it feel like an actual home, not just a survival pod. You can have a couch. A dinette that converts to a guest bed. A kitchen with real counter space. This is the sweet spot for most couples, and honestly, it’s the most common skoolie size for a reason.
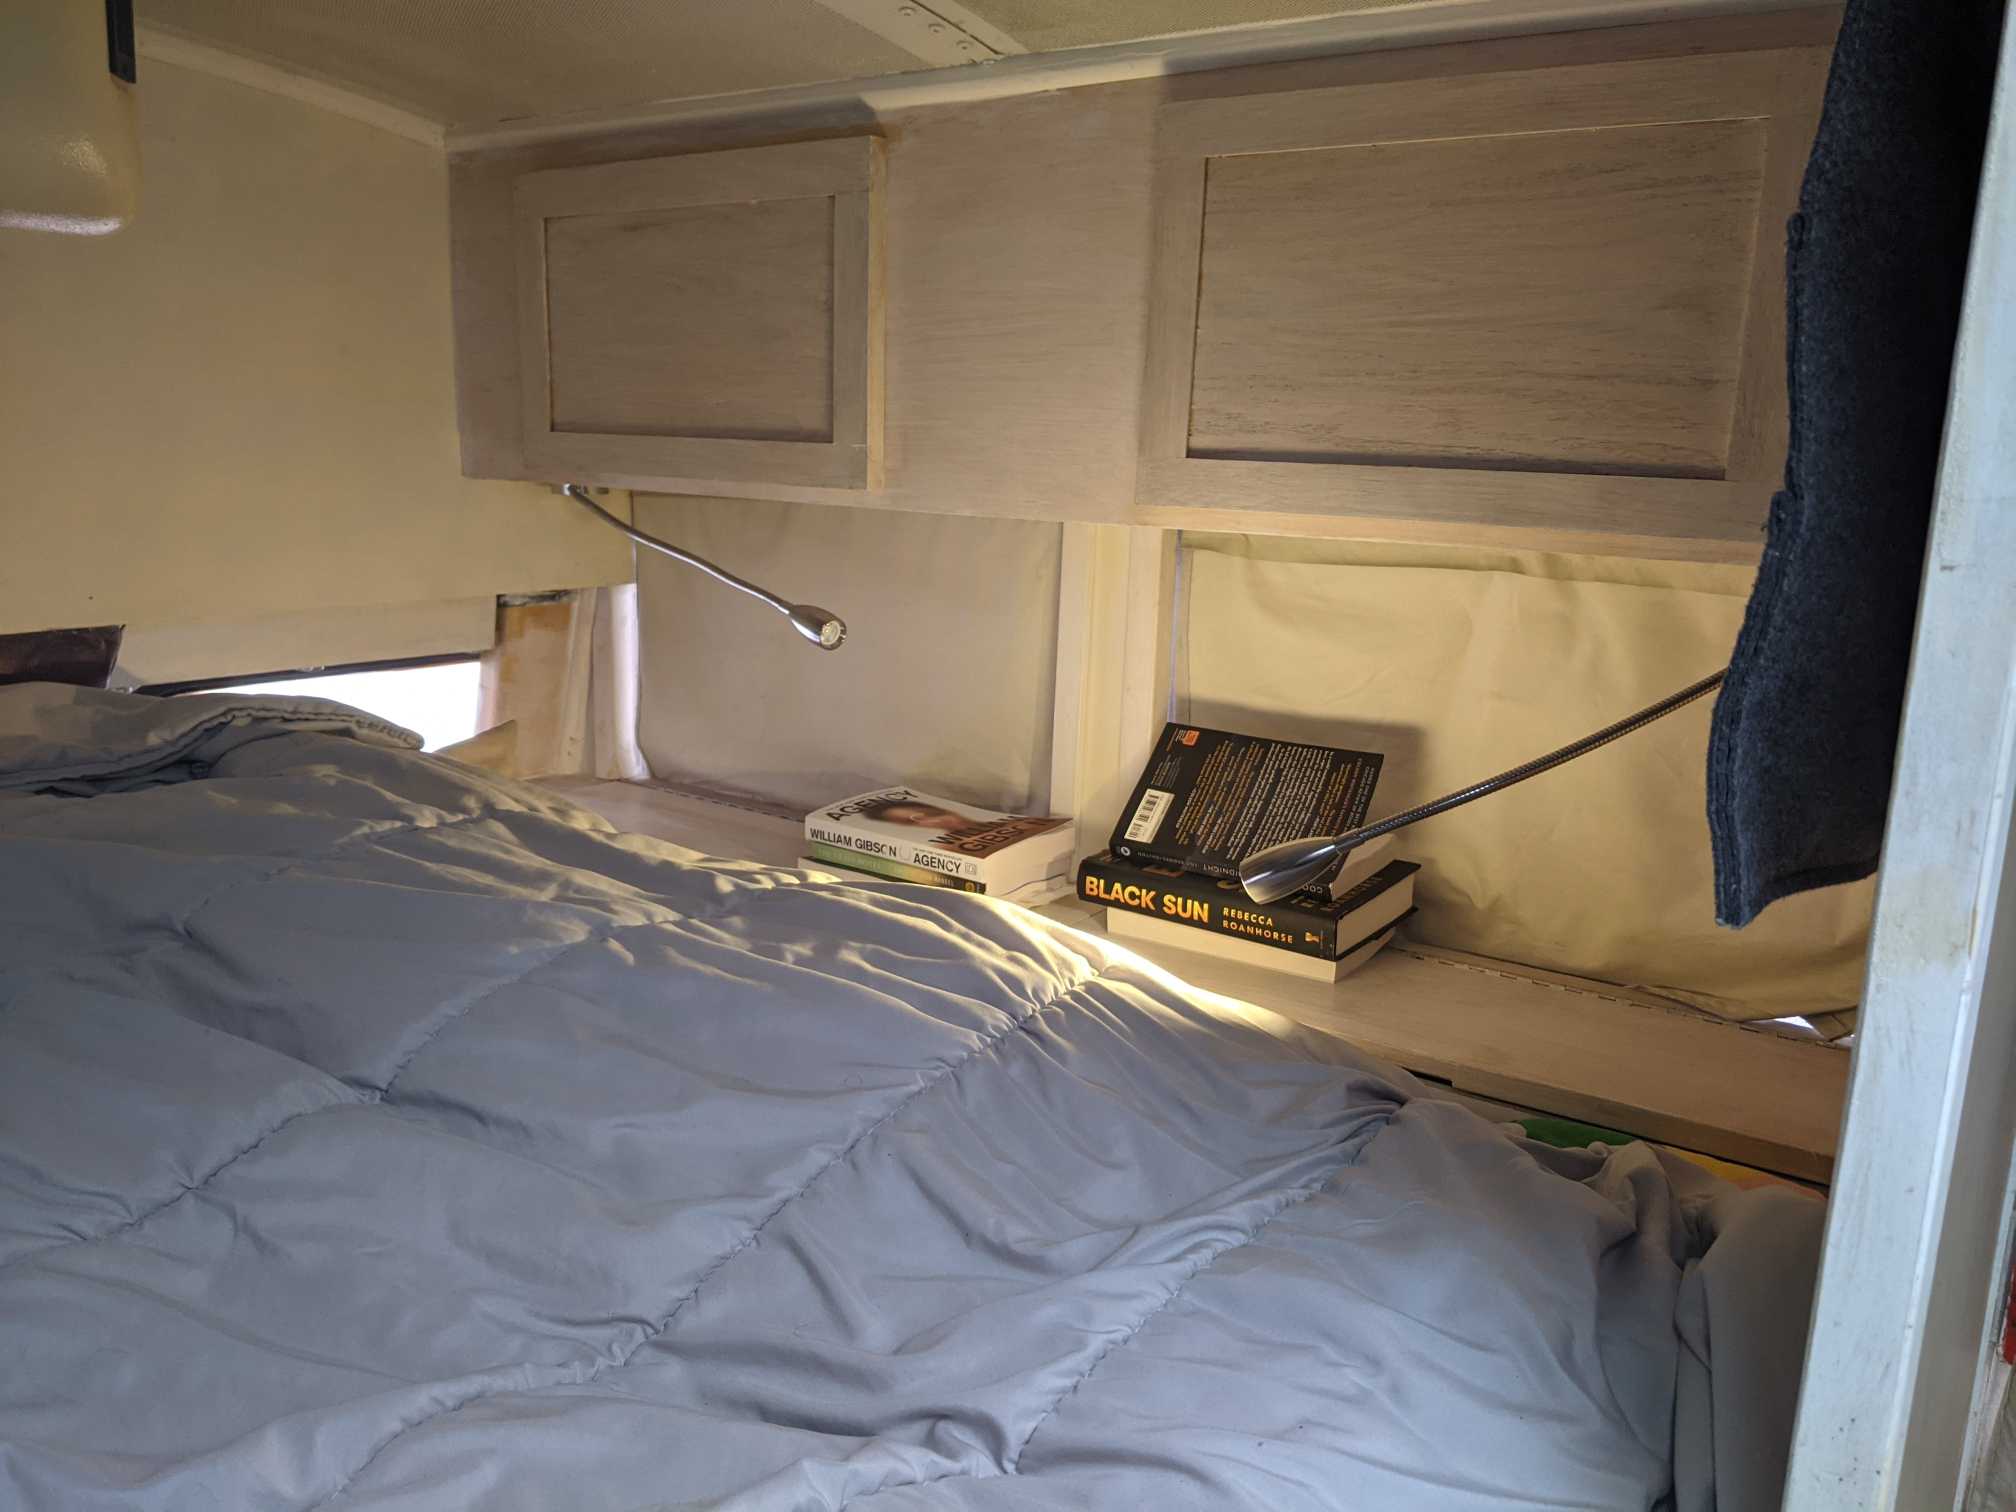
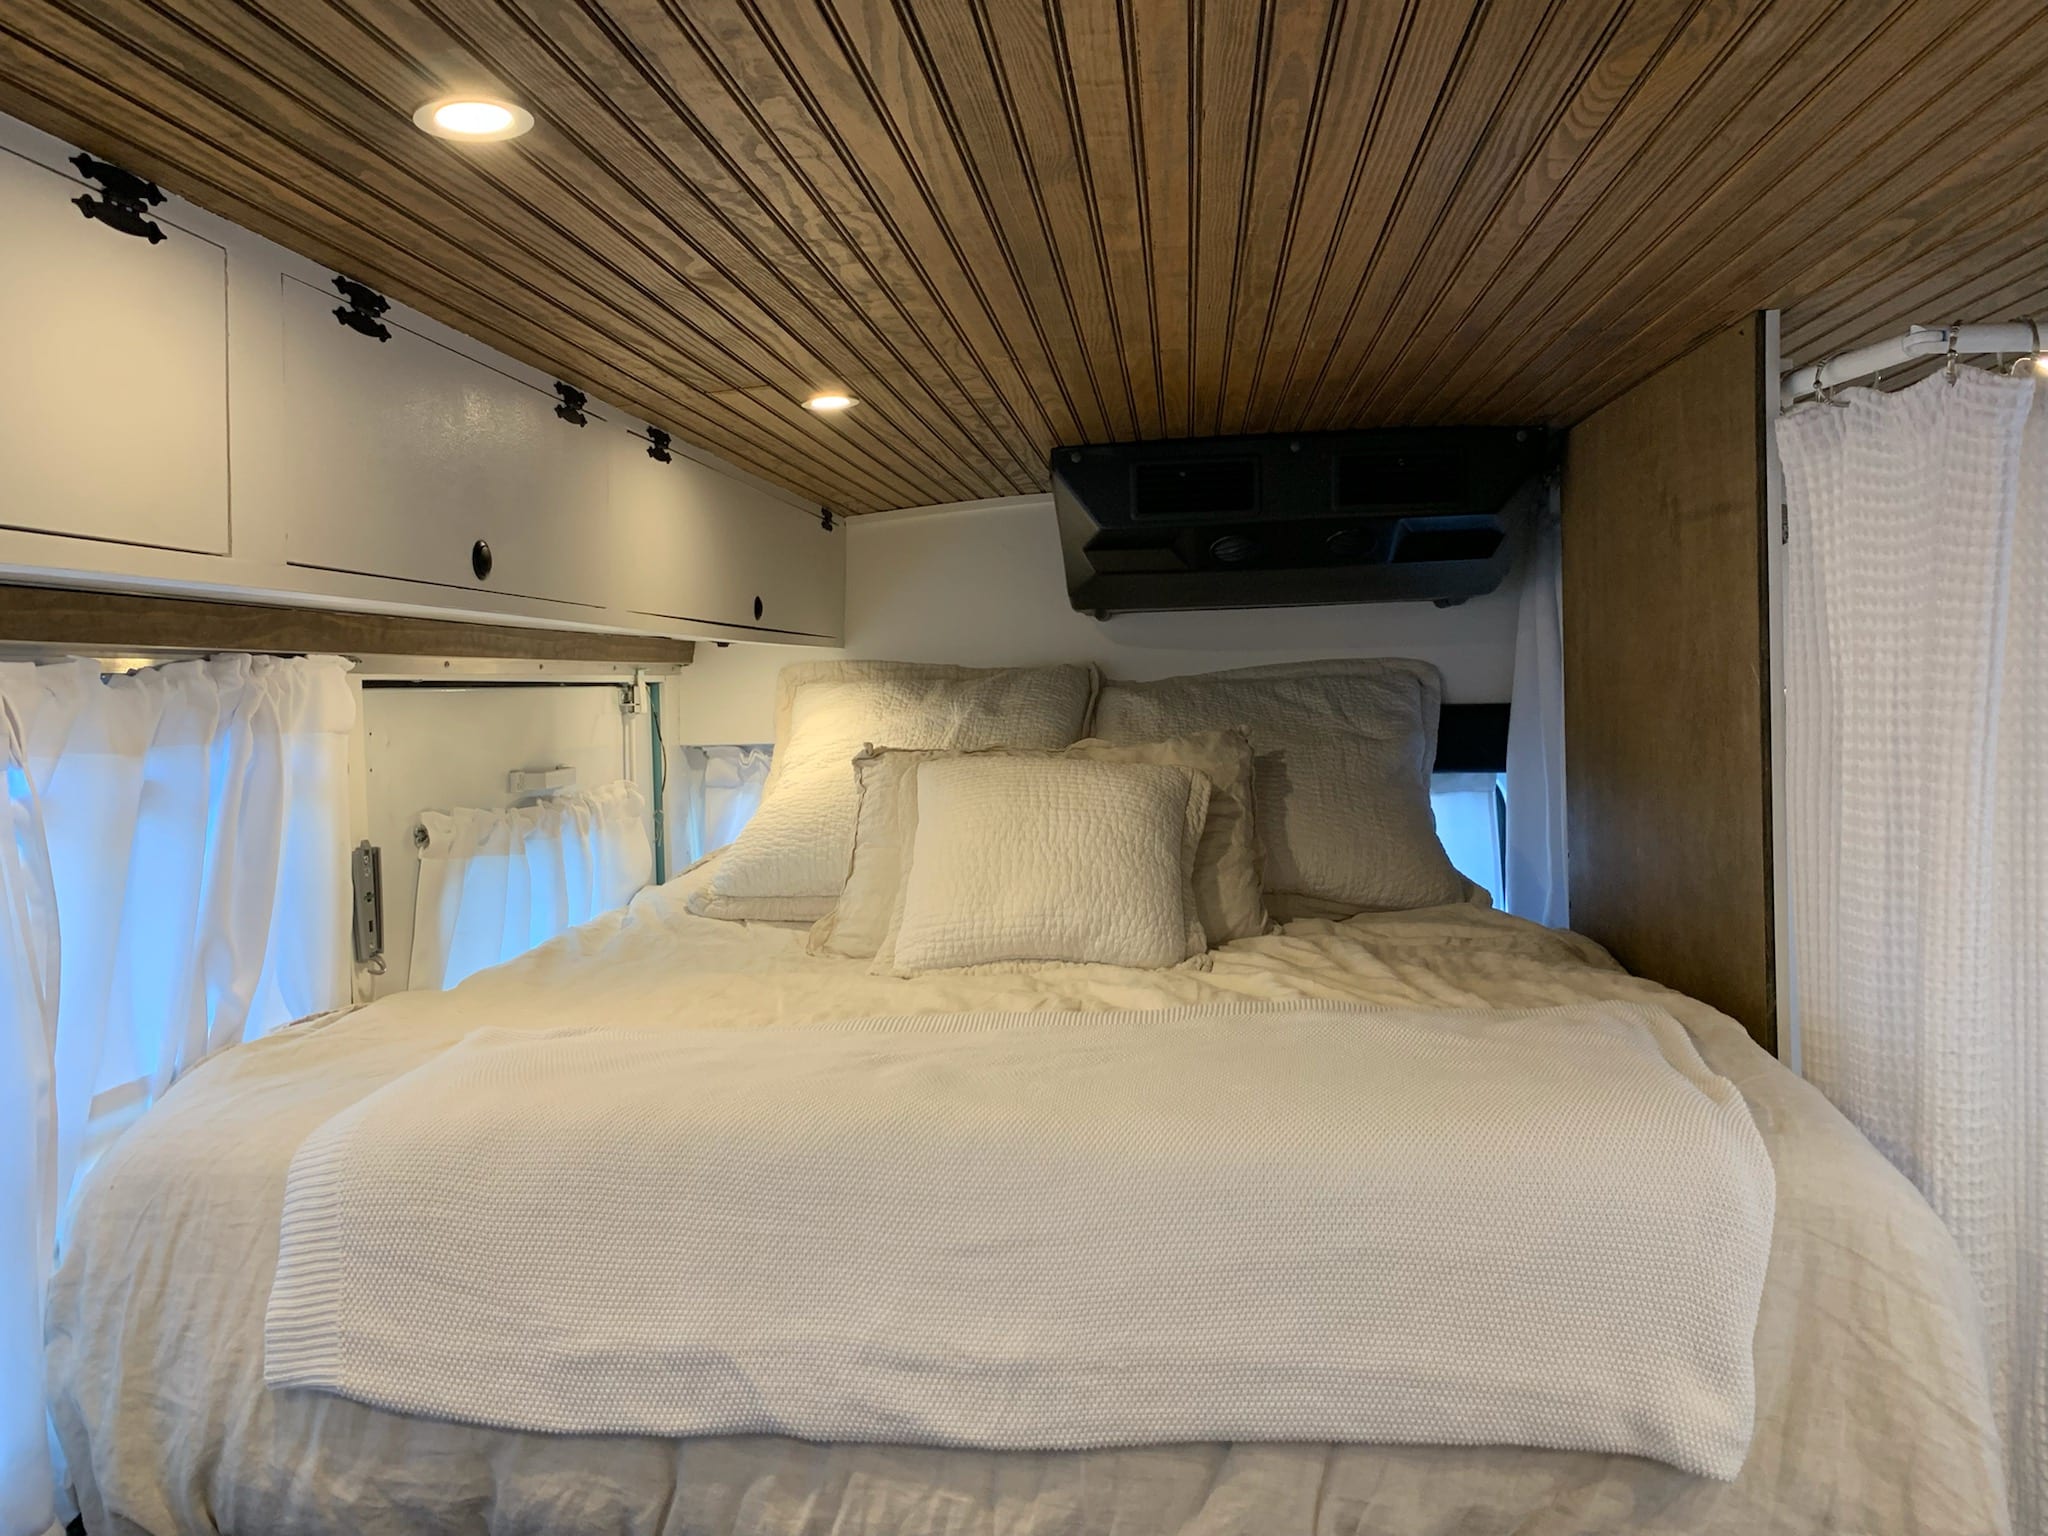
How long is your bed? Is it custom made to fit the bus or is it a standard length?
Most people use a standard queen mattress (60×80 inches) and it fits just fine running side-to-side in a full-width bus. The interior width of a typical school bus is around 90 inches, so a queen leaves you about 15 inches on each side for a small nightstand or a narrow walkway. Some people go with a custom-cut mattress to get a few extra inches of walkway, but a standard queen works. The bigger question is head-to-foot — make sure you’re not boxing yourself in so tight that you can’t actually make the bed.
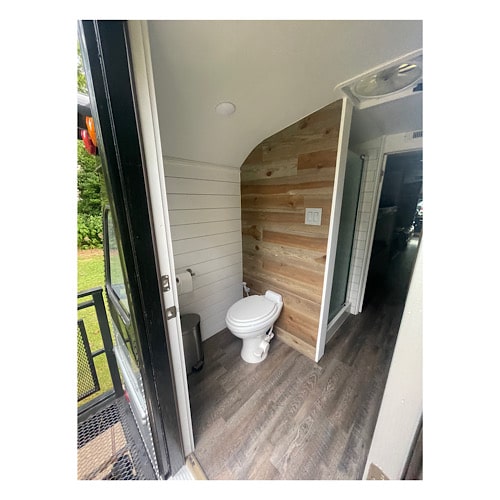
Why not put bathroom at the very back by the double doors? Bedroom and closet, live area, kitchen near the front?
People ask this a lot, and there’s no single right answer. Putting the bathroom in the rear near the emergency door gives you easy plumbing access if your tanks are underneath the back of the bus. But it also means your bedroom is in the middle of the bus, which some people find weird — you’re walking through the bedroom to get to the bathroom.
The more common approach is bedroom in the rear, bathroom between the bedroom and the living space. This creates a natural separation — your sleeping area feels private, the bathroom acts as a buffer zone, and the front half of the bus is all open living space. But here’s the thing — it’s your bus. If rear bathroom makes more sense for your plumbing layout, go for it. There’s no rule book.
3. The Full-Size Open Concept (35-40 ft)
A full-size bus gives you 230-300 square feet. That’s a legitimate studio apartment on wheels. And the temptation with all that space is to fill every inch of it. Don’t.
The best open-concept layouts on a full-size bus leave breathing room. You’re looking at a rear bedroom (often raised on a platform with a massive storage garage underneath), a mid-bus bathroom, and then a wide-open kitchen-living area that runs all the way to the front. Some people keep 8-10 feet of open floor space in the living area, and it makes the whole bus feel enormous. (See our guide on 6 Best Flooring Options for a School Bus Conversion for more on this.)
So what makes this different from the couple’s medium bus? Honestly, it’s mostly the living area. You can fit a real couch — not a dinette that sort-of-becomes-a-couch, but an actual sofa. You can have a full-size fridge instead of a dorm fridge. Your kitchen gets a real counter with room for a backsplash and actual prep space.
What is the material used for kitchen backsplash — the white hexagon?
Most skoolie kitchens use peel-and-stick tile or lightweight PVC panels for backsplash. The white hexagon tiles you’re seeing in a lot of builds are usually peel-and-stick vinyl. They’re lightweight, they handle vibration fine, and they’re easy to replace if one comes loose. Actual ceramic tile can work, but you need flexible adhesive and grout — standard thinset will crack the first time you hit a pothole. Not worth the headache in most cases.
Why does every bus and tiny house have the kitchen going down the length of it?
Good question. The answer is plumbing and counter space. Running the kitchen along one wall gives you a long stretch of continuous counter and puts all your plumbing on one side of the bus. It’s simpler, cheaper, and it works. An end-kitchen layout (galley style at the front or back) can work on a full-size bus, but it usually means your sink and stove are crammed into a tight space while the rest of the bus has all this empty wall space. Most people try it, realize it doesn’t flow right, and go back to the lengthwise layout. It’s popular because it works. That’s it. (See our guide on Is a Propane or Electric Stove Better for a Skoolie? for more on this.)
4. The Family Layout with Bunks (35-40 ft)
Alright, families. This is where floor planning gets serious, because you’re not just building for two adults — you’ve got kids, and kids need their own space. Well, they don’t technically need it, but you’ll need them to have it. Trust me on that one.
The family bunk layout typically goes: master bedroom in the rear with a queen bed, bunk area mid-bus (usually 2-3 bunks stacked on one side), bathroom between the bunks and the kitchen, and then the kitchen-living area up front. On a 40-foot bus, you’ve got room for all of this without it feeling cramped.
What about ventilation in those enclosed bunk beds?
This is a big one. Enclosed bunks look great on Instagram, but without airflow they turn into sweat boxes. Each bunk needs its own ventilation — either a small fan, an opening to the main cabin, or ideally both. If your bunks are against an exterior wall, you can install a small vent or even crack a window. If they’re interior bunks, you need to cut openings and add fans. A 12V computer fan in each bunk works great and barely draws any power.
Should have left the bunk bed area more open — it’s going to get hot in there
Yeah, this is one of the most common mistakes in family builds. People frame in the bunks like closets and then wonder why their kids are miserable in July. Leave the fronts open, or at minimum use curtains instead of solid doors. You want air to move. If you’re in a warm climate, seriously consider leaving the bunk area as open as possible and giving each kid a personal fan. Closed-off bunks look nice in photos, but living in them is a different story.
How do the kids get in and out of their beds?
For the bottom bunk — obviously not an issue. For upper bunks, you’ve got a few options: a small ladder attached to the frame, built-in steps that double as storage drawers, or if the bunks are low enough, the kids just climb. Most skoolie families go with the storage-step approach because you’re getting storage out of the staircase anyway. The kitchen table should definitely not be the access point — that’s an accident waiting to happen.
5. The Bathroom-Free Minimalist (20-30 ft)
Here’s a layout that some people refuse to even consider, and others swear by. No bathroom. None. Zero. Sounds crazy, right? It’s actually not.
If you’re mostly traveling — moving every few days, hitting campgrounds, using truck stops — you can skip the bathroom entirely and gain back 15-20 square feet of usable space. That’s a massive difference on a short or medium bus. You can use a portable toilet (a simple cassette toilet in a cabinet) for emergencies, and do everything else at facilities.
So what do you do with all that extra space? You get a bigger kitchen. A real couch. More storage. An actual workspace if you’re doing remote work. The bus stops feeling like a compromise and starts feeling like a choice.
What common things do women/men miss most about having a regular bathroom?
The shower. That’s the honest answer. Most people can handle a composting toilet or even a portable one, but not having a shower gets old. If you go bathroom-free, seriously consider keeping a portable outdoor shower setup — a simple pump sprayer with a privacy tent works, or a roof-mounted water bag with a hose. It’s not glamorous, but it solves the biggest problem without eating your floor plan.
6. The Rear Platform Garage Layout (32-40 ft)
This layout is for people who need to bring stuff. Bikes, kayaks, tools, a motorcycle — whatever your thing is, the rear garage layout gives you a dedicated cargo area.
The idea is simple: raise the entire rear bedroom platform to about 3-4 feet off the floor. Underneath it, you have a garage that opens through the rear emergency door. Your bed is up high (so ceiling height matters here — you need a roof raise or at least 6’6″ stock ceiling to make this comfortable), and everything else flows forward from there.
Now, the trade-off is obvious. Your bedroom ceiling is low. You’re not standing up in your sleeping area — you’re sitting up at best. But for people who haul gear and need that cargo space, it’s absolutely worth it. You can fit two full-size mountain bikes, a couple of kayaks, or a ridiculous amount of tools under that platform.
How much did you raise the roof?
Most skoolie roof raises are 12-24 inches. For a rear garage platform layout, you really want at least 16 inches of raise to make the sleeping area above the garage livable. A 24-inch raise is ideal — it gives you full standing height in most of the bus and enough headroom in the raised bedroom to sit up comfortably. But a roof raise is a serious structural project. You’re cutting the roof off, welding in new steel, and resealing everything. Budget $2,000-5,000 in materials and a solid two weeks of work if you’re doing it yourself.
7. The Convertible Multi-Use Layout (25-35 ft)
This is the Swiss Army knife floor plan. Everything converts. The dinette becomes the bed. The couch folds into a guest bed. The desk folds down from the wall. Nothing has just one purpose.
So who’s this for? People who want to feel like they have a bigger bus than they actually do. A 28-foot bus with a convertible layout can feel like a 35-footer during the day because your bed disappears and you have all this open floor space. At night, you convert everything back and you’ve got a comfortable sleeping setup.
Well, it’s not all upside. Convertible layouts mean you’re setting up and breaking down every day. If you’re the kind of person who hates making the bed, imagine having to rebuild your bedroom every night. Some people love the ritual. Others abandon it after two weeks and wish they’d gone with a fixed bed. Be honest with yourself about which camp you’re in before you commit to this layout.
Do you have a floor plan you can show and how much was the cost?
Here’s the thing — every skoolie floor plan is custom. There’s no standard layout you can just download and follow, because every bus is slightly different in length, width, and where the wheel wells sit. The best approach is to tape out your layout on the actual bus floor using painter’s tape before you build anything. Live with it for a few days. Walk through the motions of cooking, sleeping, using the bathroom. You’ll find the problems before you’ve screwed anything down. (See our guide on How to Build a Skoolie Bathroom (Shower, Toilet, and Plumbing) for more on this.)
As for cost, a full interior build typically runs $10,000-30,000 depending on materials and how much you DIY. A convertible layout doesn’t necessarily cost more — it just requires more planning and more hardware (hinges, latches, slides). (See our guide on How to Build a Skoolie Kitchen That Actually Works for more on this.)
What software or app do you use to create your bus layout?
SketchUp is the most popular free option and it works great for basic floor plans. Some people use the free version of Floorplanner or even just graph paper. For 3D modeling, SketchUp or Fusion 360 will let you visualize the space before you build. But honestly, nothing beats the painter’s tape method I mentioned above. Software is great for sharing your plan with others, but the tape on the floor is what actually tells you if it works.
Pick the Layout That Fits Your Life, Not Your Instagram Feed
Here’s the quick breakdown:
- Solo short bus (20-25 ft): Murphy bed or fixed platform, compact kitchen, wet bath optional. ~80-120 sq ft.
- Couple’s medium bus (25-32 ft): Fixed queen bed rear, bathroom mid-bus, full kitchen and living area forward. ~140-190 sq ft.
- Full-size open concept (35-40 ft): Raised rear bedroom, mid bathroom, wide-open living space. ~230-300 sq ft.
- Family bunks (35-40 ft): Master rear, bunk area mid-bus, bathroom, kitchen-living forward. Ventilate the bunks.
- Bathroom-free minimalist (20-30 ft): Skip the bathroom, gain 15-20 sq ft of living space. Portable toilet for backup.
- Rear garage platform (32-40 ft): Raised bed over cargo area, gear access through rear door. Roof raise recommended.
- Convertible multi-use (25-35 ft): Everything converts, maximum daytime space, daily setup required.
The biggest mistake people make is copying someone else’s floor plan without thinking about how they actually live. Your daily routine — how you cook, how you sleep, whether you work from the bus, whether you have kids or pets — that should drive the layout. Not what looks cool in a YouTube tour.
Is it overwhelming? Sure, at first. But you don’t have to get it perfect on the first try. Tape it out, live with it, adjust. The bus isn’t going anywhere. You’ve got time to get this right, and you will.
I absolutely love your website.. Pleasant colors & theme.
Did you develop this amazing site yourself? Please reply back as I’m attempting to create my own blog and want to know where you got this
from or exactly what the theme is called. Cheers!