
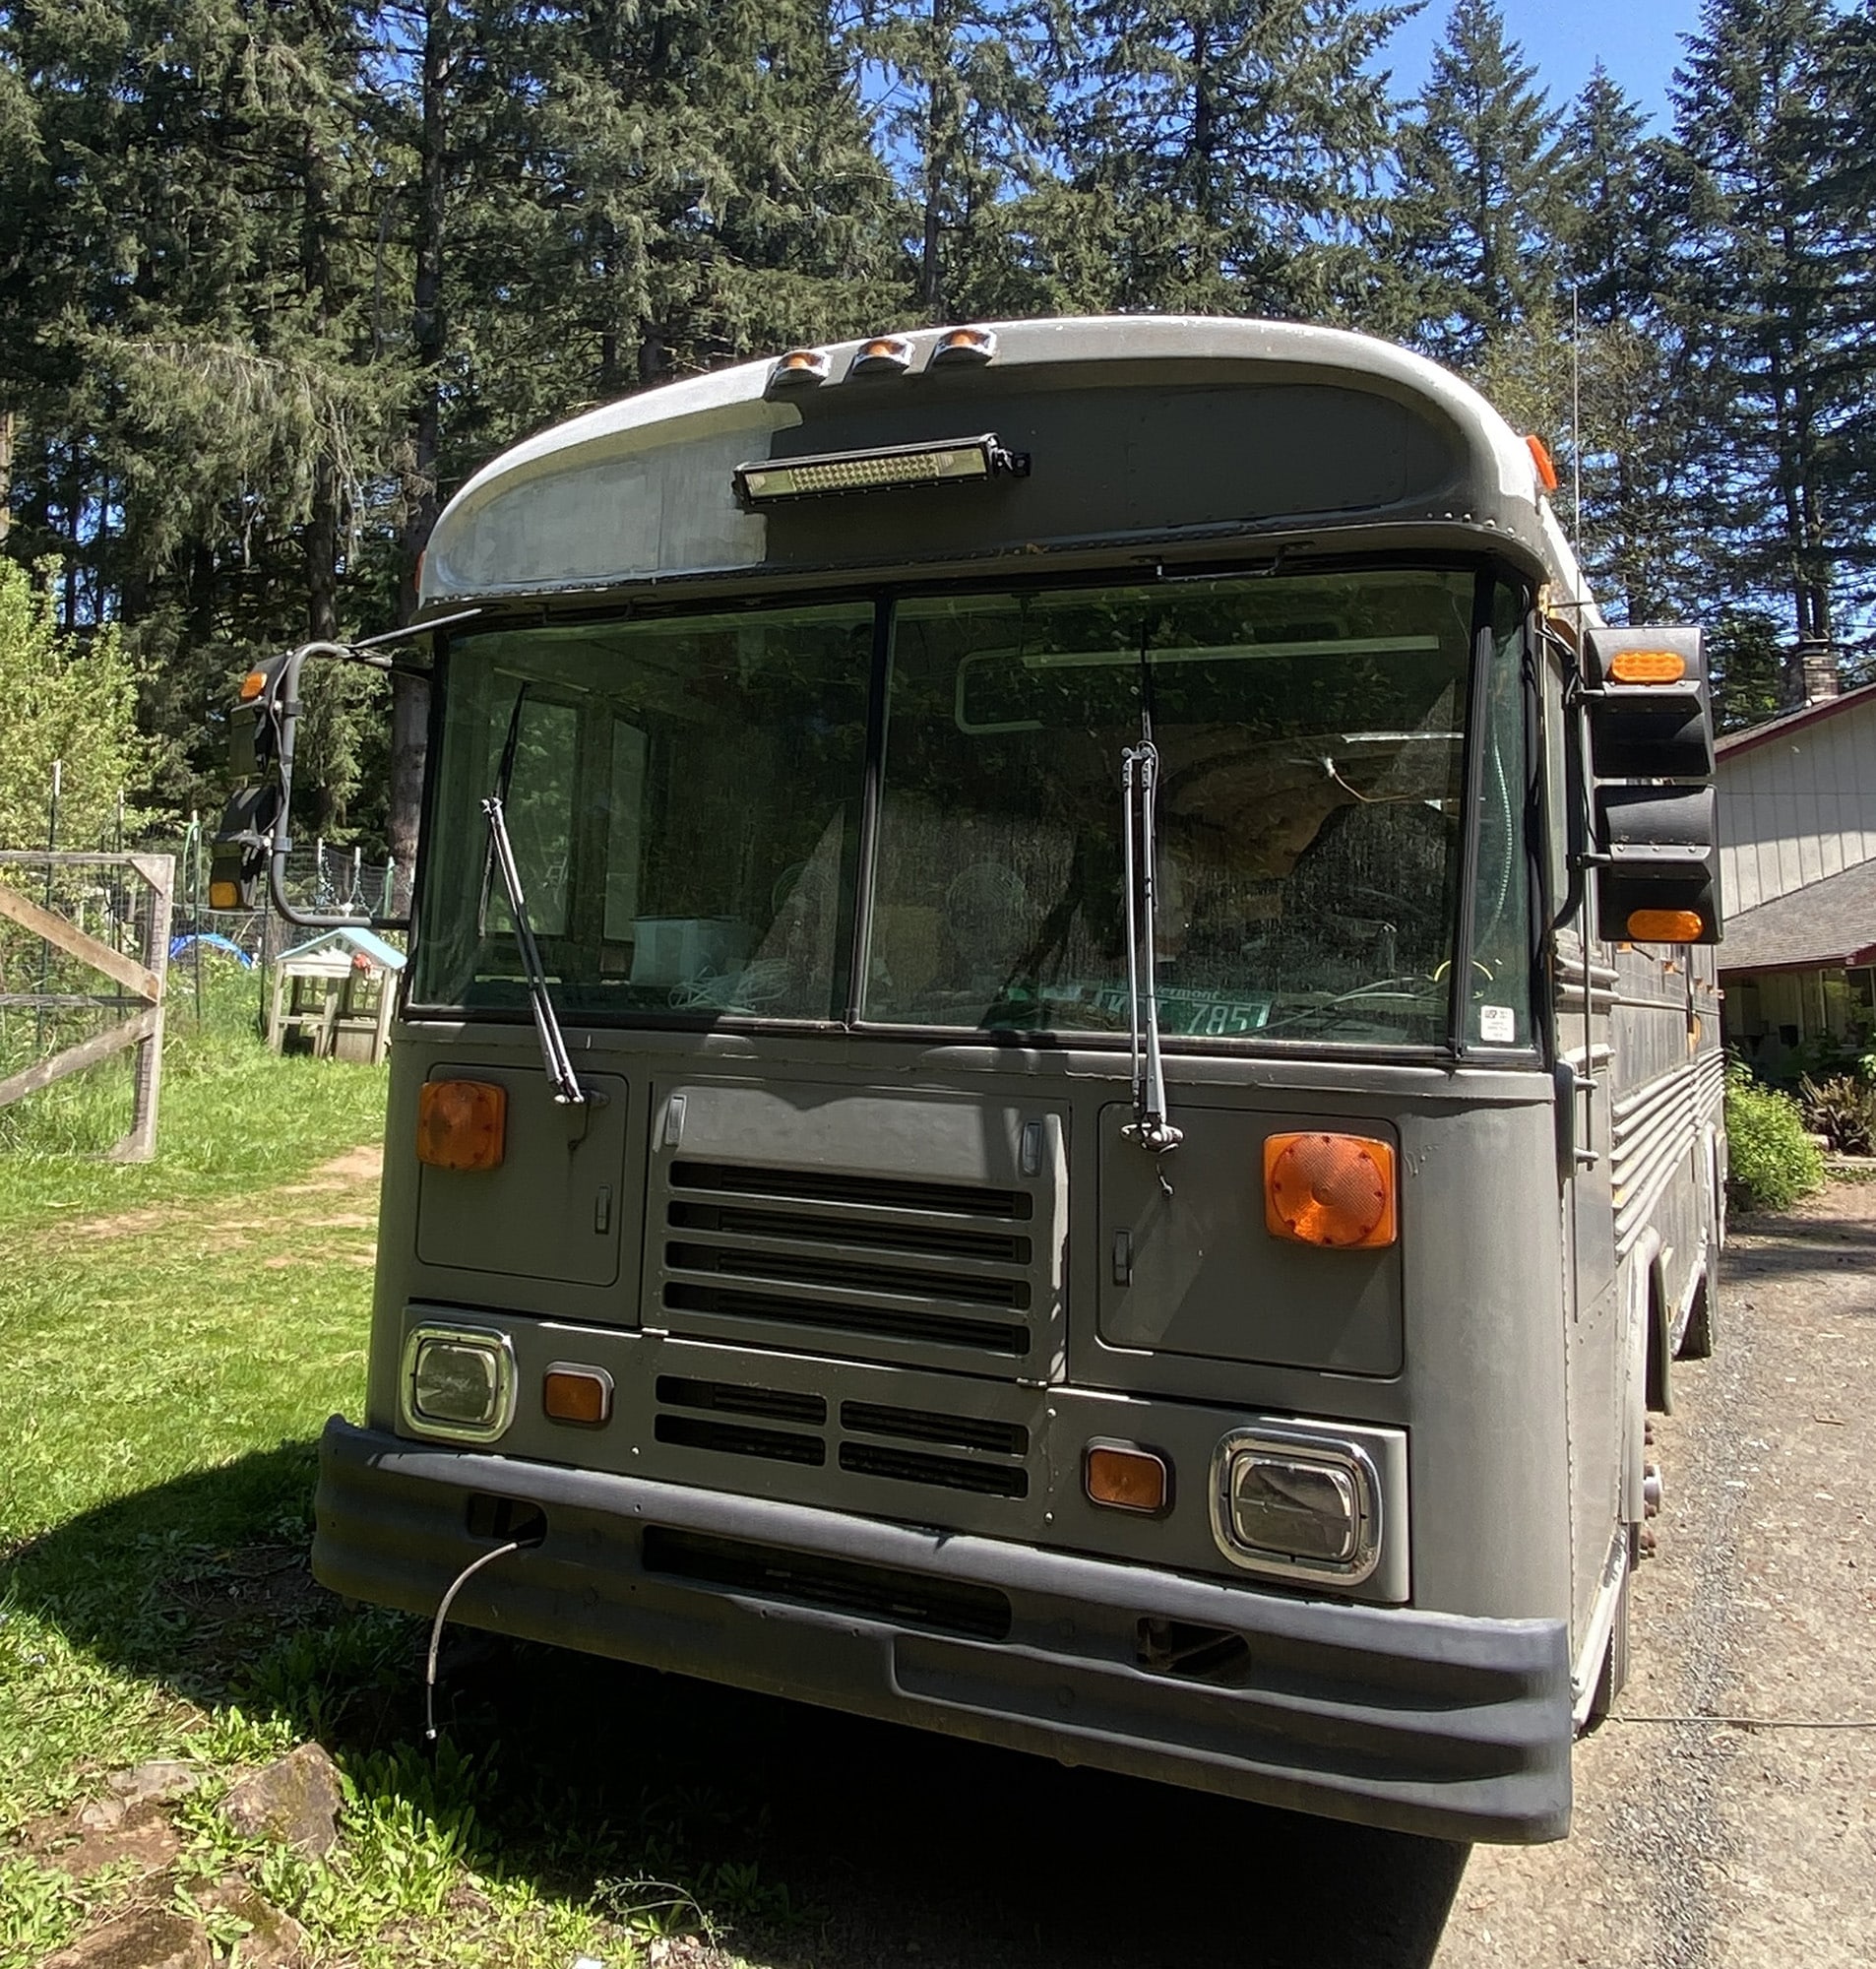
One of the first things people ask when they see a finished bus build is some version of “does all that stuff stay in place when you’re rumbling down the backroads?” You watch someone’s tour video and they’ve got plates on open shelves, a TV on the wall, a Berkey water filter just sitting on the counter, and your brain immediately starts doing the physics. (See our guide on What Happens If Your Skoolie Breaks Down? for more on this.)
The good news is there are real, tested solutions for every category of stuff in your bus. Cabinet latches, shelf liners, museum putty, bungee bars, locking TV mounts, and lip rails all do the job without making your space look like you’re prepping for a hurricane. The key is matching the right solution to the right item, because a coffee mug on a shelf and a 40-inch TV on the wall are two very different problems.
Cabinet Latches and Magnetic Catches
This is the most basic one and probably the first thing you should deal with in any build. Regular cabinet doors don’t have any kind of latch mechanism that keeps them shut when the bus is moving, and all it takes is one hard brake for every cabinet to swing open and dump its contents onto the floor.

I found this out the hard way during a test drive. We’d finished the kitchen cabinets and I was feeling pretty good about the build, took it around the block, came back and found a cabinet had swung open and a glass had rolled off the shelf and shattered on the floor. That was day one of understanding that every single door in the bus needs some way to stay closed.
The two main options are push latches and magnetic catches. Push latches are the kind where you press the door to close it and press again to pop it open. They hold firm and they’re satisfying to use. Magnetic catches are simpler and cheaper, just a magnet on the frame and a metal plate on the door. The catch with magnetic catches, no pun intended, is that they’re only as strong as the magnet. A weak one from the dollar store isn’t going to hold a heavy cabinet door shut when you hit a pothole at 45 mph. You want the stronger neodymium style magnets.
Some people go with traditional RV-style positive latches, which are mechanical and physically lock the door in place. Those are bulletproof but they look a little industrial. I ended up going with push latches on the kitchen uppers and magnetic catches on the lower cabinets where gravity is already helping keep them shut. (See our guide on How Do You Keep Kids Safe While Driving a Skoolie? for more on this.)
Bungee Bars and Tension Rods for Shelves
So this one comes up a lot when people ask “how do you keep the books secured while you’re moving?” and honestly the answer is almost stupidly simple. A bungee cord stretched across the front of a bookshelf.

You can get fancy with it or you can keep it basic. The basic version is two small hooks on either side of the shelf and a bungee cord running between them across the front of the books. Takes five minutes to install and costs about three dollars. The fancier version uses a tension rod, like a small curtain rod, that presses between the two sides of the shelf opening. Some people use brass rods with little brackets, which looks really clean and almost like it was designed into the shelf on purpose.
I’ve seen builds where someone used leather straps with snap closures across their bookshelves, and that looked incredible. Way more effort than a bungee cord but the aesthetic was on another level. There’s also the approach of using a thin wooden dowel rod across the front, mounted in small brackets that let you lift it up and remove it when you want to grab a book.
For kitchen shelves, tension rods work great to keep things from sliding forward during braking. You mount them an inch or two up from the shelf surface, and plates and bowls sit behind them. The nice thing about tension rods is they’re removable, so when you’re parked and living normally you can take them out and your kitchen looks like a regular kitchen.
One thing worth mentioning is that bungees and tension rods really only handle forward and backward movement. Lateral sway from curves is a different problem. For that you need sidewalls on your shelves or items placed tightly together so they can’t shift. Most open shelving in a bus is built into alcoves between walls, so lateral movement is already contained.
Non-Slip Shelf Liners
This is the one with the best effort-to-result ratio on the list. Shelf liner, that rubbery grippy mesh material you can buy in a roll at any hardware store, goes on every flat surface in the bus. Every shelf. Every counter. Inside every cabinet. It’s cheap, you cut it to size with scissors, and it adds enough friction that most items simply don’t slide during normal driving.
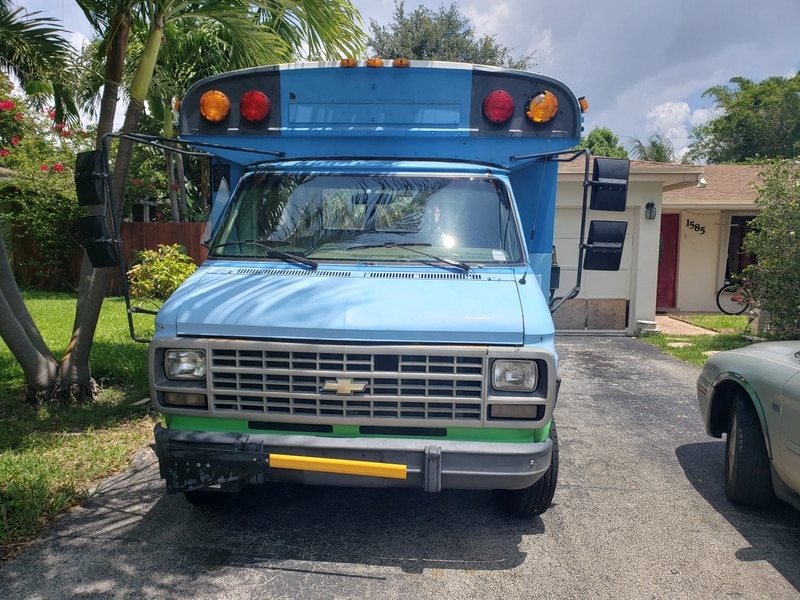
I kept seeing this mentioned over and over when I was researching, and I honestly thought people were exaggerating how well it works. But the physics makes sense. A ceramic plate sitting on a smooth wooden shelf has almost no friction. Give the bus a little bump and it slides right off. That same plate sitting on grippy rubber mesh? Way more friction than road vibration can overcome.
We went with the Duck Brand stuff from Home Depot, the kind that comes in a big roll. Cut it to fit every shelf and every drawer in the kitchen and bathroom. Total cost was maybe 15 bucks for the whole bus. I’ve talked to people who’ve been full-timing for years and they all say the same thing, shelf liner is the single most important thing you can do to keep stuff from moving. Not the flashiest solution but absolutely the foundation everything else builds on. (See our guide on School Bus Conversion Cost Breakdown (Real Numbers) for more on this.)
The only downside is it gets dirty and you have to pull it up and wash it occasionally. Get the thicker stuff and cut it slightly smaller than the shelf so it lays flat without bunching at the edges.
Velcro and Museum Putty for Decor
“Where do you put all those decorations sitting around when you are traveling down the road?” This question shows up constantly, and the answer splits into two camps. Some people pack everything away before driving. Others secure it in place and leave it. (See our guide on How Do You Secure Things in a Bus While Driving? for more on this.)
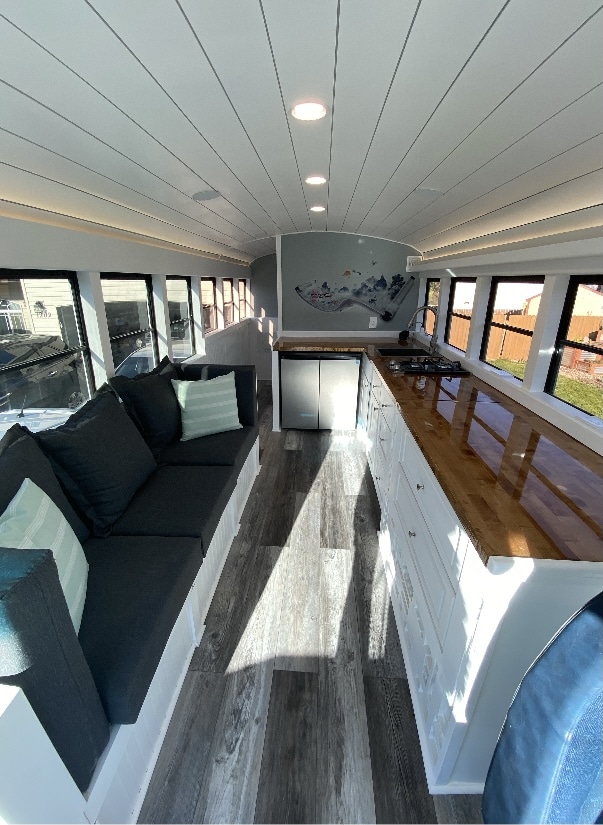
Museum putty is kind of the hero product here. It’s a waxy, tacky putty you roll into a small ball and press under the base of a decorative item. Holds it to the shelf through vibration and road movement, peels off clean when you want to pick it up. It’s what museums use to keep displays from shifting during minor earthquakes, which is basically the same kind of movement you get in a bus. I bought a pack of the Quakehold brand on Amazon for like eight bucks and it’s lasted forever.
For lighter stuff, picture frames, small plants in pots, candle holders, museum putty is all you need. For heavier items, you might want industrial Velcro strips instead. Stick one side to the base of the item, one side to the shelf, press them together, and that thing isn’t going anywhere. The downside is that Velcro is a little more permanent, you can’t just casually pick something up and put it back down the way you can with putty.
I talked to a woman at a skoolie meetup who had a gallery wall of framed photos in her bus, and she said Command strips kept failing in the heat. Summer temps inside can hit over 100 degrees and the adhesive softens. She switched to screwing small brackets to the wall with a lip that keeps the frame from bouncing off. Worth keeping in mind — adhesive products work differently when your bus interior bakes in the sun all afternoon, and museum putty holds up better in heat than most strips.
TV and Monitor Mounts That Lock
“How do you secure the tv/computer screen when you are driving?” I’ve seen this exact question on probably fifty different skoolie videos, and the answer is always the same. You don’t use a regular TV mount. You use one that locks.

Full-motion articulating TV mounts, the kind you’d use in an RV, have a tension adjustment or locking knob that lets you tighten the arm so the TV can’t swing while you’re moving. Position it flat against the wall, crank the lock, and it stays there. When you park, loosen it and swing it out to whatever angle you want. Takes maybe ten seconds.
The critical part people skip over is what the mount is bolted into. You can’t screw a TV mount into thin plywood paneling and expect it to hold a 35-pound TV through years of road vibration. The mount needs to go through the wall into actual structure — framing, steel ribs, or a thick plywood backer anchored to the bus skeleton.
For computer monitors, it’s even easier because they’re lighter. A VESA-compatible monitor arm clamped to a desk surface works fine, and most of those have tension adjustments too.
One approach I didn’t expect was people who just lay the TV face-down on a bed cushion before driving. No locking mechanism, just set it somewhere soft. Sounds janky but a couple people swore by it. I wouldn’t trust that method personally, but hey.
Securing Your Water Filter and Appliances
“How do you keep the Berkey Steady when moving down the road?” This one’s specifically about the Berkey, but the same principle applies to any freestanding appliance — coffee makers, blenders, Instant Pots, anything that just sits on a counter.
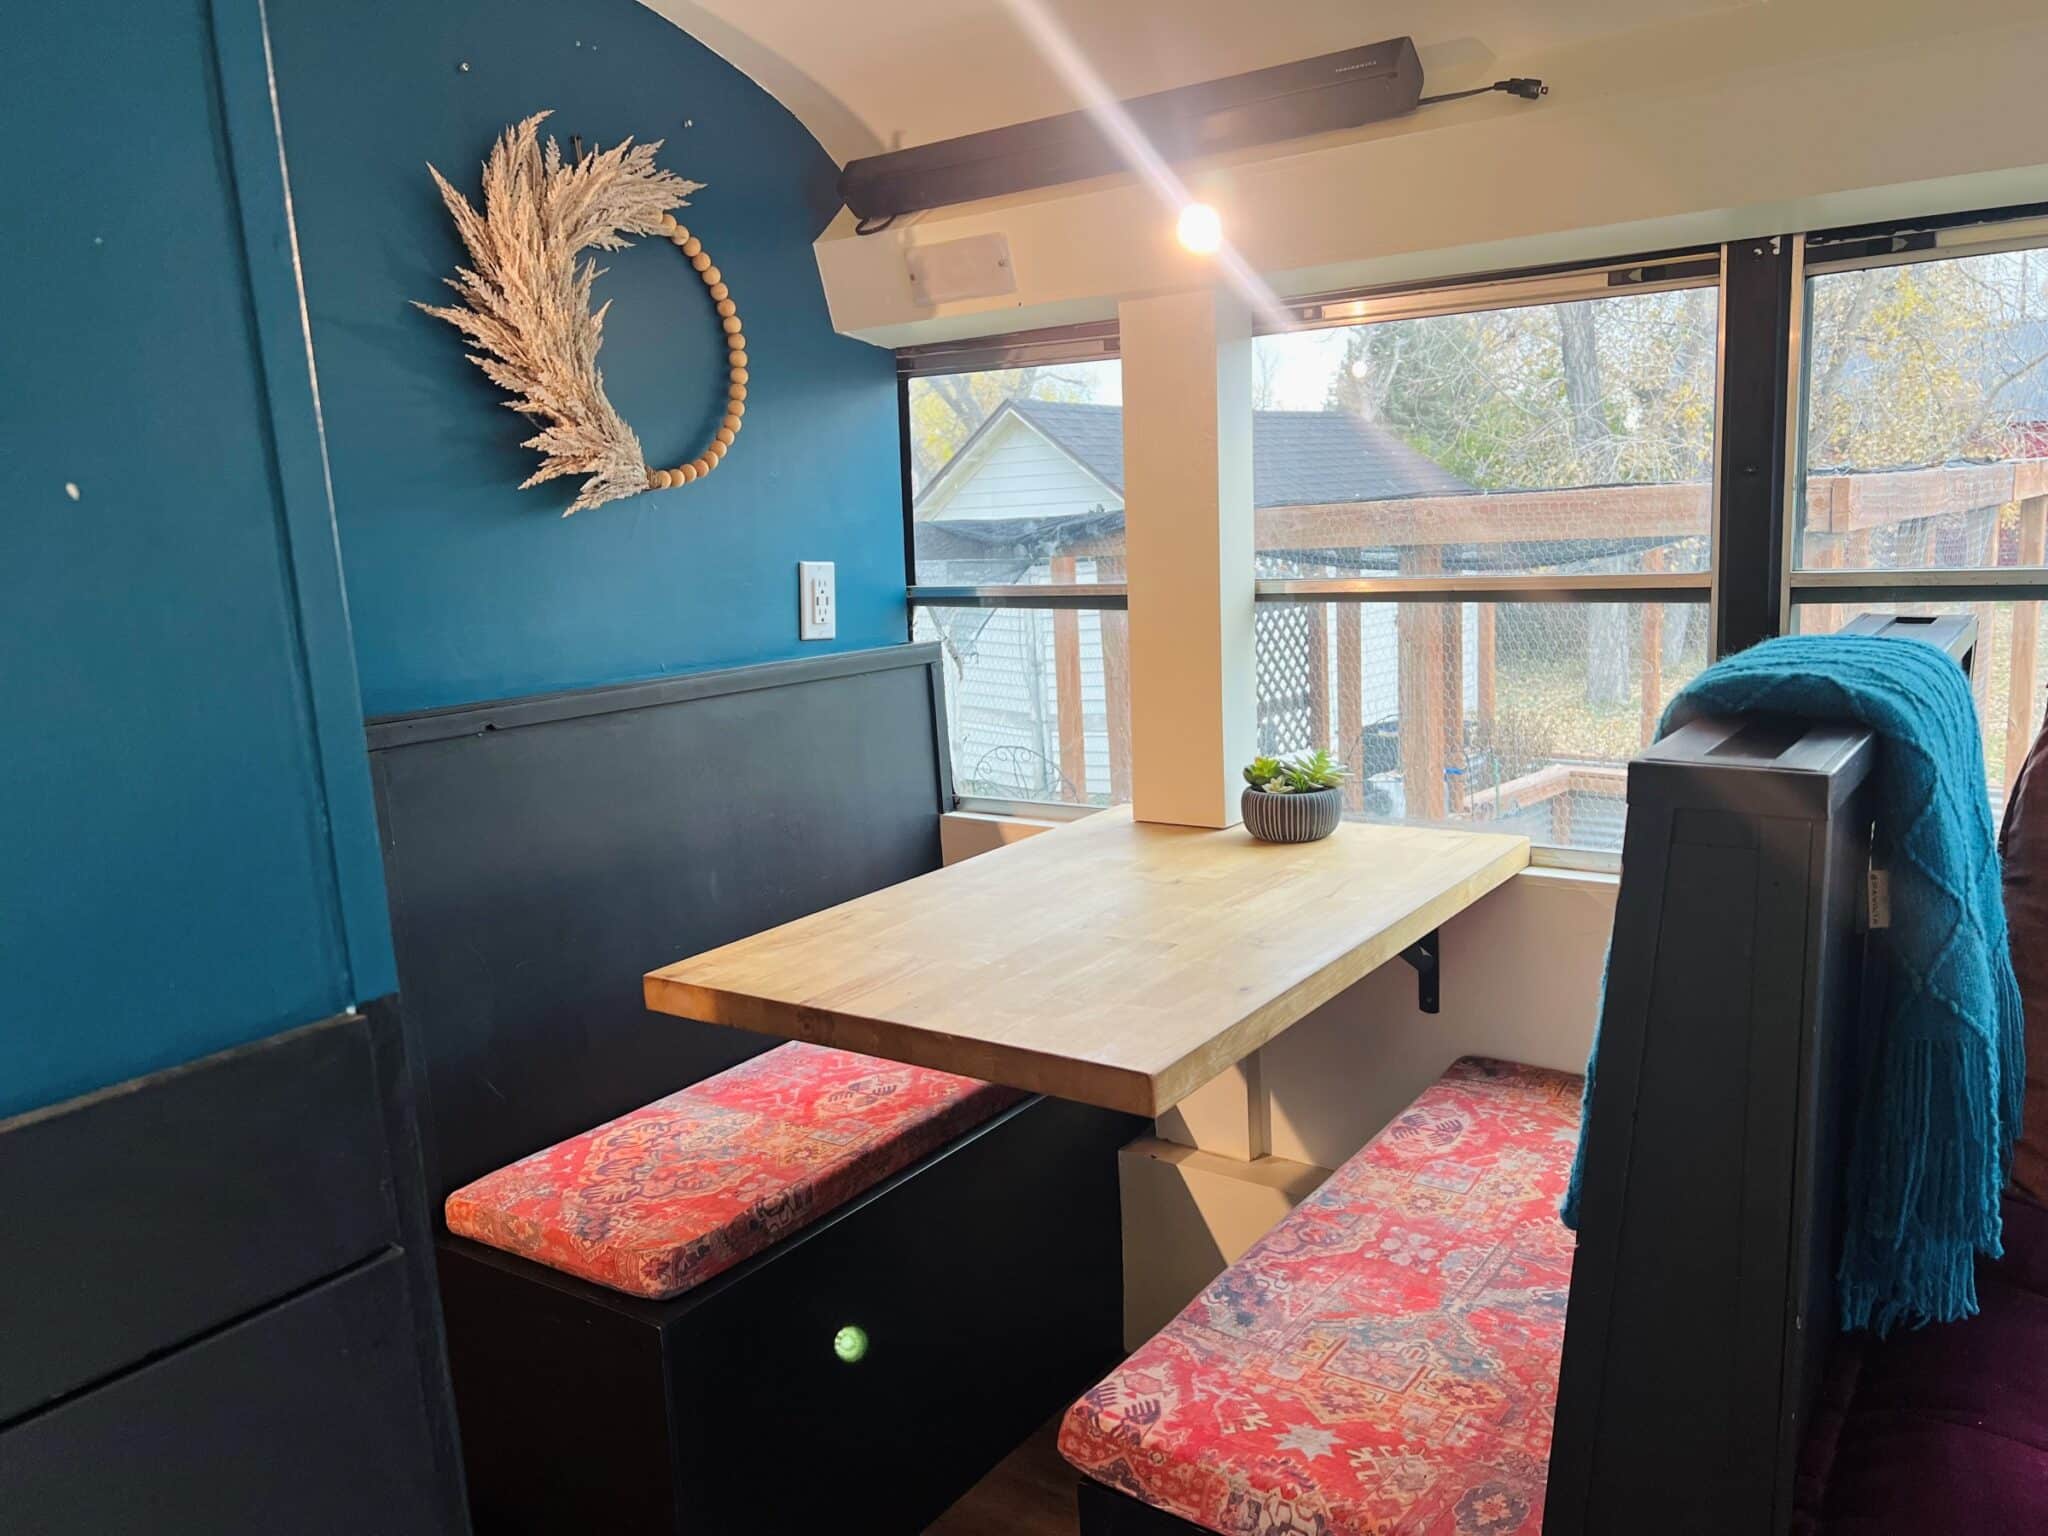
The Berkey is a particular challenge because it’s tall, top-heavy, and full of water. Most people don’t drive with water in it — they empty the upper chamber before hitting the road. Then the empty unit either gets secured with a bungee strap or stored on the floor where it can’t tip over.
I came across one build where the guy had installed a shallow wooden box on the counter, just barely bigger than the base of his Berkey, with about a four-inch lip around it. The filter sat down inside and couldn’t wobble or slide. Simple build, maybe 20 minutes with scrap wood, and it solved the problem completely.
For other countertop appliances, most full-timers I talked to store the majority of their small appliances in lower cabinets when driving and only bring them out when parked. Even with shelf liner and Velcro, a bunch of loose appliances on a counter is asking for trouble on a bumpy road. If you do want to keep something out permanently, heavy-duty shelf liner underneath plus a bungee strap over the top does the job.
Lip Rails on Open Shelving
This is the one that makes open shelving actually work in a bus long-term. A lip rail is just a thin strip of wood, metal, or acrylic along the front edge of a shelf, tall enough to keep items from sliding off during braking but short enough that it doesn’t ruin the look.

Most people use a three-quarter inch to one and a half inch piece of wood trim. You nail or glue it along the front edge of the shelf and it creates a barrier. Items can still slide backward toward the wall, which is fine. They just can’t come forward off the shelf. Boats figured this out centuries ago with galley shelves, same exact principle.
Clear acrylic is another option if you don’t want the lip to be visible. You can get thin acrylic strips cut to length at most hardware stores and attach them with small brackets. From across the room you can barely see them.
I found that the most effective approach is combining lip rails with non-slip shelf liner. The liner prevents sliding under normal conditions, and the lip rail catches anything that does manage to move during harder braking. Belt and suspenders, as my dad would say. Total cost for doing every open shelf in the bus is probably under 20 bucks.
The lip height matters more than you’d think. A half-inch lip stops lightweight items but a heavy book can slide right over it. An inch and a half stops everything but starts to look like a fence. Most people land around three-quarters of an inch and call it good.
Related: Skoolie Safety and Security: The Complete Guide
The Nuclear Option: Just Use Doors on Everything
Alright, so after going through all of these solutions, there’s one more approach that I have to mention because a decent number of full-timers eventually end up here. Just put doors on everything.

Seriously. Some people start with beautiful open shelving and then after a year of strapping things down and tightening bungee cords before every drive, they install doors on all of it and never think about it again. Cabinet doors with push latches solve basically every problem on this list in one move. Nothing falls. Nothing slides. You close the doors, drive to the next spot, open them up, everything is exactly where you left it.
I watched a tour where the couple had started with open shelving in the kitchen and living area, looked gorgeous in photos, and within six months they’d retrofitted doors on every single shelf. The woman said something that stuck with me, that they’d spent more time securing stuff for travel than they spent actually traveling. That hit me because I think a lot of people design their bus for how it looks parked and forget it also has to function while moving.
The middle ground a lot of people end up at is doors on the kitchen and utility areas where practical stuff lives, and open shelving only in the living area for a few carefully placed decorative items secured with putty or Velcro. That way the bulk of your stuff is behind latched doors, and the only things you need to worry about are a handful of items that are easy to manage. But if you’re the kind of person who wants to just hop in the driver’s seat and go without a 15-minute packing routine, doors on everything is the play.
—
So after digging into all of this, here’s where I landed. You don’t need one magic solution, you need a combination of cheap, simple ones matched to what you’re securing. Shelf liner on every surface. Lip rails on open shelves. Push latches on cabinet doors. Museum putty under decorative items. A locking mount for the TV. Bungee bars for bookshelves. And if all of that sounds like too much hassle, just put doors on everything and move on with your life. The people who’ve been on the road for years aren’t using anything exotic. Shelf liner and push latches will get you through ninety percent of it, and the rest is just fine-tuning. That’s basically it.