
Propane is the fuel that makes bus life work for most people. It heats your water, cooks your food, keeps you warm, and runs your fridge if you go that route. But figuring out how to actually set up a propane system in a converted school bus — the tanks, the lines, the regulators, the safety stuff — is one of those topics where the information is scattered across a hundred forum posts and YouTube comments, and half of it contradicts the other half. I spent a ridiculous amount of time sorting through all of it, and this guide is everything I found.
Propane is the most common fuel source in skoolie builds, and for good reason. It’s energy-dense, widely available, relatively cheap, and powers the appliances that draw the most energy — stoves, water heaters, furnaces, and absorption fridges. A typical two-person bus build runs on one or two 20-pound portable DOT tanks, spending $20-40 a month on propane depending on climate and usage. Permanent ASME tanks are another option for bigger builds. The system itself — tanks, regulator, copper or flexible stainless lines, and fittings — costs $200-600 to set up depending on how many appliances you’re running. Safety is manageable with the right detectors, ventilation, and common sense, but you can’t cut corners on it. This guide covers every piece of the puzzle: tank types, sizing, mounting, running lines, regulators, appliances, safety, refilling, costs, winter use, and inspection requirements.
Propane Basics for Bus Life
Before I get into the specifics of tanks and lines and all that, let me cover what propane actually is and why it dominates the skoolie world.

Propane — also called LP gas or LPG — is a hydrocarbon gas that’s compressed into a liquid for storage. When you open the valve on a propane tank, the liquid boils into gas at minus 44 degrees Fahrenheit, which is why it works even in seriously cold weather. One gallon of propane contains about 91,500 BTUs of energy. A standard 20-pound tank holds roughly 4.7 gallons, so that’s about 430,000 BTUs per tank. For context, cooking on two burners for an hour uses maybe 20,000-25,000 BTUs. So a single tank goes a long way for cooking alone.
The reason propane beat out electric for most bus appliances comes down to energy density and electrical independence. Heating water electrically requires a massive inverter and drains batteries fast. A propane tankless water heater does the same job without touching your electrical system at all. Same story with cooking — an induction cooktop pulls 1,800 watts, which is a brutal hit on a modest solar setup. A propane burner uses zero electricity.
I found that roughly 80% of the bus builds I researched used propane for at least one major appliance, usually two or three. The remaining 20% were either all-electric builds with big battery banks or diesel-only setups. Propane isn’t the only answer, but it’s the most common one by a wide margin, and there’s a reason for that.
The one thing about propane that you can’t ignore is safety. You’re storing a flammable compressed gas in or on a vehicle you live in. It’s not dangerous if you respect it — millions of RVs run propane every day without incident — but you need to do it right. I’ll cover safety in detail further down, but the short version is: proper fittings, leak testing, CO detectors, propane detectors, and ventilation. No shortcuts.
Tank Types: DOT Portable vs ASME Permanent
This is one of the first decisions you’ll make, and it affects everything downstream — where your tanks mount, how you refill them, how much propane you can carry, and what your plumbing looks like.

DOT cylinders are the portable tanks you see at every gas station and hardware store. The 20-pound tank (which actually holds 20 pounds of propane, about 4.7 gallons) is the most common size in bus builds. You can also get 30-pound and 40-pound cylinders. They’re called DOT tanks because they’re regulated by the Department of Transportation, since they’re designed to be transported. They have OPD (overfill protection device) valves built in, they need to be requalified every 12 years (check the date stamped on the collar), and they’re cheap — $30-40 for a new 20-pounder.
The advantages of DOT tanks are pretty straightforward. They’re portable, so you can swap them at exchange stations or carry them to a refill station. They’re standardized, so replacement is easy. You can carry extras. And if one develops a problem, you just swap it out. Most skoolie builders I researched were running DOT tanks, usually two 20-pounders, connected with an automatic changeover regulator that switches to the backup tank when the primary runs dry.
ASME tanks are permanently mounted tanks built to a different standard — the American Society of Mechanical Engineers code. These are what you see bolted under RVs or mounted on the frame. They come in a huge range of sizes, from 7 gallons up to 40+ gallons. They’re heavier duty, built to withstand road vibration and impacts, and they’re refilled in place, meaning you pull up to a propane station and they fill the tank while it’s mounted on your vehicle. ASME tanks don’t expire or need requalification like DOT cylinders do.
The downsides of ASME are cost and commitment. A 20-gallon ASME tank runs $300-500 installed. You need a certified technician in some states to install or inspect them. And once it’s mounted, it’s mounted — you’re not swapping it out easily. I talked to a builder at a bus meetup who had gone ASME and said his only regret was that he couldn’t just grab a tank and walk into a hardware store when he was in the middle of nowhere and the nearest propane station with a bulk fill was 40 miles away.
For most first-time builders, I’d say go with dual 20-pound DOT tanks and an automatic changeover regulator. It’s the simplest, most flexible setup, and you can always upgrade later if you find yourself needing more capacity.
“Is your stove propane or electric?”
This comes up constantly, and I covered it in a separate article in more detail, but it fits here because the stove is usually the first propane appliance people commit to.
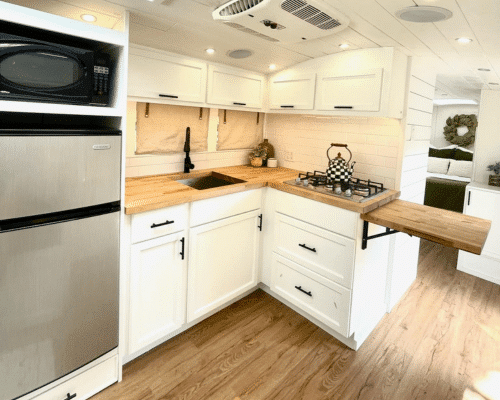
The short answer from most builders is propane. When I was looking into this, probably 70-80% of the bus conversions I came across were running propane cooktops. A two-burner Camp Chef or Suburban propane cooktop runs $150-300, heats instantly, and uses zero electricity. The fuel cost for cooking is almost negligible — maybe $3-5 a month if you’re cooking daily on two burners.
Electric induction is the alternative, and it has real advantages. No open flame, no combustion byproducts, flat and lightweight. But it pulls around 1,800 watts for a two-burner setup, which is a massive draw on a modest solar system. I talked to a guy at an RV expo who had switched back to propane from induction after six months because he was constantly staring at his battery monitor while trying to make dinner. Said it took the joy out of cooking.
If you’re building a propane system anyway — for water heating or space heating — adding a propane stove is almost a no-brainer. The infrastructure is already there. You’re just adding another line.
How to Size Your Propane System
Sizing comes down to answering one question: how much propane will you use per month, and how often do you want to refill?

Let me break down typical usage by appliance. These are rough averages based on everything I could find from actual bus dwellers tracking their consumption.
Cooking on a two-burner stove, one hour a day: about 1-1.5 pounds of propane per day, or roughly 7-10 pounds per week. One 20-pound tank lasts three to four weeks of daily cooking.
A propane tankless water heater, like a Camplux 5L, running two short showers a day: about 1-2 pounds per day. A 20-pound tank lasts 10-20 days depending on shower length and how cold your incoming water is.
A propane furnace running in cold weather: this is the big one. A 30,000 BTU forced-air RV furnace can burn through a 20-pound tank in two to four days if it’s running frequently. Cold weather propane use is a completely different animal than summer use.
An absorption propane fridge: roughly 1-1.5 pounds per day. About two weeks per 20-pound tank.
So if you’re running a stove and water heater (no furnace, no propane fridge), you’re looking at maybe 2-3 pounds per day, and a single 20-pound tank lasts roughly a week to 10 days. Two tanks with an auto-changeover regulator gives you two to three weeks between refills. That’s comfortable for most people.
If you’re adding a propane furnace for winter, your consumption can easily double or triple. This is where people either bump up to larger tanks, add more 20-pounders, or switch to a diesel heater for space heating and keep propane just for cooking and hot water. I found the hybrid approach — diesel heat, propane cooking and hot water — was the most common setup among full-timers in cold climates, and it makes sense from a fuel economy perspective.
“Where do you store your propane tanks?”
This question shows up in almost every build tour comment section. Tank placement is one of those decisions that seems simple until you actually try to figure it out, because it touches weight distribution, safety, accessibility, and aesthetics all at once.
The three most common mounting locations I kept seeing were exterior compartments, tongue mounts (on buses with a tow setup, or a dedicated front bumper rack), and rear racks.
Exterior Compartment
This is probably the most popular approach for DOT tanks on full-size bus builds. You build a vented compartment on the exterior of the bus — usually mounted to the frame rails underneath, or built into the skirt area between the wheels. The compartment needs ventilation at the bottom because propane is heavier than air. If there’s a leak, you want the gas to fall down and out, not pool inside an enclosed box.
I saw one build where the guy welded a steel box onto the frame behind the rear axle, lined it with expanded metal for airflow, and bolted a quick-disconnect bracket inside for two 20-pound tanks. Cost him maybe $60 in steel and hardware. Clean, out of the way, and the tanks were easy to swap. The key thing he mentioned was making sure the compartment had drain holes at the bottom and wasn’t sealed on the underside. Propane needs somewhere to go.
Some builders use the existing school bus compartments — the ones that held emergency equipment or tools — and retrofit them for propane. Just make sure there’s no pathway from the tank compartment into the cabin. You don’t want a sealed connection between where propane might leak and where you sleep.
Tongue Mount / Front Rack
If your bus has a front bumper with enough structure, or you’ve added a bumper rack, mounting tanks up front keeps them completely separate from the living space. Some people build a small rack that holds two 20-pounders right behind the front bumper. The downside is accessibility — you have to walk to the front of the bus every time you want to check tank levels or swap a tank, and if you’re parked nose-in somewhere tight, it can be a pain.
I noticed this setup more on short buses and mini buses where undercarriage real estate is limited. On a full-size, there’s usually enough frame space underneath for a proper compartment.
Rear Rack
A rear bumper or ladder rack setup puts the tanks at the back of the bus, usually in a welded or bolted cage. This is where the safety question comes up. “What happens if you’re rear-ended with the propane tank?” — I saw this question on multiple build tour videos, and it’s a legitimate concern.
The answer from most experienced builders is that DOT propane tanks are surprisingly tough. They’re built to withstand significant impacts, and the OPD valves are designed to prevent catastrophic release. That said, I wouldn’t mount tanks without some kind of protective cage or bumper structure between them and the outside world. A steel tube bumper with a built-in cage is the way most rear-mount builds handle it. The tanks should also be mounted low enough that a standard car bumper would hit the bus’s bumper or frame before contacting the tanks.
Honestly, there’s no single “right” location. It depends on your bus layout, your build priorities, and where you’ve got space. The main rules are: keep tanks outside the living space, make sure the mounting area is ventilated, protect them from impacts, and make them accessible for swapping or refilling.
Running Propane Lines
This is the part that intimidates a lot of people, but it’s actually not that bad once you understand the basics. You’re running pipe from your tank regulator to each propane appliance, and there are two main materials people use.
Rigid copper tubing — specifically type L or type K copper, 3/8 inch or 1/2 inch diameter — is the traditional choice. It’s what most RV manufacturers use. Copper is durable, resistant to vibration fatigue when properly supported, and the fittings are standard flare fittings that any hardware store carries. You’ll need a tube bender, a flare tool, and flare nuts. The fittings are all brass, and you assemble them dry, no tape or pipe dope on flare fittings, that’s important. Tape on a flare fitting can actually cause leaks because it prevents the flare from seating properly.
The alternative is CSST — corrugated stainless steel tubing. It’s flexible, which makes routing easier, especially through the tight spaces under a bus floor. Products like TracPipe or Gastite are rated for LP gas. CSST is faster to install because it bends without a tool, and the fittings are compression style. The downside is cost — CSST and its fittings are more expensive than copper. And some inspectors in some states won’t accept it for a mobile application, so check your local regulations before committing.
I went back and forth on this when I was planning, and what I found was that most DIY builders go with copper because it’s cheaper and the skills are easier to learn. A propane flare fitting is one of those things where you watch one YouTube video, practice on a scrap piece, and you’ve got it.
Here’s the routing approach most people follow. Your tanks feed into a regulator mounted near the tanks. From the regulator, a main line runs along the frame or under the floor to the general area where your appliances are. Then you branch off with tee fittings to each appliance location — kitchen for the stove, bathroom area for the water heater, wherever your furnace is. Each branch should have its own shutoff valve. Support the tubing every 3-4 feet with cushioned clamps so it doesn’t vibrate and fatigue over time.
After everything is connected, you do a pressure test. Close all appliance valves, pressurize the system to about 10-15 PSI with air or nitrogen, and watch the gauge for 15-20 minutes. If the pressure drops, you’ve got a leak somewhere. The soapy water trick works too — brush soapy water on every fitting and watch for bubbles. I can’t stress this enough: test every single fitting. A propane leak under your living space is not something you want to discover the hard way.
Understanding Regulators
The regulator is a small but critical piece of your propane system. It takes the high pressure inside your tank (which varies with temperature but can be 100-200 PSI) and steps it down to a usable pressure for your appliances, typically 11 inches of water column, which is about 0.4 PSI. That’s the standard operating pressure for most residential and RV propane appliances.

For a dual-tank setup with DOT cylinders, an automatic changeover regulator is the way to go. Brands like Marshall Excelsior and Fairview make them, and they run $40-80. This type of regulator connects to both tanks simultaneously. When the primary tank runs empty, the regulator automatically switches to the secondary tank without you doing anything. An indicator on the regulator shows which tank is active, so you know when to swap the empty one. This is huge for convenience, you never run out of propane mid-shower because you forgot to check the tank level.
Some people run a single-stage regulator, which steps pressure down in one shot from tank pressure to appliance pressure. Others use a two-stage system — a first-stage regulator at the tank that drops pressure to about 10 PSI, then a second-stage regulator near the appliances that drops it to the final 11 inches WC. The two-stage setup gives you more consistent pressure, especially when your tank is getting low or when you’re running multiple appliances simultaneously. For a bus with three or more propane appliances, I’d lean toward two-stage.
One thing I didn’t know until I started researching this — regulators have a vent hole that needs to point downward. If moisture or debris gets into that vent, the regulator can malfunction. Some people put a small protective cap or boot over the vent, which is fine as long as it doesn’t seal it completely. The vent needs to breathe.
Propane Appliances: What Actually Uses It
I touched on this in the sizing section, but let me break down each common propane appliance and what to know about running it in a bus.
Stove / Cooktop
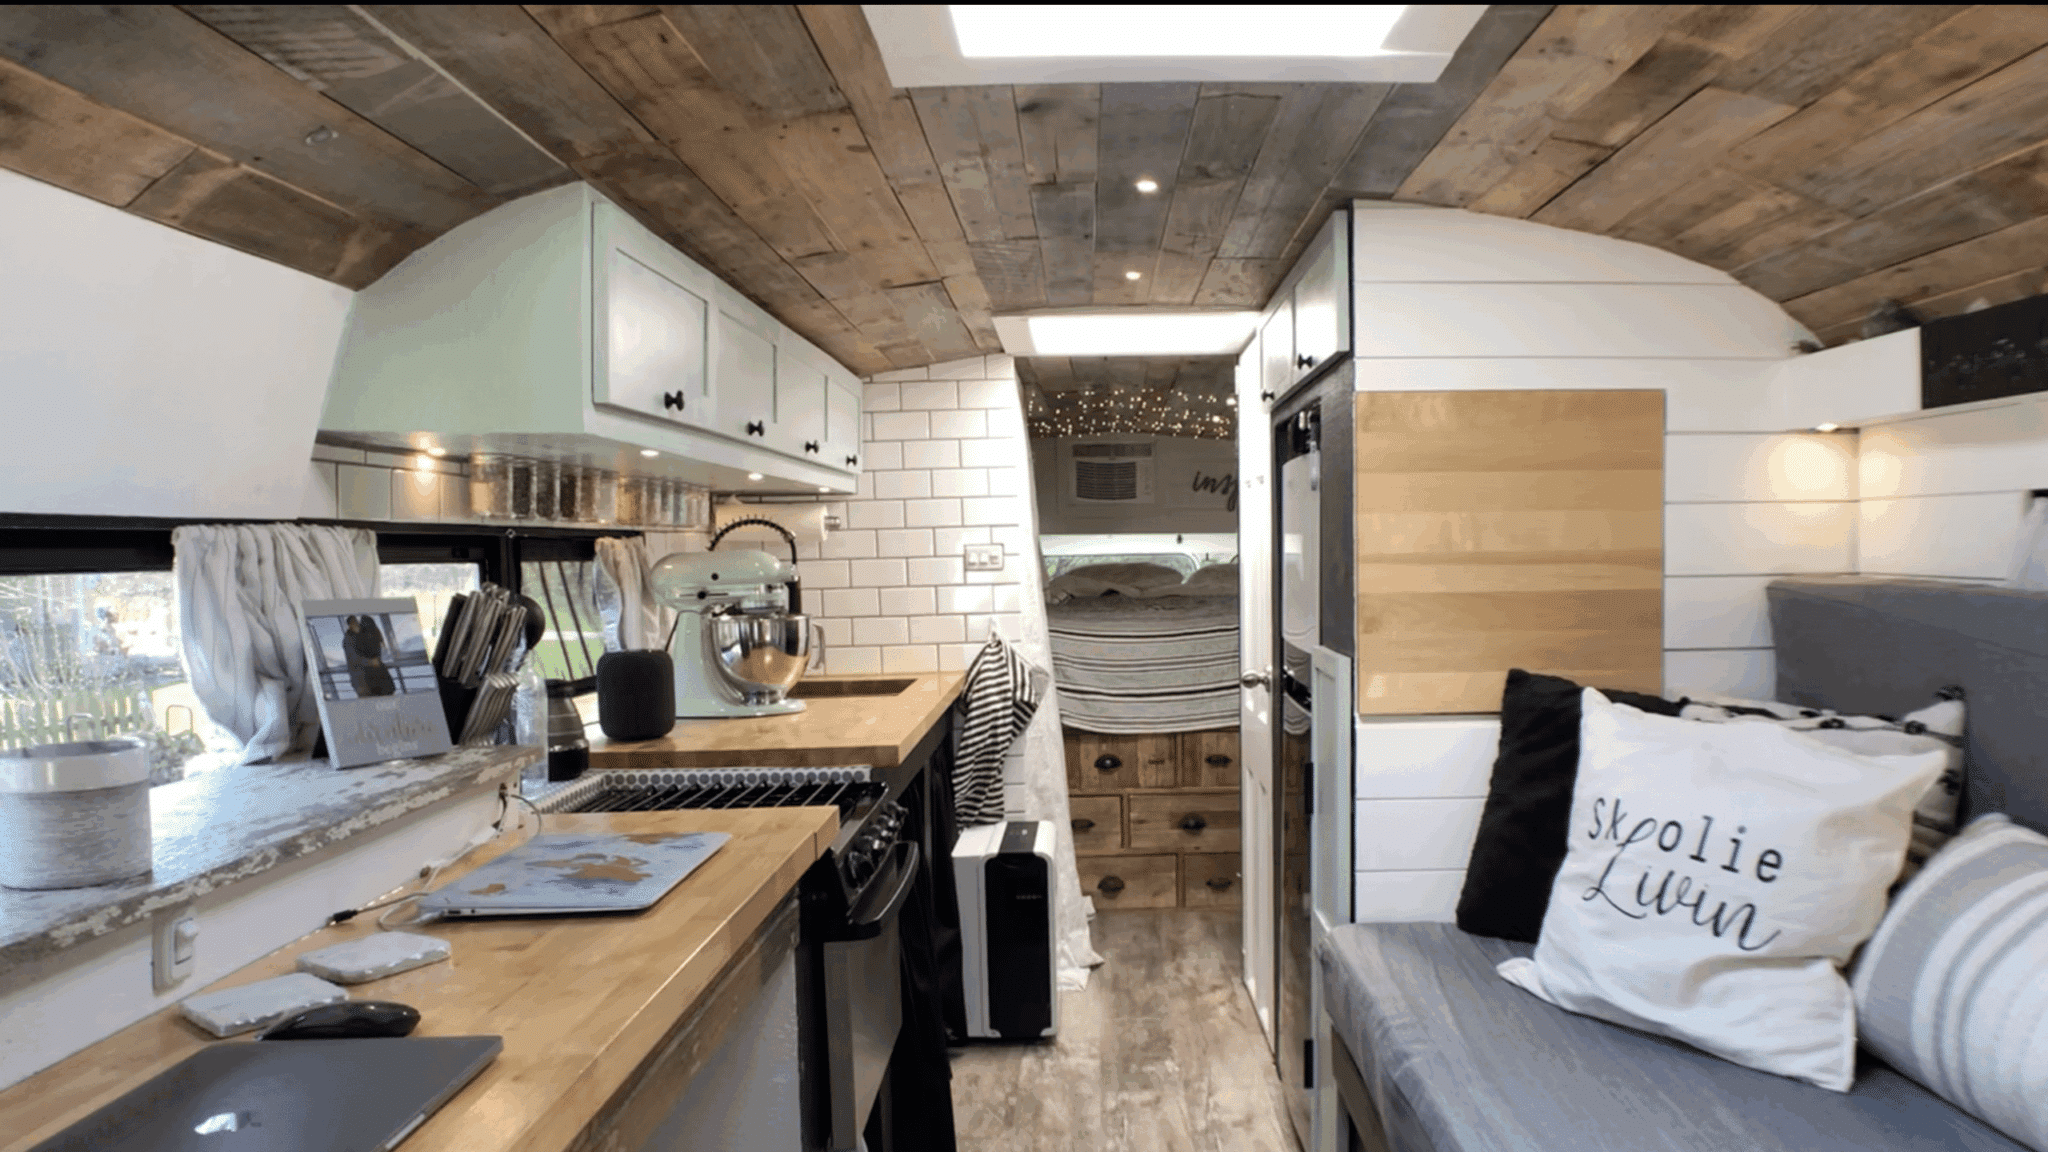
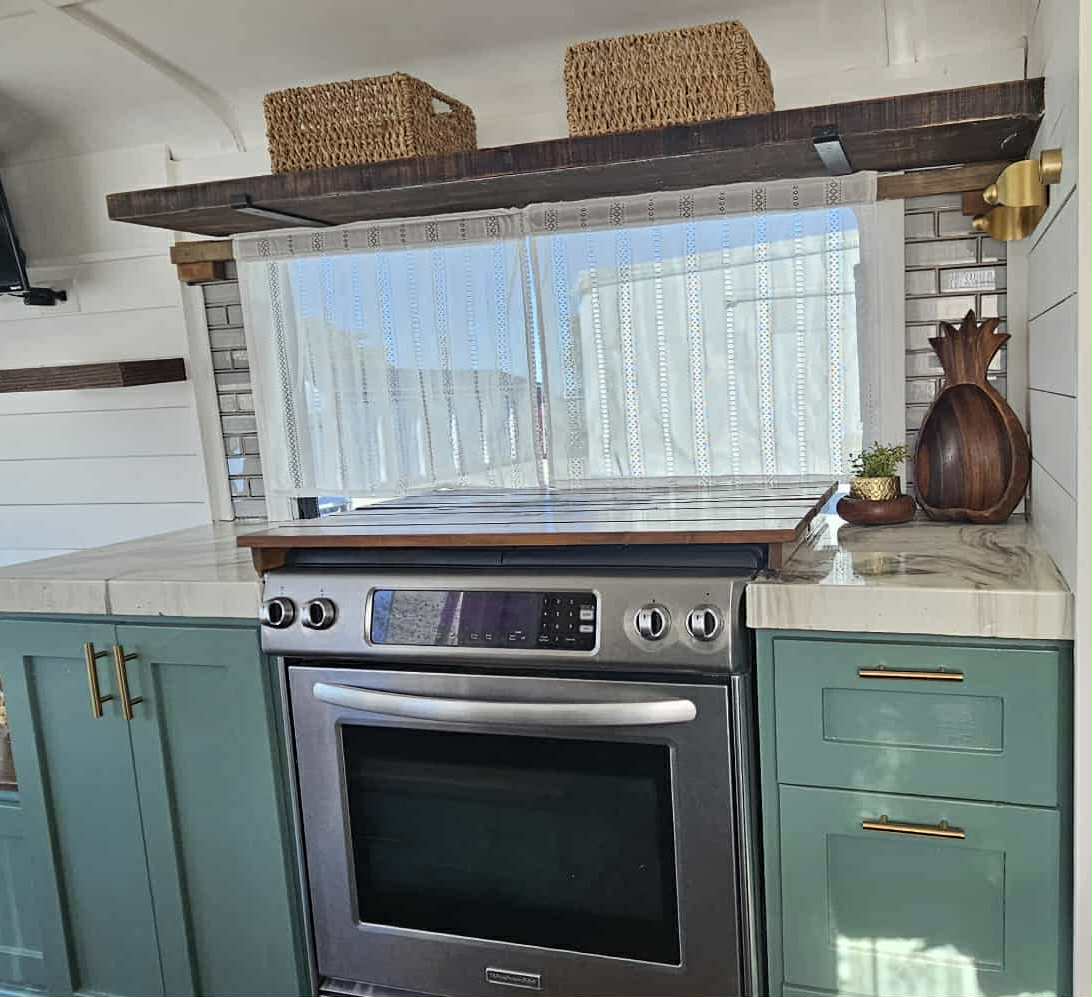
Most bus kitchens run a two-burner or three-burner propane cooktop. Camp Chef, Suburban, and Atwood are the brands I see most often. Some people install a residential gas range with an oven, which works fine but takes up more space and weight. A cooktop alone is simpler to install — it drops into a counter cutout and connects with a single flexible gas connector line.
Propane consumption for cooking is low. Even cooking twice a day with two burners, you’re using maybe a pound of propane. It’s the least demanding appliance on your system.
Tankless Water Heater
This is where propane really earns its keep. A propane tankless water heater — Camplux, Eccotemp, and Gasland are popular brands in bus builds — fires a burner when you turn on the hot water tap. No tank to keep hot, no standby energy waste. Most units produce 1-1.5 gallons per minute of hot water, which is enough for a decent shower. Install it on an exterior wall or in a vented compartment because it needs fresh air for combustion and exhausts flue gases. Some are rated for indoor installation with specific venting, but most bus builders mount them outside or in a dedicated compartment.
“How come nobody does a tankless water heater?” — actually, almost everybody in the skoolie world does, at least among propane setups. It was the most common water heating solution I found by far. The confusion might come from people seeing builds without visible water heaters, since the tankless units are small and often tucked away.
Space Heater / Furnace
Propane furnaces are a whole topic unto themselves. An RV forced-air furnace from Suburban or Atwood runs $400-800, puts out 20,000-35,000 BTUs, and blows warm air through ducts. They work great but they eat propane. A cold night in an average-insulated bus can burn 5-8 pounds of propane, and if you’re running the furnace all day during a cold snap, a 20-pound tank might only last two or three days.
This is why a lot of full-timers switch to diesel heaters for space heating and reserve propane for cooking and hot water. It’s a consumption thing. I wrote more about this in the heating and cooling guide, but the bottom line is that if you’re in a cold climate, plan your tank capacity around winter heating, not summer cooking.
Mr. Buddy heaters come up constantly as a cheap portable option. They work, they throw serious heat, but they’re unvented — all combustion products stay inside the bus. That means CO and moisture. Mandatory CO detector, mandatory cracked window. For occasional backup use they’re fine, but as your primary heater in a sealed bus all winter, I’d say pass.
Propane Fridge
Absorption-style propane fridges are the old-school RV option. They use a propane flame to drive a cooling cycle, no electricity needed. Sounds perfect for off-grid. But they need to be almost perfectly level to work right, they’re slow to cool, and they don’t handle altitude changes well. The 12V compressor fridge has basically replaced them in most new bus builds. I’d only recommend a propane fridge if you have an extremely minimal electrical system and can’t run a compressor fridge.
“Is propane safe to use inside a bus?”
Yes, with the right precautions. Let me be clear about that upfront because I’ve seen this question create a lot of unnecessary anxiety. Millions of RVs and campers run propane every day without incident. The difference between safe and dangerous comes down to installation quality and safety equipment.

Here’s what you need.
Carbon Monoxide Detectors
Non-negotiable. You need at least one CO detector, mounted near sleeping areas, about 5 feet off the floor. I’d argue you want two — one near the kitchen where your stove burns propane, and one near the bedroom. Kidde and First Alert make combination CO/smoke detectors that run $25-40. Battery-operated ones work, but a hardwired unit with battery backup is better because you can’t accidentally leave it without power.
CO is produced by incomplete combustion of propane. A well-adjusted burner produces very little CO. A dirty burner, a clogged vent, or a malfunctioning appliance can produce a lot. CO is colorless and odorless — you won’t know it’s there without a detector. I read about a couple in a van who had a propane leak from a bad fitting on their water heater. They woke up with headaches and nausea. Their CO detector had a dead battery. They got lucky. Others don’t.
Propane Gas Detectors
Different from CO detectors, and just as important. A propane detector senses unburned propane gas in the air, which tells you about leaks before combustion even happens. Mount it low — 6 inches off the floor — because propane is heavier than air and sinks. MTI Industries makes the ones most commonly used in RVs. They run $30-60.
If your propane detector goes off, shut off the tank valve, open every window and door, don’t flip any electrical switches (sparks), and get out. Then find the leak with soapy water once things have aired out. I’ve heard stories from builders who caught slow leaks at a fitting that they never would have noticed without the detector. The propane odorant (that rotten egg smell they add) helps too, but in small concentrations or if you’re asleep, you might not notice it. The detector is your backup.
Ventilation
“Does the stove pull air from outside? How do you avoid oxygen depletion when running the stove?” — great question, and one I saw asked multiple times.
Any propane appliance that burns inside the cabin — mainly your stove — consumes oxygen and produces CO2, CO, and water vapor. In a space as small as a bus, you need active ventilation while cooking. A range hood that vents outside is ideal. At minimum, crack a window or run a roof vent fan. The MaxxAir fans that most bus builders install can be set to exhaust mode, which pulls combustion byproducts out.
Vented appliances like a properly installed furnace or an exterior-mounted tankless water heater handle this on their own, since their combustion air comes from outside and exhaust goes outside. It’s only the stove and unvented heaters where cabin ventilation matters.
I’ll be honest, when I first started looking into propane safety for bus life, it seemed overwhelming. But once I understood the pieces — detectors, ventilation, leak testing, proper installation — it clicked. It’s not rocket science, it just requires attention to detail during the build and a commitment to maintaining your equipment.
Refilling vs Exchange: What Works Better on the Road
There are two ways to get propane into your DOT tanks. Exchanging and refilling. Each has pros and cons, and most bus dwellers end up using both depending on the situation.

Tank exchanges are the Blue Rhino and AmeriGas cages you see at gas stations, Walmart, Home Depot, and grocery stores. You swap your empty 20-pound tank for a full one. Cost is typically $18-25 per exchange. The advantage is convenience — they’re everywhere, the process takes two minutes, and you don’t have to wait for an attendant.
The disadvantage is that exchange tanks are usually filled to only 15 pounds, not 20. You’re paying full price for 75% of a tank. Over time that adds up. Some exchange locations are also picky about which tanks they’ll accept — dented tanks, expired tanks, or tanks from competing brands sometimes get rejected.
Refilling is where you take your tank to a propane supplier, a co-op, a gas station with a bulk propane setup, or certain farm and ranch stores, and they fill it on the spot. Cost is usually $3.50-5.00 per gallon, so a full 20-pound tank costs roughly $16-23. You get a full 20 pounds, and per-gallon it’s usually cheaper than exchange. The downside is that bulk fill stations aren’t as ubiquitous as exchange cages, and you sometimes have to wait or go during business hours.
For full-time bus life, I found that most people try to refill when possible and exchange when convenient. Having two tanks with an auto-changeover regulator means you can swap the empty one at an exchange cage while still running off the second tank, so you’re never without propane.
One thing I learned that I hadn’t thought about — some states require the person filling your tank to be certified. You can’t just hand your tank to any gas station attendant and say “fill this.” Tractor Supply, U-Haul, and dedicated propane companies like Ferrellgas are reliable for refills across most of the country. I’ve heard of people using the “Propane Locator” feature on some travel apps to find fill stations along their route.
“How long does a propane tank last in a skoolie?”
This is one of the most asked questions I found, and the answer is frustratingly “it depends.” But I can give you real numbers based on what I gathered from actual bus dwellers tracking their usage.

Summer usage (cooking and water heating only, no space heating): A single 20-pound tank lasts most couples 2-3 weeks. Solo travelers can stretch it to 3-4 weeks. Families with kids doing more cooking and more showers go through it faster, maybe 10-14 days.
Winter usage with propane furnace: 3-7 days per 20-pound tank in cold weather. This is the number that shocks people. If you’re running a propane furnace as your primary heat source and temperatures are below freezing, you can burn through a tank in under a week. Some people in really cold climates reported going through a tank every 2-3 days during a cold snap.
Winter usage without propane furnace (using diesel heat instead): Back to roughly summer numbers — 2-3 weeks per tank, since you’re only using propane for cooking and hot water.
Here’s a rough monthly cost breakdown. In summer, one to two tanks a month, so $20-50 depending on whether you’re exchanging or refilling. In winter with propane heat, four to eight tanks a month, $80-200. In winter with diesel heat, one to two tanks a month for cooking and hot water, same as summer.
The people who spend the least on propane are the ones who use diesel heaters for warmth and propane only for cooking and water heating. It keeps your propane budget predictable and manageable year-round.
Cost of Propane Per Month (Real Numbers)
Let me lay out actual monthly costs based on different scenarios, because I found the ranges people throw around online are sometimes wildly inaccurate.
Solo traveler, warm climate, cooking and showering daily:
- Propane use: ~15-20 lbs/month
- Cost: $15-25/month
Couple, moderate climate, cooking, showering, no propane heat:
- Propane use: ~25-35 lbs/month
- Cost: $25-40/month
Couple, cold climate, propane furnace as primary heat:
- Propane use: ~80-160 lbs/month (4-8 tanks)
- Cost: $80-200/month
Family of four, moderate climate, cooking and hot water:
- Propane use: ~35-50 lbs/month
- Cost: $35-60/month
These numbers assume refilling at roughly $4-5 per gallon. Exchange is a bit more per equivalent pound of propane.
“How much money per week do you spend on gas?” — when people ask this about propane specifically, the answer for most non-winter bus dwellers is $5-10 per week. It’s one of the cheapest utilities in bus life. Diesel for driving costs way more. Propane is almost a rounding error in your budget unless you’re heating with it.
Winter Considerations
Winter is where your propane system gets tested. Cold weather affects propane in ways that most people don’t think about until they’re dealing with it at 6 AM in 15-degree weather.

First, propane tanks lose pressure in cold weather. Propane boils at minus 44 degrees, so you won’t have a problem in most of the continental US, but as temps drop below freezing, the pressure inside the tank decreases. A nearly empty tank in cold weather can have trouble maintaining enough pressure to run your appliances. This is why keeping tanks reasonably full during winter matters — more liquid in the tank means more surface area for boiling and more vapor pressure available.
Second, regulators can freeze. If moisture gets into the system, it can freeze in the regulator and block gas flow. A regulator cover or boot helps, and so does keeping the vent pointed down so moisture drains out instead of collecting inside.
Third, consumption goes way up. I already covered this, but it bears repeating. A propane furnace that’s barely noticeable in your budget during summer can become your biggest expense in winter. If you’re planning to spend winters in cold climates, seriously consider a diesel heater for space heating. I looked into this pretty thoroughly and the math just doesn’t work out for propane-only heating in freezing temps, at least not for full-timers who don’t want to refill tanks every few days.
Some builders insulate their tank compartments or add a small heat source near the tanks for winter. I saw one setup where a guy ran a heated hose from his diesel heater vent near his tank compartment so the tanks stayed above freezing. Creative, and apparently it worked well.
Fourth, condensation. Propane combustion produces water vapor. In winter, when you’re buttoned up tight with windows closed, that moisture has nowhere to go. It condenses on your cold metal walls, your windows, everywhere. This is a mold recipe. Venting while cooking and running a dehumidifier or a good roof fan makes a huge difference. Vented propane appliances (furnaces, exterior water heaters) don’t have this problem because their combustion gases go outside.
Inspection Requirements
This is one of those areas where I found the information to be really inconsistent, because it varies so much by state and by how your bus is classified.
If your bus is registered as an RV, many states require a propane system inspection as part of the overall vehicle inspection or registration process. Some states don’t. And the ones that do vary on who can perform the inspection and what standards they follow.
NFPA 1192 is the standard for RV propane systems. It covers tank mounting, line materials, regulator placement, ventilation requirements for tank compartments, appliance installation, and safety equipment. If an inspector is checking your propane setup, this is what they’re referencing. Knowing the basics of this standard — even if you never get inspected — means your system is built to a proven safety baseline.
Some specific things inspectors look for: proper clearances between propane appliances and combustible materials. All connections accessible for leak testing. Shutoff valves at each appliance. Tanks mounted securely with no chance of shifting during travel. Regulator vent not obstructed. Compartment ventilation present and unblocked.
“What states are hardest to pass vehicle inspection for a skoolie?” — I covered this in more detail in another article, but for propane specifically, states like Vermont, Pennsylvania, and Maine tend to be stricter. Some states require a certified LP gas technician to sign off on the system. Others accept a self-inspection or don’t require one at all for recreational vehicles.
My advice, even if your state doesn’t require it — build to NFPA 1192 standards anyway. They exist for good reason, and if you ever sell the bus or move to a stricter state, you won’t have to redo your entire propane system.
Putting It All Together: Planning Your Propane System
Alright, so let’s walk through how all these pieces fit together for a typical bus build.

Start with your appliance list. Most builds use propane for cooking (stove) and hot water (tankless heater). Some add a propane furnace. Fewer use a propane fridge. Your appliance list determines your total BTU demand, which drives your tank sizing and line sizing decisions.
Next, choose your tank type and capacity. For most builds, two 20-pound DOT tanks with an automatic changeover regulator hits the sweet spot. That gives you 40 pounds of propane capacity, a seamless switchover, and the flexibility to exchange or refill.
Pick your tank location. Under-bus compartment is most common for full-size builds. Rear rack for short buses or builds with limited undercarriage space. Build or buy the mounting hardware, make sure it’s vented, and protect the tanks from road debris and impacts.
Install your regulator. Mount it near the tanks, connect it with pigtail hoses rated for LP gas (usually POL or ACME fittings on the tank side), and run your main line from the regulator toward your appliances.
Run your lines. Copper tubing or CSST, properly supported every 3-4 feet, routed along the frame and up through the floor at each appliance location. Install a shutoff valve at each branch. Use proper flare fittings for copper, manufacturer-specified fittings for CSST.
Connect your appliances. Each one uses a flexible gas connector (the corrugated stainless line with brass fittings) from the hard line to the appliance. This allows for some movement and vibration isolation.
Pressure test everything. I cannot overstate this. Pressurize the system, watch the gauge, check every fitting with soapy water. Then do it again. A buddy of mine found a slow leak on his second test that he’d missed the first time. It was a fitting he thought he’d tightened but was about a quarter turn short.
Install your safety equipment. CO detector near sleeping area, propane detector low near the floor, ventilation in the kitchen area. Test them all. Replace batteries or units on the manufacturer’s recommended schedule.
Then you’re done. Well, done with the install. Living with the system is its own learning curve — you’ll figure out your consumption patterns, your favorite refill spots, and the little quirks of your specific setup over the first few months.
Common Mistakes I Keep Seeing
After looking at dozens of builds and reading through hundreds of comments and forum posts, certain mistakes come up over and over.
Using the wrong fittings. Propane fittings are specific. Don’t use pipe thread where you need flare. Don’t use plumber’s tape on flare connections. Don’t mix and match fittings from different systems.
Skipping the pressure test. “I checked it with soapy water and it was fine” isn’t the same as a sustained pressure test. A pressure gauge tells you what’s happening over 15-20 minutes. Soapy water tells you what’s happening right now on the fittings you checked. Do both.
Mounting tanks inside the living space. I saw a build where someone had a 20-pound tank just sitting in a kitchen cabinet. No venting, no containment, right next to where they sleep. If that tank’s valve failed or a fitting leaked, they’d be filling their sealed sleeping space with propane gas. Tanks go outside the living area. Period.
Running undersized lines. If you’re running three appliances off a long stretch of 3/8-inch copper, the appliances farthest from the regulator might not get enough gas flow when everything’s running at once. For longer runs or multiple appliances, 1/2-inch main lines with 3/8-inch branches are the way to go.
Forgetting about vibration. Your bus moves. A lot. Every pothole, every rough road, every highway mile puts stress on your fittings and tubing. If a copper line isn’t properly supported with cushioned clamps, it will fatigue and eventually crack. I read about a guy whose propane line developed a pinhole leak after 18 months because it was resting against a frame crossmember with no cushion, and the road vibration wore through the copper. Support your lines.
Not having a way to check tank levels easily. Some people install a gauge on their regulator. Others use magnetic tank level indicators that stick to the side of the tank. Or you can just pour hot water down the side of the tank and feel where the temperature changes — the cold spot is where the liquid is. Whatever method you use, know how much propane you have so you’re not caught off guard.
So Where Does That Leave You
If you’ve read this far, you probably know more about propane systems than most people who’ve already built their bus. Which is honestly a good place to be, because this is one of those systems where doing it right the first time saves you a lot of headaches.
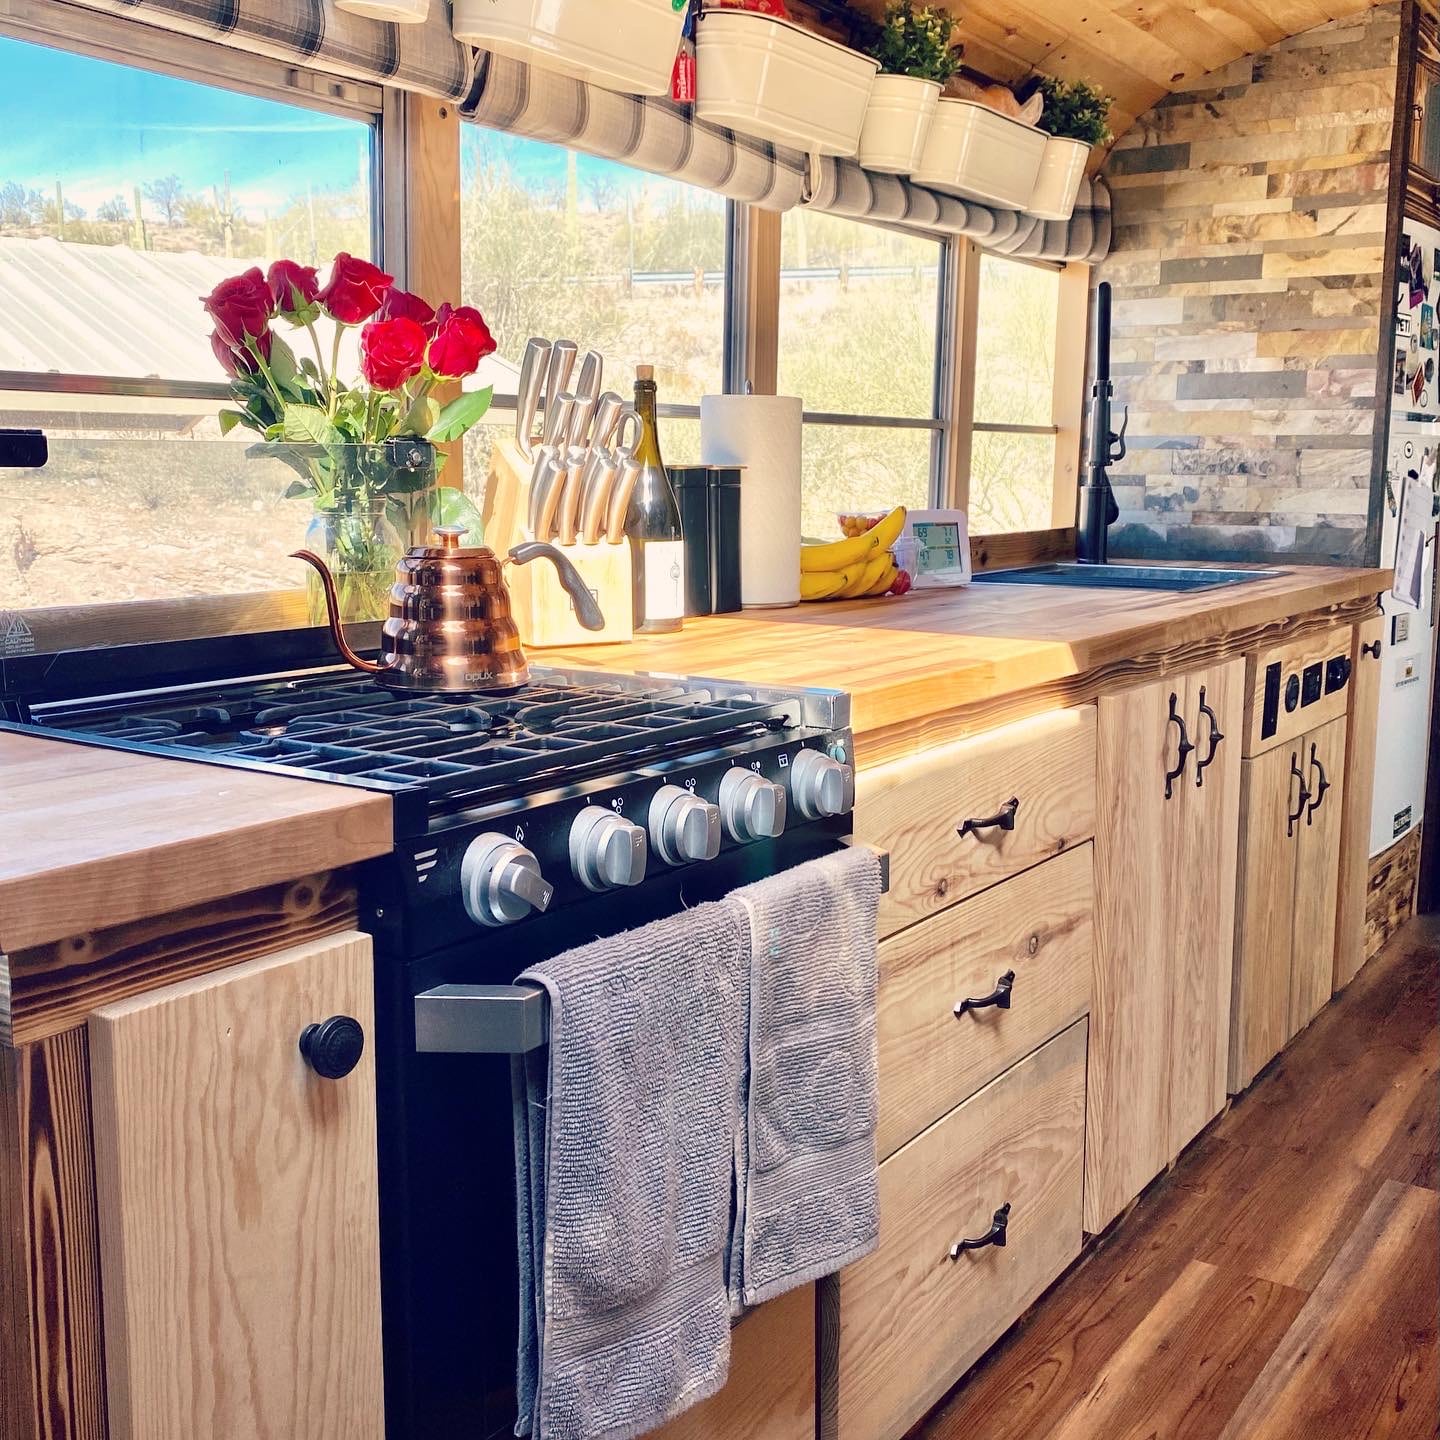
The setup most builders end up with — two 20-pound tanks, an auto-changeover regulator, copper lines to a stove and a tankless water heater, with CO and propane detectors installed — costs maybe $300-500 in parts and a weekend of installation time. It’s not the most glamorous part of a bus build, nobody’s making exciting YouTube thumbnails about propane regulators. But it’s the system that makes your kitchen and shower work every single day, and when it’s done right, you basically forget it’s there.
I think the biggest thing I took away from all my research on this is that propane in a bus isn’t complicated, but it does demand respect. Do your fittings right, test for leaks, install your detectors, ventilate when you cook, and keep your tanks maintained. That’s really it. The system handles the rest.
And if you’re still on the fence about propane versus going all-electric, go back and look at your battery bank budget. For most people building their first bus, propane is cheaper, simpler, and more forgiving. You can always upgrade to induction cooking or an electric water heater down the road once you’ve lived in the bus and figured out what your power system can actually handle. Nothing about propane is permanent except the holes you drill for the line penetrations, and those are small.