
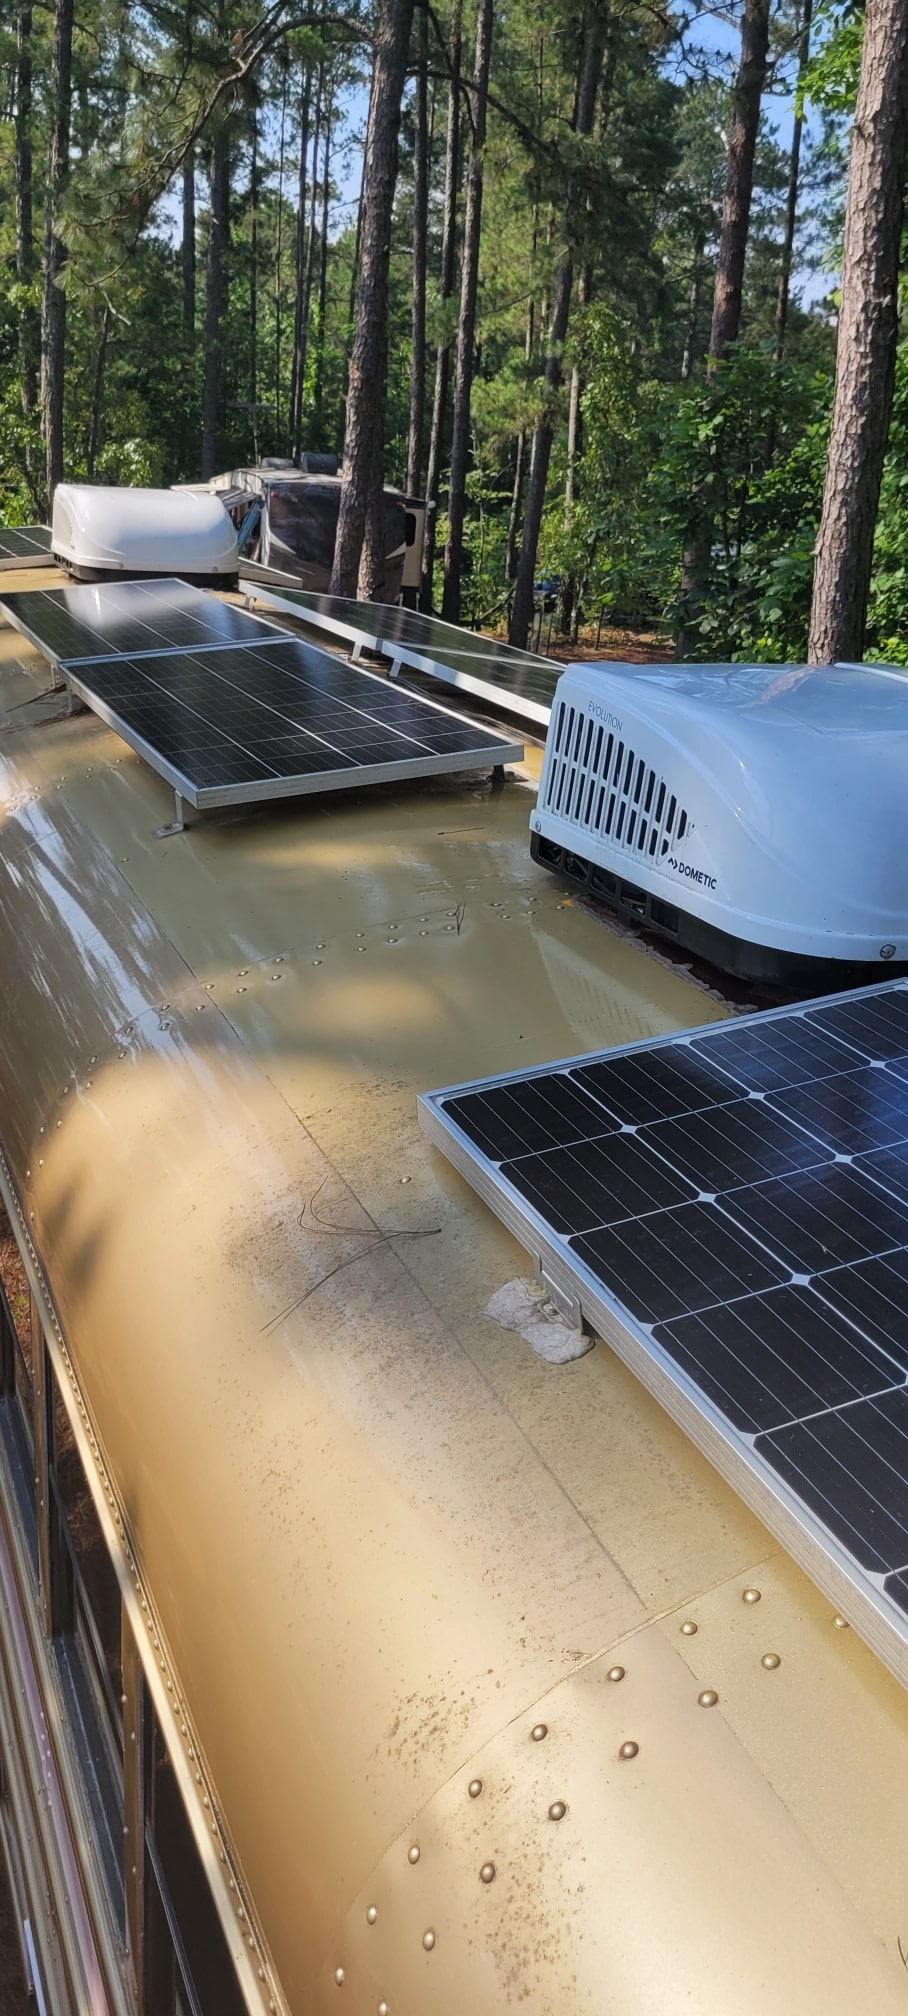
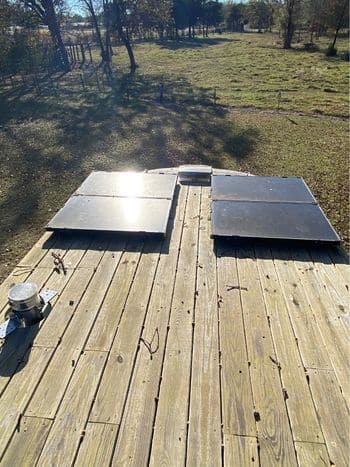
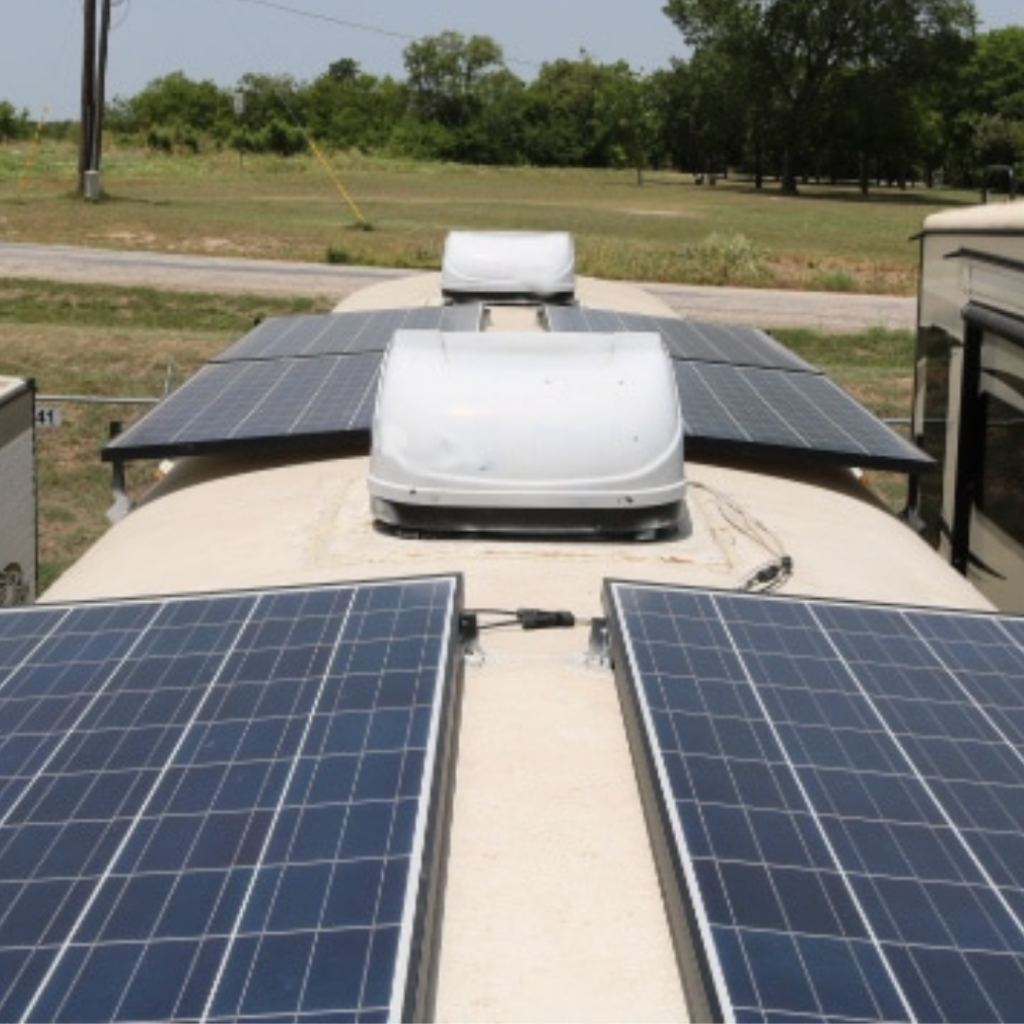
Solar gets all the attention in the skoolie world, and I get it. The idea of free, silent power from the sun is appealing and it makes for great YouTube thumbnails. But here’s what I learned pretty early on in my research — solar alone doesn’t cut it for everyone. If you’re running air conditioning, if you’re parked in the Pacific Northwest in January, if you’re boondocking in a forest with heavy tree cover, you’re going to need something else. Generators and shore power are the other two legs of the power triangle, and most serious builds include at least one of them. (See our guide on Skoolie Solar Setup: How to Size Your System for more on this.)
This guide covers everything about non-solar power for a skoolie: shore power hookups (30 amp vs 50 amp), power inlets, transfer switches, generator types (portable gas, portable inverter, built-in diesel, and PTO generators), how to size a generator for your needs, noise and fuel considerations, generator placement and venting, alternator charging while driving, combining multiple power sources, and inverter/charger combos that tie it all together. A basic shore power setup runs $200-400 in parts. A quality portable inverter generator costs $800-2,500. A built-in diesel generator is $3,000-8,000+ installed. Most skoolie builders end up spending $500-2,000 on their non-solar power setup, and that money buys a LOT of peace of mind when the sun isn’t cooperating.
What do you do when there’s no sun for solar?
This is the question that made me realize I couldn’t just plan around solar and call it a day. Because the honest answer is — it depends on where you are and what you’re running.

If you’ve got a well-sized battery bank (say 400Ah of lithium) and you’re just running lights, a fridge, phones, and laptops, you can coast through two or three cloudy days without breaking a sweat. The fridge is your biggest draw and it’s still only pulling maybe 1,200 watt-hours a day. That’s manageable.
But if you’re running a mini-split AC in Florida in July? Or parked under dense tree cover at a national forest campsite? Or spending a week in the Pacific Northwest during winter where you might get four hours of usable sun total across three days? That’s where things get real.
I talked to one couple who spent their first winter in Oregon and said they went five straight days with basically zero solar production. Five days. Their 200Ah lithium bank was dead by day three and they ended up idling their bus engine for two hours at a time just to charge batteries through their alternator. That’s expensive, it’s loud, and it’s terrible for the engine. They bought a Honda EU2200i the following week and said it was the single best purchase of their entire build. (See our guide on 6 Best Batteries for a Skoolie Solar System for more on this.)
So what do you actually do? You have three main options: plug into shore power at a campground or RV park, run a generator, or charge your batteries while driving using alternator charging. Most people use a combination of all three depending on the situation. The trick is building a system that can accept power from any of these sources and switch between them seamlessly. That’s what this whole article is about.
How do you plug into power at RV parks?
I’ll be honest, I assumed this was as simple as running an extension cord from a campground pedestal into the bus. It’s not quite that simple, but it’s also not complicated once you understand the pieces.
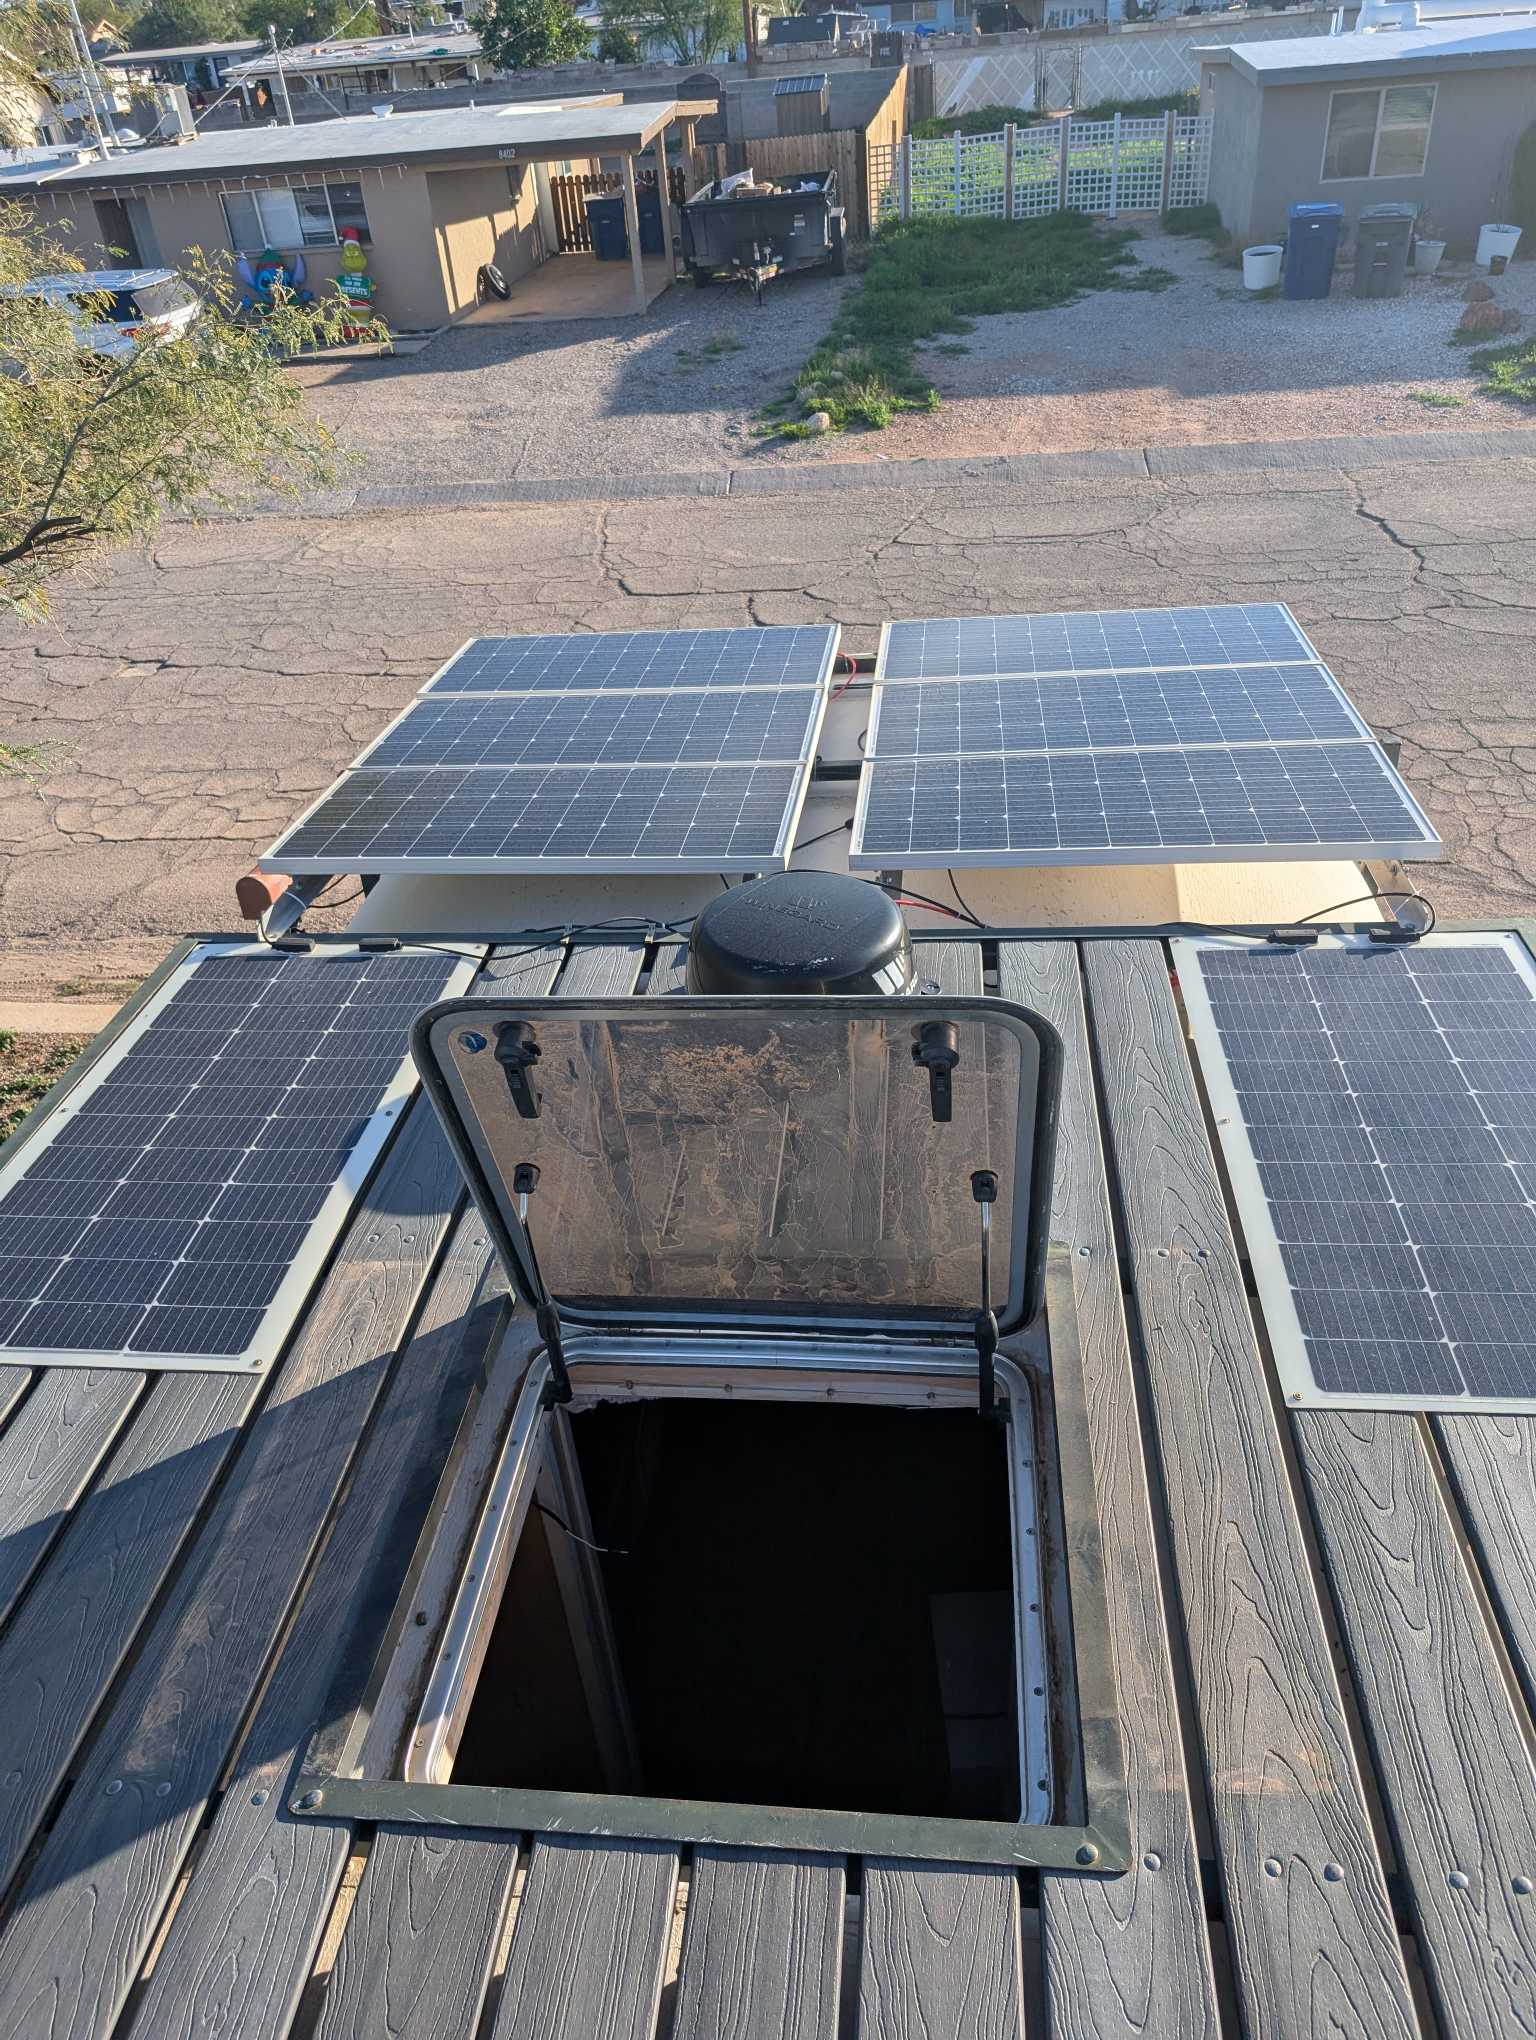
You need three things: a power inlet on the outside of your bus, a shore power cord, and a way to route that power to your electrical panel inside. Let me walk through each one. (See our guide on Skoolie Electrical and Solar: The Complete Guide for more on this.)
The power inlet
A power inlet is basically a weatherproof receptacle mounted on the exterior of your bus. It’s where you plug in. You cut a hole in the side of the bus (usually the driver’s side, near the electrical panel), mount the inlet box, and wire it to your breaker panel or transfer switch inside. The most common options are a 30-amp inlet (NEMA TT-30, the standard RV plug) or a 50-amp inlet (NEMA 14-50).
For most skoolies, 30 amp is plenty. That gives you about 3,600 watts of available power at 120 volts. You can run a mini-split AC, a microwave, charge your batteries, and still have headroom. I found that the vast majority of bus conversions use 30 amp, and every RV park in the country has 30-amp outlets.
50 amp is split-phase — it’s actually two 50-amp legs at 120V each, giving you 240V and a total of 12,000 watts. That’s what big Class A motorhomes and fifth wheels use. You’d only need this if you’re running multiple high-draw appliances simultaneously, like two AC units and an electric water heater. It’s overkill for most bus builds, and not every campground has 50-amp service. If you do go 50-amp, carry a 50-to-30 adapter because you’ll need it.
The inlet itself costs $15-40 for a 30-amp, $30-60 for a 50-amp. Installation is straightforward — cut the hole with a jigsaw or hole saw, mount the box, seal around it with butyl tape or Dicor, and run your wiring inside.
30 amp vs 50 amp — which do you actually need?
Here’s my take after looking at a lot of builds. Unless you’re running two air conditioners or have an unusually power-hungry setup, go with 30 amp. It’s simpler to wire, the cord is lighter and cheaper ($30-60 vs $80-150), and you’ll find 30-amp pedestals everywhere. I talked to a guy who wired his bus for 50-amp and said he regretted it because half the campgrounds he stayed at only had 30-amp service, so he was using an adapter constantly anyway.
One thing to know — when you’re on 30-amp shore power, you’ve got 3,600 watts total. A typical mini-split AC draws 800-1,200 watts. A microwave pulls 1,000-1,500 watts. If you’re running both at the same time plus your fridge and other stuff, you’re close to the limit. So you learn to stagger your loads. Run the AC, turn it off, then microwave your food. It becomes second nature.
The shore power cord
You’ll need an RV power cord to connect from your inlet to the campground pedestal. A 30-amp cord in 25-foot length runs about $30-60. Get at least 25 feet — some pedestals are farther from your parking spot than you’d expect, and a short cord is incredibly frustrating. I’d actually recommend 50 feet if you can swing it. The extra length has saved people more times than they can count.
Buy one with a locking connector on the inlet end and keep it stored somewhere accessible. A lot of people mount a cord hatch or just coil it in an exterior compartment.
What about a transfer switch? Do you need one?
Yes. This is the piece that a surprising number of people skip or don’t understand, and it matters.
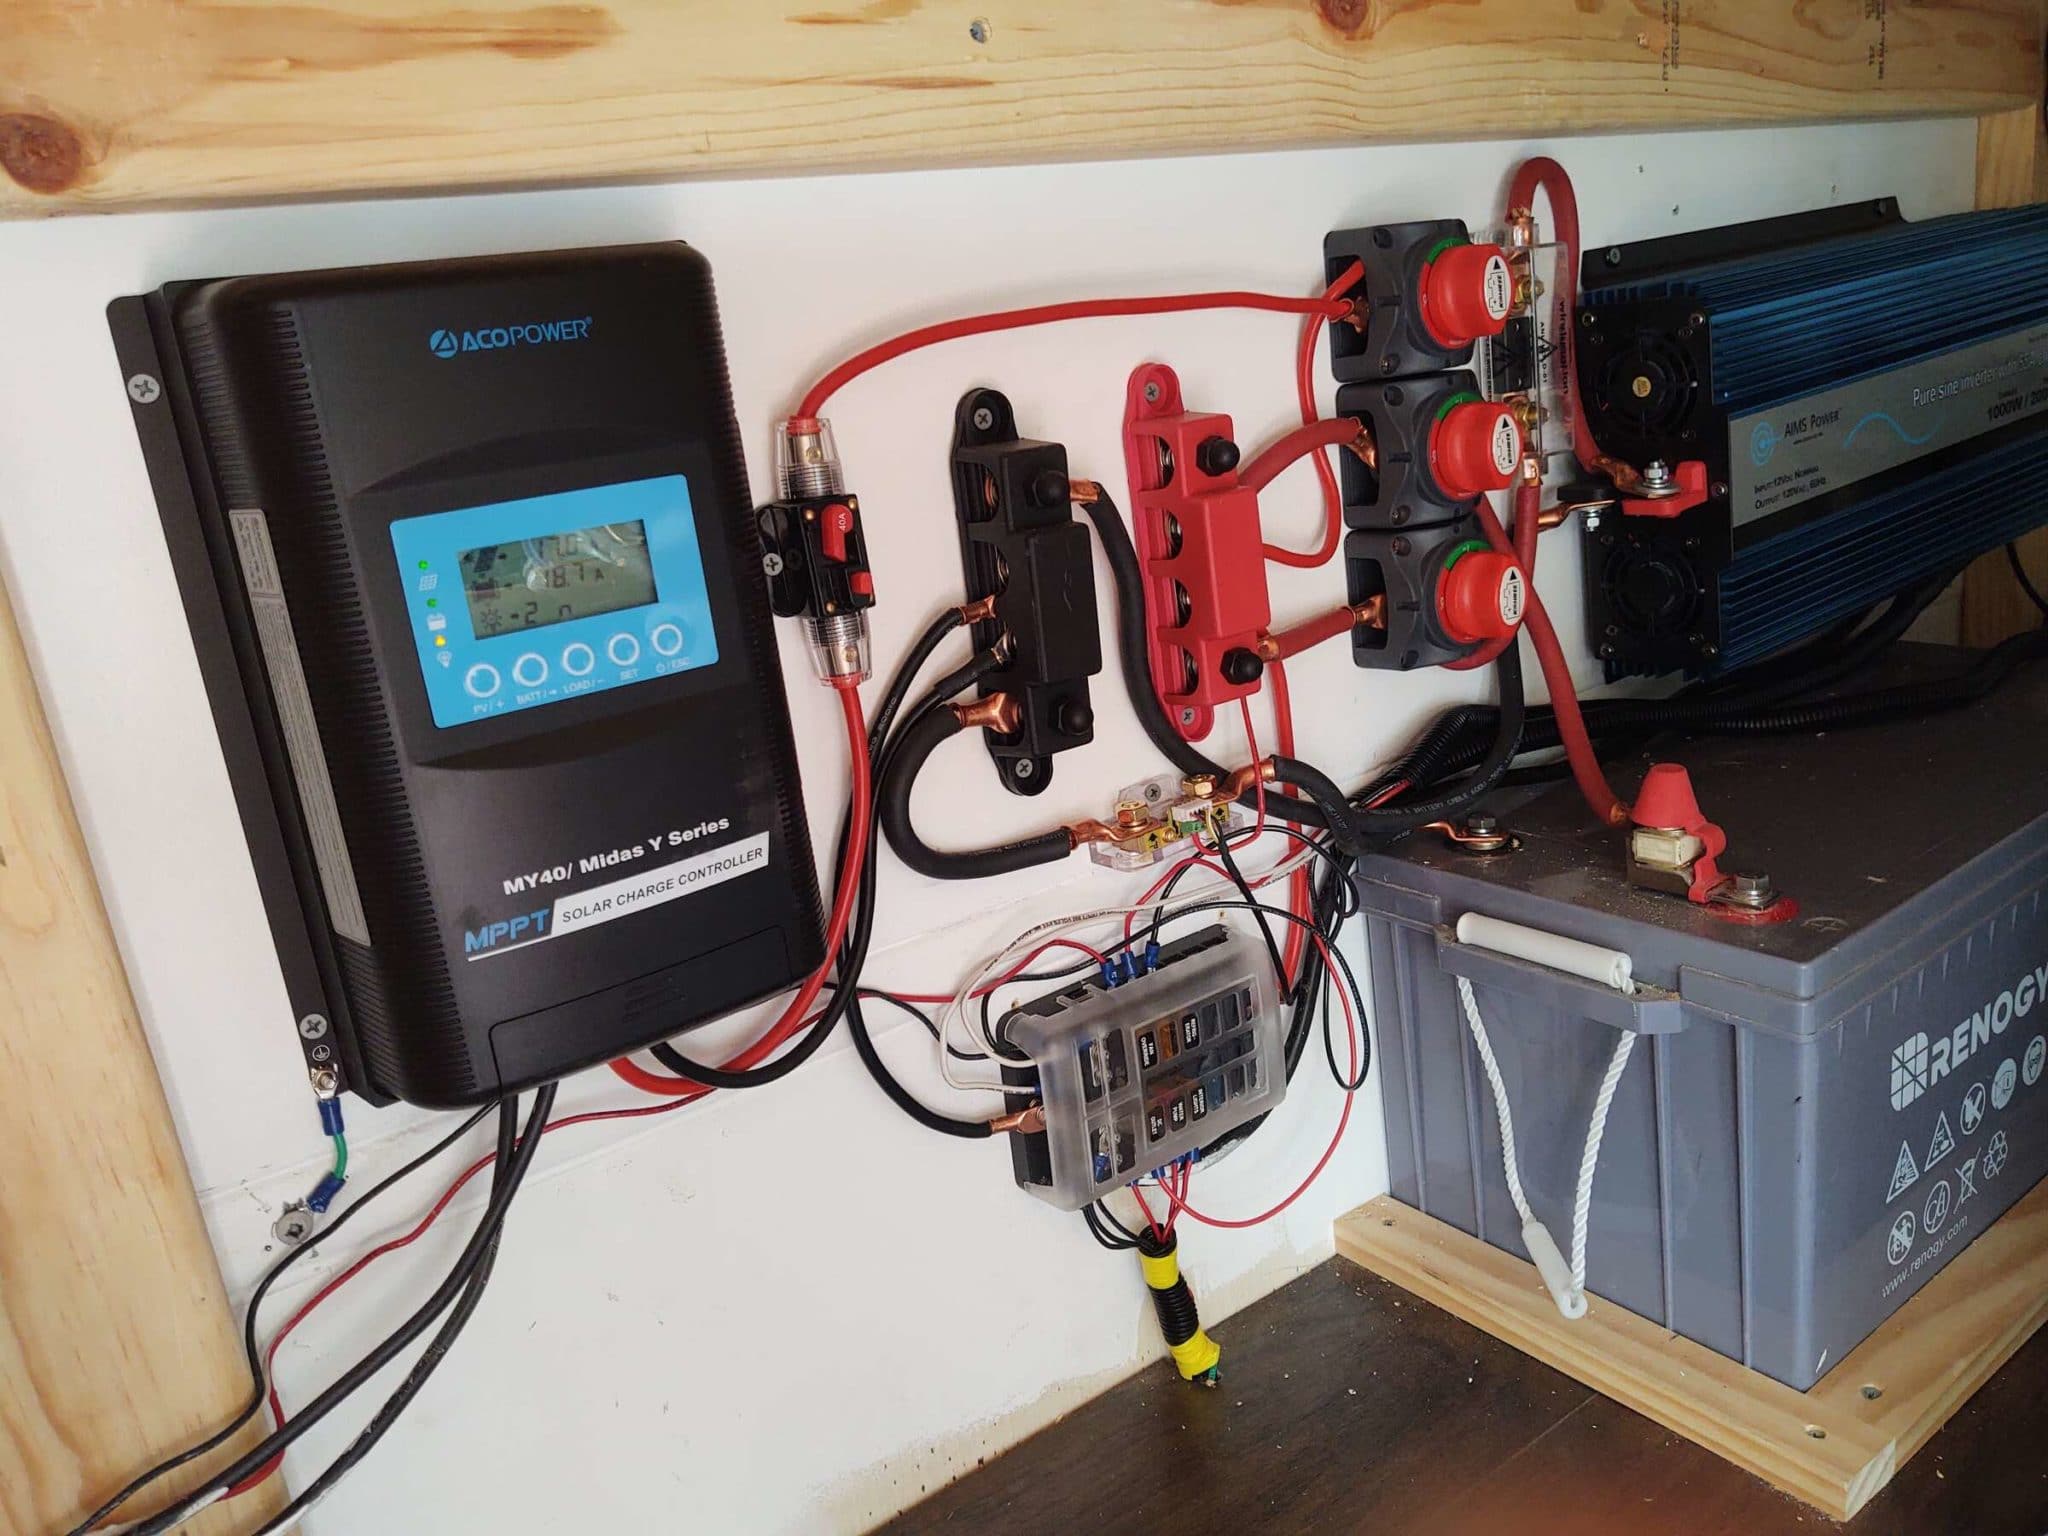
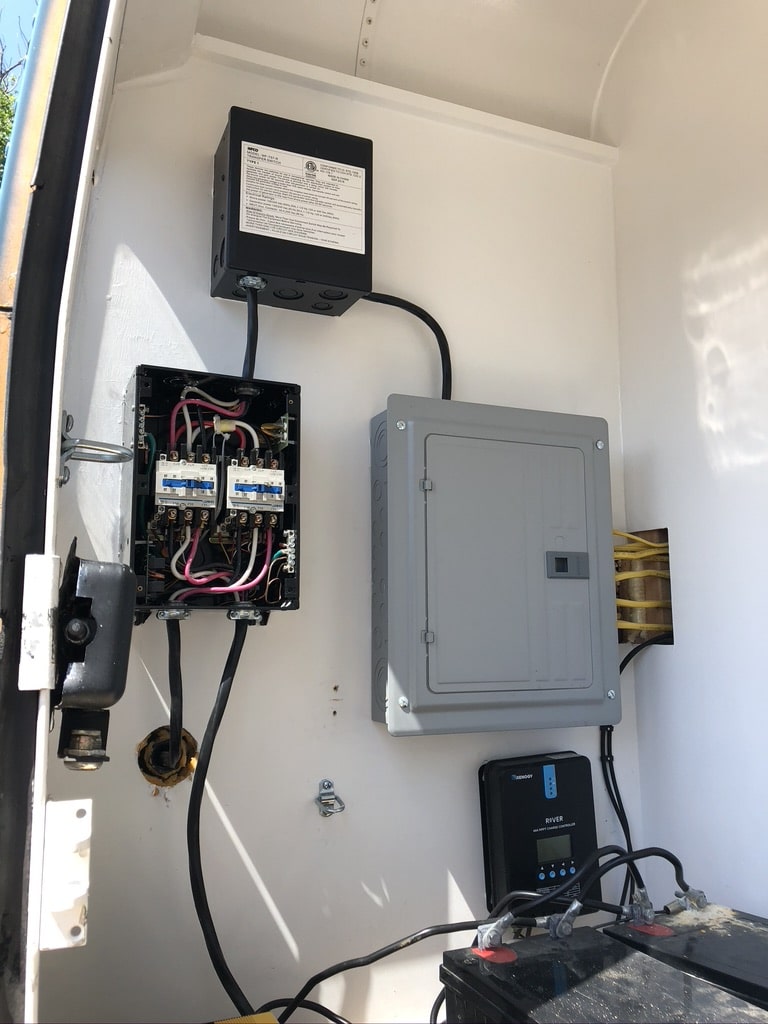
A transfer switch is the device that manages which power source is feeding your electrical panel — shore power, your generator, or your inverter. Without one, you’d have to manually switch wires around every time you changed power sources, which is both annoying and dangerous.
There are two types: manual and automatic.
A manual transfer switch is a big switch — you flip it one way for shore/generator power, the other way for inverter power. They cost $50-150 and they work. The downside is you have to remember to flip it. Plug into shore power but forget to flip the switch? Nothing happens. It’s not the end of the world, just inconvenient.
An automatic transfer switch (ATS) detects when shore power or generator power is connected and switches over automatically. When you unplug, it switches back to inverter power. These run $100-300 and they’re worth it for the convenience. Progressive Dynamics and Go Power both make popular ones for RV applications.
Now here’s where it gets interesting. Many inverter/charger combos — like the Victron MultiPlus or the Aims Power inverter/chargers — have a built-in transfer switch. When shore power is connected, the unit automatically passes that power through to your loads AND charges your batteries at the same time. When shore power disconnects, it seamlessly switches to inverter mode. No separate transfer switch needed. This is the setup I’d recommend for most builds because it simplifies wiring and gives you the smoothest experience.
I should mention something important here. Your transfer switch must be rated for the amperage you’re running. A 30-amp shore power setup needs at least a 30-amp transfer switch. And make sure it’s a break-before-make type — meaning it disconnects one source completely before connecting the other. You never want shore power and your inverter feeding the panel at the same time. That’s how you fry equipment.
Do you have a generator backup?
This was one of the most common questions I came across in my research, and the answer from experienced bus dwellers was almost always the same — yes, or I wish I did.
A generator is your insurance policy. It’s the thing that keeps your fridge cold during a week of rain, runs your AC when you’re parked somewhere without hookups, and charges your battery bank when solar isn’t producing. You won’t use it every day. Some people go months without touching theirs. But when you need it, you really need it.
The debate isn’t really whether to have a generator. It’s what kind to get.
Portable conventional generators
These are your basic open-frame generators — the kind you see at construction sites. Brands like Champion, Westinghouse, and DuroMax. They run on gasoline, they produce a lot of power for the money, and they’re LOUD. Like, 70-80 decibels loud. That’s lawn mower territory.
Pros: cheap ($300-600 for a 3,500-4,500 watt unit), high power output, widely available, easy to maintain.
Cons: loud, heavy (80-120 lbs), produce “dirty” power with voltage fluctuations that can damage sensitive electronics, burn through gas quickly (0.5-1 gallon per hour at half load).
I wouldn’t recommend these for a skoolie unless you’re on a very tight budget and only plan to use it for construction during your build. The noise alone will get you kicked out of campgrounds and make your neighbors hate you. Plus the dirty power thing is a real concern with modern electronics and appliances.
Portable inverter generators
This is what most skoolie people end up buying, and for good reason. An inverter generator produces clean, stable power (safe for electronics), runs much quieter (48-60 decibels, more like a normal conversation), and uses fuel more efficiently because the engine speed adjusts to the load.
The Honda EU2200i is basically the gold standard. It puts out 2,200 watts, weighs 47 lbs, runs at 48-57 dB, and sips fuel at about 0.12 gallons per hour at quarter load. A gallon of gas gets you 8+ hours of light use. It’ll run a mini-split AC by itself if the AC’s start-up surge isn’t too high. The catch? It costs $1,000-1,200.
Other solid options: the Yamaha EF2200iS ($1,000-1,100, comparable to the Honda), the Champion 2500-watt ($500-700, good budget pick), and the Predator 2000 from Harbor Freight ($450-500, surprisingly decent for the price). I found a lot of bus people running the Honda or the Yamaha and saying the extra money was worth it for the reliability and low noise.
Most inverter generators can be paralleled — you buy two identical units and link them together with a parallel cable to double your output. Two Honda EU2200i units give you 4,400 watts, enough to run pretty much anything. Some people start with one and add a second later if they need more power.
Built-in diesel generators
This is the premium option. A diesel generator permanently mounted to the bus, usually under the chassis or in a rear compartment. It runs off the same fuel tank as your bus engine (or its own small tank), starts with a switch from inside, and can be wired directly into your electrical system.
Brands like Cummins Onan, Generac, and Fischer Panda make units designed for mobile applications. The Onan QD series is probably the most common in the bus conversion world. A 3,600-watt diesel unit runs about $3,000-5,000 for the generator alone, plus $500-2,000 for installation depending on whether you DIY it or hire it out.
Pros: runs on diesel (same fuel as your bus, no separate gas cans to carry), very quiet at 52-60 dB, extremely reliable, auto-start capability, long lifespan (10,000-20,000+ hours).
Cons: expensive, heavy (200-400 lbs), requires professional-level installation, needs proper exhaust routing and ventilation, maintenance is more involved.
I found that most people with built-in diesel generators are either doing high-end builds ($50K+), living in their bus full-time in areas where they need AC daily, or coming from the RV world where built-in generators are standard. If you’re on a budget or doing a simpler build, a portable inverter generator gets the job done at a fraction of the cost.
PTO generators
PTO stands for power take-off. These generators connect directly to your bus engine and use the engine’s power to generate electricity while you’re driving or idling. The bus engine spins the generator through a belt or direct drive, and you get power without carrying a separate fuel supply.
This is a niche option. PTO generators are more common on work trucks and emergency vehicles than on skoolies. They cost $2,000-5,000, require significant mechanical knowledge to install, and only work when the bus engine is running. The appeal is that you’re using fuel you’re already burning (while driving), but the downsides — complexity, engine wear, noise, the fact that you can’t use it while sleeping — make it impractical for most builds.
I’d skip this unless you have a specific use case that makes sense, like you’re driving 6+ hours a day and want to be charging heavy loads the entire time. For most people, a DC-to-DC charger on the alternator accomplishes the same thing more simply.
Can you run your AC off a generator?
This is probably the most practical generator question I came across, because air conditioning is the single biggest power draw in a bus and it’s the main reason people buy generators in the first place.
The short answer is yes, but you need to size it right.
A typical mini-split AC unit for a skoolie (9,000-12,000 BTU) draws 800-1,200 watts while running. But here’s the thing that trips people up — the startup surge. When the compressor kicks on, it can pull 2,000-3,000 watts for a split second. If your generator can’t handle that surge, it’ll trip the overload protection and shut down. Your AC never starts, and you’re sitting there sweating, hitting the reset button.
A 2,200-watt inverter generator like the Honda EU2200i can handle most mini-splits, especially the newer inverter-type AC units that have soft-start compressors with much lower surge current. I found several people running a 12,000 BTU mini-split off a single EU2200i without issues. But a few people with older or cheaper AC units said they needed to parallel two generators or step up to a 3,000-watt unit.
One guy I came across in a forum was in Florida with a 1.5-ton mini-split and needed his AC running up to 16 hours a day while he was at work, for his pets. He went with a 3,500-watt inverter generator and said it handled it fine, but at half-load it was burning about half a gallon of gas per hour. That’s 8 gallons a day. At $3.50 a gallon, that’s almost $30 a day just in fuel. Over a month, that’s nearly $900. That kind of math is why a lot of people in hot climates either invest in a built-in diesel generator (much better fuel efficiency) or just plan to be at RV parks with shore power during the summer months.
So can you run AC off a generator? Absolutely. Should you plan on doing it every day? Probably not, unless you’ve got the fuel budget or a very efficient setup. Most people use their generator for AC during occasional heat waves or when boondocking for a few days, and rely on shore power or strategic parking (shade, elevation, coastal areas) the rest of the time.
What wattage generator do you need for a skoolie?
Sizing a generator is the same basic exercise as sizing any power system — add up what you want to run simultaneously and make sure the generator can handle it, including startup surges.
Here’s a rough guide based on typical skoolie loads:
Light use (battery charging, fridge, lights, electronics): 1,000-2,000 watts. A small inverter generator handles this easily. You’re basically just topping off your battery bank and running minimal loads. This is the “I only need it on cloudy days” setup.
Medium use (everything above plus a mini-split AC): 2,200-3,000 watts. This is where the Honda EU2200i or Yamaha EF2200iS lives. You can run your AC and charge batteries simultaneously, though you might not have much headroom for other high-draw appliances while the AC is running.
Heavy use (AC plus microwave, plus battery charging, plus other loads): 3,000-4,500 watts. If you want to run everything without thinking about what’s on and what’s off, step up to a 3,000+ watt inverter generator or parallel two smaller units. The Honda EU3000is ($2,000-2,400) is popular for this range.
Full-time off-grid in extreme climate: 4,500+ watts or a built-in diesel unit. If you’re running a large AC, an electric water heater, and heavy loads daily, you’re in territory where a portable generator becomes impractical from a fuel and noise standpoint. This is where people start looking at diesel generators or just accepting that they need shore power most of the time.
The mistake I see people make most often is buying too small. A 1,000-watt generator sounds great until you try to run your AC on a 95-degree day and it shuts down. Buy for your peak realistic use case, not your minimum. You can always run a big generator at partial load (and it’ll be quieter and more fuel-efficient when you do), but you can’t squeeze more watts out of a small one.
So ideally speaking, where would the best place for a generator be on a school bus conversion?
Generator placement matters more than most people think, for three reasons: noise, exhaust fumes, and accessibility.
For portable generators, the most common spots are a rear bumper rack or tray, a slide-out tray mounted under the bus near the rear axle, or an exterior storage compartment (like the original school bus baggage bay if your bus has one). I’ve also seen people build custom steel boxes that hang under the rear of the bus with a drop-down door.
A rear bumper rack is the simplest option. Weld or bolt a steel platform to the rear bumper, set your generator on it, and strap it down with ratchet straps or a locking bracket. Cost: $50-150 in materials if you DIY the rack. The downsides are that it’s exposed to road grime and weather (a cover helps), and it puts the generator’s exhaust right at the back of the bus — which is actually fine since the exhaust blows behind you, not into the bus.
Under-bus slide-out trays are cleaner and more secure. You mount rails under the bus and the generator sits on a tray that slides out for use. When you’re driving, it’s tucked up underneath and out of sight. This is a nicer setup but takes more fabrication work.
Here’s the critical thing about placement: exhaust and ventilation. You cannot run a generator in an enclosed space. Carbon monoxide will kill you. Period. If you’re mounting a generator in a compartment, that compartment needs ventilation openings and the exhaust must be routed to the outside, away from any windows or air intakes. This goes for built-in diesel generators too — they need proper exhaust piping and ventilation, just like the bus engine itself.
I’d also think about noise direction. Sound travels, and if your generator is right under your bedroom, you’ll hear it no matter how quiet the spec sheet says it is. Mounting it toward the rear of the bus puts the most distance between you (assuming you sleep toward the front or middle) and the noise source.
Why didn’t you just use the car battery and the alternator for electricity?
This question comes up constantly, and it’s a fair one. Your bus has a big engine with a big alternator already. Why not just use that?
Well, you can. And you should — partially. Alternator charging is one of the best supplementary power sources available to a bus conversion. The concept is simple: while you’re driving, the engine’s alternator is already spinning and producing electricity. A DC-to-DC charger (also called a battery-to-battery charger or B2B charger) takes power from the alternator and uses it to charge your house battery bank.
Popular units include the Victron Orion-Tr Smart (30A, about $200-250), the Renogy 40A DC-DC charger ($200-250), and the Sterling Power BB1260 (60A, $300-400). You wire them between your chassis battery (the one that starts the bus) and your house battery bank, and they manage the charging automatically.
A 40-amp DC-to-DC charger puts about 40 amps into your house batteries while you’re driving. At 12V, that’s roughly 480 watts. Over a 4-hour drive, that’s about 160 amp-hours into your battery bank — enough to fully charge a 200Ah lithium battery from 20%. That’s significant. For people who drive regularly, alternator charging alone can keep their batteries topped off without touching their solar or generator.
But here’s why you can’t JUST use the alternator and skip everything else. The alternator only works when the engine is running. If you’re parked for three days at a campsite, your alternator isn’t doing anything. And you absolutely should not idle your bus engine just to charge batteries — it wastes fuel ($3-5 per hour in diesel), it’s terrible for the engine (diesel engines don’t like extended idling, it causes fuel dilution in the oil and carbon buildup), and it’s obnoxiously loud.
There’s also a limit to how much power you can pull from the alternator without overloading it. Most school bus alternators are rated for 130-200 amps, but they’re already powering the bus’s own electrical needs (headlights, air brakes, dash electronics). You don’t want to pull more than 40-60 amps for house battery charging on top of that, or you risk overheating the alternator and shortening its life.
Some people upgrade to a higher-output alternator (200-300 amp units from Nations or Mechman) to get more charging capacity. That’s a $300-600 upgrade plus installation, and it makes sense if alternator charging is a major part of your power strategy. But it’s still not a replacement for solar, shore power, or a generator — it’s a supplement.
Why the generator when you can connect the lights and other electric appliances to the bus engine?
This is a slightly different angle on the alternator question, and I think the confusion comes from not understanding the difference between what an alternator does and what a generator does.
Your bus alternator produces 12V DC power. That’s great for charging batteries, running 12V LED lights, and powering 12V appliances. But most of the things you want to run in a bus — a microwave, a mini-split AC, a hair dryer, a coffee maker, power tools — need 120V AC power. Getting from 12V DC to 120V AC requires an inverter, and inverters have limits based on your battery bank size and the inverter’s wattage rating.
A generator produces 120V AC power directly. Plug it in, turn it on, and you’ve got household-style electricity. No inverter needed, no battery draw, no worrying about your state of charge.
So the engine’s alternator is great for keeping batteries charged, but it can’t directly power your AC appliances. You still need either an inverter (powered by batteries that the alternator helps charge) or a generator (which produces AC power on its own). Most builds use both — the alternator charges the batteries while driving, the inverter runs things from the batteries when parked, and the generator steps in when the batteries need a boost or you’re running heavy loads that would drain the bank too fast.
How do you combine solar, generator, and shore power?
This is where system design gets interesting, and honestly where I spent the most time trying to understand how it all fits together. The good news is that the components are designed to work together — you just have to wire them correctly.

Here’s how a typical multi-source system flows:
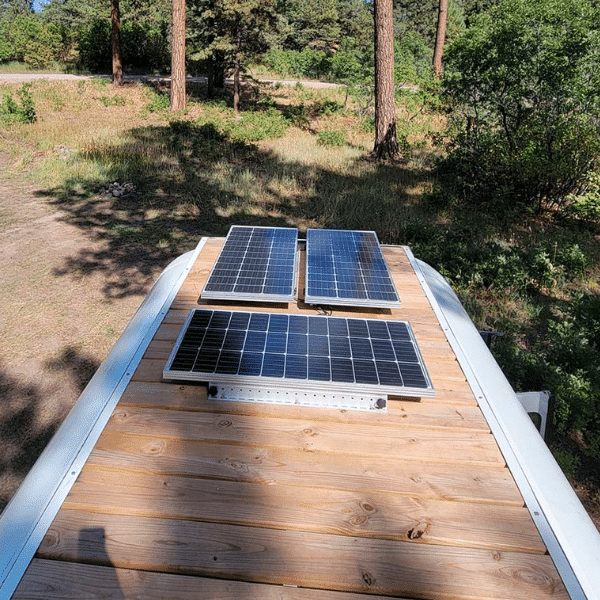
Solar panels go through a charge controller and into your battery bank. This is your primary charging source and runs silently all day.
Alternator charging goes through a DC-to-DC charger and into the same battery bank. This charges while you drive.
Shore power and generator come in through the power inlet, through a transfer switch (or inverter/charger with built-in transfer), and either charge the battery bank through the charger AND power your AC loads directly, or just power your AC loads while the batteries handle 12V stuff.
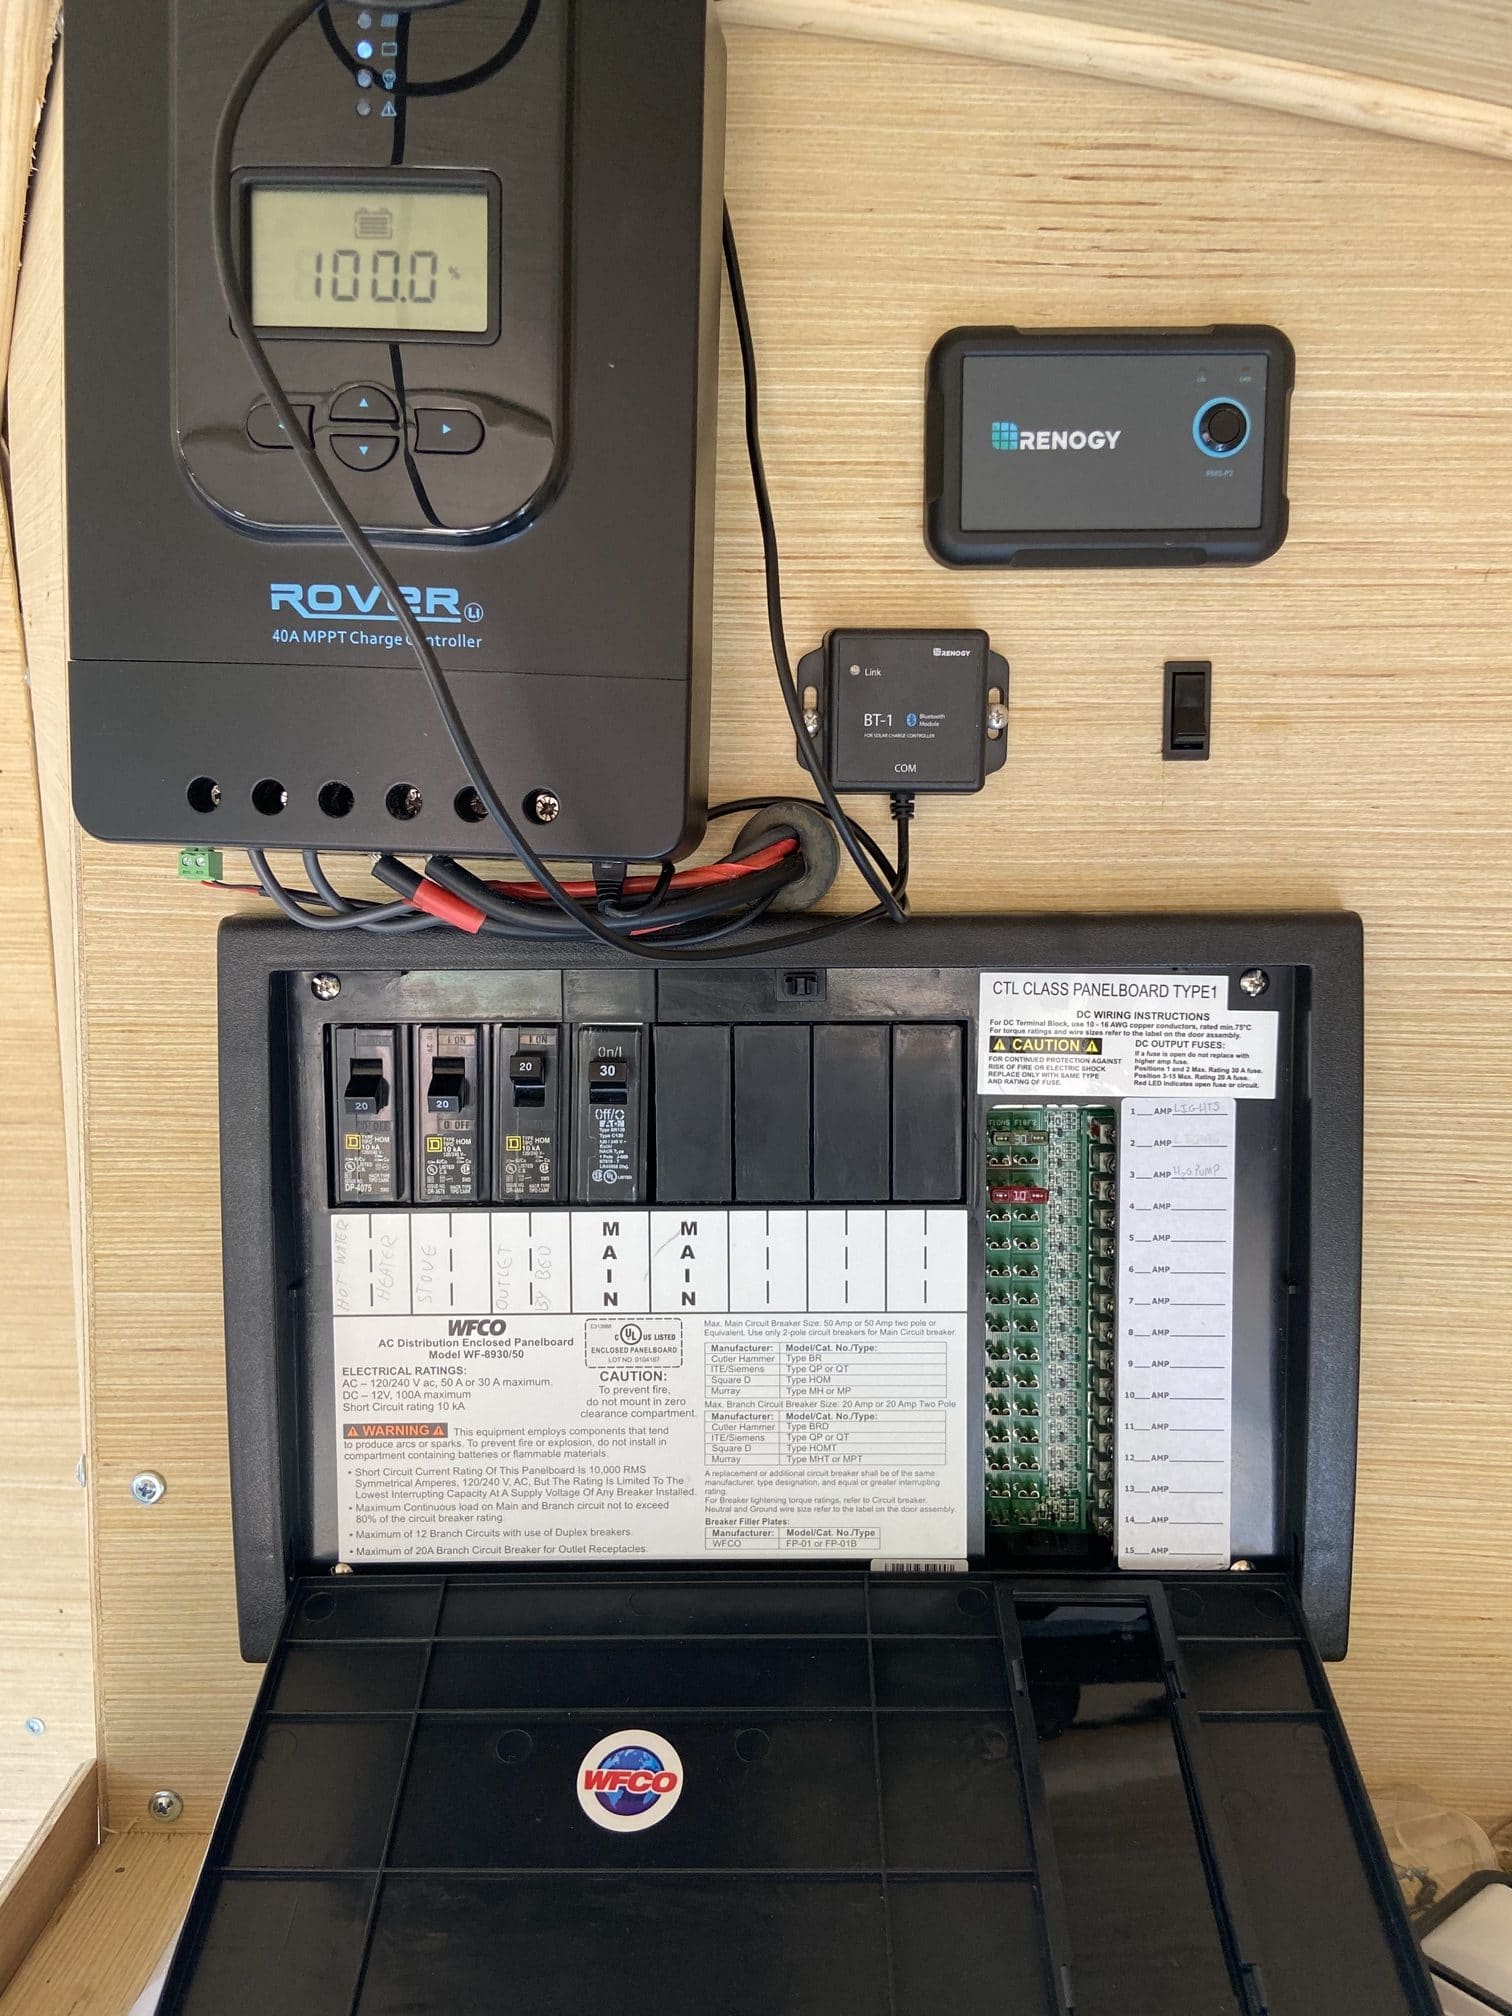
The key component that ties everything together is an inverter/charger combo. This is a single unit that does three jobs: it inverts battery power to 120V AC for your appliances, it charges your batteries from shore power or generator power, and it acts as a transfer switch between sources.
The Victron MultiPlus is the most popular choice in the skoolie world. The 3000VA/12V model ($900-1,200) handles most builds. When you’re on battery power, it inverts 12V to 120V. When you plug into shore power or start a generator, it automatically switches to pass-through mode and starts charging your batteries simultaneously. When you disconnect, it switches back to inverter mode. All seamless, all automatic.
Other options include the Aims Power 3000W inverter/charger ($600-800), the Xantrex Freedom XC ($700-900), and the Magnum Energy MS series ($800-1,200). They all do roughly the same thing with different features and build quality.
The beauty of this setup is redundancy. Solar not producing? Alternator charges while you drive. Parked for a week with no sun? Plug into shore power. No campground nearby? Run the generator for a few hours to top off the batteries. You’re never stuck with zero options unless everything fails at once, and that just doesn’t happen with a properly built system.
What about a wind generator?
Someone asked about small wind generators and I did look into this. There are small turbine units designed for boats and RVs — brands like Primus and Automaxx make units in the 400-600 watt range for $300-600.
Honestly? I wouldn’t bother. Wind generators on a vehicle are impractical for a few reasons. They need to be mounted high enough to catch consistent wind, which means a pole or mast on the roof that you’d have to take down before driving. They’re noisy — even small turbines produce a constant whirring. They don’t produce much power unless you’re in a consistently windy location. And they’re one more thing that can break, vibrate loose, or attract attention.
The people I found who tried wind generators on buses almost universally said the output wasn’t worth the hassle. A single extra solar panel gives you more reliable power for less money and zero moving parts. The one exception might be if you’re parked long-term on the coast where it’s consistently windy and often overcast — but even then, a small generator is a simpler solution.
How much does each option cost compared to the others?
Let me lay this out so you can compare apples to apples. These are typical costs for a skoolie-appropriate setup, including basic installation materials.
Shore power setup (30 amp):
- 30A power inlet: $20-40
- 25-50 ft shore power cord: $40-80
- Transfer switch (if not using inverter/charger): $100-250
- Wiring, breakers, connectors: $50-100
- Total: $200-470
Portable inverter generator (mid-range):
- Honda EU2200i or equivalent: $800-1,200
- Mounting rack or tray: $50-200
- Power cord and connections: $30-50
- Total: $880-1,450
Built-in diesel generator:
- Cummins Onan or equivalent: $3,000-5,000
- Installation (mounting, exhaust, wiring): $500-2,000
- Transfer switch and connections: $200-400
- Total: $3,700-7,400
Alternator charging setup:
- DC-to-DC charger (40-60A): $200-400
- Wiring (4 AWG or thicker): $50-100
- Fuses and disconnects: $30-50
- Total: $280-550
Inverter/charger combo (ties everything together):
- Victron MultiPlus 3000VA or equivalent: $800-1,200
- If you use this, you can subtract the transfer switch cost from your shore power setup
For perspective, a complete multi-source power system — solar, alternator charging, shore power, AND a portable generator — runs about $4,000-7,000 total including the solar components. That sounds like a lot, but it covers every scenario and the solar portion pays for itself over time since you’re not buying fuel or paying for campground hookups.
When do you actually need each power source?
After going through all of this, I wanted to put together a practical breakdown of when each option makes the most sense. Because you don’t always need everything.
Shore power makes sense when:
- You’re at an RV park or campground with hookups
- You need to run heavy loads for extended periods (AC all day, charging everything)
- You’re doing initial setup or construction on your bus and need reliable power
- You’re stationary for weeks or months and want unlimited power without fuel costs
A generator makes sense when:
- You’re boondocking and solar isn’t keeping up
- You need to run AC and don’t have hookups
- You hit a stretch of bad weather and your batteries are getting low
- You need construction power during your build (before solar is installed)
- Emergency backup when everything else fails
Alternator charging makes sense when:
- You drive regularly (a few times a week or more)
- You want passive charging that requires zero effort
- You need to supplement solar on travel days
- You’re making a long drive and want to arrive with full batteries
Solar alone is enough when:
- You’re in a sunny climate with 4+ hours of daily sun
- Your daily power consumption is moderate (2-3 kWh)
- You’re not running AC or other high-draw appliances regularly
- You have enough battery storage to handle 1-2 cloudy days
Most full-time bus dwellers I’ve talked to or read about use this combination: solar as the daily workhorse, alternator charging as a passive supplement on driving days, shore power when they’re at a campground, and a generator as the emergency backup they hope they rarely need. That covers basically every scenario.
Noise considerations — will your generator get you kicked out of campgrounds?
Noise is a real issue with generators, and I didn’t fully appreciate this until I dug into it. Campgrounds have quiet hours, usually 10 PM to 7 or 8 AM. Some have strict generator rules — specific hours when you can run them, maximum decibel limits, or outright bans.
National forests and BLM land are more relaxed, but your neighbors will still give you dirty looks if you’re running a screaming open-frame generator at 75 dB while they’re trying to enjoy nature.
Here’s a rough noise comparison:
- Normal conversation: 60 dB
- Honda EU2200i at rated load: 57 dB
- Honda EU2200i at quarter load: 48 dB
- Champion 2500W inverter generator: 53-58 dB
- Conventional open-frame generator: 70-80 dB
- Built-in diesel generator (Onan QD): 52-58 dB
The difference between 48 dB and 75 dB is enormous in practical terms. Decibels are logarithmic — every 10 dB increase sounds roughly twice as loud. An inverter generator at quarter load barely sounds like anything from 20 feet away. A conventional generator at the same distance sounds like a running lawnmower.
This is the single biggest reason to spend the extra money on a quality inverter generator. The Honda, Yamaha, and even the mid-range Champions are dramatically quieter than cheap open-frame units. Your neighbors matter, especially when you’re all parked 20 feet apart.
Some additional noise-reduction tips I picked up: build a small baffle box around the generator (plywood with sound-deadening material, making sure to maintain airflow), point the exhaust away from neighboring campsites, put the generator on a rubber mat to absorb vibration, and run it during daytime hours when ambient noise masks it. And if someone asks you to turn it off? Just turn it off. Community goodwill is worth more than a charged battery.
Fuel consumption — how much will a generator actually cost to run?
This is the question that determines whether a generator is a minor expense or a major ongoing cost. I worked through the math for a few scenarios.
Honda EU2200i (gasoline):
- Quarter load (550W): 0.12 gal/hr, ~8.1 hours per gallon
- Half load (1,100W): 0.22 gal/hr, ~4.5 hours per gallon
- Full load (2,200W): 0.54 gal/hr, ~1.8 hours per gallon
- At $3.50/gallon: $0.42-1.89/hour depending on load
Larger 3,500W inverter generator (gasoline):
- Quarter load: 0.15 gal/hr
- Half load: 0.35 gal/hr
- Full load: 0.65 gal/hr
- At $3.50/gallon: $0.53-2.28/hour
Built-in diesel generator (Onan QD 3.6):
- Half load: 0.16 gal/hr
- Full load: 0.29 gal/hr
- At $3.80/gallon diesel: $0.61-1.10/hour
Diesel is more expensive per gallon but diesel generators are significantly more fuel-efficient. Over time, the diesel generator costs less per kilowatt-hour generated. But you’re paying a huge premium upfront.
Let me put this in practical terms. If you run your Honda EU2200i for 3 hours a day at half load to charge batteries and run your AC during a hot stretch, that’s about 0.66 gallons per day, or $2.31 per day. Do that for 30 days and you’re at $69 for the month. Compare that to a campground with hookups at $30-50 per night ($900-1,500/month) and the generator looks pretty good.
But if you’re running a generator 8+ hours daily like that guy in Florida with his pets, you’re looking at $200+ per month in fuel. At that point, the economics shift toward shore power hookups or a more efficient diesel generator.
Generator safety and venting — this is the stuff that can kill you
I need to be blunt about this because carbon monoxide poisoning kills people every year in RVs and enclosed spaces. A generator produces carbon monoxide (CO) as an exhaust byproduct, and CO is odorless and invisible. You won’t know it’s accumulating until you feel sick, and by then you might be too confused to do anything about it.

Rules that are non-negotiable:
Never run a generator inside an enclosed space. Not inside the bus, not in a sealed compartment, not in a closed garage. It doesn’t matter if “just the door is open.” If a generator is running, its exhaust needs to vent completely to the outside air.
Install carbon monoxide detectors. At least two — one near floor level (CO is slightly lighter than air but tends to accumulate where air is stagnant) and one near your sleeping area. Battery-powered, not hardwired, so they work even when your electrical system is down. Test them regularly. $20-30 each. This is the cheapest life insurance you’ll ever buy.
If you’re mounting a generator in an exterior compartment or under the bus, route the exhaust with proper exhaust pipe and make sure it terminates away from any windows, doors, or air intakes. Check the exhaust routing regularly for leaks or damage.
Keep the generator away from open windows. Even a portable generator sitting on your rear bumper can be a problem if exhaust drifts forward into an open window when the wind is calm. Be aware of wind direction and close nearby windows when the generator is running.
This is also true for shore power connections, by the way — not the CO risk, but the electrical safety risk. Make sure your inlet is properly grounded, your wiring is the correct gauge for the amperage, and you’re using a surge protector or EMS (Electrical Management System) between the campground pedestal and your bus. Campground electrical pedestals can have miswired outlets, low voltage, or voltage spikes. A Progressive Industries EMS ($250-350) monitors the incoming power and disconnects if it detects a problem. It protects your entire electrical system and I’ve heard enough horror stories about fried inverters and melted wiring to think it’s a worthwhile investment.
What about an inverter/charger combo — is that different from a regular inverter?
Yes, and this distinction tripped me up initially. A regular inverter takes 12V DC from your batteries and converts it to 120V AC for your appliances. That’s all it does. A pure sine wave inverter in the 2,000-3,000 watt range costs $200-500.

An inverter/charger does that same inversion, but ALSO works in reverse — when shore power or generator power is connected, it converts that 120V AC into DC power to charge your batteries. And most of them include a built-in automatic transfer switch.
So instead of buying three separate components (inverter + battery charger + transfer switch), you buy one unit that does all three. It costs more upfront — a Victron MultiPlus 3000VA runs $900-1,200 compared to a standalone inverter at $300-400 — but you save on the other two components and you get a cleaner, simpler installation with fewer failure points.
I found that the people who went with standalone inverters usually ended up wishing they’d spent the extra money on an inverter/charger. The convenience of automatic switching and integrated charging is hard to beat. If you’re planning to use shore power regularly or own a generator, the inverter/charger combo is the way to go.
The Victron MultiPlus is the most recommended unit in the skoolie community. Other good options include the Victron EasySolar (which also includes a solar charge controller), the Magnum Energy MS2812 ($800-1,000), and the Xantrex Freedom XC 2000 ($700-900). Size your inverter/charger based on your peak load — 3,000W handles most builds, but if you’re running multiple heavy appliances simultaneously, look at the 3,000-5,000W range.
Putting it all together — what I’d recommend for different budgets
After going through all of this research, here’s where I landed for different types of builds.
Budget build ($300-500 for non-solar power): 30-amp shore power inlet with a manual transfer switch, plus an alternator DC-to-DC charger. Skip the generator for now. Use shore power when available and alternator charging while driving. If you need a generator later, grab a Harbor Freight Predator 2000 ($450-500). This covers your basics and you can upgrade over time.
Mid-range build ($1,200-2,500 for non-solar power): 30-amp shore power inlet with a Victron MultiPlus or similar inverter/charger (built-in transfer switch and battery charging), a 40A DC-to-DC alternator charger, and a Honda EU2200i or Yamaha EF2200iS portable generator. This is the sweet spot. You’ve got every power source covered, everything integrates nicely, and the inverter/charger handles the switching automatically.
High-end build ($4,000-8,000+ for non-solar power): 50-amp shore power setup, Victron MultiPlus or EasySolar, 60A DC-to-DC charger with upgraded alternator, built-in Onan diesel generator, and a Progressive Industries EMS for surge protection. This is the “I never want to think about power” setup. Flip a switch and everything works. It’s expensive but for full-time living in varied climates, it’s the most comfortable option.
Whatever you choose, start with the basics — shore power inlet and alternator charging — and add from there. Those two are cheap, easy to install, and immediately useful. A generator is the next logical addition, and you can take your time shopping for the right one while those other systems cover you in the meantime.
The whole point of having multiple power sources is that no single one has to do everything. Solar handles most days, the alternator helps while you drive, shore power is there when you find it, and the generator fills in the gaps. Together they’re bulletproof. That redundancy is what makes bus living practical year-round, in any climate, in any season. And honestly, once you’ve got all of it wired up and working, you stop thinking about power almost entirely. Which is exactly the point.