
You bought the bus. You’ve got a Pinterest board full of ideas and a YouTube playlist 200 videos deep. You’re ready to start ripping out seats. But before you do, let’s talk about the mistakes that trip up almost every first-timer, so you don’t have to learn them the expensive way.
The most common skoolie builder mistakes come down to skipping the unsexy stuff: not checking weight limits, ignoring insulation details, choosing the wrong flooring, forgetting to budget for mechanical repairs, and building without a plan for appliance access. These aren’t small oversights. Any one of them can cost you thousands of dollars and months of rework.
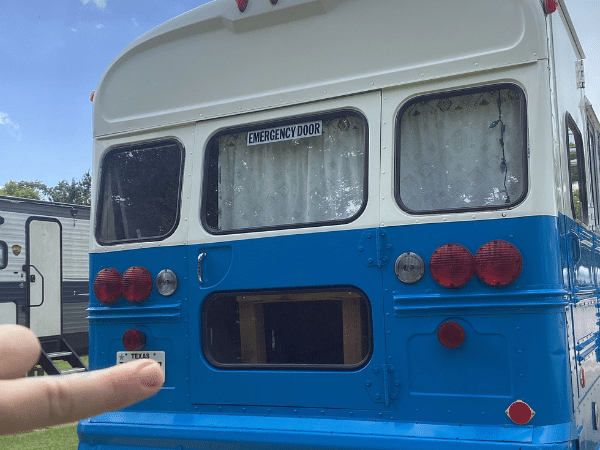
1. Not Checking Weight Limits Before You Build
“How much weight can those busses hold?”
“How do you know you are not exceeding a certain weight for the bus?”
Alright, this is the one that has the potential to wreck your entire build, and almost nobody talks about it early enough.
Every bus has a Gross Vehicle Weight Rating (GVWR). That’s the maximum total weight the chassis, suspension, brakes, and tires are designed to handle. A typical full-size school bus has a GVWR around 29,000-36,000 lbs, and the bus itself weighs roughly 17,000-24,000 lbs empty. That means you’ve got somewhere between 8,000 and 15,000 lbs to play with for your entire build plus all your stuff plus passengers plus water.
Sounds like a lot, right? It’s not. Real wood cabinets, tile floors, a full water tank (water weighs about 8.3 lbs per gallon, so a 100-gallon tank is 830 lbs right there), granite countertops, a washer/dryer — it adds up terrifyingly fast. I actually watched a guy at a meetup drive his bus onto a CAT scale for the first time and go completely white. He was 4,000 lbs over his GVWR. Four thousand. He’d built this gorgeous interior with real butcher block counters and a cast iron tub, and now he had to rip half of it out.
“It sure seems like all the 2×4 framing would add a lot of weight to the chassis springs. Was the extra weight manageable?”
So how do you avoid this? Weigh your bus before you start. Know your GVWR. Track every material you add on a spreadsheet. And get the bus on a CAT scale when you’re done to verify. I keep saying this to people and I know it sounds tedious, but skipping it means blown tires, worn-out brakes, and a bus that handles like a shopping cart in a hurricane. We’ve got a full breakdown of how to calculate and manage your GVWR if you want the detailed version.
2. Skipping or Cheapening the Insulation
“Can you or do you have insulation for very cold weather? Or is this just for warm climate?”
“Very talented man. Only problem is the insulation in the bus. Fibreglass is dangerous is it not?”
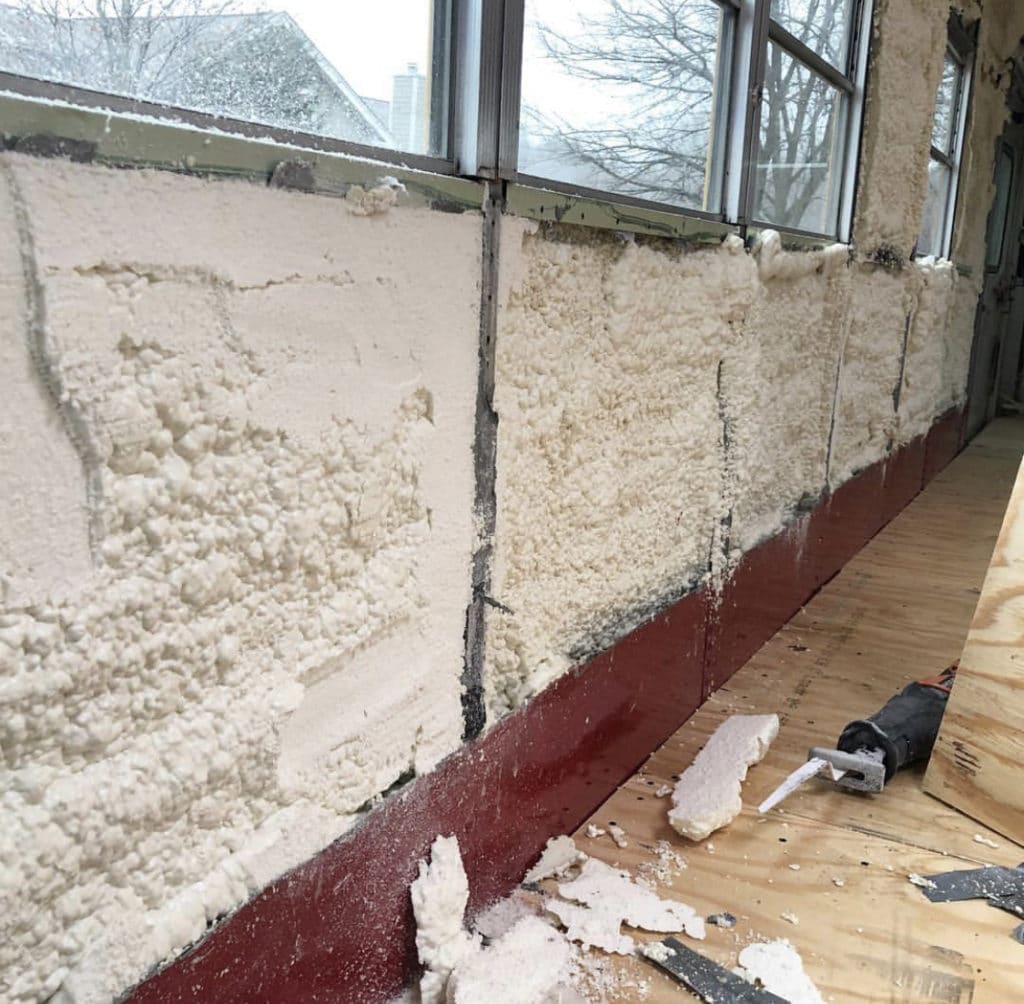
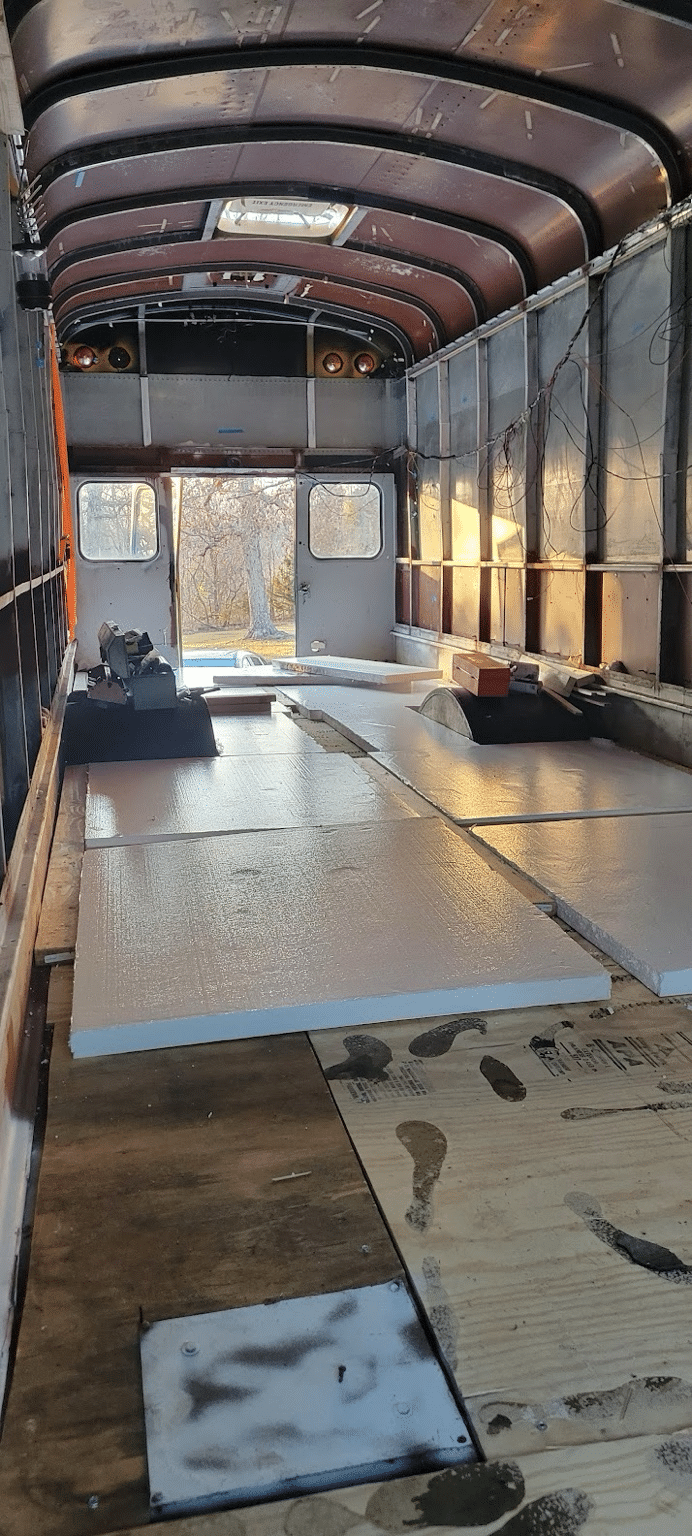
Here’s where people get tripped up. You’re standing inside this metal tube, and you think “I’ll throw some fiberglass batts in the walls and call it good.” Don’t.
A school bus is a steel box. Steel conducts temperature like crazy. Without proper insulation and a vapor barrier, you’re going to get condensation between your walls and the metal skin. That condensation leads to mold, and mold in a bus wall is a nightmare to fix because you have to tear everything back out.
“Where is the vapor barrier? Hope for the owners that this will hold up without mold in cold or hot/humid weather.”
So what should you do? Closed-cell spray foam is the gold standard for bus builds. It insulates, it creates a vapor barrier, and it sticks directly to the metal. It’s more expensive than fiberglass or rigid foam board, but it solves three problems at once. If spray foam is out of your budget, rigid foam board with properly sealed seams is your next best bet. We cover all the options in our complete guide to insulating a school bus.
Now, I’m not saying you can’t use fiberglass, but you need to understand what you’re signing up for. It absorbs moisture, it sags over time in a vehicle that vibrates constantly, and it doesn’t bond to curved metal surfaces well. Most experienced builders will tell you: spend the money on insulation. You’ll never regret it.
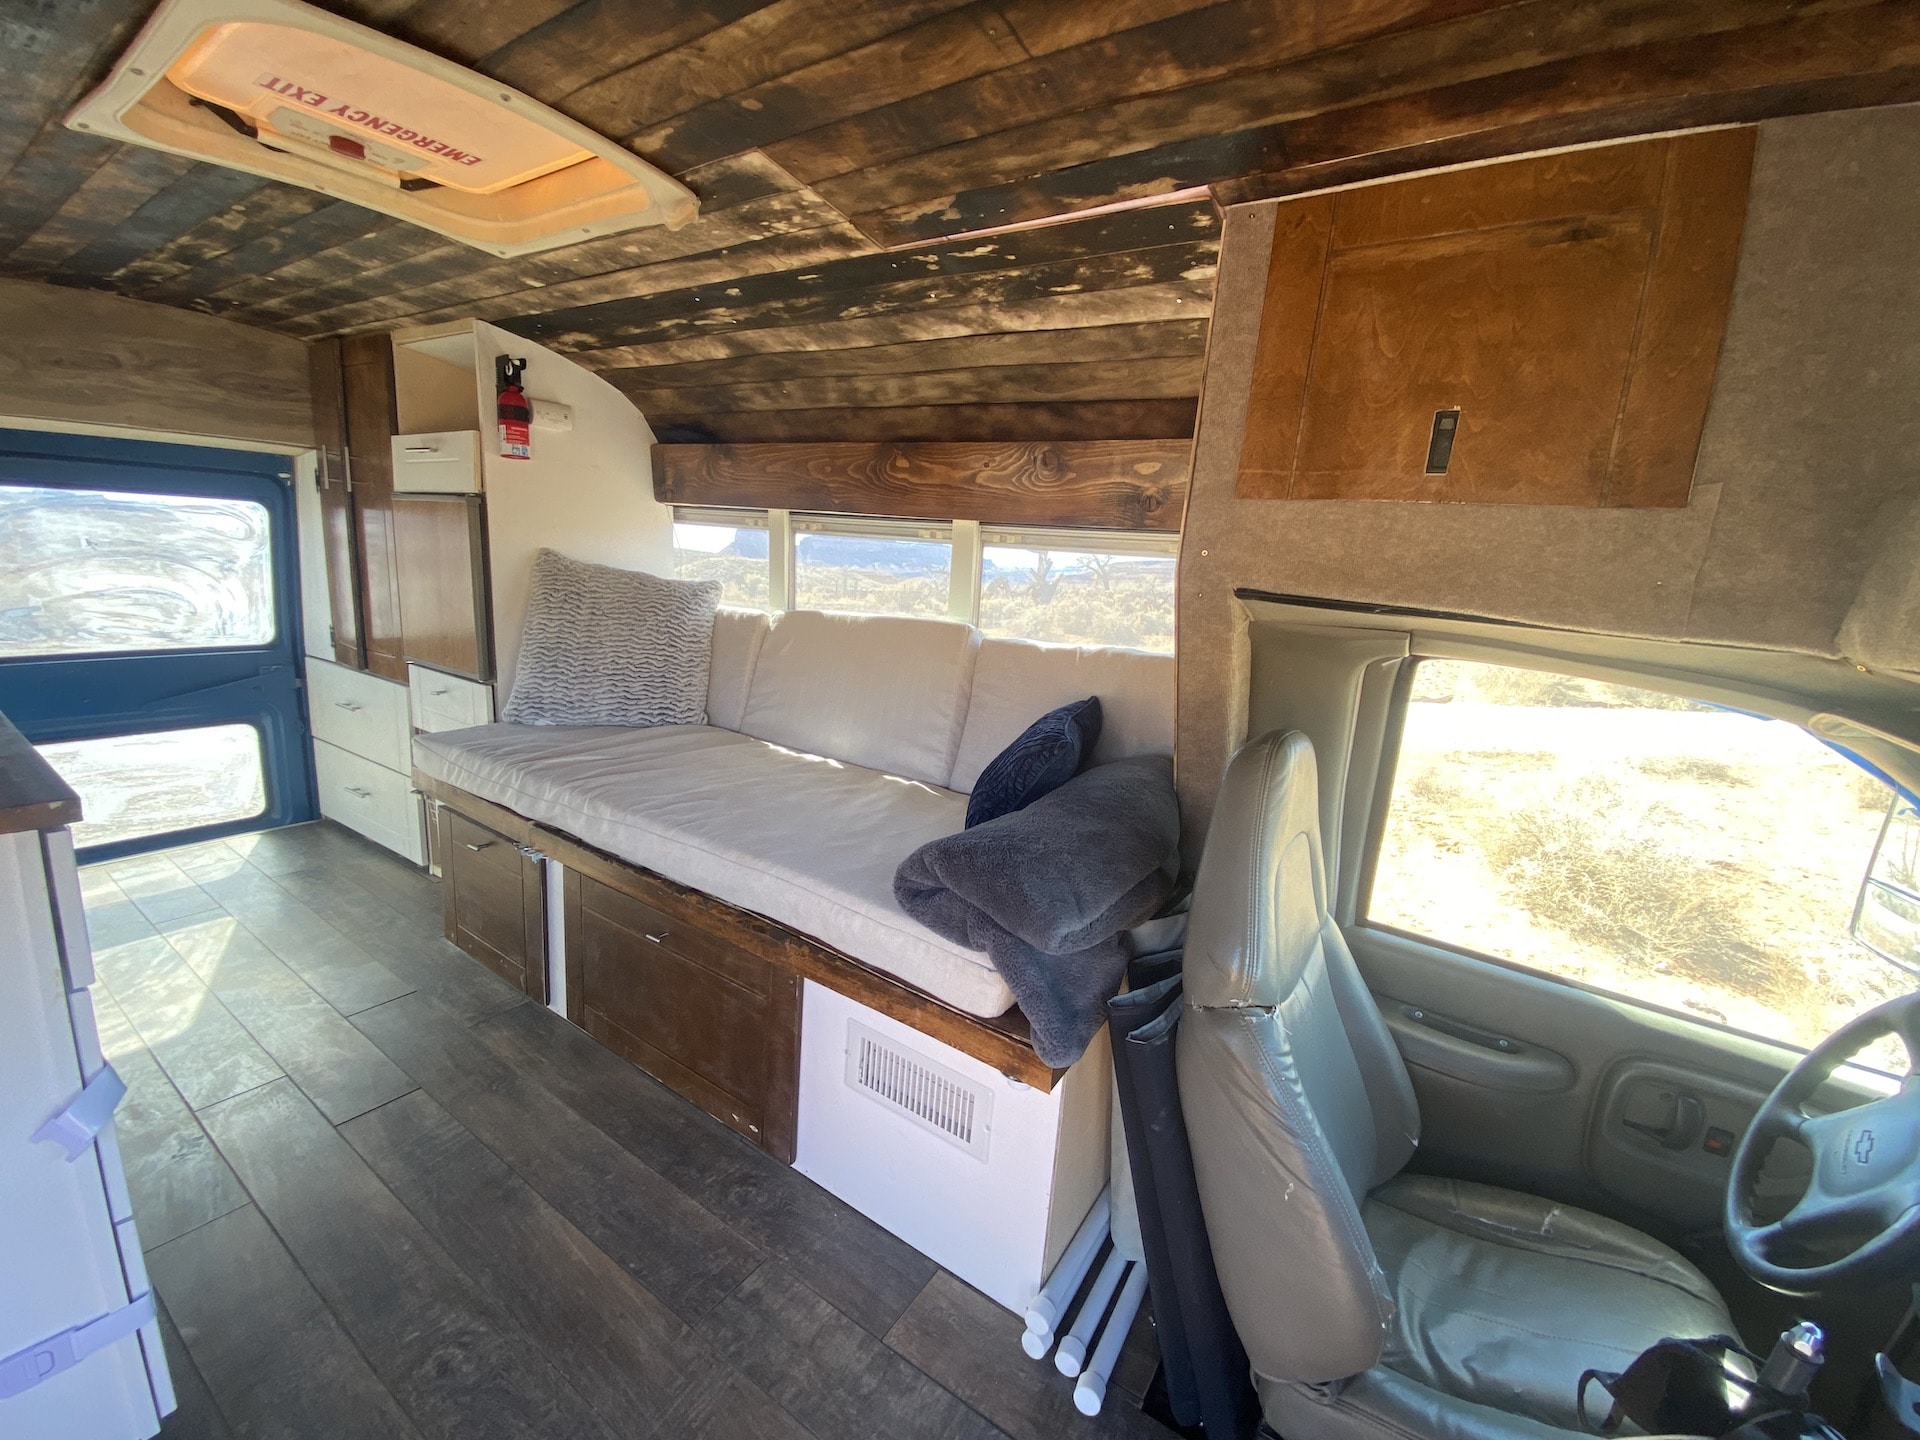
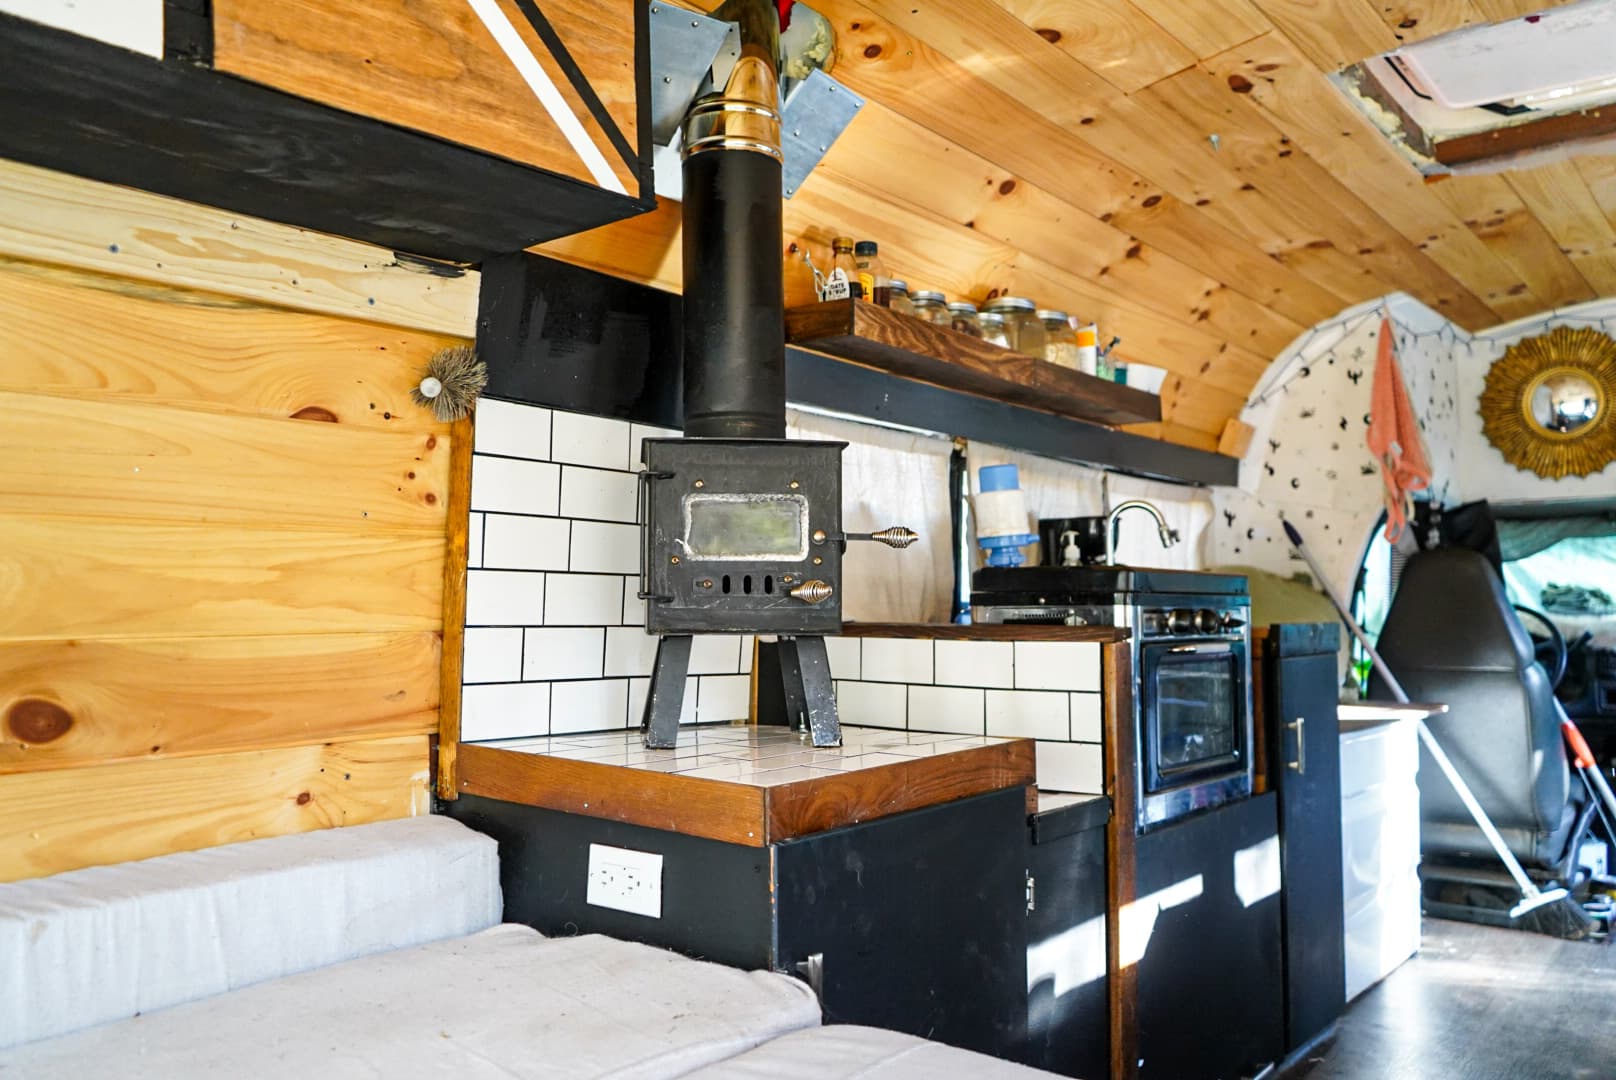
3. Choosing the Wrong Flooring
“I think I noticed in one of your other posts that showed you installing the floor right over the rubber flooring. I was thinking about pulling that up to cover holes and check rust. Is that unrealistic for my first build?”
Can we talk about floors for a second? This is where the Instagram builds really mislead people. You see these beautiful hardwood floors and think “I want that.” But here’s the thing. A bus moves. It flexes. It vibrates. It hits potholes at 55 mph.
Traditional hardwood will crack and separate at the seams within a year. Ceramic tile? Same problem, plus it’s incredibly heavy. A full-size bus floor tiled in ceramic can add 1,000+ lbs to your build.
“Just wondering how much amount of weight was added. RV materials are always lightweight. Tiles and real wood?”
So what actually works? Luxury vinyl plank (LVP) is the answer for about 90% of bus builds. It’s waterproof, lightweight, flexible enough to handle the movement, and it looks great. It clicks together, it’s easy to install, and if a piece gets damaged, you can swap it out without redoing the whole floor. I go deeper on this in the complete guide to skoolie flooring.
But before you lay any flooring, and this is the part people skip, pull up the old rubber mat and check for rust. Seriously. That rubber mat has been trapping moisture for 15-20 years. If there’s rust underneath, you need to treat it now. Grinding, rust converter, and paint. Skipping this step is like putting new carpet over a wet basement floor. You’re just hiding the problem.
4. Not Budgeting for Mechanical Work
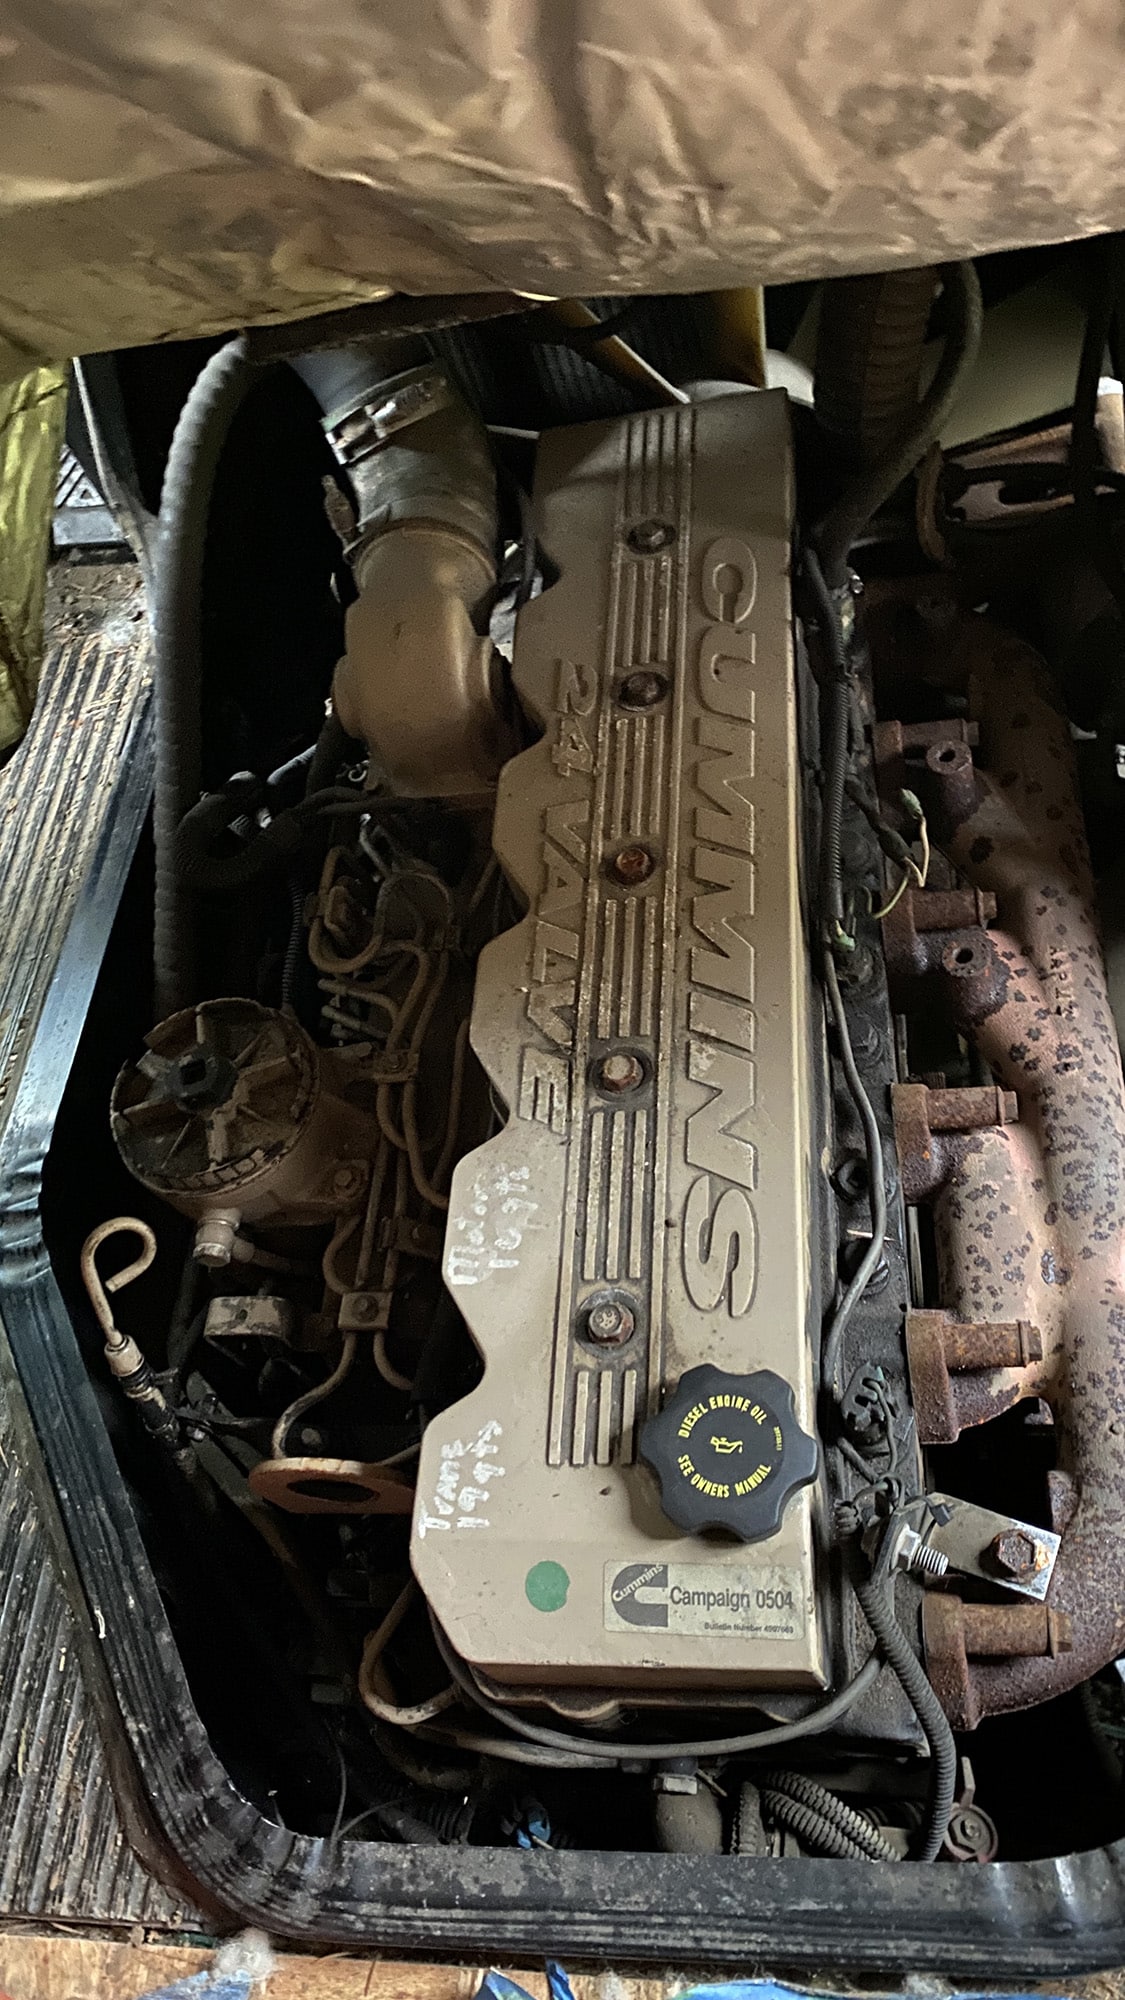
“Why do not we see any work for the most critical part? Under body repairs? Engine? Suspension? Braking?”
“Did you put new brakes in it?”
I’m going to tell you a quick story here because I think it’s important. I talked to a couple at a rally who’d bought a beautiful 2004 Blue Bird for $4,500. Great deal. They budgeted $12,000 for the build and got right to work on the interior. Six months later, with the kitchen almost finished, the bus wouldn’t start. Turned out the injectors were shot, the brakes were metal-on-metal, and three tires had dry rot so bad you could see the cords. The repair bill? Just over $6,000. They had to stop the build for five months to save up again.
This is the mistake that burns people the worst financially. You spend $5,000 on a bus, budget $15,000 for the interior build, and then discover the brakes need replacing ($1,500), the coolant system needs flushing ($400), the tires are dry-rotted ($2,000 for six), and there’s an oil leak from a gasket that’s been baking for 20 years ($800). That’s almost $5,000 in mechanical work that wasn’t in your budget. And now you’re choosing between finishing the kitchen or having brakes that actually stop.
“It’s truly a work of art. I wish people would mention how much they paid for their vehicles and how much work they had to put into them.”
Here’s what I’d tell anyone starting out: budget at least $3,000-5,000 for mechanical work on top of your build budget. Get a pre-purchase inspection from a diesel mechanic before you buy the bus. And do the mechanical work first, before you touch the interior. It’s not exciting, it’s not going on Instagram, but it’s the difference between a bus that runs and a really expensive lawn ornament.
5. Forgetting About Appliance Access
“Do you have a way to get those major appliances out without removing internal walls in case of replacement needed?”
“What happens if the fridge needs replacement/repair?”
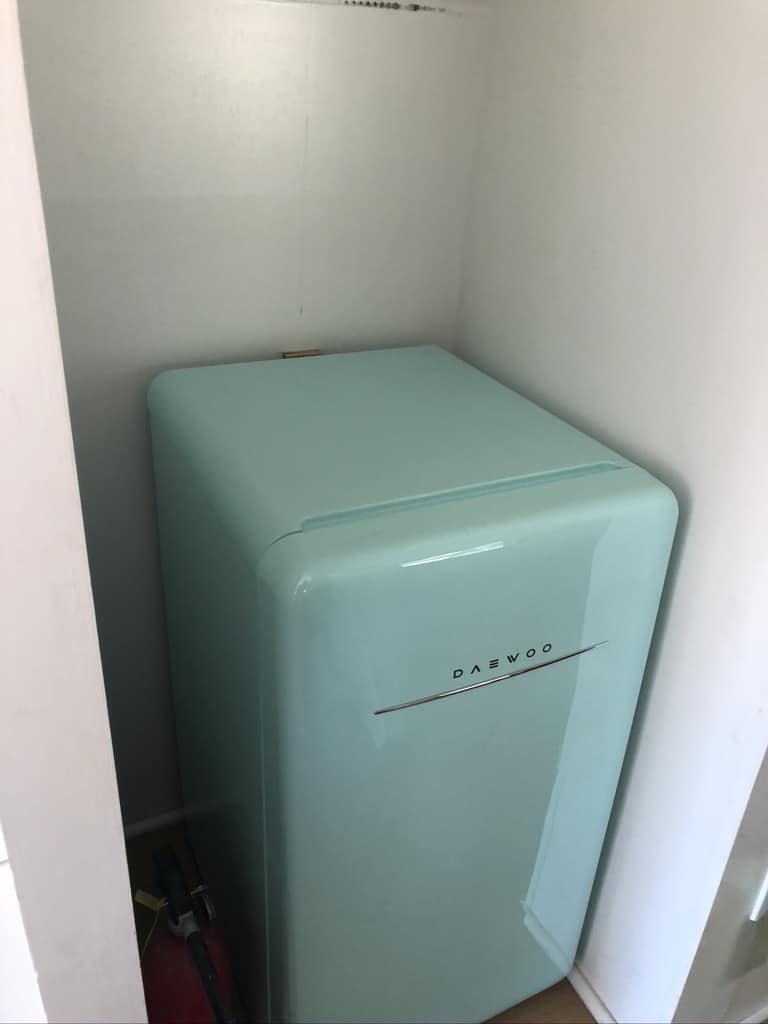
This one is so simple, and yet almost everyone misses it on their first build. You install a beautiful kitchen, you frame in the fridge, the washer/dryer goes behind a wall, everything looks perfect. Then three years later the fridge dies.
Now what? You can’t get it out without ripping out cabinets. Or a wall. Or the countertop.
So what does that actually look like in practice? Plan removal paths for every single appliance before you frame a single wall. Can the fridge slide out? Can the washer/dryer come through a door? Can you get to the back of the water heater without a demolition crew?
This is a 20-minute planning exercise that saves you days of rework later. Do it. Seriously.
6. Going All-In on a Floor Plan Without Living in It First
“Where do 8 people sit while driving?”
“Does anyone ever put a recliner in their build?”
I love this one because I’ve seen it play out so many times. You design this incredible floor plan on paper. The bedroom is in the back, the kitchen’s got a big island, there’s a recliner by the window. It looks amazing in SketchUp.
Then you actually live in it and realize the kitchen island blocks the walking path, the recliner takes up 15 square feet you desperately need, and there’s nowhere for passengers to sit with seatbelts while driving.
Do you see what I’m saying? The floor plan that looks good on paper isn’t always the floor plan that works in real life. If you need some starting inspiration, check out these skoolie floor plan ideas for every bus size. But whatever layout you pick, test it first.
How do you do that? Before you build anything permanent, use cardboard or painter’s tape to lay out your floor plan in the actual bus. Then spend a weekend living in it. Cook in it. Sleep in it. Walk through it 50 times. You’ll find problems in two days that you never would’ve caught on a screen.
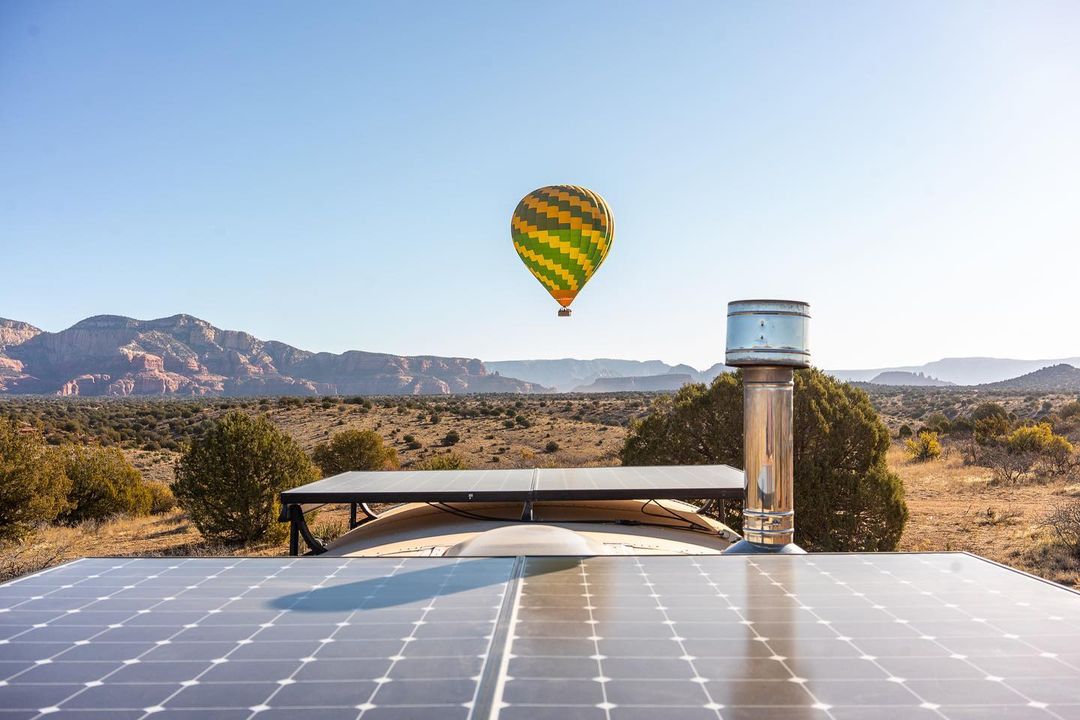
7. Undersizing Your Electrical System
“This is expensive though, must be tens of thousands a month to run all that. Where does the power for toilet pump and laundry come from?”
“What happens when the power goes out?”
Well, here’s a fun one. People build their electrical system based on what they think they’ll use. Then they actually move in and find out they need twice the capacity.
A common first-timer mistake is buying 200 amp-hours of battery and two solar panels, thinking that’ll cover everything. Then winter hits, the sun disappears for three days, and you’re rationing power like it’s an apocalypse movie. I’ve been there myself, sitting in the dark trying to decide if I really needed to charge my laptop or if keeping the fridge running was more important. It’s not fun.
Here’s how to size it right: list every single thing you’ll run. Lights, phone chargers, laptop, fridge, water pump, fan, heater fan, inverter losses. Add up the daily watt-hours. Then multiply by 1.5 for a safety margin. That’s your battery bank target. Our electrical and solar guide walks through the whole calculation step by step.
I’m not saying you need a $10,000 lithium setup on day one. But you need to understand your actual usage before you buy anything. A lot of people end up redoing their entire electrical system within the first year because they guessed instead of calculating. Don’t be that person.
8. Ignoring Ventilation
“What about ventilation if you remove all the windows?”
“What about ventilation in those enclosed bunk beds?”
This one’s sneaky because you don’t notice the problem until it’s already a problem. A bus is a sealed metal box. You’re cooking in it, showering in it, breathing in it, and sleeping in it. Without proper ventilation, moisture builds up fast, and moisture is the enemy of everything in a bus.
At minimum, you need a roof-mounted fan (like a MaxxAir or Fantastic Fan) that pulls humid air out. Ideally, you want two — one in the kitchen area and one in the bathroom or sleeping area. These aren’t optional. They’re as important as insulation.
And if you’re building enclosed bunk beds? They need airflow too. A kid sleeping in an enclosed bunk without ventilation is basically sleeping in a humidity chamber. Small fans, slat walls instead of solid panels, or even just leaving one end partially open makes a huge difference.
9. Using Residential Materials That Can’t Handle Movement
“How does the shower tile not crack when you drive and hit bumps?”
“Shouldn’t you have put some kind of water vapor barrier in between the metal bus walls, ceiling and the insulation?”
Have you ever renovated a house and thought “I know exactly how to build out this bus”? Yeah, that’s where this mistake comes from. You know how to build a house, so you use house materials. Drywall, ceramic tile, rigid plumbing, standard electrical boxes bolted to studs.
Here’s the problem: a house doesn’t go 60 mph over railroad tracks.
Drywall cracks. Ceramic tile pops off. Rigid plumbing connections fatigue and leak. Everything in a bus needs to be either flexible or mechanically fastened in a way that allows for movement. If you’re planning a shower, that tile question comes up constantly, and we’ve written about plumbing and water systems in detail because getting it wrong leads to leaks you won’t find for months.
What works instead? Tongue-and-groove planking or lightweight panels instead of drywall. LVP or vinyl tile instead of ceramic. PEX plumbing with proper support clips every 12-18 inches. Silicone caulk in the shower instead of rigid grout.
Build like you’re building a boat, not a house. That’s the mental shift that separates builds that last from builds that fall apart in the first 10,000 miles.
10. Treating the Build Like It Needs to Be Perfect Before You Move In
“I’m 62 and this is my dream but I really dont know how to do this.”
“As a single person, that bus is more than spacious as a camper. How does one get into converting a school bus into a home with no experience in woodworking, construction, or home modeling?”
Ok, last one, and this might be the most important. The biggest mistake isn’t any specific construction error. It’s waiting for perfection before you start living.
There are people sitting on half-finished buses right now who stopped because the ceiling isn’t done, or the backsplash isn’t right, or they can’t decide on a countertop material. They’ve been “almost done” for two years.
Here’s the thing. Your bus doesn’t need to be finished to be livable. You need a bed, a way to cook, a toilet, and some lights. Everything else can happen while you live in it. And honestly? You’ll make better design decisions once you’re actually using the space every day.
So if you’re staring at a bus and feeling overwhelmed, know this: you don’t need to be a carpenter, a plumber, or an electrician. YouTube has a tutorial for literally everything. You’ll make mistakes. You’ll redo things. That’s normal. The people living in beautiful finished buses? They all started exactly where you are right now. Every single one of them. If you’re still in the “where do I even begin” phase, our complete guide to buying a school bus is a solid first step.
The Bottom Line
Look, I know this is a lot. Ten sections of “here’s what can go wrong” might make you want to close the laptop and forget the whole idea. But that’s not the point of this article. The point is that every single one of these mistakes is avoidable if you just slow down and plan a little before you start cutting metal and framing walls.
The weight thing? Spend an afternoon with a spreadsheet and a CAT scale. Insulation? Do it right the first time, even if it costs more. Mechanical work? Get the inspection, set the budget aside, and do it before you touch the interior. None of this is complicated. It’s just not the fun part, so people skip it.
I’ve talked to hundreds of bus builders at this point, and you know what the ones with the best builds all have in common? They didn’t rush. They did the boring homework first. They weighed the bus, they checked for rust, they calculated their electrical loads, and they mocked up the floor plan with tape before committing to a single screw. You can do all of that. And when you do, you’ll be way ahead of where most first-timers start.
You’ve got this. Now go build something.
eyyhgs