
Weight is the silent build killer. I can’t tell you how many forum threads I’ve gone through where someone posts their gorgeous finished bus and then two comments down, someone asks what it weighs, and the builder either doesn’t know or finds out they’re way over. This is one of those topics I spent a ridiculous amount of time digging into because the more I learned, the more I realized how much of a build depends on getting this right from the beginning.
Every bus has a Gross Vehicle Weight Rating (GVWR) — the maximum total weight the vehicle is designed to safely carry, including the bus itself, the build, passengers, water, fuel, and everything else on board. A typical full-size school bus has a GVWR between 25,500 and 36,000 lbs, and the bus itself might weigh 17,000 to 24,000 lbs empty. That leaves somewhere between 8,000 and 15,000 lbs for your conversion, your stuff, and everyone riding in it. Sounds generous until you start adding lumber, tile, water tanks, appliances, and batteries — and realize you’ve used most of your weight budget before a single person steps on board. The only reliable way to know where you stand is to get on a certified scale, and you should do that more than once during the build process.
What Does GVWR Actually Mean?
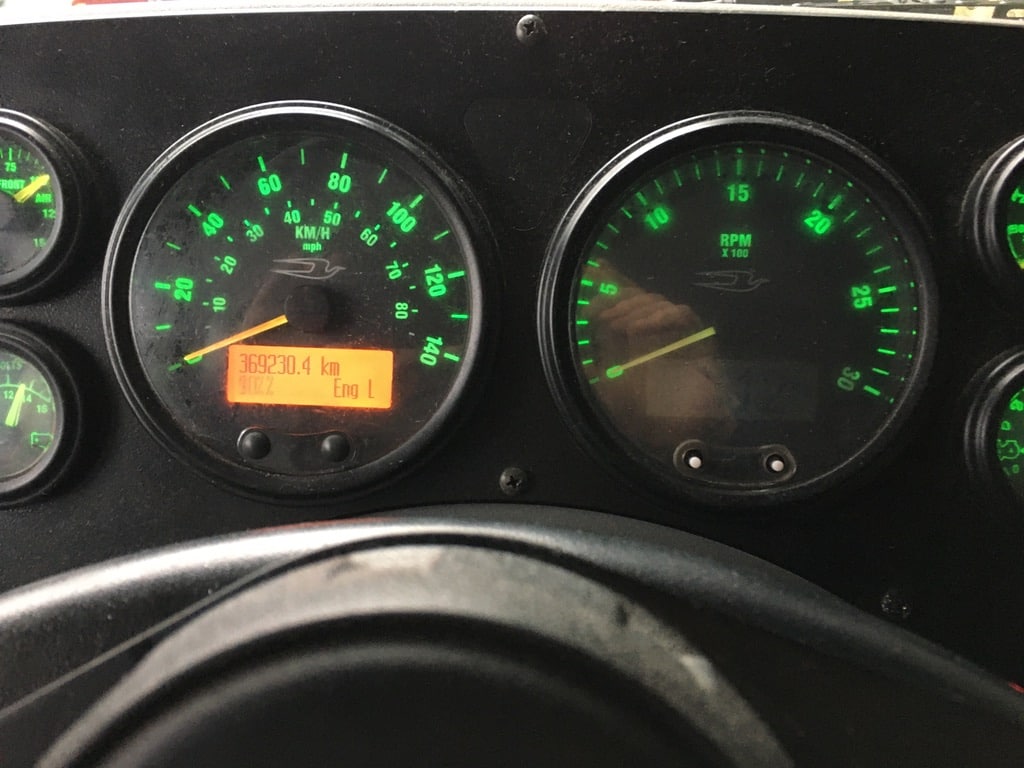
GVWR stands for Gross Vehicle Weight Rating. It’s the number stamped on a sticker somewhere on your bus — usually on the driver’s side door frame or near the dash — that tells you the absolute maximum the whole vehicle should weigh when it’s rolling down the road. That number isn’t a suggestion and it’s not a target. It’s the ceiling that the manufacturer’s engineers calculated based on what the frame, axles, suspension, brakes, and tires can safely handle.
I think the thing that confused me early on was the difference between GVWR and what the bus actually weighs. So let me lay it out plainly. Your bus has a curb weight, which is what it weighs sitting there empty with a full tank of fuel and all the factory fluids. Then it has the GVWR, which is the maximum it should ever weigh fully loaded. The difference between those two numbers is your payload capacity — that’s what you have to work with for the entire build plus everything and everyone you put inside it.
So say your bus has a GVWR of 33,000 lbs and a curb weight of 22,000 lbs. That gives you 11,000 lbs of payload. Now, 11,000 sounds like a huge number. I thought the same thing when I first ran the math. But then I started adding things up and the margin shrinks fast. Your build materials, appliances, water tanks full of water, batteries, a family of four, personal belongings, tools, that random box of stuff you swore you’d organize but never did. All of it counts.
There’s also the GAWR — Gross Axle Weight Rating — which is separate for the front and rear axles. You need to pay attention to both. I’ll get into why later, but the short version is you can be under your total GVWR and still be over on one axle if your weight distribution is off.
And one more acronym while we’re here. GCWR is the Gross Combined Weight Rating. That only matters if you’re towing something behind the bus, like a car or a trailer. It’s the max weight of the bus plus whatever you’re pulling. Different number, different consideration.
How Heavy Is This Bus With Everything In It?
This was one of the first things I wanted to figure out when I started getting serious about planning a conversion. Not hypotheticals, not ranges — I wanted real numbers from real builds. So I went and found them.
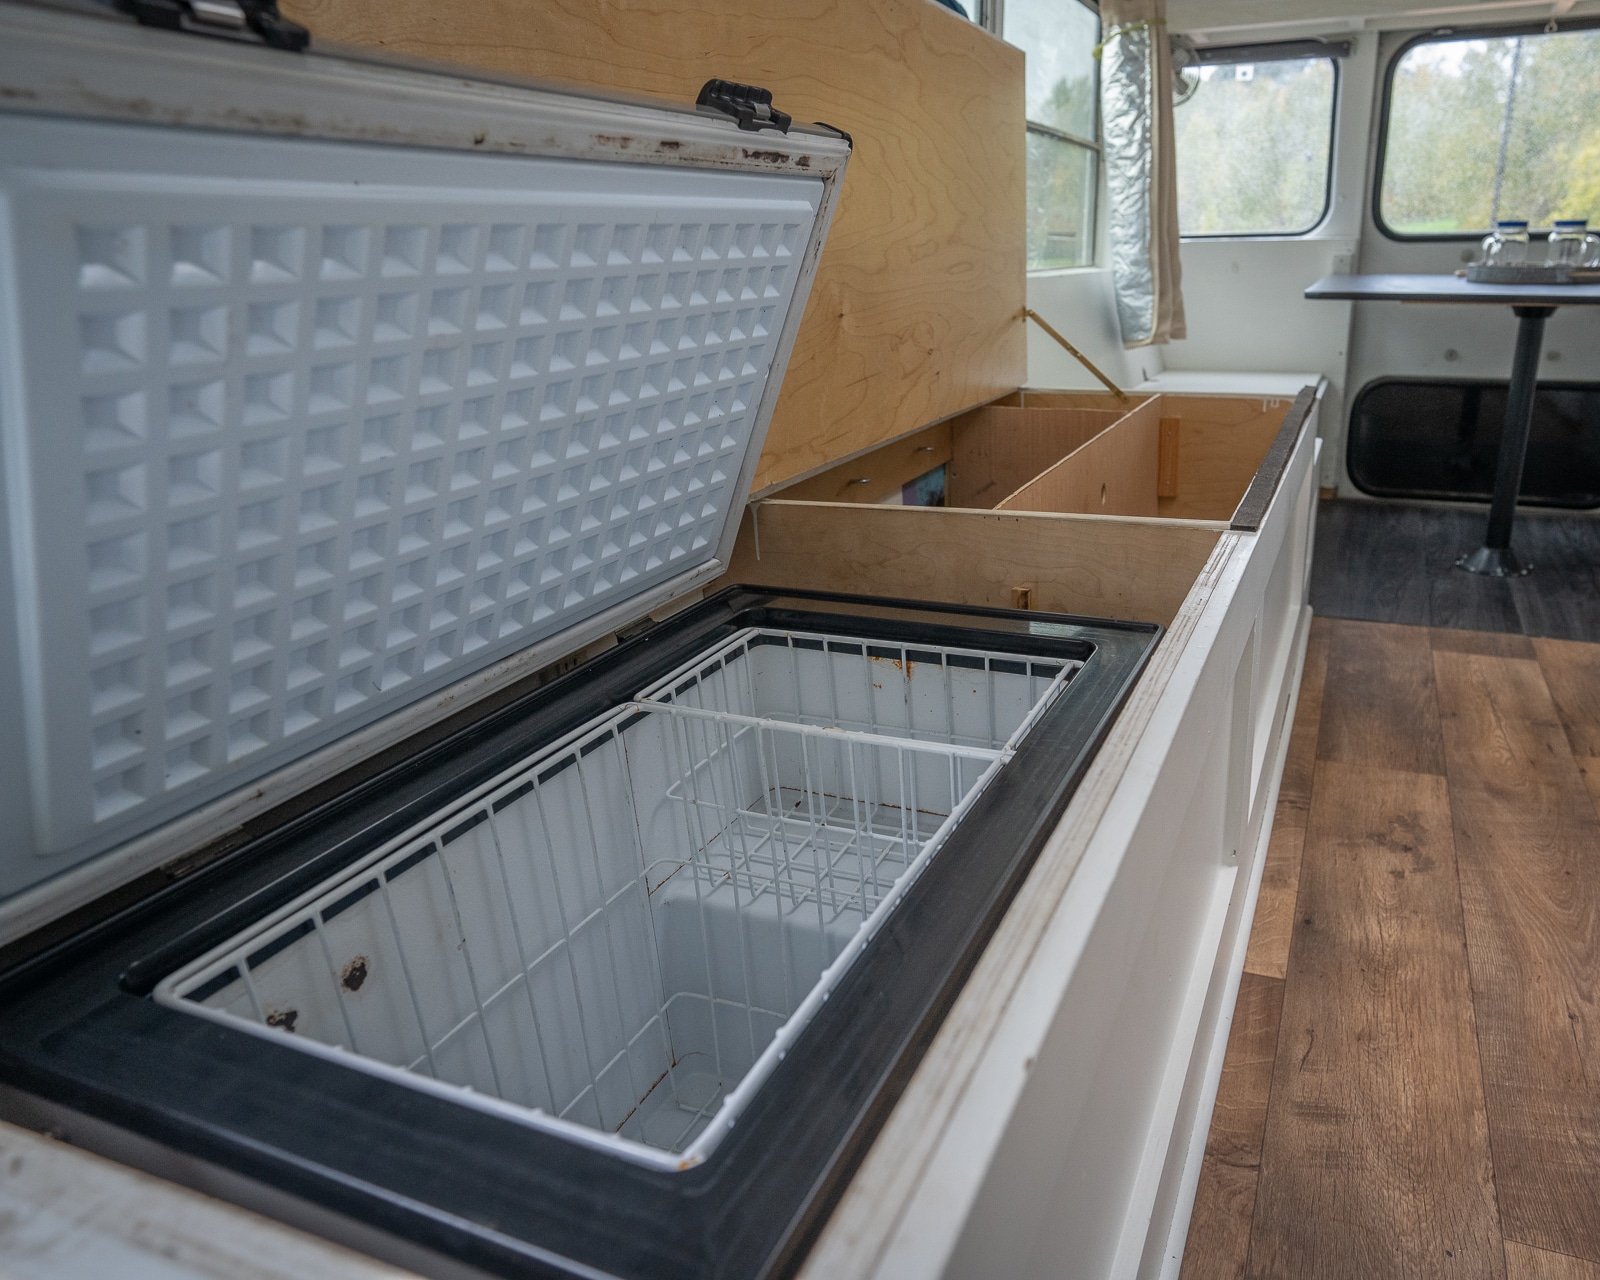
What I found is that most finished skoolie conversions on a full-size bus come in somewhere between 24,000 and 32,000 lbs depending on how the builder approached materials and what they put inside. A stripped-down minimal build — think vinyl plank floors, basic cabinetry, composting toilet, small solar setup — might only add 3,000 to 4,500 lbs to the curb weight. That’s manageable on almost any full-size bus.
But the builds that go heavy on residential materials — real tile in the bathroom, solid wood everywhere, granite countertops, a full-size residential fridge, washer and dryer, 200 gallons of fresh water — those can add 7,000 to 12,000 lbs. I read one build log where the guy had used brick for his kitchen backsplash, ceramic tile on the bathroom floor and walls, hardwood throughout, and a cast iron woodstove. When he finally got to a scale, he was something like 4,200 lbs over his GVWR with empty water tanks. With full tanks, he’d have been closer to 6,000 over.
Let me break down what some of this stuff actually weighs, because the individual numbers are what really opened my eyes:
Water is the big one. 8.34 lbs per gallon. A 100-gallon fresh water tank when full is 834 lbs. Lots of builds carry 50-100 gallons of gray water too. So if you’ve got 100 gallons fresh, 50 gallons gray, and maybe 15-20 gallons in a water heater, you’re sitting on close to 1,400 lbs in water alone. That’s before the tanks themselves, the plumbing, the pump, the fittings. I remember doing this math for the first time and just staring at the number.
Lumber adds up faster than you’d expect. A single 8-foot 2×4 weighs 10 to 13 lbs depending on species and how much moisture it’s carrying. A full-size bus build might use 60 to 100 pieces of framing lumber between walls, ceiling furring, blocking, and cabinet framing. At an average of 11 lbs each, that’s 660 to 1,100 lbs just in framing. Plywood for subfloor, cabinet boxes, countertop substrates — a full sheet of 3/4″ plywood weighs about 60 to 70 lbs. Use 15 sheets across a build and you’re looking at another 900 to 1,050 lbs.
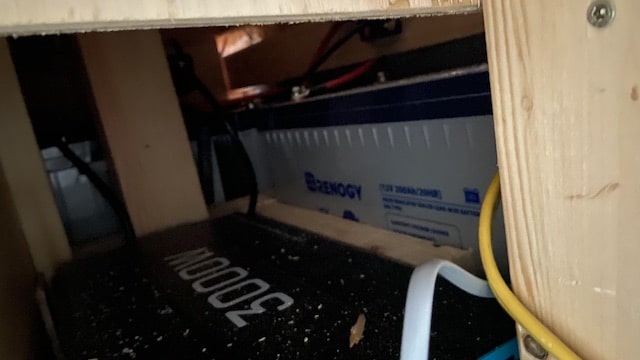
Batteries are sneaky heavy. If you go with lead-acid golf cart batteries — the 6V Trojan T-105 type that a lot of people use — each one weighs about 62 lbs. A bank of eight for a 48V system is nearly 500 lbs. Lithium is lighter per unit — a 100Ah LiFePO4 battery runs about 25 to 31 lbs — but people tend to install more of them because they can discharge deeper, so you might still end up with 150 to 250 lbs in batteries.
Appliances vary wildly. A residential-style fridge is 150 to 250 lbs. A 12V or propane RV fridge might be 80 to 130 lbs. A washer/dryer combo unit is 130 to 180 lbs. A residential tank water heater — 40 gallons — weighs over 100 lbs empty and 430+ lbs full. Go tankless and you’re looking at 15 to 25 lbs. Mini split AC units are 60 to 100 lbs for the indoor and outdoor units combined.
Flooring is one people don’t think about. Luxury vinyl plank across a full-size bus runs maybe 200 to 300 lbs total. Ceramic tile for the same area? 800 to 1,200 lbs with thinset, grout, and backer board. Real hardwood is somewhere in between — 500 to 800 lbs depending on species and thickness.
Fuel counts too. Diesel is about 7 lbs per gallon. If your bus has a 60-gallon tank, that’s 420 lbs when full. Some buses have dual tanks or larger aftermarket tanks pushing 80-100 gallons. That’s 560 to 700 lbs in fuel alone, and every bit of it goes toward your GVWR.
Then there’s all the stuff that doesn’t make anyone’s spreadsheet. Screws, brackets, adhesives, caulk, wire, conduit, pipe, paint, insulation, window trim, light fixtures, outlet covers, door hardware, curtain rods. Individually nothing, collectively a few hundred pounds easy. And then your personal stuff. Clothes, books, laptops, kitchen gear, food, tools, that cast iron skillet you couldn’t leave behind. A couple living in a bus with normal amounts of personal items — not hoarders, just regular people — might have 400 to 700 lbs of stuff.
When I added all of this up for a mid-range build on a full-size bus, the total came to something like 8,500 to 9,500 lbs before putting any humans inside. Add two adults and you’re pushing past 10,000 easily. On a bus with 11,000 lbs of payload capacity, that’s razor thin.
After All the Additions, What Happens to the Gas Mileage?
This question comes up constantly, and I get why. If you’re adding 5,000 to 10,000 lbs to a vehicle that already isn’t winning any efficiency awards, the fuel bill is going to notice.
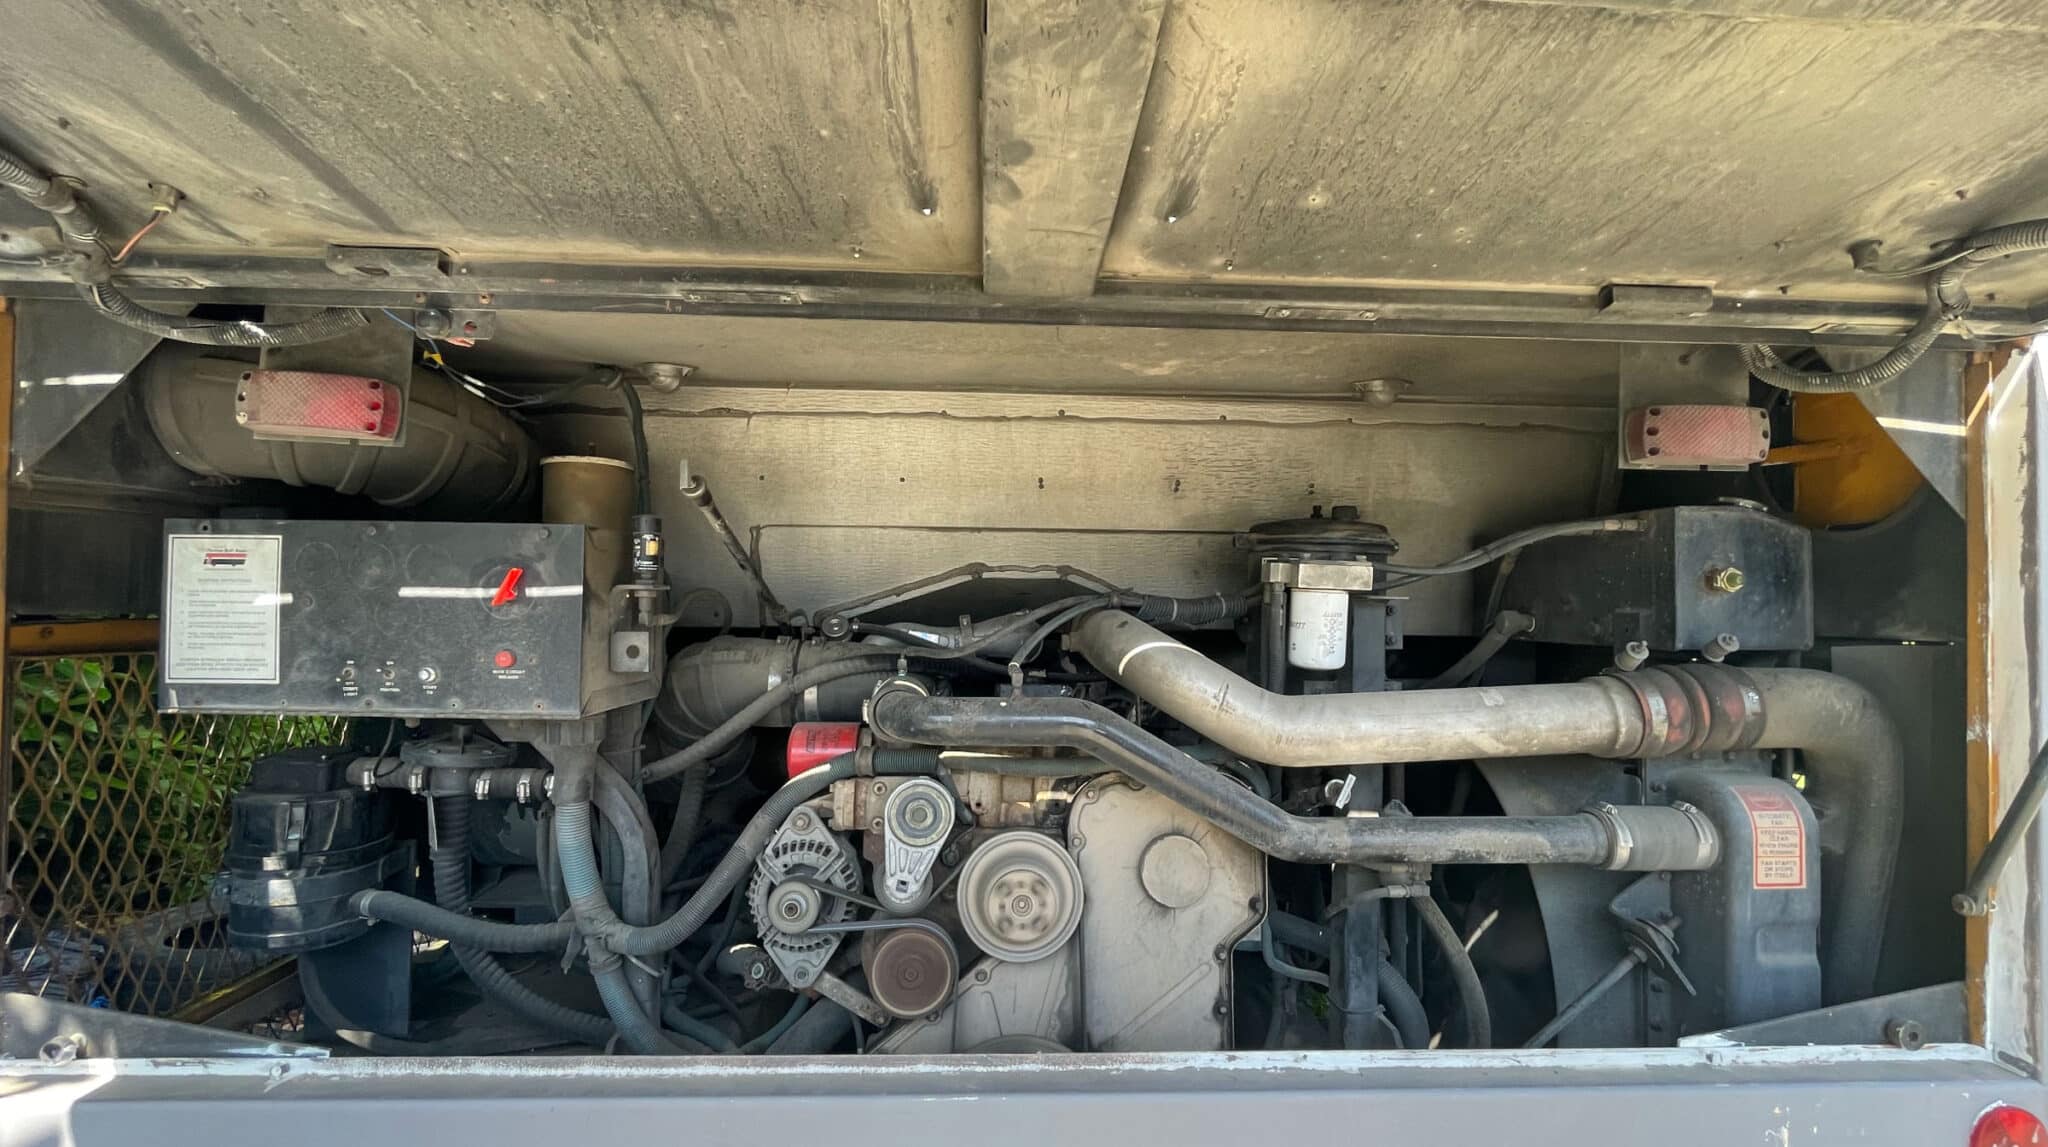
A stock school bus — the kind that was hauling kids around before you bought it — typically gets somewhere between 7 and 12 mpg depending on the engine, transmission, gearing, and whether it’s mostly highway or city driving. Diesel buses with highway gears tend to be on the higher end. Gas buses with mountain gears, closer to the low end.
Now add a full conversion. I talked to several people in the community about this, and the general consensus is that a converted bus loses 1 to 3 mpg compared to its stock configuration. So if your bus was getting 10 mpg empty, expect 7 to 9 mpg converted and loaded. If it was getting 7, you might be looking at 5 to 6. That’s a big deal when your fuel tank holds 60 gallons and diesel is $3.80 a gallon.
The weight itself is only part of the equation though. Aerodynamics change too. A roof raise adds height and frontal area. Rooftop solar panels, AC units, roof racks, storage boxes — they all increase wind resistance. I read one thread where a guy measured his fuel economy before and after adding a roof rack and 800 watts of solar panels, and he lost a full mile per gallon just from the drag. Not the weight of the panels, the wind resistance.
Weight distribution matters for fuel economy more than people realize. If your rear axle is carrying significantly more load than the front, the drivetrain has to work harder, especially on hills. A well-balanced build where the heavy stuff — water, batteries, and the kitchen — is spread along the wheelbase rather than concentrated at one end tends to drive better and burn less fuel.
One guy I was chatting with online said he tracks every fill-up on an app. His 40-foot Thomas flat nose gets 6.8 mpg loaded, down from 8.2 before the conversion. He said he budgets $400 to $500 a month in fuel if they’re doing any significant traveling, and that’s with being strategic about routes and not driving in a hurry. His advice was that if fuel economy is a major concern, you should be picking your bus for its engine and gearing before you ever think about the conversion, because no amount of lightweight building materials is going to overcome a bad drivetrain match.
Something else worth mentioning. Tire pressure affects fuel economy more than people give it credit for. Underinflated tires create more rolling resistance, which burns more fuel. I know that sounds like a minor thing, but when you’re already at 6 or 7 mpg, even a half-mpg improvement matters. Keep your tires inflated to the pressure appropriate for the load they’re carrying. Which brings me to the next thing.
If It Has Air Brakes, Will He Need a Class B CDL? I’d Weigh That Thing for Gross Weight, So Are the Tires Sufficient?
This question came from a YouTube comment and I love it because it touches on three separate things that are all connected — CDL requirements, gross weight, and tire sufficiency. Let me unpack each one.
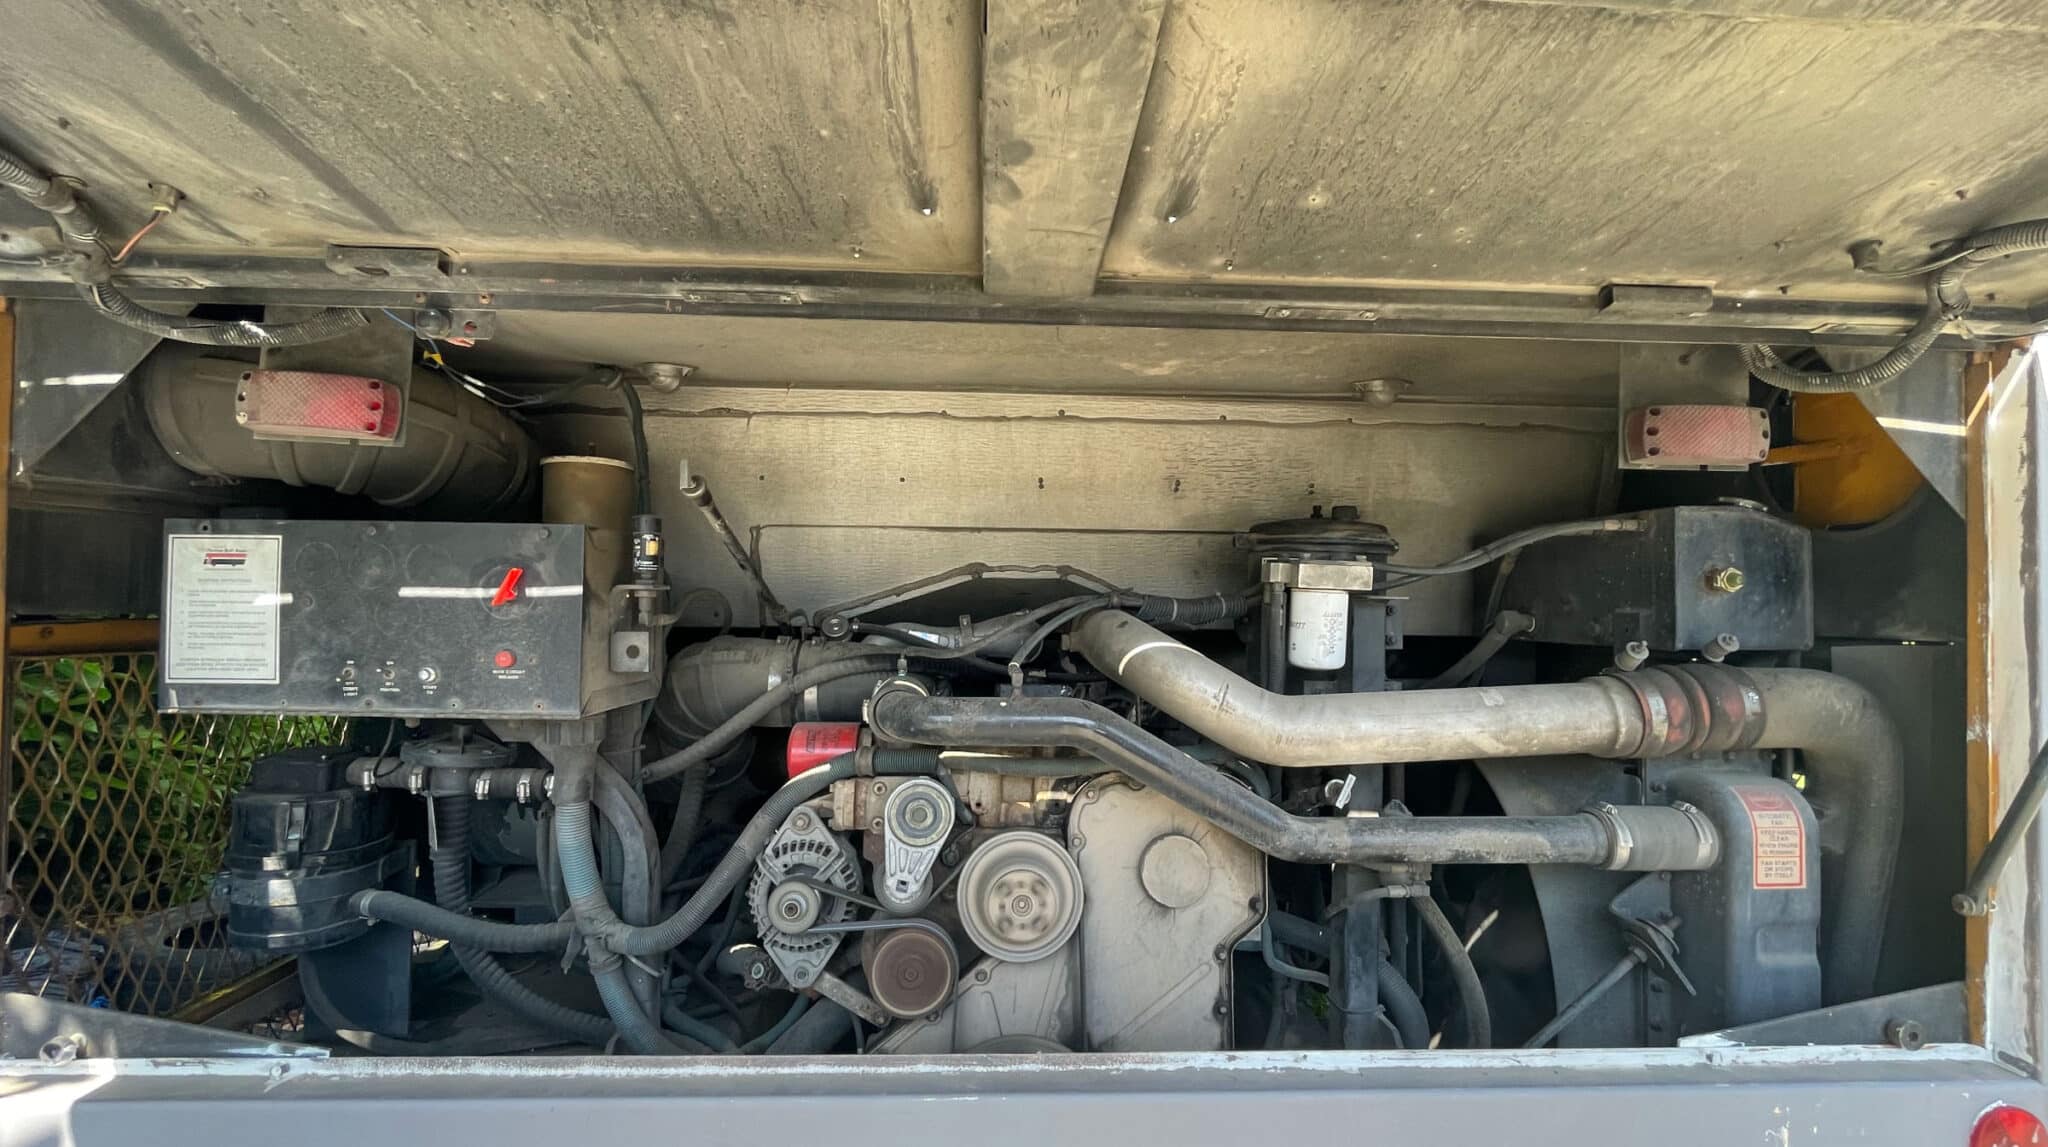
First, the CDL question. In most states, the CDL threshold for a single vehicle is 26,001 lbs GVWR. If your bus’s GVWR is at or above 26,001, you technically need a CDL to operate it — with some exceptions. Many states have an RV exemption that says if the vehicle is registered as a motorhome or RV and used for personal purposes, you don’t need a CDL regardless of the GVWR. But the exemption varies by state. Some states have it, some don’t, and some have conditions attached. I covered this in detail in my CDL article, but the relevant point here is that weight directly determines whether you’re even in CDL territory.
Now, air brakes add another layer. Even if your bus is under 26,001 GVWR and you don’t need a CDL for the weight, some states require an air brake endorsement on your license if the vehicle has an air brake system. Not all states, but some. The air brake endorsement requires a written test and sometimes a skills test. It’s not a full CDL, just an endorsement. But you need to check your specific state because getting pulled over and not having the right endorsement is a bad time.
Here’s where it gets interesting from a weight perspective. Most short buses (Type A) have GVWR’s between 10,000 and 14,500 lbs. They’re well under the CDL threshold. Most have hydraulic brakes, not air. Full-size school buses (Type C and D) are where it gets hairy. A full-size Type C conventional might have a GVWR of 25,500 to 33,000 lbs — some under the threshold, many over. The flat-nose Type D buses almost always have GVWR’s above 26,001. And most of them have air brakes.
So the commenter is right to bring up weighing it. You need to know two things: what the GVWR sticker says (because that’s what the law uses regardless of actual weight), and what the bus actually weighs loaded (because that’s what affects safety, tires, and brakes in practice).
As for the tires being sufficient — that’s where the tire load rating comes in, and it’s a separate issue from GVWR. Every tire has a load rating stamped on the sidewall. It tells you the maximum weight that specific tire can safely carry at a given inflation pressure. You need to know the load rating of each tire, how much weight is actually on each axle, and whether those numbers work out.
I found a case where a builder had 11R22.5 tires rated for 6,175 lbs each at their max inflation pressure. With dual rear tires, his rear axle could handle 24,700 lbs of tire capacity (4 tires x 6,175). His rear GAWR was 23,000 lbs. So the tires were actually rated above the axle rating, which is what you want. But if he’d had lower load-rated tires — say a tire rated for 5,000 lbs each — his tire capacity would have been only 20,000 lbs on the rear, well under the axle rating, and the tires would become the weak link.
The point is you need to check the tires specifically, not just assume they’re adequate because they came with the bus. School districts sometimes replace tires with cheaper, lower-rated options in the last years of a bus’s service life. And used tires at a tire shop might not match the original load rating either.
How Do You Weigh a School Bus?
When I first started looking into this, I assumed it would be complicated or expensive. Turns out it’s neither, and I’m kind of annoyed at how easy it is, because there’s really no excuse for not doing it.
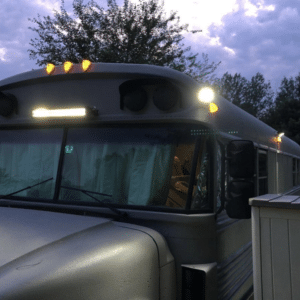
CAT Scales are the standard. There are over 2,300 of them across the US, mostly at truck stops — Pilot, Flying J, Love’s, TA, Petro. You drive onto the scale, it weighs you, and you get a ticket with three numbers: steer axle, drive axle, and gross weight. The whole thing takes about five minutes and costs $13 to $16. Download the Weigh My Truck app to find locations near you.
Here’s the thing that makes CAT Scales especially useful for bus builders. They give you individual axle weights, not just a total. This matters because you might be under your total GVWR but over on your rear axle if your build is back-heavy. A lot of conversions concentrate the kitchen, water tanks, and batteries toward the rear of the bus, and that rear axle takes the hit. Knowing the axle split tells you if your weight distribution is off.
The process is simple. You pull up to the scale — there are usually signs directing you. Position your bus so the front axle is on one scale pad and the rear axle is on another. Some scales have three pads for a tractor-trailer setup and you just use two of them. You can go inside and pay, or on newer setups you pay from an app or a kiosk. They hand you a ticket or send it digitally. That’s it.
Now, there are also some free or cheaper options. Gravel yards and aggregate suppliers sometimes have truck scales and will let you weigh for a few bucks or even free if you ask nicely. Recycling centers and scrap yards often have scales too. I’ve heard of people using scales at grain elevators in rural areas, which, honestly, is the kind of creative problem-solving I love about the bus community.
For more detailed weight analysis, portable wheel scales exist. These are individual pads you drive each wheel onto, and they give you the weight at each wheel position. They run $200 to $400 for a set, which is steep for most DIY builders, but some RV shops or alignment specialists have them and might weigh you for a fee.
My take on when to weigh: do it at least three times during a build. First, weigh the empty bus before you start anything. This gives you your real curb weight, which might be different from what specs online say because previous owners may have already modified things or your bus might have options that add weight. Second, weigh it after the major structural work is done — framing, insulation, subfloor, exterior mods. This gives you a midpoint check. Third, weigh it fully loaded and ready to travel — tanks full, people on board, everything packed. This is your real operating weight.
I read about a builder who weighed religiously throughout his build. He kept a spreadsheet too, but the spreadsheet was consistently 15 to 20 percent low compared to the actual scale readings. He said the things you forget to track — all the little hardware, the caulk, the paint, the fact that treated lumber is heavier than regular lumber because of the chemicals soaked into it — they add up to a significant amount. His advice was to treat the spreadsheet as an estimate and the scale as the truth.
Typical Weight Budgets by Bus Type
Not every bus gives you the same room to work with, and this is something I wish I’d understood better before I went deep on build planning. The relationship between bus size, curb weight, and GVWR isn’t linear. A bigger bus doesn’t automatically mean more payload.
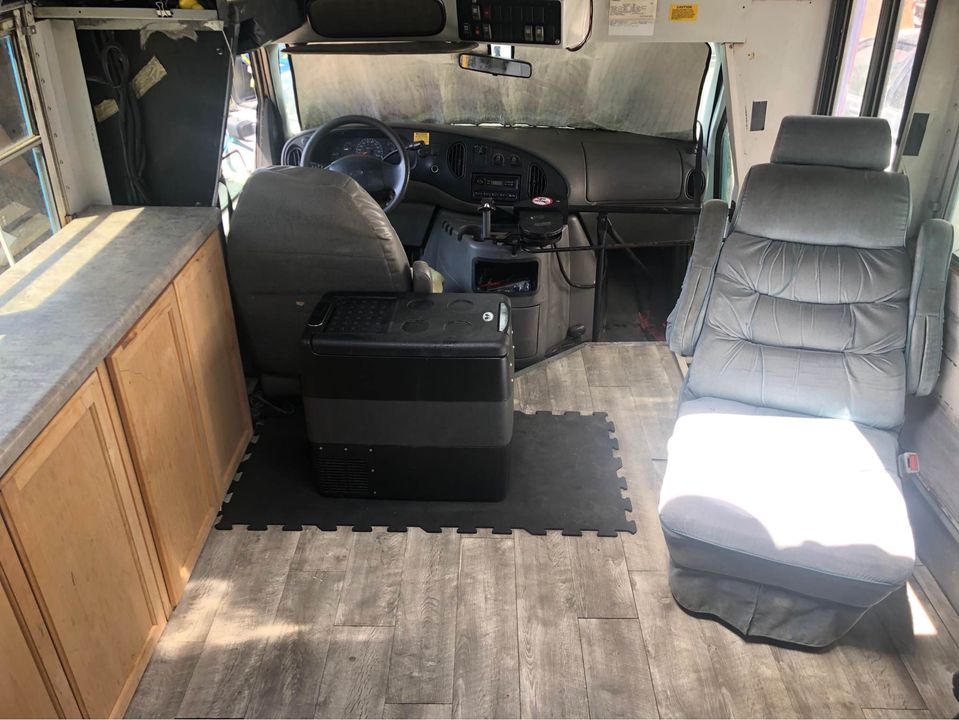
Here’s a general breakdown based on what I’ve been able to piece together from manufacturer specs and real-world data:
Short Bus (Type A) — Ford or Chevy Cutaway Chassis: Curb weight around 8,000 to 10,000 lbs. GVWR typically 10,000 to 14,500 lbs. That gives you a payload of maybe 2,000 to 5,000 lbs. On the lower end, that’s really tight. You have to think carefully about every material choice, every gallon of water, every appliance. A minimal build with a 25-gallon water tank, composting toilet, small battery bank, and lightweight materials? Doable. A full residential build with tile and hardwood? You’re going to be over.
Mid-Size School Bus (Type B): Curb weight around 10,000 to 16,000 lbs. GVWR typically 14,000 to 25,000 lbs. Payload in the 4,000 to 9,000 lb range. More room to work with than a short bus, but still requires conscious material choices. This is where a lot of couples end up because the bus is small enough to park easily but big enough to build a comfortable space.
Full-Size Conventional (Type C): This is the classic school bus shape with the dog nose hood. Curb weight 15,000 to 23,000 lbs. GVWR 25,500 to 33,000 lbs. Payload 8,000 to 12,000 lbs typically. You’ve got real room here. Most mid-range builds fit comfortably within the budget. Just don’t go crazy with tile and stone and residential appliances everywhere.
Full-Size Flat Nose (Type D): The transit-style front end. These are generally the biggest and heaviest. Curb weight 19,000 to 26,000 lbs. GVWR 29,000 to 36,000+ lbs. Payload 8,000 to 14,000 lbs. The most forgiving weight budget, which is why the full luxury builds tend to happen on flat nose buses. But they also have the worst fuel economy and are the hardest to park, so there’s a trade-off with everything.
Transit Bus: This is a whole different animal. Transit buses can have GVWR’s from 25,000 up to 42,000 lbs depending on the model. They’re typically engineered for standing passengers, which means they handle weight differently. If you’re converting a transit bus, you really need to look up the specific model’s specs because the variation is enormous.
One thing I want to highlight because it tripped me up initially. The GVWR on the sticker is for that specific bus, not for the general model. Two buses that look identical might have different GVWR’s because of options, axle packages, or chassis configurations chosen when they were ordered. Always go by the sticker on your actual bus, not a generic spec sheet.
What Happens If You’re Overweight — Tires, Brakes, Legal, and the CDL Threshold
So you’ve done the build, you get on a scale, and you’re over. Or maybe you haven’t checked and you’re wondering if it matters. It matters. A lot.
Let me start with tires because they’re the most immediate safety concern. Every tire has a load rating, and when you exceed it, the tire generates more heat. Heat is what kills tires. An overloaded tire flexes more than it’s designed to, which creates internal heat buildup, which weakens the rubber and the steel belts inside. The result is blowouts, and a blowout on a 30,000+ lb vehicle at highway speed is not the same as a flat tire on your Civic. I saw photos from a bus life group where a guy blew a steer tire on I-10 in Texas. The bus pulled hard to one side, crossed into the shoulder, and nearly went into a ditch. He was about 2,500 lbs over his rear GAWR and had never checked his tire ratings.
Brakes are the next problem. Your braking system was designed to stop a specific amount of weight within a certain distance. Add 3,000 to 5,000 lbs beyond that rating and your stopping distance increases significantly. On air brakes especially, the lag time between pressing the pedal and the brakes engaging is already longer than hydraulic brakes, and adding weight makes it worse. Brake fade happens sooner on downhill grades because the increased mass generates more heat in the drums or rotors. I read one account from a builder who noticed his brakes felt different after the build — mushier, less responsive. He figured it was normal for a big vehicle. A mechanic told him his bus was almost 4,000 lbs over and the brakes were working at the edge of their capacity.
Suspension degrades too. Overloaded leaf springs sag, which changes your ride height, headlight aim, ground clearance, and how the bus handles turns and bumps. The bus rides lower in the back, the steering gets less precise because the geometry is off, and the ride quality deteriorates. It also puts extra stress on the frame and all the mounting points. Long-term overloading accelerates fatigue cracking in the frame, which is about the worst thing that can happen structurally.
Now the legal consequences. Converted buses can and do get pulled into weigh stations. The DOT officers don’t care that it’s your home — if it’s a commercial-class vehicle by weight, they have jurisdiction. Fines for being overweight vary by state but can range from $100 to several thousand dollars. Some states fine per pound over the limit. And in some jurisdictions, they won’t let you leave the scale until you offload enough weight to be legal. Think about that for a second — you’re at a weigh station in the middle of nowhere and someone’s telling you to take 2,000 lbs of stuff off your bus before you can go.
Insurance is maybe the scariest angle. If you’re in an accident and the investigation reveals you were operating above your GVWR, the insurance company has grounds to deny coverage. I heard about a case secondhand where a converted bus rear-ended someone because the driver couldn’t stop in time. The insurance company investigated, found the bus was significantly overweight, and denied the claim. The owner was personally liable for the other driver’s medical bills and vehicle damage. That kind of thing can financially ruin you, and no amount of beautiful cabinetry is worth that risk.
And then there’s the CDL connection I mentioned earlier. If your bus has a GVWR of 26,001 lbs or more, you’re in CDL territory in most states. Some builders try to argue that their actual weight is under 26,000 even if the GVWR is over. That argument doesn’t hold up legally because the CDL requirement is based on GVWR — the rating, not the actual weight. The only way around it is if your state has an RV exemption and your bus qualifies. Being overweight on top of being in CDL territory without having the CDL is a double violation, and the penalties are not minor.
How Do You Know You Are Not Exceeding a Certain Weight for the Bus?
This is really a planning question, and the honest answer is most people don’t know until they check. But there are ways to stay on top of it throughout the build, and that’s what I want to talk about here.
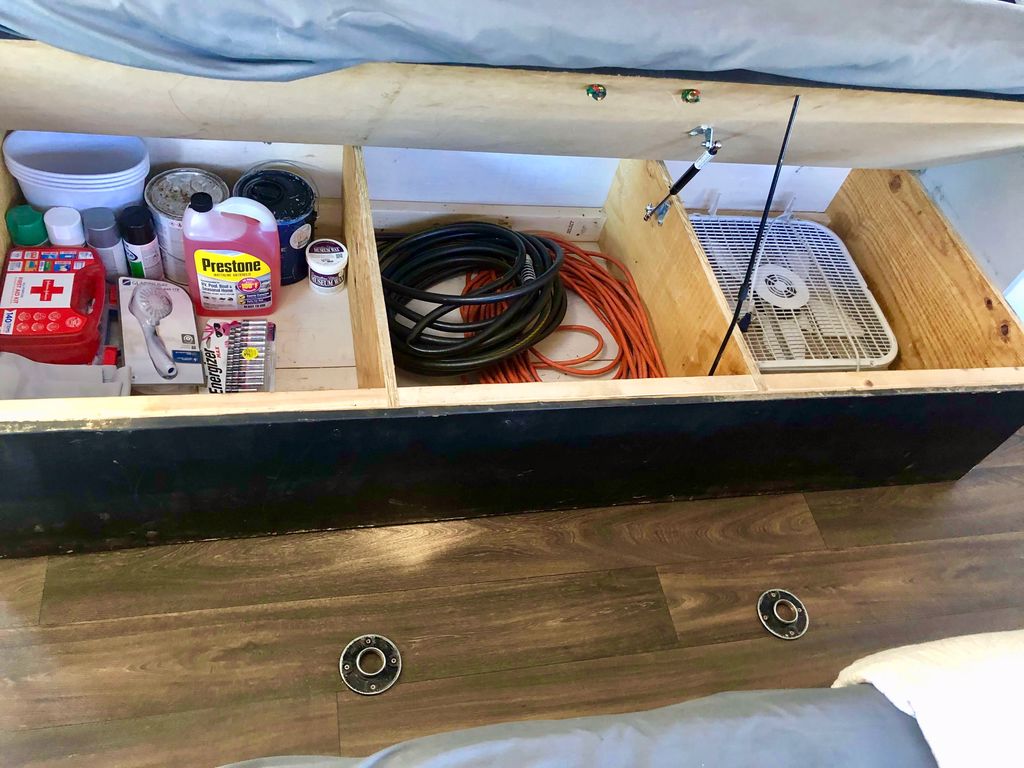
The approach that makes the most sense to me, after looking at what successful builders do, is a combination of a weight tracking spreadsheet and periodic scale visits. Neither one alone is enough.
For the spreadsheet, the idea is to log every significant material as you buy or install it. Every sheet of plywood, every appliance, every water tank, every bag of thinset. You can look up the weight of most building materials online — lumber yards list weight per board foot, appliance manufacturers list shipping weights, and most things have it printed right on the packaging. The spreadsheet won’t be perfect because you’ll forget things, and the small stuff adds up in ways you can’t track precisely, but it gives you a running estimate.
Here’s a rough template for what categories to track:
- Framing lumber and metal studs
- Sheathing and subfloor (plywood, OSB)
- Insulation (spray foam, rigid board, wool)
- Flooring material
- Wall and ceiling finish materials
- Cabinetry and countertops
- Plumbing — pipe, fittings, tanks, pump, water heater
- Electrical — wire, conduit, panels, inverter, batteries, solar panels
- Appliances — fridge, stove, washer/dryer, AC, heater
- Fixtures — sink, toilet, shower, faucets
- Windows and doors if you changed any
- Hardware — hinges, latches, drawer slides, all the little stuff
- Water weight at full capacity
- Fuel weight at full tank
- People and personal belongings
Then compare your spreadsheet total to the scale. The gap between those two numbers is your “invisible weight” — all the stuff you didn’t track. Most builders I talked to found their spreadsheets were 15 to 25 percent low. So if your spreadsheet says 6,000 lbs, real-world is probably closer to 7,000 to 7,500.
One builder I came across had a really clever approach. He set a hard limit at 80% of his available payload and designed his build to that number. So if he had 10,000 lbs of payload, he planned his build for 8,000 lbs max. The remaining 20% was his buffer for all the stuff he’d inevitably forget to account for, plus personal belongings, passengers, and variable loads like water.
Weight Reduction Strategies That Actually Work
So let’s say you’ve realized you need to shed some pounds from your build plan, or maybe you already built and you’re looking at a scale ticket that’s higher than you want. What can you actually do?

Switch framing materials. Wood to metal studs saves roughly 40 to 50 percent on framing weight. A full-size bus build might save 400 to 500 lbs this way. The trade-off is thermal bridging — metal conducts heat and cold through your walls — so you need to plan your insulation accordingly. Some builders do a hybrid approach, using metal studs on interior partition walls where thermal bridging doesn’t matter, and wood on the exterior walls where it does.
Rethink your flooring. If you had your heart set on tile or hardwood, switching to luxury vinyl plank can save 400 to 800 lbs across a full bus floor. LVP is waterproof, durable, looks great, handles bus vibration well, and weighs a fraction of tile. I’ve seen some LVP that honestly looks better than the hardwood it’s imitating.
Downsize your water. Going from 100 gallons fresh to 50 gallons saves 417 lbs. That’s huge. For a lot of travel scenarios, 50 gallons is plenty if you’re filling up every few days. If you’re planning extended boondocking, you need the larger tank, but be honest about how you’ll actually use the bus. Some people install 150-gallon tanks and then spend most of their time at campgrounds with water hookups.
Go tankless on the water heater. A 40-gallon tank heater weighs over 400 lbs full versus 15 to 25 lbs for a tankless unit. That single swap is one of the biggest weight savings in any build for the least functional compromise.
Choose lithium batteries over lead-acid. A bank of eight 6V golf cart batteries weighs about 500 lbs. An equivalent lithium setup — and actually better because of deeper discharge — might weigh 150 to 200 lbs. The cost difference is significant, lithium is much more expensive upfront, but the weight savings are dramatic.
Skip the granite and stone. Butcher block, laminate, or epoxy-coated plywood countertops weigh a fraction of stone. A 6-foot granite countertop can be 200+ lbs. The same size in butcher block is maybe 50 to 80 lbs.
Audit your personal belongings. This sounds obvious but I’ve heard from multiple builders that they were carrying hundreds of pounds of stuff they didn’t need. Tools from the build that never left the bus. Backup supplies for things that will probably never break. Ten times more clothes than they actually wear. Books they’ve already read. One couple said they did a full inventory after a year on the road and removed 350 lbs of stuff they hadn’t touched once.
Understanding Tire Ratings and Axle Ratings
This is an area where I found a lot of confusion, even among experienced builders, so I want to break it down as clearly as I can.
Every tire has markings on the sidewall that tell you its load capacity. For the commercial-type tires on most school buses (like 11R22.5 or 255/70R22.5), the load rating is expressed as a number that corresponds to a specific weight at a specific inflation pressure. The tire also has a load range letter — E, F, G, H, etc. — where higher letters mean higher load capacity and higher required inflation pressures.
The load rating on the tire is per tire. So if you have dual rear tires (two tires on each side of the rear axle), you multiply the per-tire rating by four to get the rear axle’s tire capacity. For the front steer axle with single tires on each side, multiply by two.
Now here’s where people get confused. The tire capacity and the axle rating (GAWR) are two separate limits, and you need to stay under both. If your rear GAWR is 23,000 lbs but your four rear tires are only rated for 20,000 lbs combined, your real limit on that axle is 20,000 — the tires are the bottleneck. If it’s the other way around — tires rated for 25,000 but the axle is rated for 23,000 — the axle is the bottleneck and 23,000 is your limit.
I found this out the hard way when I was looking at a bus that had been re-tired with cheaper, lower load-rated tires by the school district in its last few years of service. The GAWR sticker said 23,000 for the rear, but the tires on it were only rated for about 4,800 each, giving a total rear tire capacity of 19,200. If someone had loaded that bus to the axle rating without checking the tires, they’d have been 3,800 lbs over what the rubber could handle. That’s a blowout waiting to happen.
When you buy new tires for your bus — and you should replace them if they’re more than 6 to 7 years old regardless of tread depth because rubber degrades — make sure the load rating meets or exceeds the GAWR for that axle position. And inflate them to the pressure specified for the load you’re actually carrying, not just the max pressure on the sidewall. There are inflation tables from the tire manufacturers that show the correct pressure for different loads. Running at max pressure when you’re significantly under max load wastes fuel and gives a harsher ride. Running under the correct pressure for your load is dangerous.
One more thing on this. The commenter who asked about steer tires versus drive tires — that’s a real thing. Steer tires and drive tires are designed differently. Drive tires have tread patterns optimized for traction and are built to handle the torque of the drivetrain. Steer tires are designed for directional stability and even wear. Putting drive tires on the steer axle, or vice versa, is not recommended and can affect handling. Make sure you’ve got the right type of tire in each position.
Planning Weight Before You Start Building
If there’s one thing I wish every builder did before cutting a single board, it’s a weight plan. Not a general idea of what they want to build, but an actual accounting of how much each component weighs and how it fits within their payload budget.
Here’s the process I think makes the most sense after looking at how the most successful builders approach it.
Step one: establish your real payload. Get your bus on a scale to find its actual curb weight. Subtract that from the GVWR. That’s your total payload budget.
Step two: set aside the non-negotiable weights. Fuel at full tank. Water at full capacity (if you’re not planning to always travel with empty tanks). People — everyone who will regularly be on the bus, figure 175 to 200 lbs per adult, 50 to 100 lbs per kid depending on age. Personal belongings — estimate 300 to 500 lbs for a couple, 500 to 800 lbs for a family. These aren’t build weights, but they absolutely count, and subtracting them from your payload gives you your actual build budget.
Step three: design your build within the remaining budget. This is where it gets real. If your payload is 10,000 lbs and you subtract 2,500 for fuel, water, people, and stuff, you’ve got 7,500 for the build itself. That sounds like plenty, but go through the component list I described above and start adding things up. You might find that your dream build requires 9,000 lbs and you need to make choices.
Step four: build in a margin. Whatever your spreadsheet says, add 15 to 20 percent for everything you’ll forget or underestimate. If your spreadsheet total is 6,000 lbs, plan as if it’s going to be 7,000 to 7,200.
I’ll tell you what, the builders who do this work upfront almost never end up in the situation where they have to rip out a finished bathroom because the tile was too heavy, or sell their dream countertops because they can’t make weight. The ones who design first and check the numbers later? Those are the horror stories on the forums.
Something else worth thinking about. Weight placement matters as much as total weight. Heavy items — water tanks, batteries, generator if you have one — should be as low and as close to the center of the wheelbase as possible. Low keeps the center of gravity down, which improves stability. Center distributes the load more evenly between axles. I’ve seen builds where all the heavy stuff was at the very back, behind the rear axle, and the bus handled terribly — wallowing around corners, the front end feeling light, and way too much weight on the rear axle versus the front.
A good rule of thumb is to aim for roughly 35 to 40 percent of the total weight on the front axle and 60 to 65 percent on the rear. That’s approximately how most school buses are designed to carry their load. If you get on a scale and your split is 25/75 or something wildly skewed, you’ve got a distribution problem that needs solving regardless of whether you’re under total GVWR.
Can the Bus Handle the Extra Weight? Suspension, Springs, and What to Upgrade
This question comes up in almost every build video I’ve watched. And the real answer is — it depends on whether you’re within the ratings.
If your total weight is under the GVWR and each axle is under its GAWR, the bus was engineered to handle that load. The springs, the shocks (or lack thereof on many buses), the frame — they were all designed for the weight rating on the sticker. You shouldn’t need to upgrade anything structurally as long as you’re within spec.
But “within spec” and “rides nicely” are two different things. A bus loaded to its GVWR with the original leaf springs will ride rougher than the same bus at half capacity. The springs are fully compressed and there’s less suspension travel to absorb bumps. Some builders add helper springs or airbag kits to improve ride quality at higher loads, even though the factory springs are technically rated for the weight.
If you’re over — or close to the limit and want more margin — the common upgrades are:
Add-a-leaf kits that bolt additional leaves into the existing spring pack. These increase load capacity and reduce sag. Relatively affordable at $200 to $500 per axle including installation.
Air bags (helper springs) that mount between the axle and the frame and are inflated with a small compressor. These are adjustable, so you can increase the pressure when loaded heavy and reduce it when running light. They don’t change the GVWR, but they help the suspension handle the load better. Kits run $200 to $800.
Upgraded shock absorbers to handle the increased duty cycle of a heavier vehicle. The factory shocks on a school bus were the cheapest option at purchase and might be 15 to 20 years old. Replacing them with heavy-duty units improves ride and helps control body roll.
But I need to be clear about something. None of these upgrades change your GVWR. The GVWR is a manufacturer rating tied to the weakest link in the entire system — frame, axles, brakes, tires, everything. You can add springs and airbags and better shocks, but the sticker still says what it says, and legally that’s your limit. Some people upgrade everything and drive overweight anyway, and I’m not going to tell anyone what to do, but you should know the risk you’re accepting. Especially with insurance.
Where I Landed on All of This
After spending way too many hours on this topic — and I mean way too many, I went down rabbit holes about tire load indexes and axle gear ratios that I’m still recovering from — I think the core message is surprisingly simple. Know your numbers before you design, check your numbers during the build, and verify your numbers before you hit the road.
The weight stuff isn’t glamorous. Nobody’s posting scale tickets on Instagram. But it’s the foundation that everything else sits on, literally and figuratively. Your tire safety, your brake performance, your fuel economy, your legal standing, your insurance coverage — all of it ties back to whether you’re within your weight ratings.
I wish more people talked about this before posting their first floor plan. Not after the bathroom tile is already grouted and the granite countertops are epoxied in place. Before. Because the choices you make on paper, when it’s easy to swap tile for vinyl or granite for butcher block, are the choices that determine whether your bus is safe to drive three years from now.
The tools are all available and they’re cheap. A CAT Scale weigh is fifteen bucks. A spreadsheet is free. The weight of any building material is one Google search away. There’s just no good reason to guess. Go find out. And if the number’s higher than you expected — and it almost always is — you know what to do.