
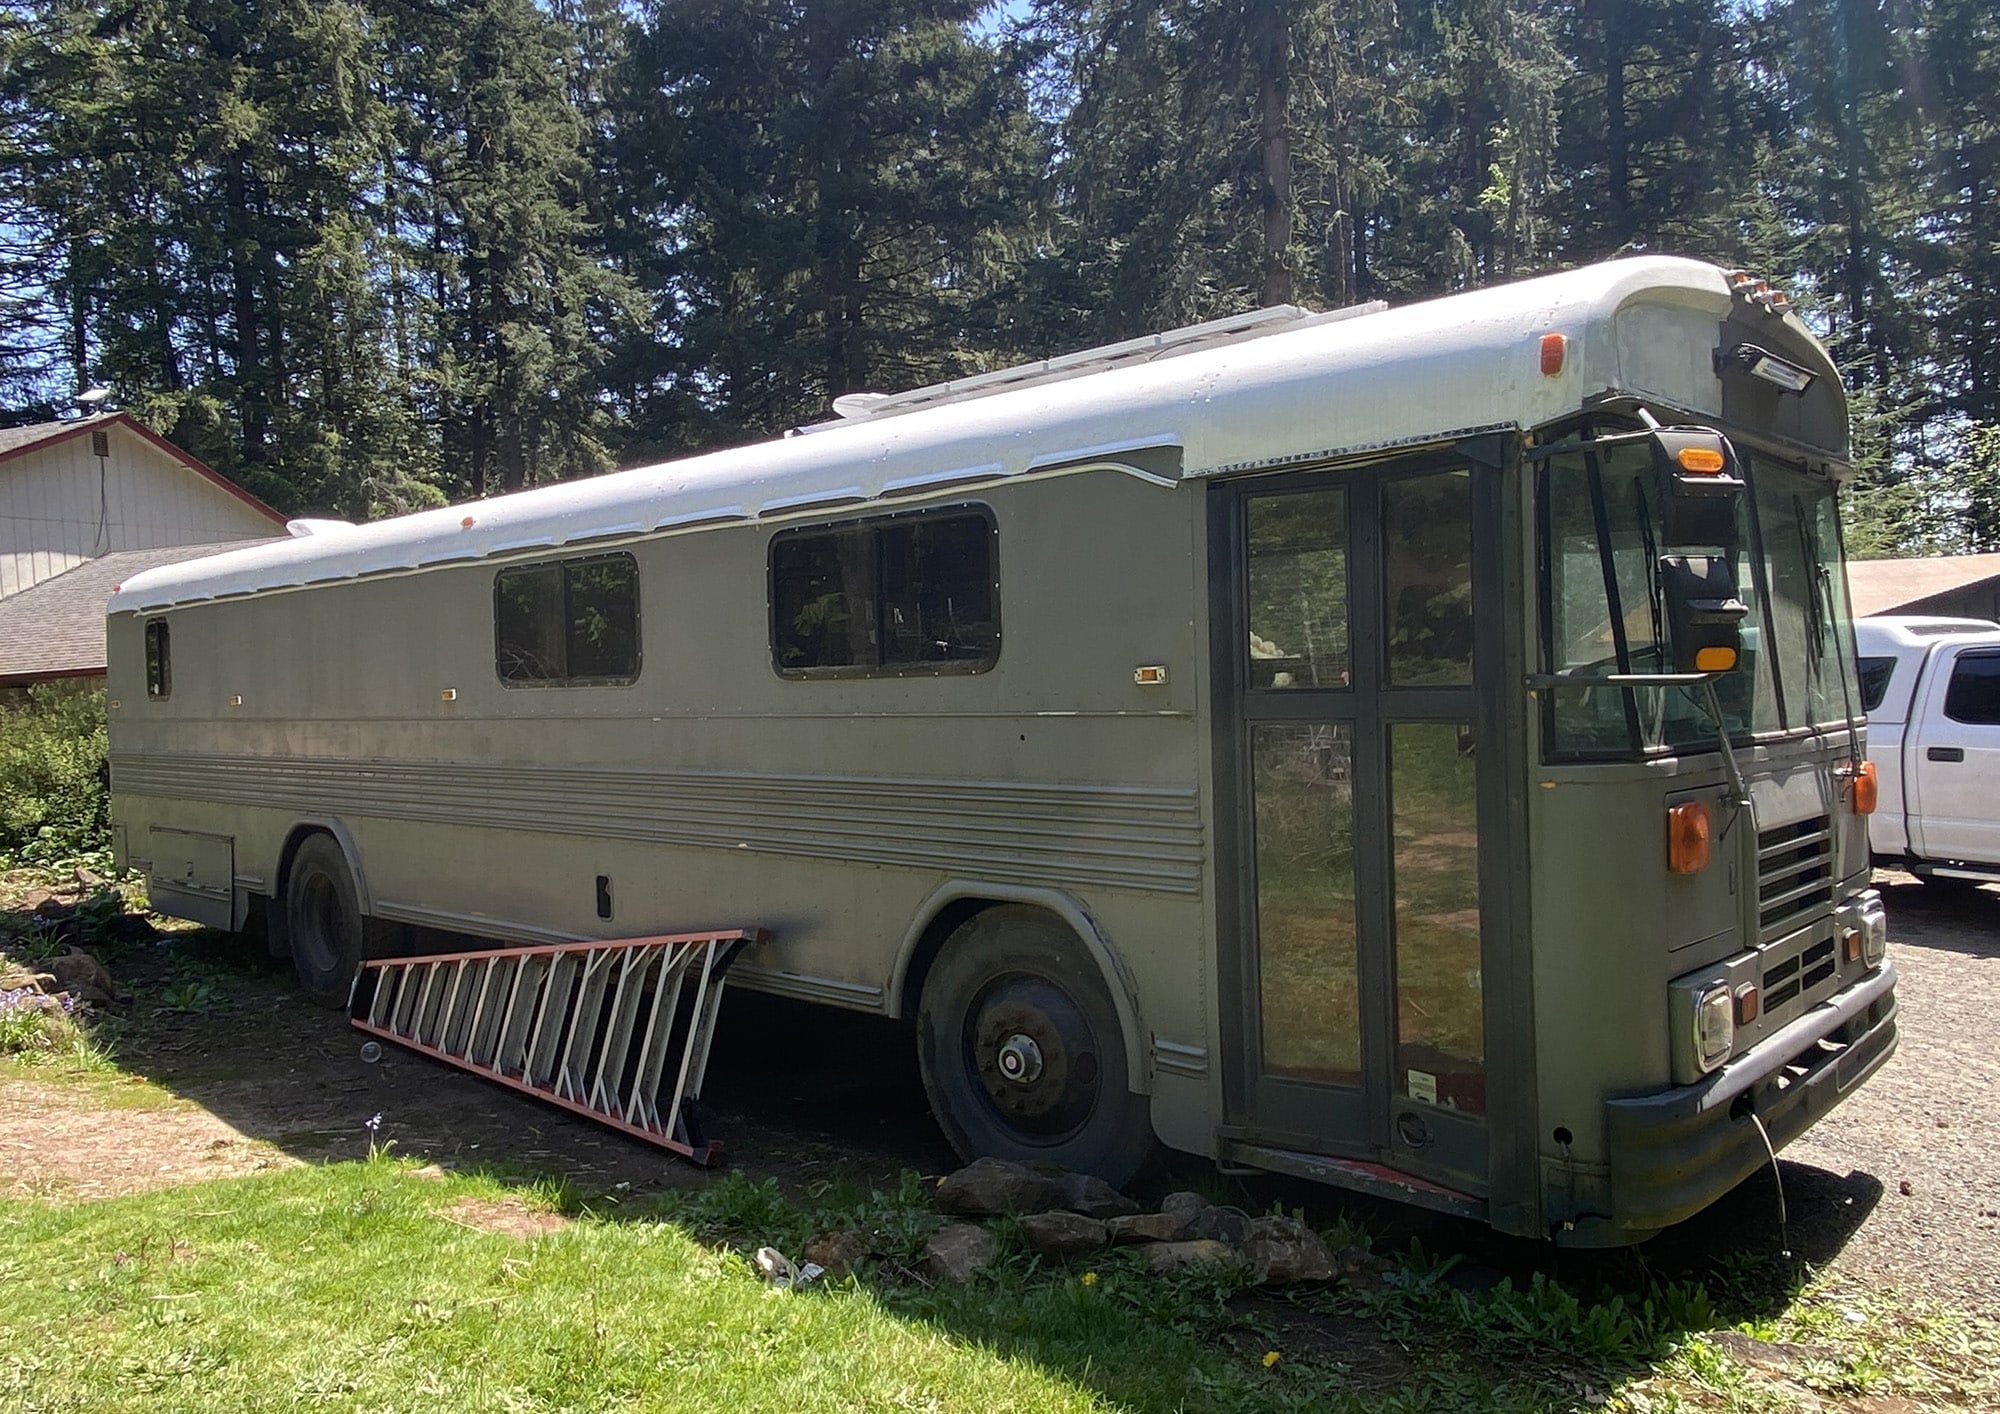
Buying a used school bus is one of those things where excitement can completely override common sense. You find one that looks good in the photos, the price is right, and suddenly you’re ready to drive six hours to hand someone cash. But the bus doesn’t care about your enthusiasm — it’s either solid or it’s not, and the only way to know is to actually check. (See our guide on Where Do You Buy a School Bus for Conversion? for more on this.)
Before you buy any used school bus, you need to inspect nine things that will tell you whether you’re getting a good deal or inheriting someone else’s problems. Check the engine oil and coolant, look for rust underneath, test the brakes and air system, inspect the tires, compare the mileage to the age, take it on the highway, check the transmission fluid, look at the roof for leaks, and get the actual weight against the GVWR. Skip any of these and you’re gambling.
Check the Engine Oil and Coolant
“What condition is the motor in?”
This is the question, honestly. If the engine is shot, nothing else on this list matters because you’re looking at a $3,000-$7,000 repair before you’ve even started your build. When I first started digging into what separates a good bus purchase from a nightmare, engine condition kept coming up as the single most important thing to check.

Pull the dipstick. On a diesel, black oil is totally normal — that’s just how diesel engines work. What you don’t want to see is a milky, chocolate-milk looking substance on the dipstick or the oil cap. That means coolant is mixing with the oil, which usually points to a head gasket issue or a cracked head.
Now check the coolant. Pop the radiator cap (when the engine is cold, obviously) and look at what’s in there. It should be clean and whatever color it’s supposed to be — green, orange, pink, depending on the type. If it looks rusty or has oily film floating on top, the cooling system has been neglected and that kind of damage is already done by the time you’re looking at it. (See our guide on Should You Buy a Gas or Diesel School Bus? for more on this.)
I talked to a diesel mechanic about this once and he said he can tell more about how a bus was maintained in the first sixty seconds under the hood than most people figure out in an hour of test driving. His first move was always the dipstick, second was always the coolant. If both look good, continue the inspection. If either looks off, walk away or renegotiate hard. (See our guide on Is a Skoolie Cheaper Than Buying an RV? for more on this.)
If you’re serious and the oil and coolant check out, spend $100-$200 on a compression test from a mobile diesel mechanic. It measures the internal health of each cylinder and tells you things you cannot see with your eyes.
Look for Rust Under the Floor
“why do not we see any work for the most critical part? under body repairs? engine? suspension? braking?”
I saw this comment and it hit different because the person was right. Everyone posts pictures of their beautiful cabinets and tile backsplashes, but almost nobody shows what’s going on underneath. And what’s underneath is what’s actually holding the whole thing together.

Get under the bus with a flashlight. You’re looking at the frame rails — those two long steel beams that run the entire length. Surface rust is fine, every used bus has it unless it spent its life in Arizona. What you’re looking for is scaling, flaking, or pitting. If you can poke through the frame with a screwdriver, that bus has structural problems that are going to cost serious money. (See our guide on How Much Does It Cost to Convert a Bus Into a Home? for more on this.)
Check the crossmembers too, and look at the floor from underneath. School bus floors are plywood bolted to steel crossmembers. If the steel is rusted through or the plywood is sagging, you’re replacing a lot more floor than you planned. I’ve seen builds where someone ripped up the old floor and found crossmembers so far gone they could bend them by hand. That’s a bus you walk away from.
The rust belt states — Ohio, Pennsylvania, Michigan, anywhere they salt roads — are where you’ll see the worst of this. A bus that spent its life in Georgia or Texas will look completely different underneath than one from upstate New York. Geography matters more than most people realize when it comes to underbody condition.
Test the Brakes and Air System
Most full-size school buses run air brakes, and they have to be working properly or you’ve got a 15-ton vehicle that doesn’t stop when you need it to.
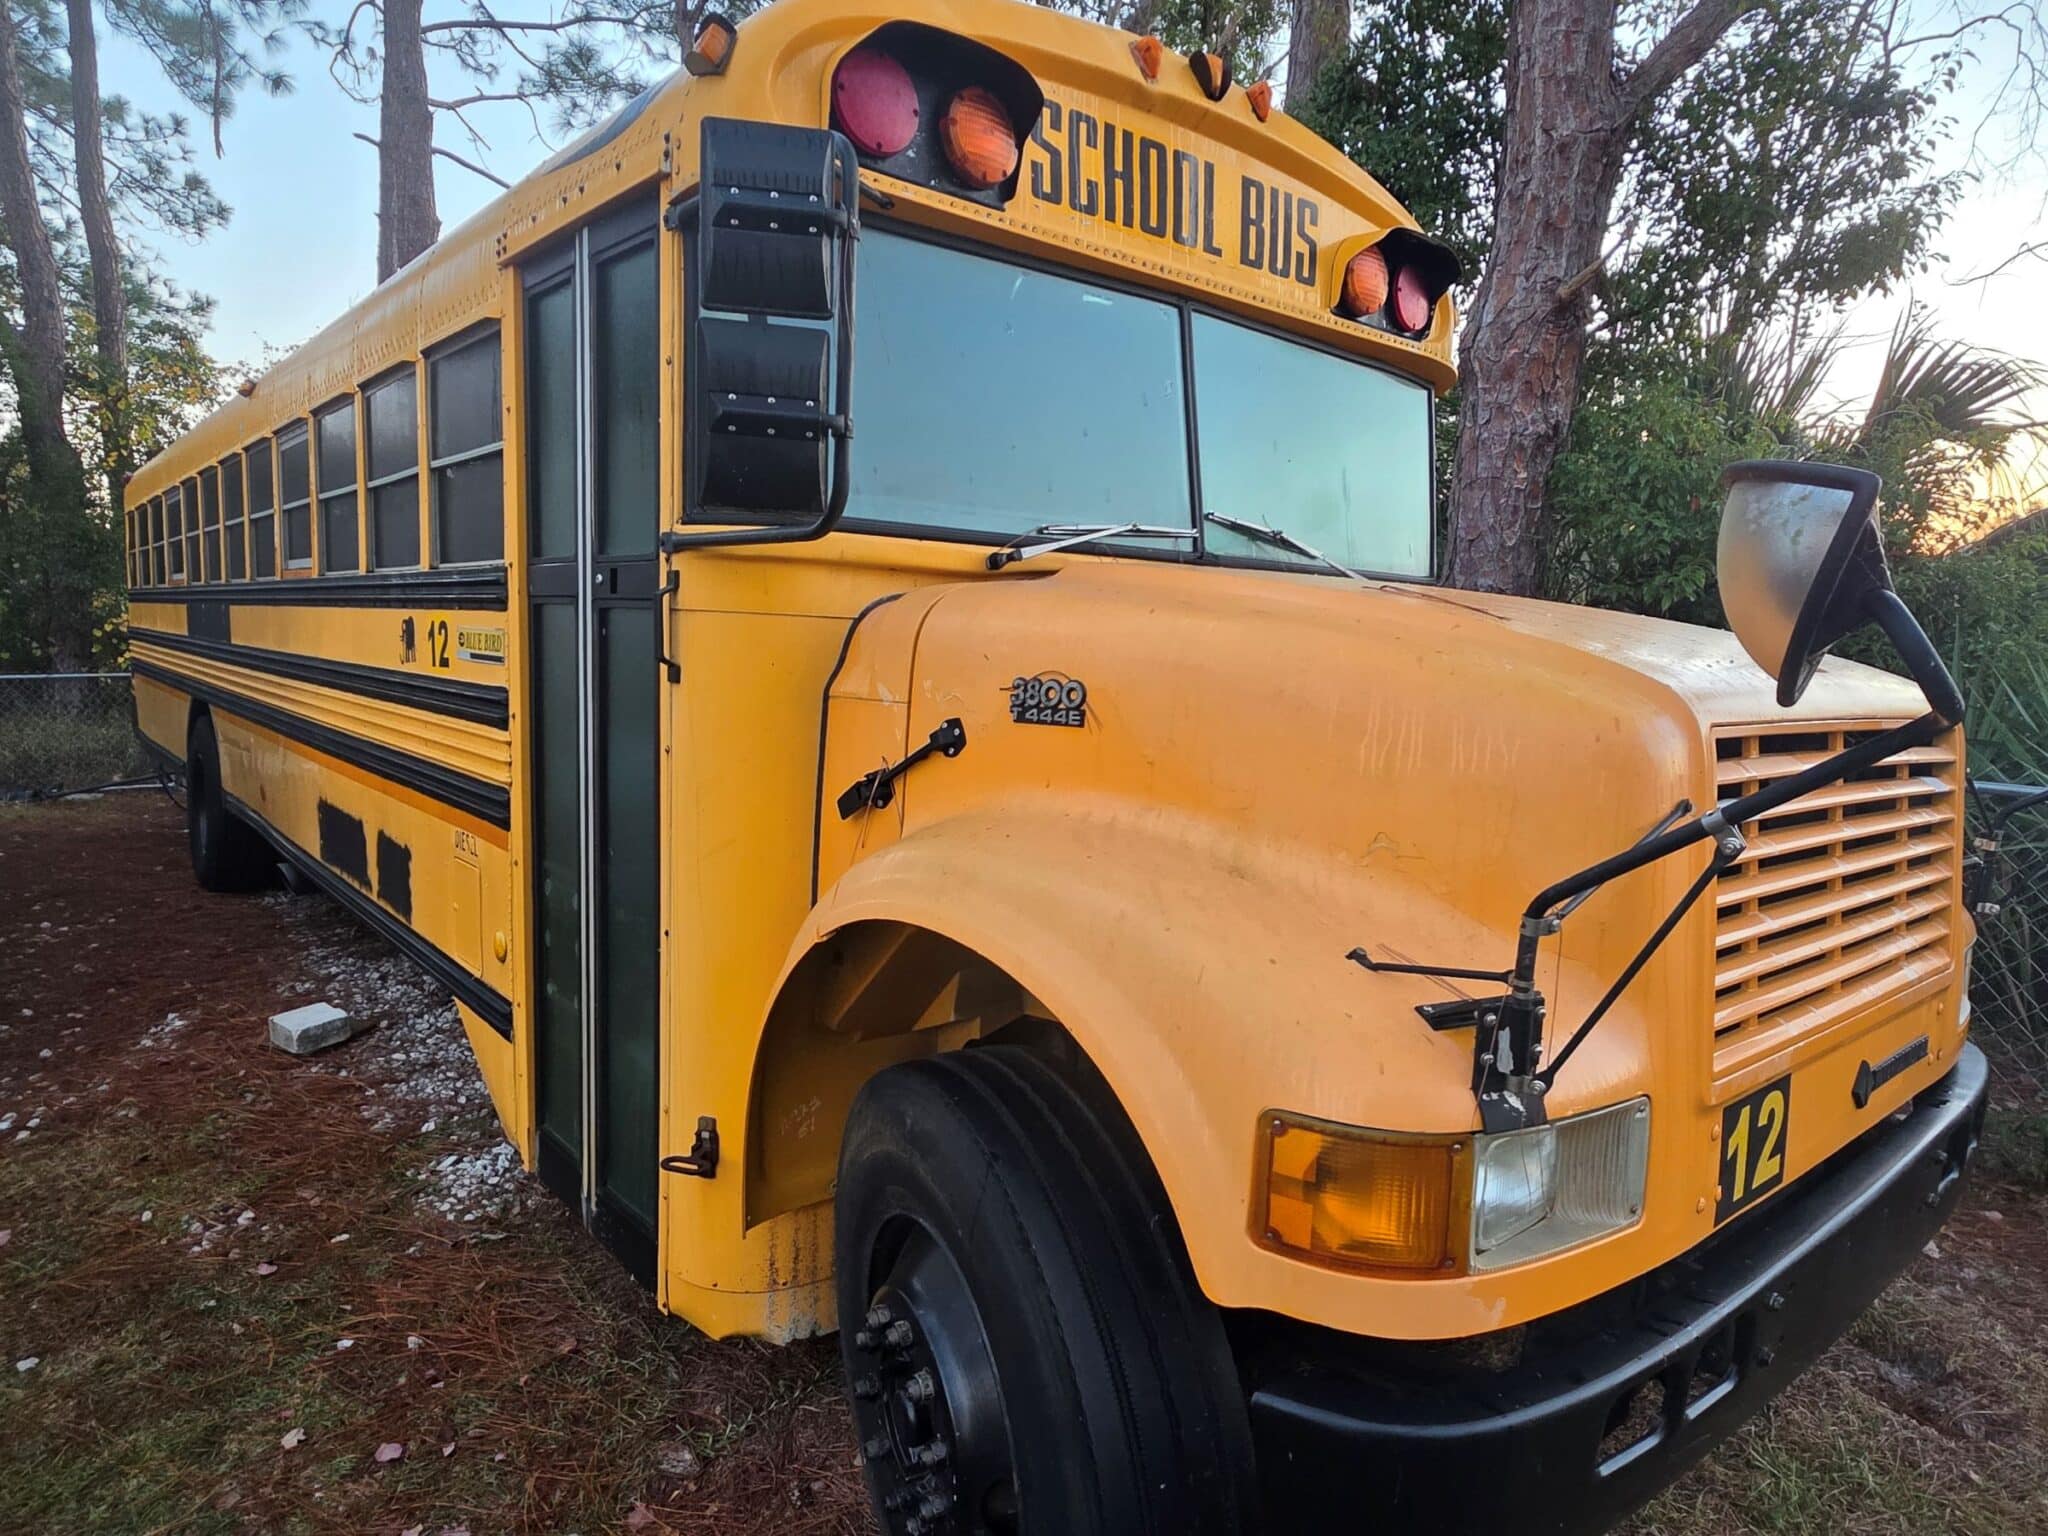
Start the bus and let the air pressure build. Watch the gauges — most systems need to hit around 120 PSI before the low-air buzzer shuts off. If it takes forever to build pressure, you’ve got an air leak or the compressor is worn. Once pressure is up, kill the engine and watch the gauges. If pressure drops more than a couple PSI per minute, air is leaking somewhere.
When you drive it, the brakes should bring the bus to a smooth stop in a straight line. Pulling to one side means a brake chamber or slack adjuster is out of whack on one side.
I remember reading about a guy who bought a bus at auction and drove it home without really testing the brakes. He said by the time he hit the first downhill stretch he realized the brakes were barely doing anything, had to gear down and ride the shoulder. He made it home but said that thirty minutes aged him ten years. Don’t be that guy.
Budget $500-$1,500 for brake work on almost any used school bus. It’s one of those things that almost always needs something.
Check the Tires and Tire Ratings
“Did he have to beef up the suspension, springs, tires, to take the added weight?”
This question comes up a lot for completed builds, but it should come up way earlier — when you’re still looking at the bus to buy.

Check the age first. Every tire has a DOT code on the sidewall, and the last four digits tell you week and year of manufacture. “2318” means 23rd week of 2018. Tires older than 7 years need replacing regardless of tread. I didn’t know this when I first started looking into it, and it blew my mind how many people are driving on decade-old tires just because they still have tread.
Check the load rating too. It’s printed on the sidewall. The tires that were fine for an empty school bus doing 30 mph through a neighborhood might not be rated for what your finished build is going to weigh.
And look at the wear pattern. Even wear means good alignment. Inside or outside edge wear means alignment problems. Cupping means the shocks are shot. Six new tires on a full-size bus runs $1,500-$3,000, so factor that into your offer.
Look at the Mileage vs Age
This one is less about a specific number and more about the relationship between two numbers. A 2004 bus with 90,000 miles sounds great until you do the math and realize it averaged less than 5,000 miles per year. That means it sat around a lot. And sitting is hard on a vehicle, sometimes harder than driving it.
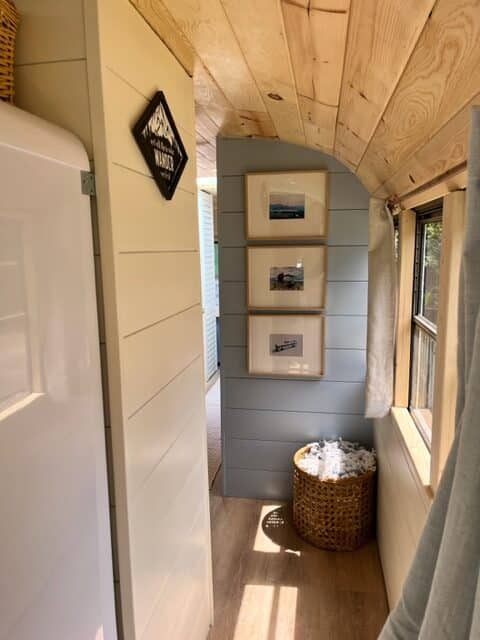
Rubber dries out, seals shrink, brake components seize, fuel goes stale. A bus that was driven regularly — even with higher miles — tends to be in better mechanical shape than one that sat for years.
What I found is that the sweet spot for a diesel bus is between 7,000 and 15,000 miles per year on average. A 2006 bus with 150,000 miles? About 7,500 per year, totally reasonable. A 2010 bus with 45,000? Under 3,000 a year, lots of sitting. Not a dealbreaker, but you’d want to look harder at rubber components and brakes.
Also worth noting — an engine hour meter (if the bus has one) tells you more than the odometer. A bus with 100,000 miles but 8,000 engine hours has been idling a LOT.
Test Drive It on the Highway
“I’m looking to convert a school bus within the next year… does anyone have any tips for how to buy a bus without looking like a complete idiot? I know next to nothing about engines.”
Here’s the thing about not knowing engines — you don’t need to know engines to learn a ton from a test drive. Your butt and your ears can tell you things that diagnostic tools can’t.

Get it up to 55-60 mph. A healthy drivetrain at highway speed should sound like a truck working but not struggling. If the engine sounds like it’s screaming at 55, the bus probably has mountain gears, which means worse fuel economy on trips. If it’s barely breaking a sweat, highway gears, and that’s a plus.
Feel the steering — it should track straight without constant correction. Wandering means front end work is needed. Feel the transmission shift — on the highway it should be in its highest gear and staying there. If it’s hunting between gears, something’s off.
Pay attention to vibrations. Steering wheel shimmy usually means a tire out of balance or a wheel bearing going bad. Floor vibrations could be U-joints.
Any seller who won’t let you do a highway test drive is a seller you should be suspicious of. Around the block tells you almost nothing. The highway tells you everything.
Check the Transmission Fluid
This takes thirty seconds and it’s amazing how many people skip it. The Allison automatics in school buses are incredibly durable, but they’re not immortal, and the fluid tells a story.

With the engine running and warmed up, pull the transmission dipstick. Healthy fluid should be red or pinkish. Brown means it’s been overheated. Dark brown or black and burnt-smelling means serious stress. And if there’s a gritty feel when you rub it between your fingers, that’s metal particles — internal wear.
Dark fluid doesn’t automatically mean the transmission is dying, sometimes it just means nobody changed it in a long time and a fluid and filter service is all it needs. But burnt, gritty fluid on a high-mile bus? That’s a warning sign you don’t want to ignore, and a rebuild on an Allison runs $2,500-$4,500. Not the kind of surprise you want after handing someone $5,000 for the bus.
Also check the fluid level. Low fluid means either a leak or neglected maintenance, and both of those tell you something about how the bus was cared for.
Inspect the Roof for Leaks
Water damage is sneaky. I’ve read about so many builds where someone pulled up ceiling panels and found rust, mold, and rotted wood behind what looked like a perfectly fine interior.

Check the roof from outside first. Look at every seam, especially around emergency hatches. Cracked or missing sealant means water has been getting in. Inside, look for water stains, bubbling paint, or discoloration near ceiling edges and hatches.
Here’s why this matters beyond the leak itself. Water drips down the walls and pools in the channel between the outer skin and the inner ribs. That’s where rust hides, and once it gets into the structural ribs, your walls lose integrity. A tube of roof sealant is a $20 fix. Structural rib replacement is a “sell the bus and start over” kind of problem.
Push on the floor near the walls on both sides, especially toward the rear. Soft spots near the edges often mean water has been running down and rotting the floor from the outside in.
Related: Can You Finance a School Bus Conversion?
Get the GVWR and Weigh It
So I was reading through a forum one night and this guy posted photos of his finished build, really gorgeous work, and then two comments down somebody asked if he’d weighed it. He hadn’t. Turns out he was about 4,000 pounds over his GVWR. His tires were rated for way less than what he was rolling on, and his brakes were basically working overtime every time he stopped.

Every bus has a GVWR — Gross Vehicle Weight Rating — on the data plate, usually on the driver’s door jamb. That’s the maximum the chassis, suspension, brakes, and tires can handle fully loaded. A typical full-size Type C has a GVWR between 25,000 and 36,000 pounds. Empty with no seats, it might weigh 15,000-23,000.
People see that gap and think it’s tons of room. But water weighs 8.3 pounds per gallon — a 100-gallon tank is 830 pounds just in water. Lumber, plywood, tile, batteries, a wood stove, your stuff — I’ve seen full builds add 6,000-10,000 pounds to the empty bus.
Before you buy, find the GVWR on the data plate, then take the bus to a CAT scale at a truck stop ($15) and weigh it as-is. That tells you your starting point, and the difference between the scale weight and the GVWR is your build budget in pounds. If that number is smaller than you expected, you need to plan accordingly — lightweight materials, smaller water tank, careful choices everywhere. And the tires need to be rated for the GVWR, not just the empty weight. If someone put cheap tires on the bus that are rated below GVWR, you need new tires no matter what they look like.
—
After going through all of this, here’s where I landed. Buying a used school bus isn’t complicated, but it requires you to slow down and actually look at the thing before you get swept up in the dream of converting it. The engine and fluids tell you about mechanical health. The underbody tells you about structural health. The brakes and tires tell you about safety. The roof tells you about water damage. And the GVWR tells you whether your build is even possible on that chassis.
Bring a flashlight, bring a friend who isn’t emotionally invested in the purchase, and don’t be afraid to walk away. The one that checks all nine boxes is the one worth buying, and the one that fails on two or three will drain your budget before you ever pick up a hammer.