

If you’re working with a short bus or a mid-size and wondering how people actually fit a full life into something the size of a large closet, you’re not alone. This was the question that kept coming up when I was digging into small bus builds — how do you not feel so cramped in there?
The answer comes down to design tricks that squeeze usable space out of every square inch. Pocket doors, convertible furniture, vertical storage, under-floor compartments, and multi-purpose rooms can make a 20-foot bus feel twice its size. The people who live comfortably in small conversions aren’t living with less stuff — they’re just way smarter about where everything goes and how their spaces pull double duty.
Use Pocket Doors and Sliding Doors Everywhere
I kept seeing this come up in forums and comment sections. “Why not use pocket doors to save space?” and “Why not make sliding doors? It saves a lot of space.” And honestly, yeah. This is probably the single easiest win you can get in a small bus.

A regular swinging door takes up about 7-8 square feet of floor space when you account for the swing arc. In a bus where your total usable space might be 80-100 square feet, that’s massive. A pocket door slides into the wall and takes up zero floor space when it’s open.
Now, I’ll be honest, building pocket doors in a bus is a little more involved than in a house. You need to frame a wall thick enough to hold the door — usually about 4 inches — and in a bus where every inch of wall depth matters, that’s a real trade-off. Some people skip the true pocket door and go with a barn door on a track instead. Same idea, takes up no floor space, but it hangs on the outside of the wall so you don’t lose that framing depth. I’ve seen people use these for bedrooms, bathrooms, even as pantry doors.
One thing to watch for — pocket doors can rattle while driving. A soft bumper or magnetic catch keeps them from sliding around on the road.
Build Storage Into Every Surface
A guy I was talking to at a bus meetup last year had this 22-foot short bus, and I swear it had more storage than some full-size builds I’ve seen. Every single surface was doing something. The bench seats had hinged tops with storage underneath. The stairs up to his bed platform had pull-out drawers in each step. Even his windowsills were deep enough to hold books and small bins.

That’s the mindset you need in a small bus. There is no such thing as wasted space. If a surface exists, it should either be storing something or convertible into something that stores something.
Here’s what I mean practically. Your bed platform should have lift-up panels or drawers underneath — that’s a given. But what about the space between your wall studs? That’s 1.5 to 3.5 inches of depth, depending on your framing, and it runs the entire length of your bus. Shelves recessed into the wall between studs are basically free storage that doesn’t eat into your living area at all.
Toe kicks under cabinets should have pull-out trays. The space above your cab area should be a shelf or cabinet. Think of your bus like a boat — because that’s really what small bus living is closer to than a house.
Murphy Beds and Convertible Furniture
So this is the big one. The single most impactful thing you can do in a small bus conversion is make your bed disappear during the day.

A Murphy bed — the kind that folds up against the wall — instantly gives you back 25-35 square feet of floor space. In a 20-foot bus, that could be a third of your total living area. During the day you’ve got room to move, spread out a project, whatever. At night you pull it down and you’ve got a real bed.
I researched a bunch of different hinge systems and the ones rated for daily use run $150-400 for the hardware kit. The key is getting the counterbalance right so it’s easy to lift with one hand — nobody’s going to stick with a convertible bed if it takes a wrestling match to fold it up every morning.
Now, someone asked “Does anyone ever put a recliner in their build?” and I understand the appeal. But in a small bus, a recliner takes up 12-15 square feet in the reclined position. That’s enormous for one piece of furniture that does one thing. A jackknife sofa gives you a couch during the day that folds flat into a guest bed at night. A convertible dinette gives you a table and a sleeping surface. Everything in a small bus is a compromise, and the people who do this well accept that instead of trying to force house furniture into a 90-square-foot box.
Fold-Down Tables and Countertop Extensions
Here’s a trick I picked up from looking at sailboat interiors, actually. Sailors figured out fold-down everything decades ago, and the same principles apply perfectly to a bus.

Your dining table doesn’t need to be a permanent fixture. A wall-mounted fold-down table takes up about 4 inches of wall space when it’s folded up, and gives you a full eating or working surface when you need it. You can mount one on the wall across from your kitchen and fold it down for meals, then fold it back up and have an open walkway.
Same thing with countertop space. A fold-out extension on your kitchen counter, hinged at the edge, can give you an extra 2-3 square feet of prep space when you’re cooking and fold flat against the counter when you’re not. In a small bus kitchen where you might only have 4-6 square feet of counter to begin with, that’s almost doubling your work surface.
The hardware for all of this is cheap too — a couple of heavy-duty hinges, a folding leg or a chain support, and you’re done. Maybe $30-40 in materials for something that fundamentally changes how your space works.
Vertical Storage (Walls Are Your Friend)
When you can’t go wide, go up. That sounds obvious but you’d be surprised how many small bus builds I’ve looked at where the walls above counter height are completely bare. That’s wasted space.

In a standard school bus you’ve got roughly 6 feet of ceiling height. Your counters and furniture are at 3 feet. That means you’ve got 3 feet of vertical wall space above everything that could be holding stuff. Hooks, pegboards, magnetic strips for knives, hanging fruit baskets, wall-mounted spice racks, narrow shelving. All of it takes up zero floor space.
A pegboard on the kitchen wall is one of the smartest moves for a small bus. You can hang pots, pans, utensils, mugs — and rearrange everything whenever you want. It’s flexible storage that costs about $15 for a 2×4 foot panel.
One caution on vertical storage, and I learned this from reading about someone’s bad experience — anything stored vertically needs to be secured for driving. Open shelves with loose items will become projectiles the first time you brake hard. Bungee cords across shelf fronts, tension rods, lipped shelves, or cabinet doors. Pick one.
Under-Floor Storage Compartments
This is the one that blew my mind when I first started researching small builds. The floor of a school bus sits about 10-16 inches above the chassis frame, depending on the bus. That means there’s a gap down there, and most people just insulate it and cover it up. But you can turn that gap into storage.
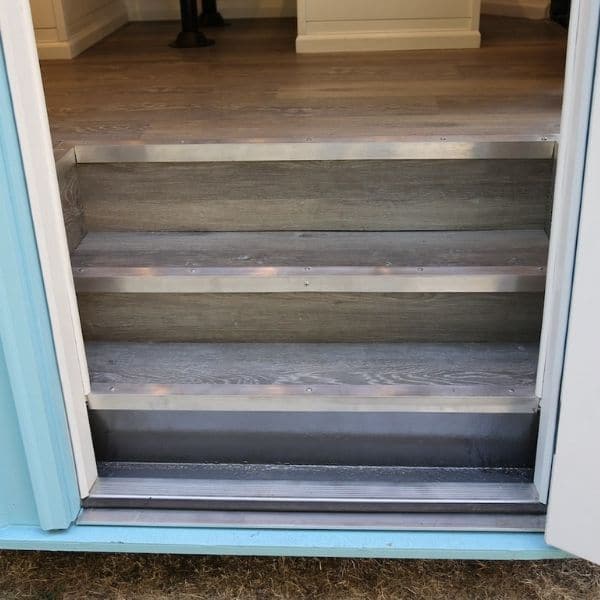
By building access panels into your floor — hinged lids or lift-out sections — you can store seasonal items, tools, and stuff you don’t need every day. Over the wheel wells you’ve got almost nothing, but between the wheels and toward the middle you can have 8-12 inches of depth. That’s enough for tool boxes, bins of seasonal clothes, spare parts, even canned food.
Some builders go further and lower a section of floor between the frame rails for a deeper well. I’ve seen one build where the guy created a 2-foot deep compartment between the rear axle and the back of the bus, accessed through a trap door in the bedroom floor.
The nice thing about under-floor storage is that it’s low and centered, which is actually great for handling. Just account for it in your GVWR calculations and make sure the access panels seal tight against road moisture.
Multi-Purpose Rooms (Bathroom That’s Also a Closet)
Alright, this one takes some getting used to mentally, but it’s probably the most effective space-saving strategy for a small bus. The idea is that your bathroom doesn’t need to be JUST a bathroom.

In a lot of small builds, the bathroom is basically a wet bath — a small room where the entire thing is the shower. The toilet is in the shower. The sink might be in the shower. When you’re not showering, that room is just sitting there being a tiny empty room with a toilet in it.
So why not also make it your closet? I’ve seen builds where the bathroom has a rod across the top for hanging clothes. When you shower, you move the clothes out or push them to one end. When you’re not showering, the bathroom is your walk-in closet. Some people hang a waterproof curtain between the shower side and the closet side. Others just accept that the clothes get a little steamy and air them out after.
It’s weird at first. I get it. But when your entire bus is 20-25 feet long and you’re trying to fit a bathroom AND a closet AND a kitchen AND a bedroom into that space, combining rooms is how you make it work. I talked to one couple who used their bathroom as a laundry room too — countertop washer on a shelf above the toilet. Shower, toilet, washer, and clothing storage all in one 18-square-foot room. The key is waterproofing — if the room ever functions as a wet bath, everything in it needs to handle moisture.
Use the Driver’s Area as Living Space
Most conversions I’ve looked at just leave the driver’s area alone — the seat stays, the dash stays, maybe there’s a curtain separating it from the living space. But in a small bus, that driver’s area is 15-20 square feet of prime real estate.
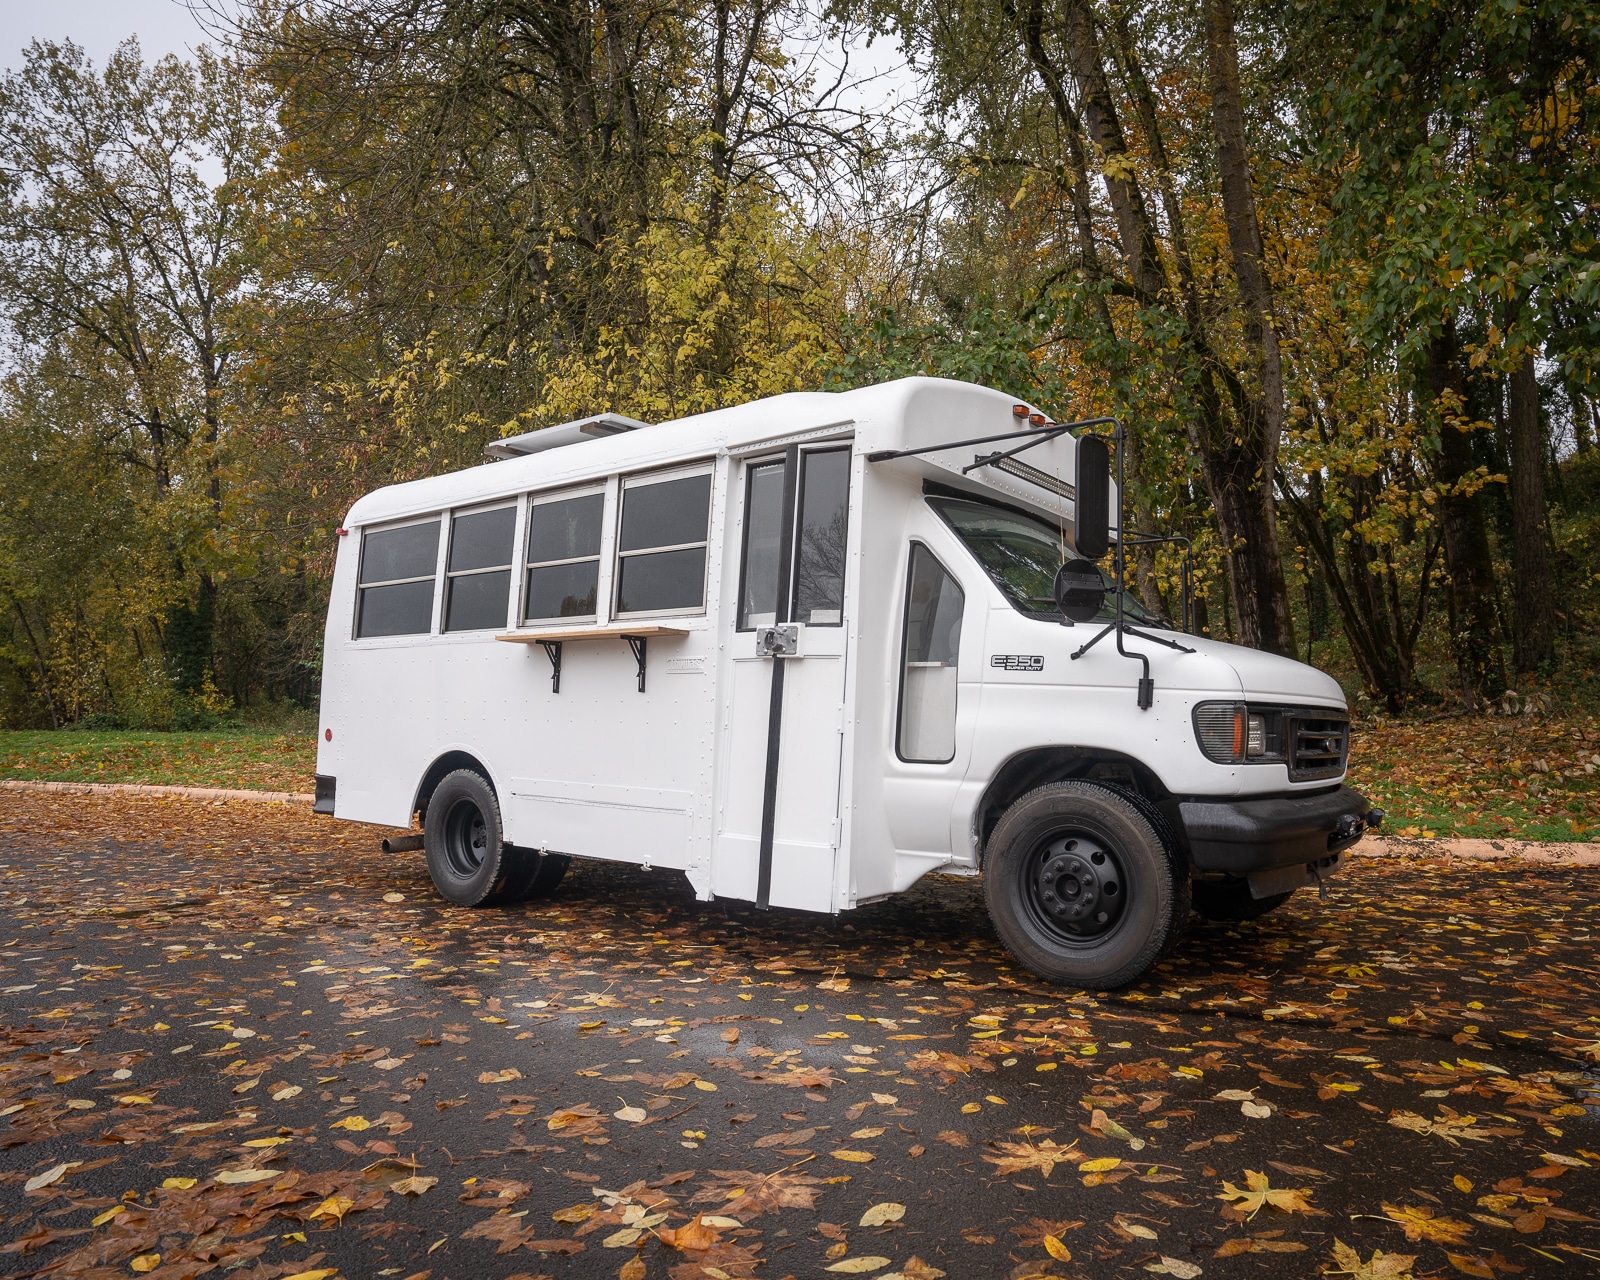
When you’re parked, you don’t need a driver’s seat. A swivel seat on the driver’s side turns your driving position into a living room chair facing backward into the bus. The passenger seat can swivel too. Suddenly you’ve got a sitting area up front with the best views in the bus, because that’s where the biggest windows are.
The area above the driver is also usable. A lot of small bus builders put a sleeping platform up there — kind of like an over-cab bunk in a traditional RV. The clearance is tight, maybe 24-30 inches, but for sleeping that’s fine. I’ve seen solo builders who use the over-cab area as their primary bed, which frees up the entire rear for living space. That’s a game-changer on a short bus.
Roof Storage and Exterior Racks
When you’ve maxed out the interior, go outside. A roof rack on a bus can hold a surprising amount — bikes, kayaks, solar panels, a cargo box, extra water tanks, firewood. The roof of even a short bus gives you 80-120 square feet of flat surface area.

But, and this is important, you need to think about weight up there. Weight on the roof raises your center of gravity, which affects how the bus handles — especially in crosswinds and curves. Heavy stuff should stay low (under-floor storage) and lighter stuff goes on the roof.
A welded or bolted roof rack with proper tie-down points is the standard approach. Most people weld steel tubing directly to the bus roof ribs. You can also use Unistrut channel, which is cheaper and doesn’t require welding. Budget around $200-500 for materials.
Don’t forget exterior wall storage either. Locking boxes mounted under the bus between the frame rails, exterior cabinets built into the skirt panels, bike rack on the back. Every item you store outside is an item that isn’t eating your interior.
One thing worth mentioning — check your height. A school bus is already about 10-10.5 feet tall. Add a roof rack with bikes on top and you could be pushing 12 feet. That matters for overpasses and gas station canopies. It shows up in the comments on basically every roof rack build video.
Keep Your Stuff Minimal (The Hardest Tip)
So after all these clever design tricks and storage solutions and convertible furniture, here’s the one that actually matters most. And it’s the one nobody wants to hear.
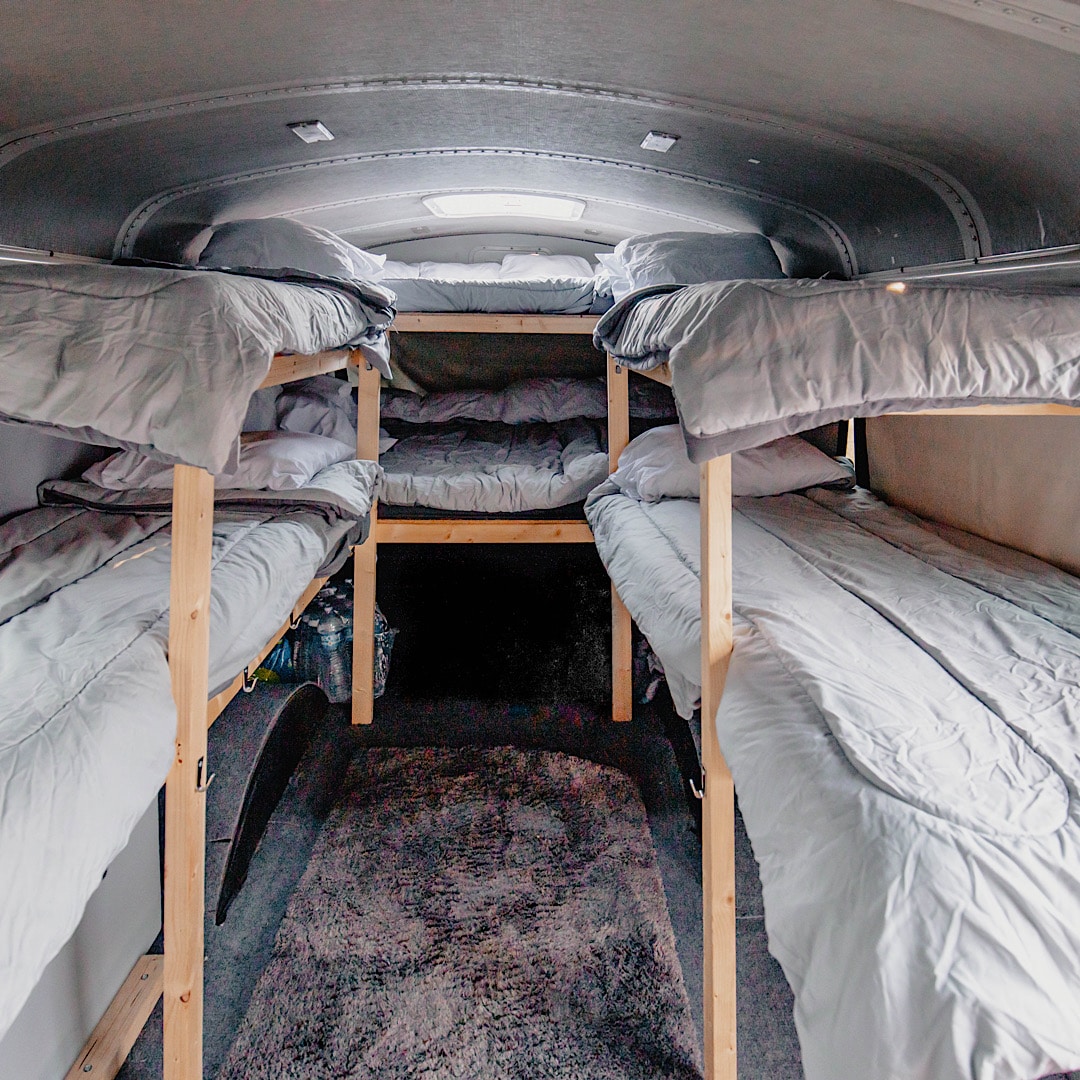
You have too much stuff.
I know, I know. But it’s true, and it was true for me when I started thinking seriously about this lifestyle. We accumulate things without realizing it. Drawers full of stuff we haven’t touched in months. Clothes we keep “just in case.” Kitchen gadgets that do one specific thing we could do with a knife.
A small bus conversion will hold everything you need. But it will not hold everything you want, and it definitely won’t hold everything you currently own. The most comfortable small bus dwellers I’ve talked to or read about all say the same thing — the downsizing was harder than the build, but it was also the most freeing part.
Here’s a practical approach that seemed to work for a lot of people. Put everything you own into boxes. As you use something over the next month, take it out of the box and put it in a “keep” pile. After 30 days, look at what’s still in the boxes. Most of it can go. I read about one guy who moved into his bus and within two months had donated another three boxes of stuff he thought he needed but never touched.
After digging into all of this, here’s what I keep coming back to. The people who feel cramped in their small bus conversions aren’t the ones with the smallest buses — they’re the ones who tried to bring their old life into a new space without adapting. The people who feel comfortable, even spacious, in a 22-foot bus are the ones who rethought how they use every surface, every corner, every wall. And most importantly, they rethought what they actually need to carry with them. You don’t need a bigger bus. You need a smarter bus, and probably less stuff. That’s really what it comes down to.