
When I first started looking into bus life, the mechanical side honestly intimidated me more than any other part of the process. I wasn’t worried about building cabinets or running wires — I was worried about keeping a 30,000-pound commercial vehicle alive on the road, hundreds of miles from anyone I knew, with my entire home sitting on top of it.
Maintaining a skoolie is not as scary as it sounds, but it does require a different mindset than maintaining a car. These are commercial diesel engines and heavy-duty drivetrains built for fleet service — they want to run, and they’ll run for hundreds of thousands of miles if you stay on top of the basics. The reality is that most skoolie breakdowns aren’t caused by random catastrophic failures. They’re caused by people ignoring the boring stuff — oil changes, coolant chemistry, belt inspections, tire age, greasing the chassis. A reasonable annual maintenance budget falls between $2,000 and $5,000 depending on the age of your bus and how many miles you put on it. This guide covers the full picture: what to do, when to do it, how to find help when you need it, and how to handle the stuff that goes wrong anyway.
How often do you have to change the oil?
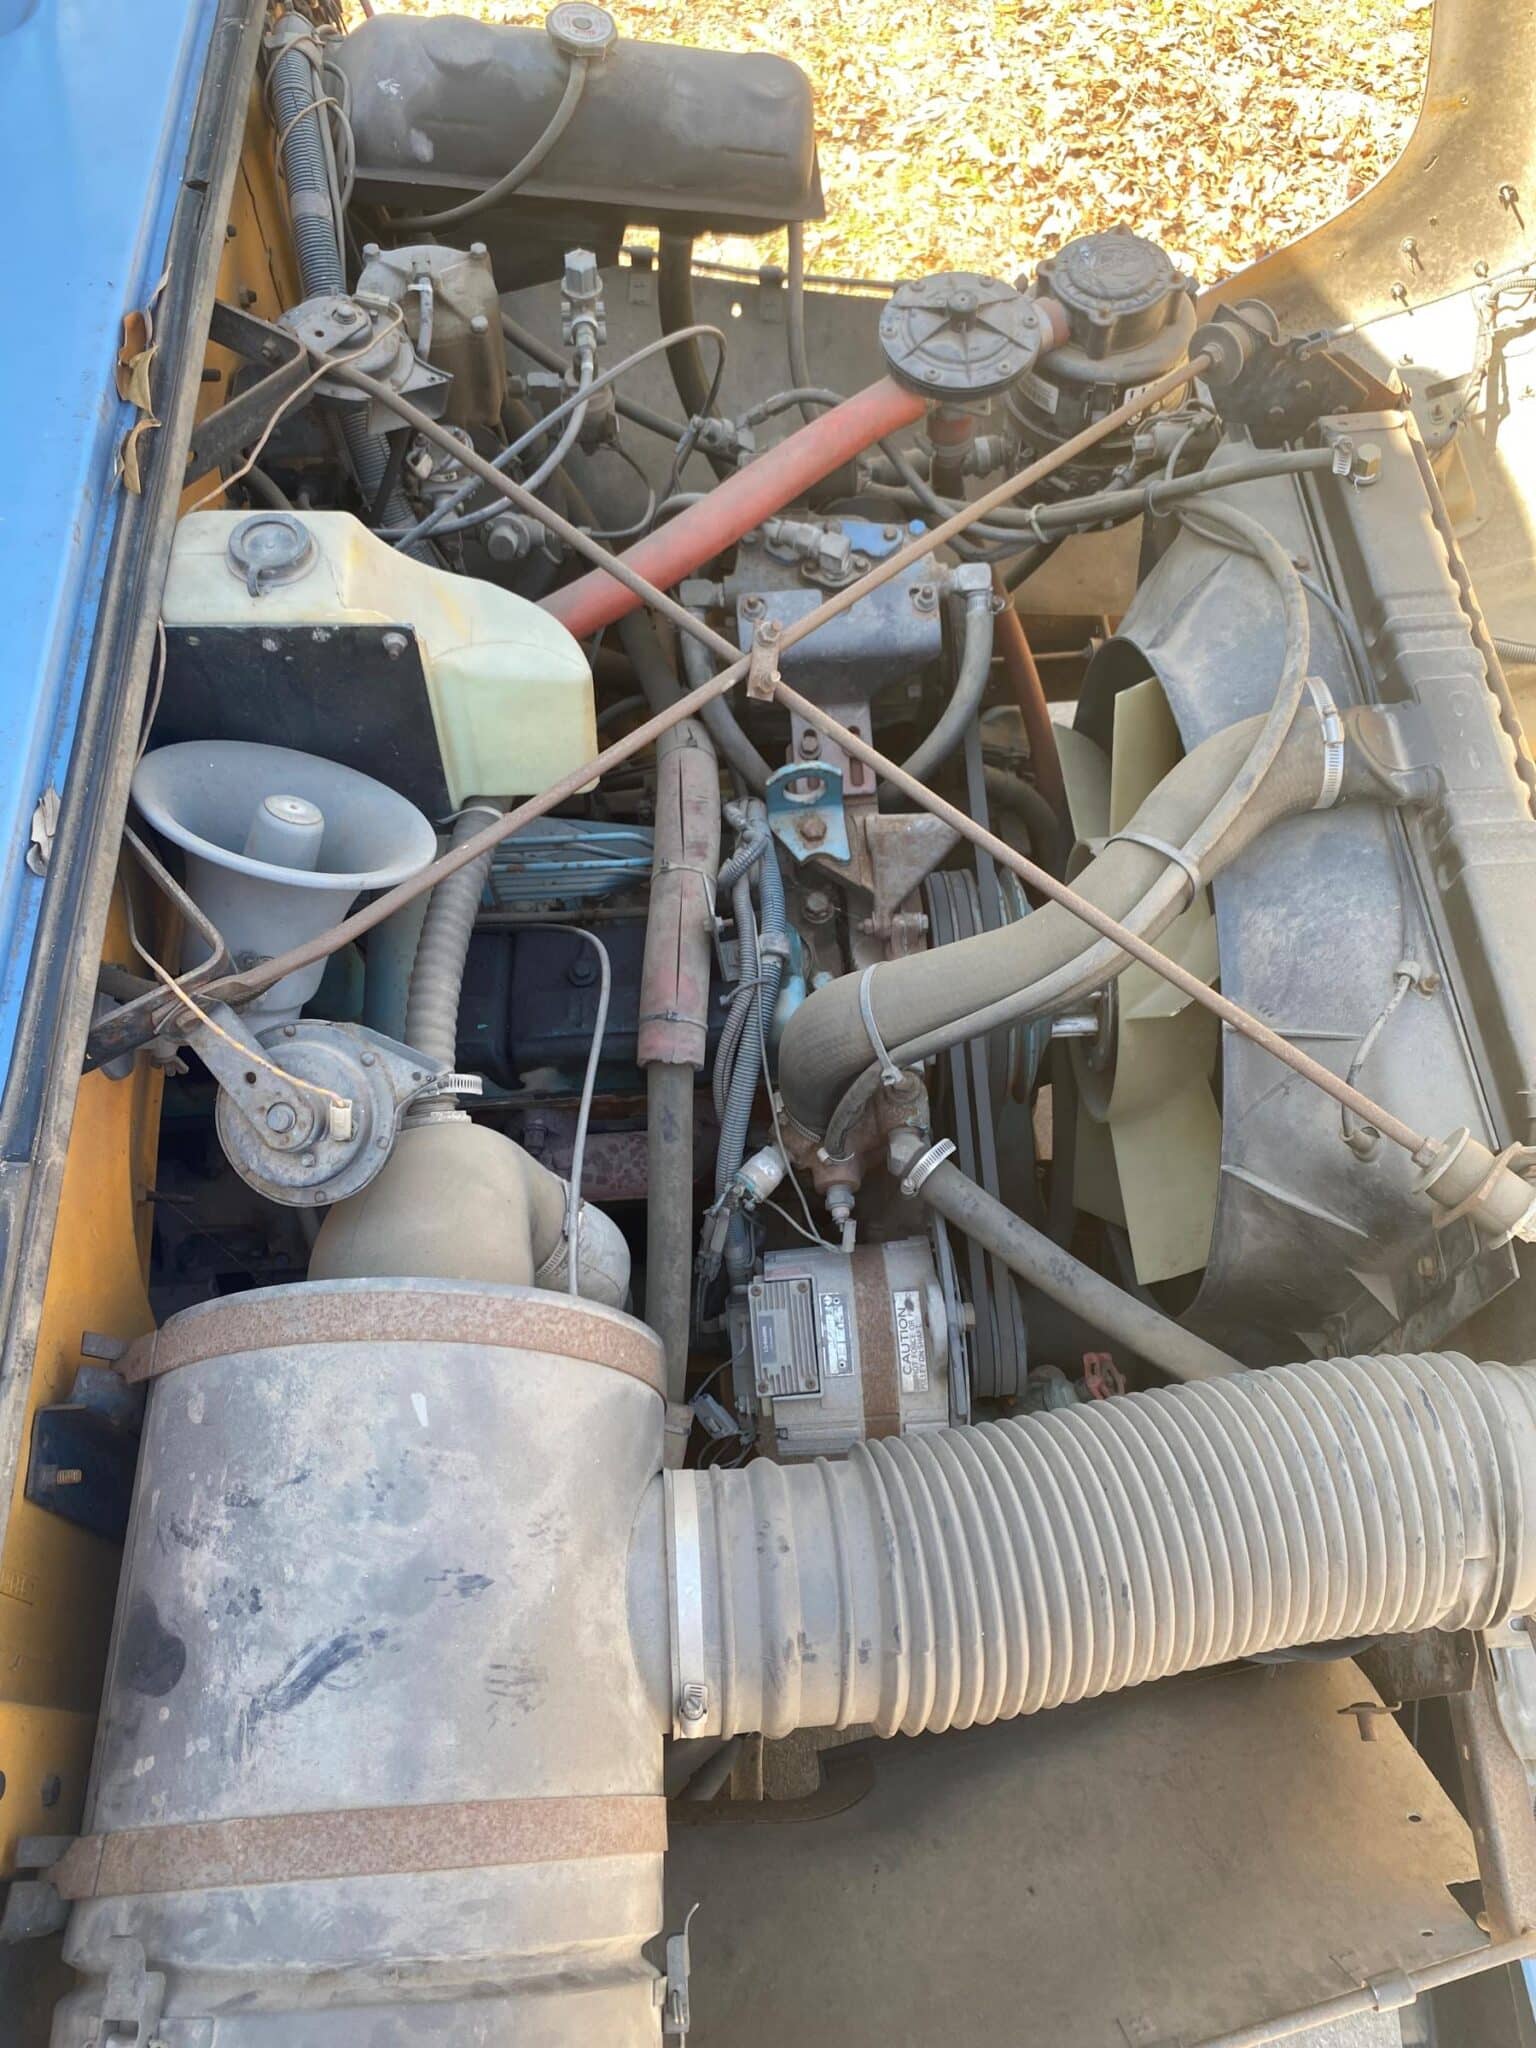
This is probably the most common maintenance question I came across when I was digging into all of this, and the answer depends on your engine, your driving conditions, and honestly who you’re talking to.
The general rule for school bus diesel engines is every 5,000 to 7,500 miles. But that’s a wide range, and there’s a reason for it. If you’re doing a lot of highway cruising — steady RPMs, minimal stop-and-go — you can push toward the higher end. If you’re doing a lot of idling, short trips, dusty conditions, or mountain driving with heavy loads, you want to be on the shorter end. Some people I talked to in the community change theirs every 3,000 miles and swear by it. I don’t think that’s necessary for most situations but it’s definitely not going to hurt anything.
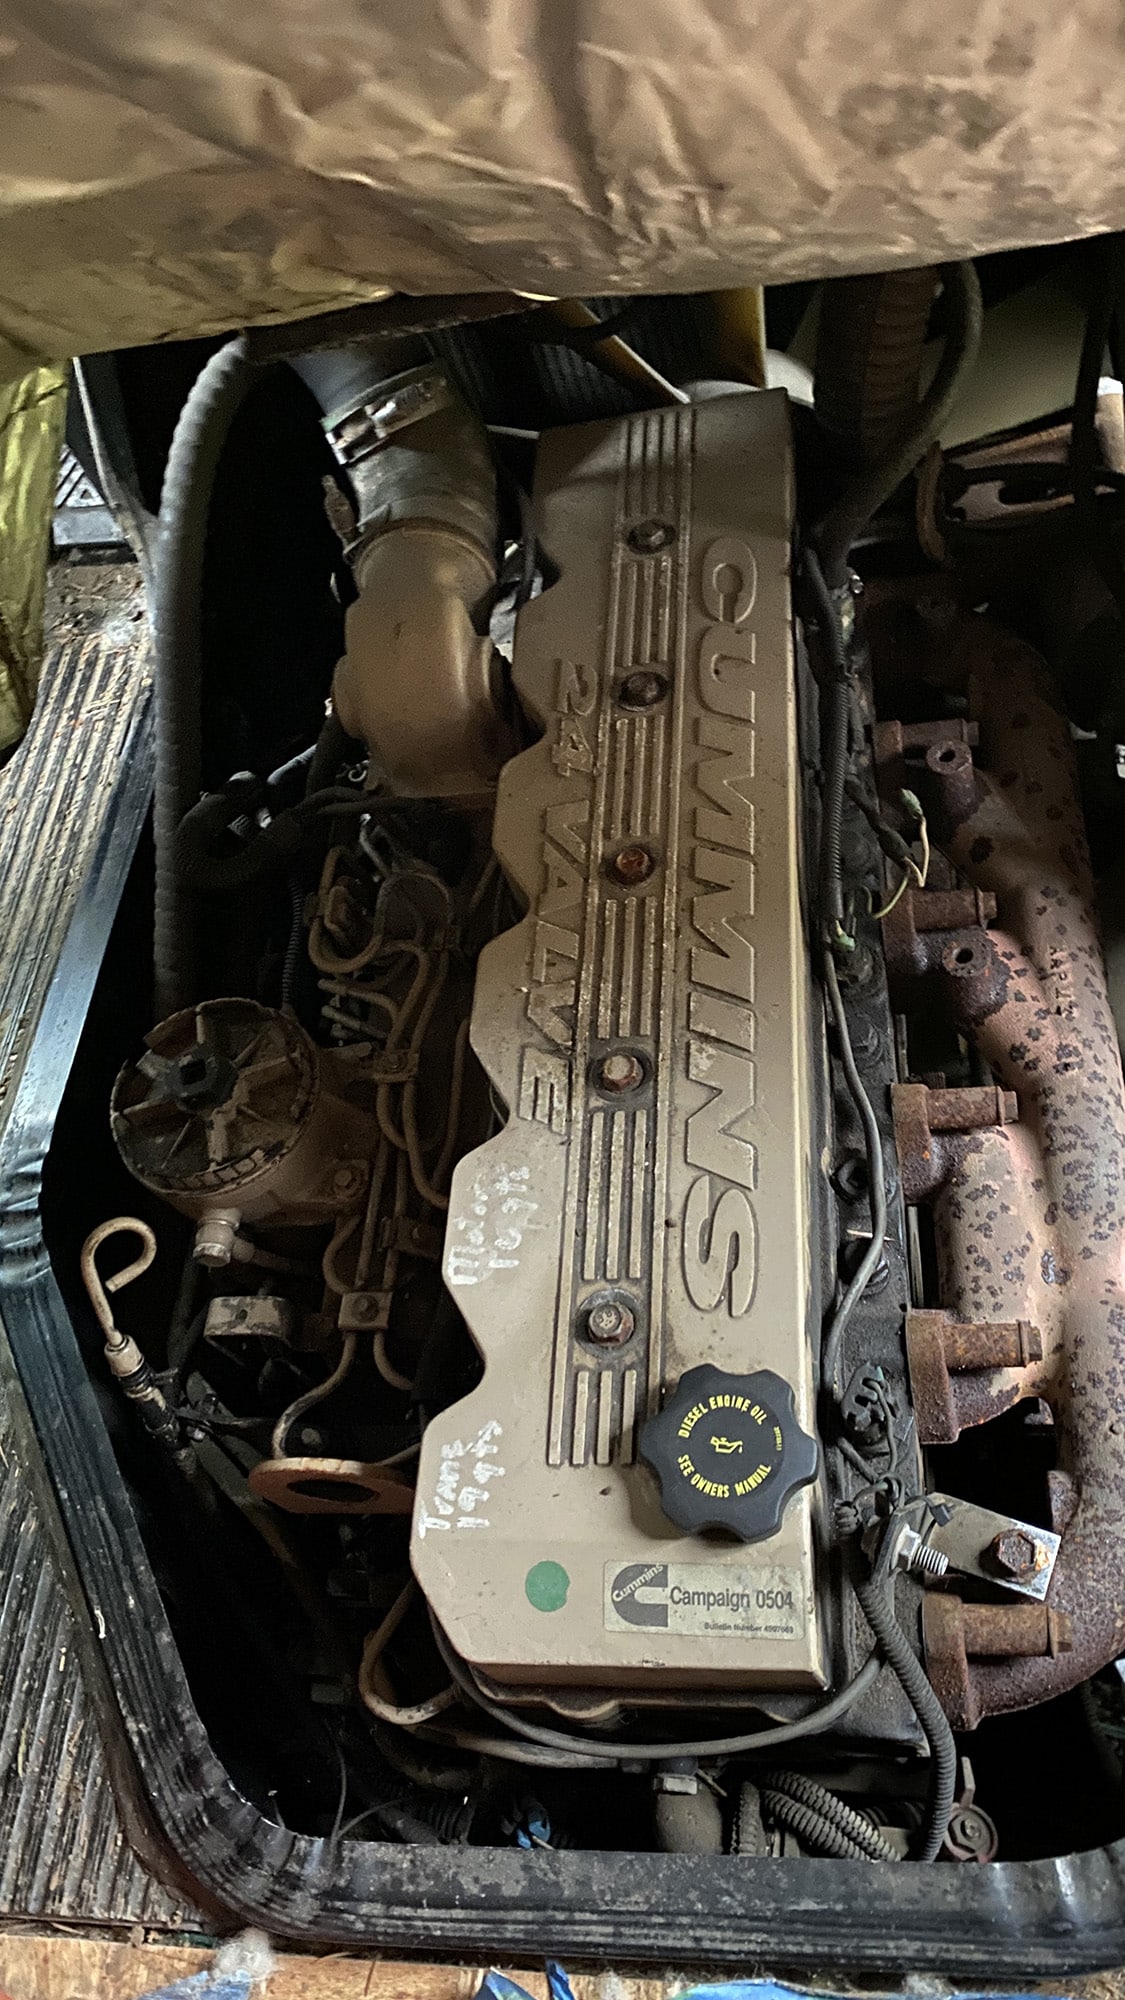
The thing about bus oil changes that surprises people coming from the car world is the volume. Most school bus diesel engines take between 10 and 15 quarts of oil depending on the engine and filter size. A DT466 takes about 14 quarts with a filter change. A Cummins 5.9 takes around 12. The Cat 3126 is similar. So you’re looking at three to four times more oil than your Honda Civic needed.
Cost-wise, doing it yourself runs about $60 to $100 in oil and a filter. Taking it to a shop, you’re probably looking at $100 to $200. Not terrible for a vehicle this size, but it adds up over the course of a year if you’re putting on serious miles.
Here’s something that I learned that I think is worth mentioning. Don’t just change the oil — look at the oil. If it’s super thin and smells like diesel fuel, you’ve got fuel dilution, which usually means an injector problem. If it looks like chocolate milk, coolant is getting into the oil, and that’s a head gasket or worse. The oil on the dipstick tells a story every time you check it. I started paying attention to this after reading a forum post from a guy who caught a failing head gasket early just because the oil looked slightly different on a routine check.
And while you’re doing oil, change your fuel filters at the same time. Most diesel engines have a primary and secondary fuel filter, and they’re cheap — $15 to $30 each. Fuel filters protect your injectors, and injectors cost $200 to $500 apiece. Six injectors on a common school bus engine means you’re looking at $1,200 to $3,000 if they go bad. Cheap insurance.
What’s the regular maintenance schedule look like beyond oil changes?
I put together a schedule based on what I found from manufacturer recommendations, fleet maintenance programs, and what experienced skoolie owners actually do. It breaks down into daily, monthly, seasonal, and annual intervals.
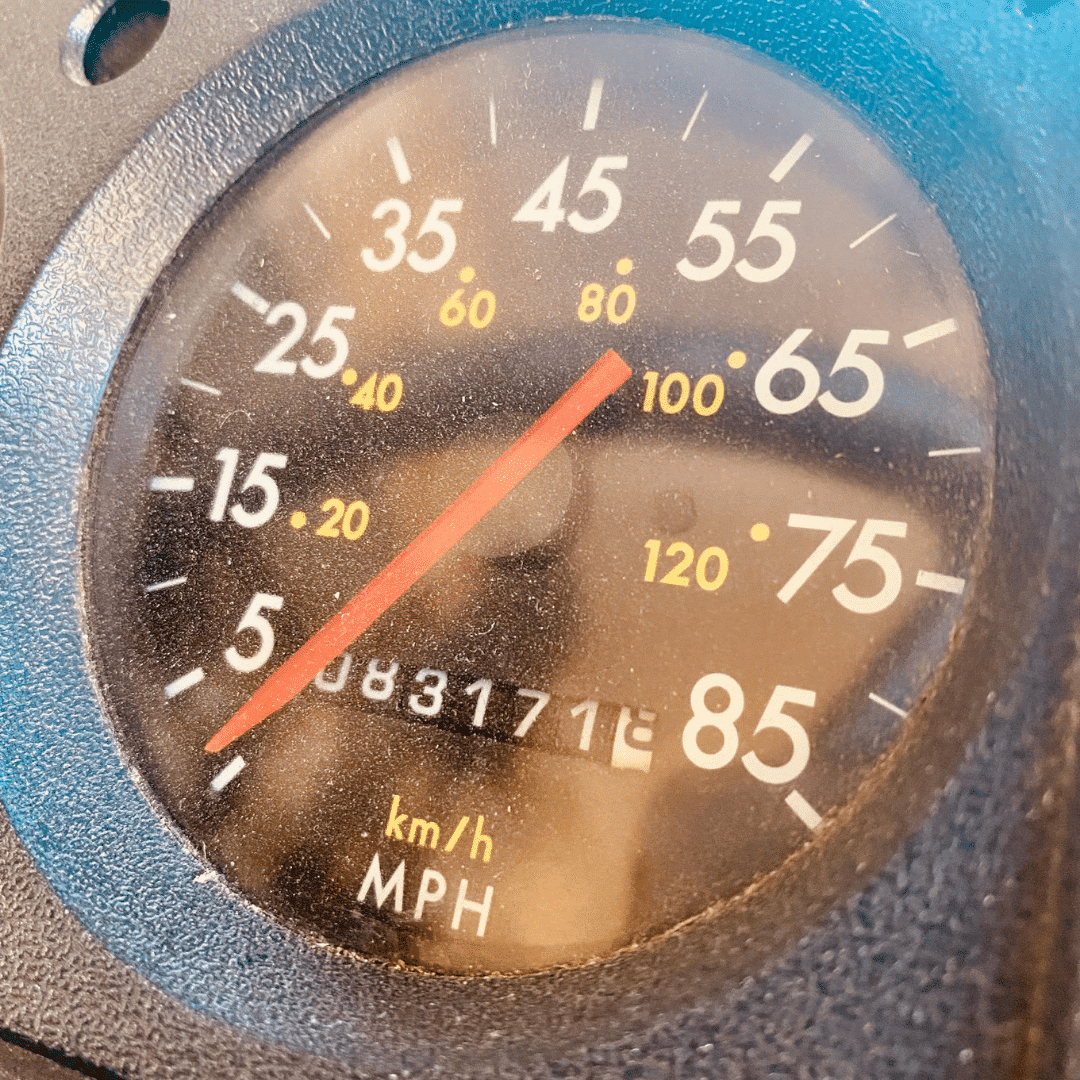
Daily checks (five minutes before you drive)
Walk around the bus. Just do a lap. You’re looking for new puddles underneath, a tire that looks soft, something hanging down that wasn’t there yesterday. Check your oil level and coolant overflow tank. Start the engine and listen. If something sounds different from yesterday, that’s your bus telling you to pay attention. If you have air brakes, watch the air pressure gauge build to operating pressure — it should get there within a couple minutes. Slow buildup or audible air leaks means you’re not going anywhere until it’s fixed.
I know daily checks sound like overkill, but I read a story from a skoolie owner who drove 30 miles before realizing his rear driveshaft was dragging on the ground. A five-minute walk-around would have caught that before he left the parking lot.
Monthly maintenance
Once a month, go a little deeper. Check all your fluid levels properly — not just oil and coolant but transmission fluid, power steering fluid, and brake fluid if you have hydraulic brakes. Transmission fluid on an Allison needs to be checked warm and at idle, which is different from a car.
Inspect your air filter. Pull it out and hold it up to light. If you can see light through the pleats, it’s fine. If it’s solid brown, swap it. How fast your filter gets dirty depends entirely on where you’re driving. Desert and gravel roads eat air filters for lunch.
Battery terminals — check for corrosion, clean them with a wire brush if they’re getting fuzzy. Apply some dielectric grease. This costs nothing to maintain but will absolutely strand you if you ignore it.
Grease the chassis. School buses have grease fittings — zerks — on the steering components, suspension, and sometimes the driveshaft. A grease gun costs maybe $30 and a tube of grease is a few bucks. Hit every fitting until fresh grease squeezes out. This prevents wear on joints that are brutally expensive to replace if they go metal-on-metal.
Check all your lights. Headlights, taillights, brake lights, turn signals, clearance lights. I’ve heard from enough people in the community that cops will pull over anything that looks like a converted bus, especially if clearance lights are out.
Seasonal checks
I think about this in two chunks — spring prep and fall prep.
Spring is when you check for winter damage. Road salt is murder on the undercarriage. Get under there and look at your frame, brake lines, fuel lines for corrosion. Check your AC system if you have one. Clean the condenser with a garden hose — it gets clogged with bugs and road grime. Inspect your tires for sidewall cracking and check the date codes. Tires older than seven years should be replaced even if the tread looks fine.
Fall is about cold weather prep. Test your block heater and glow plugs. Make sure your batteries are strong — a marginal battery in September will strand you in December. Check your antifreeze protection level with a refractometer (about $15 online, way more accurate than the cheap ball-float testers). And think about your fuel — diesel gels in cold weather. You need winterized diesel or an anti-gel additive. I talked to a guy who woke up to a bus that wouldn’t start because the fuel turned to jelly in the lines during an unexpected cold snap. That’s an easy problem to prevent and a miserable problem to fix.
Annual maintenance
Once a year, you go through everything thoroughly. Think of it like an annual physical.
Brake inspection is the big one. If you have air brakes, check shoe thickness, drum condition, slack adjuster settings, and air chambers for leaks. A full brake inspection at a commercial vehicle shop runs $100 to $200 and it’s money well spent. Brakes are not where you cut corners.
Get your coolant tested and check the supplemental coolant additives. Diesel coolant needs SCAs to prevent cavitation of cylinder liners — this is something most people coming from the car world have never heard of, and skipping it long enough will eat pinholes through your cylinder walls. Some engines use a coolant filter with SCAs built in, which makes this pretty easy.
Check your entire suspension — leaf springs for cracks, U-bolts for tightness, bushings for wear, shocks for effectiveness. Check steering components — tie rod ends, drag link, pitman arm, steering gear box. Have someone turn the wheel while you watch from underneath. Any play or looseness is a safety issue.
Valve adjustment if your engine requires it. The DT466 and some Cummins engines need periodic valve adjustment. Out-of-spec valves cause hard starting, rough idle, and eventually valve damage. A shop charges $150 to $300 for this, or you can learn to do it yourself.
Inspect the exhaust system from manifold to tailpipe. Exhaust leaks on a bus you’re sleeping in are a carbon monoxide issue, not just a noise issue. Test your CO detector while you’re thinking about it.
Belt and hose inspection
Belts and hoses deserve their own mention because they’re easy to overlook and catastrophic when they fail. Serpentine belts, coolant hoses, heater hoses, power steering hoses — I check all of these every couple months at minimum. A cracked belt looks fine from three feet away but will snap on you going up a mountain pass. Coolant hoses get soft and spongy when they’re dying — squeeze them. If they feel mushy or you see cracking at the clamp points, replace them.
I carry spare belts on the bus. Always. A serpentine belt for most school bus engines costs $20 to $40 and takes up almost no space. If your belt snaps at mile marker 187 in the middle of nowhere, having the spare turns a tow truck situation into a 30-minute roadside repair.
What happens if your skoolie breaks down on the road?
This is the question I saw over and over in forums and comment sections. And I get it — when your vehicle is also your home, a breakdown isn’t just an inconvenience, it’s an everything problem. Where do you sleep? Where does your stuff go? How do you even get a 35-foot bus to a shop?
Here’s the protocol I put together after researching what experienced full-timers actually do.
Step one: get safe
Pull as far off the road as you possibly can. Buses are wide, and the shoulder might not be wide enough. If you’re on a highway, get to an exit if the bus will still move at all. Turn on your hazards. Put out triangles or flares if you have them — and you should have them. I’ll talk about the emergency toolkit in a minute.
Step two: assess what happened
Before you call anyone, take a few minutes to figure out what actually went wrong. Is the engine overheating? Is it making a horrible noise? Did something just stop working? Did you see a warning light? The more information you can give a mechanic or tow company over the phone, the better they can help you.
Some breakdowns are things you can fix on the spot if you have basic tools and knowledge. A thrown serpentine belt, a loose battery cable, a blown fuse, a coolant hose that popped off a fitting — these are all things I’ve seen people fix roadside in under an hour. That’s why the emergency toolkit matters so much.
Step three: call for help
If you can’t fix it yourself, you need a tow. And here’s where bus life gets tricky — regular AAA won’t tow a school bus. You need heavy-duty roadside assistance. Good Sam’s Club, Coach-Net, and some specialty RV roadside assistance programs cover larger vehicles. Some will cover up to 40 feet. Check the fine print before you need it, not during the emergency.
Towing a school bus is expensive. You’re looking at $300 to $500 for a short tow, and potentially $5 to $10 per mile for longer distances. A heavy-duty wrecker has to come get you. It’s not cheap.
Step four: find somewhere to go
This is the part people don’t think about until it happens. You need the bus towed somewhere that can actually work on it. A regular mechanic shop might not have the space or equipment. I’ll cover finding mechanics in the next section, but the short version is — truck stops, diesel shops, and fleet maintenance facilities are your friends. If you’re near a city, there are options. If you’re in the middle of nowhere, you might be waiting a while.
What do you do while you wait?
This is where having a plan matters. Some people carry bikes or have a tow vehicle for exactly this reason. If the repair takes days, you might need a hotel or you might be sleeping in the bus at the shop with their permission. I read about one couple who spent four days at a diesel shop in rural Texas waiting for a part to come in. They said the shop let them plug in to an outlet and use the bathroom, and they just lived in the bus in the parking lot. Not glamorous, but it worked.
Having cash reserves specifically earmarked for emergencies makes the whole experience less terrifying. I’ll talk about budgets later, but the short version is that you should always have $1,000 to $2,000 in your emergency fund that you never touch for anything else.
How do you find a mechanic for a converted school bus?
I actually wrote a separate article on this topic because it comes up so often, but here’s the comprehensive version for this guide.
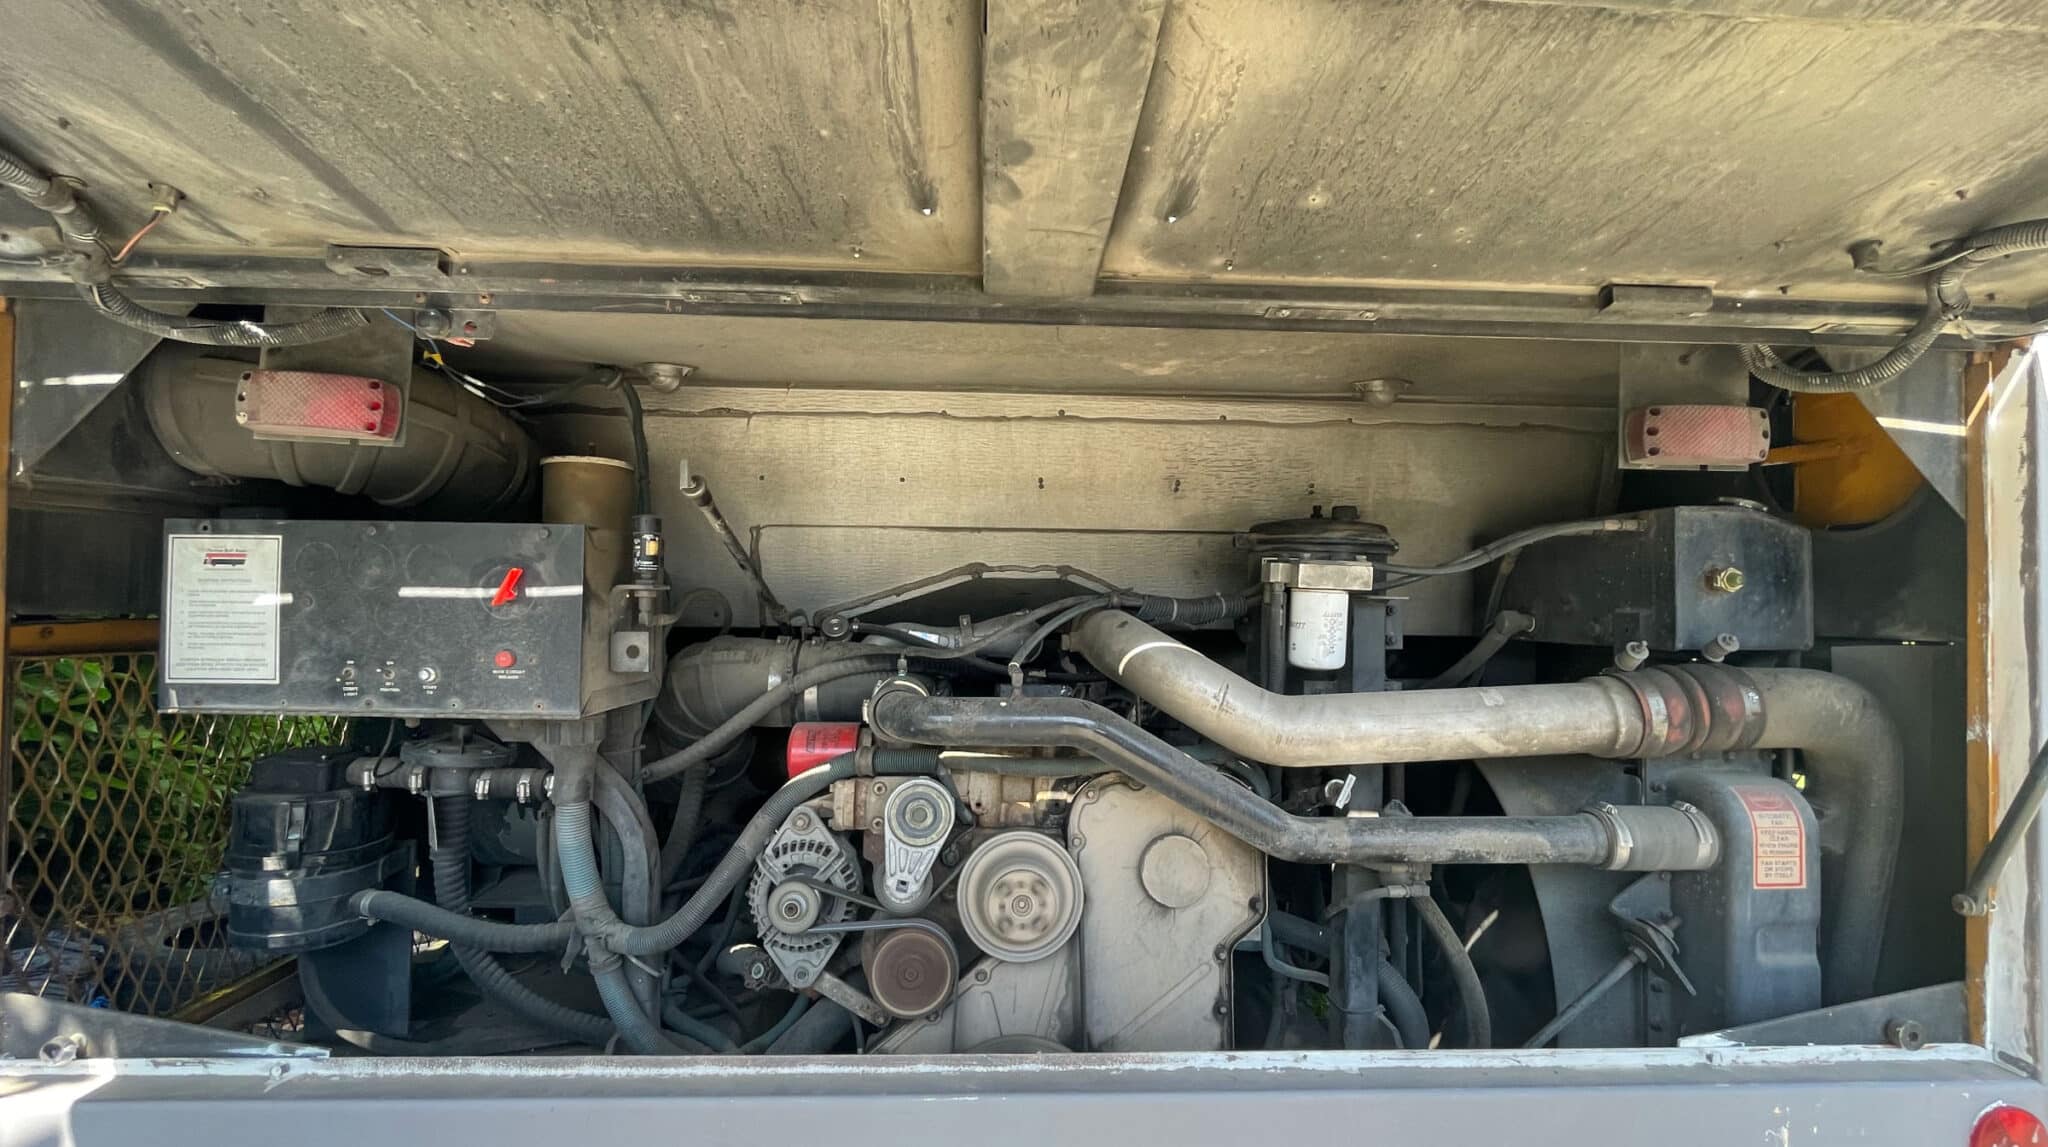
The core problem is that most auto mechanics won’t touch a school bus. It’s too big for their lift, they don’t have the right tools, and they’re not familiar with air brakes or commercial diesel engines. You need someone who works on trucks, buses, or heavy equipment.
Diesel truck shops
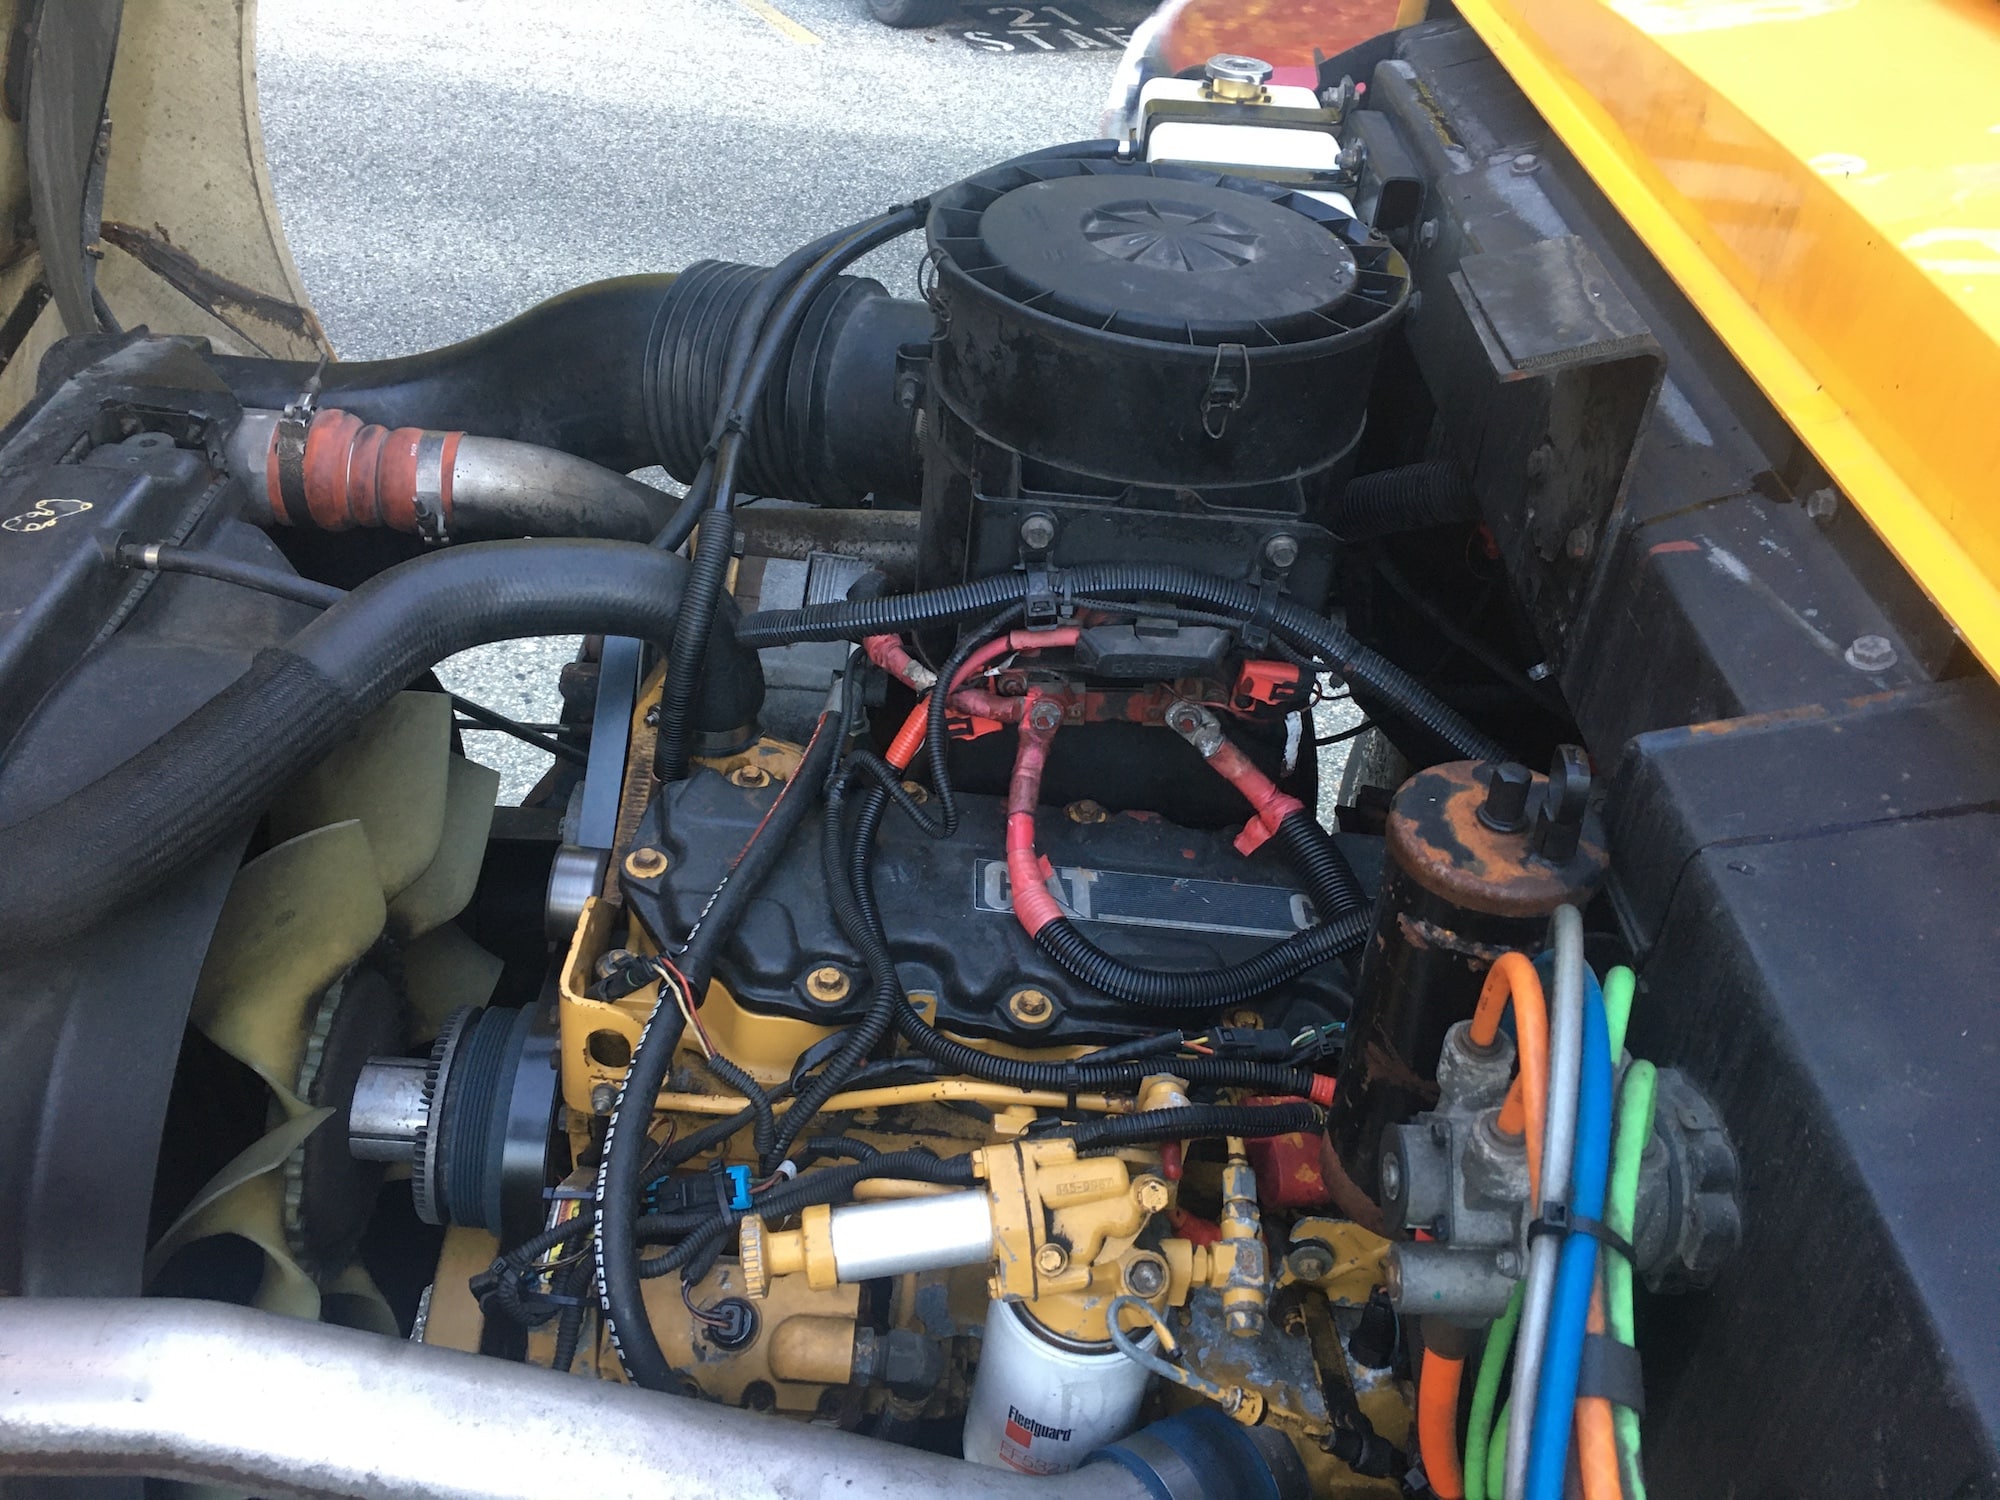
This is your primary option. Independent diesel shops that work on semi trucks, box trucks, and fleet vehicles can almost always work on your bus engine. The engines in school buses — DT466, Cummins 5.9 and 8.3, Cat 3126 — are the same engines found in medium-duty trucks. A diesel mechanic sees these every day.
I found that calling ahead and explaining what you have saves a lot of time. “I have a 2001 International 3800 with a DT466” gets a much better response than “I have a converted school bus.” The mechanic hears “International” and “DT466” and knows exactly what you’re talking about. Lead with the chassis and engine, not the fact that it has a kitchen inside.
Fleet maintenance facilities
Some larger fleet operations — think Ryder, Penske, or municipal fleet garages — will take outside work. Not all of them, but it’s worth asking. These guys maintain hundreds of vehicles that are similar to yours, they have the right equipment, and they stock common parts.
Truck stops
Love’s, Pilot/Flying J, TA/Petro — the major truck stop chains have service bays designed for commercial vehicles. They can handle oil changes, basic repairs, tire service, and sometimes more involved work. The quality varies by location, but they’re almost everywhere and they’re used to working on big stuff. I’ve read mixed reviews, so I wouldn’t go there for a complex engine job, but for an oil change or belt replacement on the road, they’re hard to beat for convenience.
Dealerships
International/Navistar, Freightliner/Thomas, and Blue Bird all have dealer networks with service departments. If you have warranty concerns or need specialized parts, the dealer might be your best bet. They’re typically more expensive than independent shops, but they know your specific chassis inside and out.
The skoolie community
Don’t underestimate this. Facebook groups, forums, and the broader bus life community are surprisingly good resources for mechanic recommendations. If you’re broken down in an unfamiliar area, posting “anyone know a good diesel shop near [city]?” in a skoolie group will often get you several recommendations within the hour, from people who’ve been in the exact same situation.
I keep a running list of shops I’ve found that people have recommended, organized by state. It’s in a spreadsheet on my phone. The idea is that wherever I break down, I’ve got at least a starting point for who to call.
Learning to do it yourself
I’ll be honest, I didn’t expect this to become such a big part of the maintenance conversation, but it kept coming up in my research. A significant number of full-time skoolie owners learn to do most of their own maintenance. Not because they’re all gearheads — some of them had never touched a wrench before buying a bus — but because finding a qualified shop while traveling is inconsistent, and the labor costs for commercial vehicle work add up fast.
The stuff that’s genuinely DIY-friendly for most people:
- Oil and filter changes
- Fuel filter changes
- Air filter replacement
- Coolant top-offs and testing
- Belt inspection and replacement
- Battery maintenance
- Greasing the chassis
- Light bulb replacement
- Basic electrical troubleshooting
The stuff you probably want a shop for unless you really know what you’re doing:
- Brake work (especially air brakes)
- Injection system repairs
- Transmission service
- Major engine work
- Suspension and steering repairs
- Anything involving the air brake system
There’s a middle ground too. Things like valve adjustments, coolant system flushes, and wheel bearing repacks are learnable with YouTube videos and patience, but they’re not something I’d recommend for your first weekend under the bus.
How much should you budget for maintenance per year?
I asked this question to every source I could find — forum threads, YouTube comments, blog posts, people in Facebook groups — and the honest answer is it depends on a lot of factors. But here are the real numbers I was able to piece together.
The baseline: $2,000 to $3,000 per year
If your bus is mechanically sound, you’re staying on top of preventive maintenance, and nothing major goes wrong, most people report spending $2,000 to $3,000 per year. That covers:
- Oil changes (4-6 per year if you’re traveling full-time): $400-$800
- Fuel filters: $100-$200
- Air filters: $30-$60
- Coolant maintenance and SCAs: $50-$100
- Belts and hoses (as needed): $50-$200
- Grease, fluids, and misc supplies: $50-$100
- Annual brake inspection: $100-$200
- One or two shop visits for something unexpected: $500-$1,000
That’s your “good year” number. And some years are good years.
The realistic number: $3,000 to $5,000 per year
But some years are not good years. Something breaks. Tires need replacing. The alternator dies. You need a brake job. An injector goes bad. When you factor in the inevitable surprise expenses that come with driving a 15 to 25-year-old commercial vehicle full time, the realistic annual budget is closer to $3,000 to $5,000.
Tires alone can eat a huge chunk of that. A single bus tire costs $200 to $400 depending on size and brand. If you need all six (or eight, or ten, depending on your bus), that’s $1,200 to $4,000 in one shot. Most people don’t replace all their tires in the same year, but even doing two or three at a time adds up quick.
A brake job — full shoe replacement, new drums if needed, new hardware — can run $800 to $2,000 depending on how much needs to be done and whether you’re paying shop labor.
The emergency fund
On top of your annual maintenance budget, I really think you need a separate emergency fund of $2,000 to $3,000 that you don’t touch for routine stuff. This is for the tow at 2 AM, the injector that fails in Arizona, the transmission problem that turns a Tuesday into a very expensive week. When I was reading through breakdown stories, the people who were okay were the ones who had money set aside. The people who were in crisis were the ones who were already running tight and then got hit with a $1,500 repair bill they didn’t plan for.
What about older buses vs newer buses?
This matters more than most people realize. A bus from the 1990s with a mechanical diesel engine (pre-electronic) is generally cheaper to maintain because the systems are simpler. A DT466 from 1997 doesn’t have complex emissions equipment, electronic fuel injection, or turbo variable geometry vanes to worry about. It’s mechanical. When something breaks, it’s usually straightforward to diagnose and fix.
Buses from the mid-2000s onward start having more electronic complexity. EGR systems, DPF filters, DEF systems on newer models. These add maintenance requirements and potential failure points. That’s not a reason to avoid a newer bus — the emissions equipment works fine when maintained — but it does affect your budget.
I found a rule of thumb that made sense to me. For every year older than 2000 your bus is, add about $200-$300 to your annual maintenance estimate. A 1995 bus might need $500-$1,000 more per year in age-related maintenance than a 2005 bus, just because rubber deteriorates, seals dry out, and metal corrodes over time regardless of mileage.
I was a bus driver, and ours needed constant maintenance. Is that normal?
I saw this comment and variations of it a bunch of times, and I think it’s actually a really important point to address. Yes, school buses in active fleet service need constant maintenance. That’s because they’re running all day, every day, carrying heavy loads, making hundreds of stops, and racking up miles fast. A school district’s fleet shop might touch every bus every few weeks.
But that doesn’t mean the buses are unreliable. It means they’re being maintained proactively by a professional shop on a strict schedule. That’s actually a good thing — it’s why these engines last 300,000 to 500,000 miles. The maintenance frequency is a feature, not a bug.
When you buy a retired school bus, you’re taking over from that fleet shop. The maintenance frequency doesn’t change — what changes is that you’re the one responsible for it now. If you follow a schedule similar to what the district was doing, your bus will keep running just like it always did.
Where people get into trouble is when they buy a bus and treat it like a car. Change the oil once a year, ignore the coolant chemistry, never grease anything, and wonder why things start breaking. A car can tolerate a surprising amount of neglect before showing problems. A bus will let you know much faster that you’re falling behind.
So many old bus conversions — aren’t the expensive mechanical repairs an ever-ongoing threat?
This one showed up in YouTube comments a lot, and it’s a fair question. Old vehicles break. That’s just reality. But the answer is more nuanced than “yes, prepare to bleed money forever.”
The key concept here is preventive maintenance vs reactive maintenance. Reactive maintenance means you wait until something breaks and then fix it. Preventive maintenance means you replace things before they fail based on age, mileage, or condition.
Reactive maintenance is almost always more expensive. A coolant hose that costs $30 to replace on your schedule costs $30 plus a tow truck, a shop visit, and potentially an overheated engine if it blows on the highway. A belt that costs $25 at AutoZone costs $25 plus whatever damage happens to the alternator, water pump, or power steering pump when the belt snaps and they stop working simultaneously.
The philosophy I landed on after all my research is simple. Replace wear items on a schedule, inspect everything regularly, and fix small problems before they become big ones. People who do this report relatively low annual maintenance costs and minimal breakdowns. People who don’t do this are the ones posting horror stories online about how their bus is a money pit.
Common failures and how much they actually cost:
- Alternator failure: $150-$400 for the part, $100-$200 labor. Carries no warning if you’re not watching your voltage gauge.
- Water pump failure: $100-$300 for the part, $200-$500 labor. Usually starts as a small coolant leak.
- Injector failure: $200-$500 per injector, $500-$1,500 labor for a full set. Hard starting and rough idle are the early signs.
- Starter motor failure: $150-$400 for the part, $100-$300 labor. Slow cranking is the warning.
- Radiator leak: $200-$600 for a new radiator, $200-$400 labor. Small leaks often show up as a slowly dropping coolant level.
- Air compressor failure: $200-$500 for the part, $200-$400 labor. Slow air pressure build is the warning sign.
- U-joint failure: $20-$50 for the part, $100-$200 labor (or DIY). A clunking noise when shifting from park to drive.
Notice how almost every one of these has a warning sign. That’s the whole point of the daily walk-around and the regular inspections. You catch the warning sign, you fix it on your terms, at a shop you chose, for a reasonable price. You ignore the warning sign, you fix it on the side of the road, at whatever shop the tow truck driver takes you to, for whatever they want to charge.
What should be in your emergency toolkit?
After reading through dozens of breakdown stories and recovery posts, I put together what I think is a solid emergency toolkit for full-time bus travel. This isn’t everything you’d want in a fully stocked workshop — it’s the stuff that actually gets used during roadside situations.
Basic tools:
- Socket set (metric and standard, 3/8″ and 1/2″ drive)
- Combination wrench set
- Screwdrivers (flat and Phillips, multiple sizes)
- Pliers (needle nose, channel lock, vice grips)
- Adjustable wrench (at least two, different sizes)
- Pry bar
- Hammer
- Wire cutters/strippers
- Multimeter for electrical troubleshooting
- Flashlight and headlamp (with spare batteries)
Bus-specific items:
- Spare serpentine belt (matched to your engine)
- Spare fuel filters
- Spare coolant hoses (at least the upper and lower radiator hoses)
- Hose clamps in various sizes
- Duct tape and electrical tape
- JB Weld or similar epoxy
- Zip ties (a ridiculous amount of zip ties)
- Spare fuses for every fuse in the bus
- Coolant — at least two gallons
- Motor oil — at least two quarts
- Brake cleaner
- Penetrating oil (PB Blaster or similar)
- 12-volt tire inflator or portable air compressor
- Tire plug kit
- Jumper cables (heavy-duty, not the cheap ones)
- Fire extinguisher (ABC rated, minimum 5 lb)
Safety equipment:
- Road triangles (at least three)
- High-visibility vest
- First aid kit
- Work gloves
- Safety glasses
Communication:
- Charged cell phone with roadside assistance numbers saved
- Paper list of emergency contacts (don’t rely only on your phone)
- CB radio if you travel rural areas with spotty cell coverage
I keep all of this in a designated toolbox that stays in an accessible compartment. Not buried under the bed, not behind the couch — somewhere I can grab it in five minutes without moving everything I own.
How do you keep records of all this?
This might be the least exciting topic in this entire guide, but I’m convinced it’s one of the most important. Keeping maintenance records does three things: it tells you when things are due, it helps mechanics diagnose problems faster, and it massively increases your resale value if you ever sell the bus.
The system doesn’t need to be fancy. I found that people use everything from a spiral notebook to a spreadsheet to dedicated apps. What matters is that you record the date, the mileage, what was done, and what parts were used. That’s it. Four pieces of information.
Some people use apps like Fuelly for tracking fuel and maintenance, or just a Google Sheet they can access from their phone. I found a guy on a forum who keeps a physical notebook in the glove box and just writes everything down by hand. He’s been doing it for six years and has a complete history of every oil change, every filter, every repair, the mileage, the cost, and even the shop name. When he needed warranty work done on a part, he had the receipt and the mileage right there.
The other benefit of good records is patterns. If you notice you’re adding coolant every month, that tells you something. If your fuel filters are getting clogged faster than they should, that tells you something about your fuel quality. If the same belt keeps slipping, maybe it’s the tensioner, not the belt. Records turn isolated data points into a story about what’s happening with your bus over time.
How much does a flat tire cost to repair on the side of the highway?
This one is specific but I saw it asked enough times that it deserves a straight answer. A flat tire on a school bus is a bigger deal than a flat on a car because the tires are bigger, heavier, and you probably can’t change it yourself without the right tools.
If you can plug it yourself and it’s a simple puncture in the tread, you’re looking at the cost of a tire plug kit — maybe $10 to $15 — and 20 minutes of your time. I carry a plug kit for exactly this reason.
If you need to call a mobile tire service, you’re looking at $150 to $350 for a roadside call depending on your location and time of day. They’ll come to you, assess the tire, and either plug it, patch it, or tell you it needs to be replaced.
If the tire is destroyed and needs replacement, add $200 to $400 for the tire itself, plus the service call. And if it’s a rear dual tire that blew, it might have damaged the inner tire too. Now you’re buying two.
This is another reason to check your tires obsessively. Check the pressure. Check the tread depth. Check the sidewalls for cracking, bulging, or damage. And check the date codes — tires older than seven years should be replaced regardless of how they look. Tire blowouts on a bus are dangerous, expensive, and almost always preventable with basic inspection.
Parts sourcing — where do you even get parts for a school bus?
This is actually easier than most people expect. School bus parts are not exotic. These are commercial vehicle components shared across thousands of trucks and buses, and the parts supply chain is robust.
Auto parts stores: O’Reilly, AutoZone, NAPA, and Advance Auto Parts all stock or can order filters, belts, hoses, and basic maintenance parts for common bus engines. NAPA in particular tends to have better coverage of commercial vehicle parts than the others. I found that having your engine model number and the chassis model helps the counter guy immensely. “I need an oil filter for a DT466” gets you the right part. “I need a filter for my bus” does not.
Online retailers: RockAuto has an enormous catalog and often the best prices. Amazon carries a surprising amount of bus parts. FleetFilter.com and BusPartsWarehouse.com are specialty retailers for school bus components specifically.
Salvage yards: Commercial vehicle salvage yards sometimes have school buses, and the parts are cheap. Axles, transmissions, alternators, starters, steering components — all of this can be sourced from salvage for a fraction of new parts cost. The LKQ network is a good place to start looking.
Dealer parts departments: International/Navistar, Freightliner, Blue Bird, and Thomas all have parts departments at their dealer locations. More expensive than aftermarket but sometimes you need the OEM part.
The community: Skoolie Facebook groups and forums have active buy/sell sections where people offload parts from buses they’re parting out. I’ve seen complete engine and transmission assemblies sold for a fraction of what they’d cost from a dealer.
One thing I learned is to buy common wear items in bulk when you find good prices. Oil filters, fuel filters, air filters, belts — these things don’t expire, and having them on hand means you’re never scrambling to find the right part in a small town where the nearest auto parts store is 40 miles away.
Who did the studies on tire, axle, and frame loading? Who tested brake systems for added load?
I saw this question in a YouTube comment and I actually think it’s a really important one that doesn’t get enough attention. The person asking it was basically saying — has anyone verified that a converted school bus with thousands of pounds of build materials, water tanks, furniture, and people is still safe to operate?
The answer is that the bus itself was engineered with a Gross Vehicle Weight Rating — the GVWR — that accounts for maximum loaded weight. A full-size school bus typically has a GVWR of 30,000 to 36,000 pounds, and the empty bus might weigh 15,000 to 18,000 pounds. That gives you 12,000 to 18,000 pounds of payload capacity, which sounds like a lot until you start adding things up.
Water weighs 8.34 pounds per gallon. A 100-gallon freshwater tank is 834 pounds. Add a gray tank and a black tank at half full and you’re easily over a ton of water weight alone, just like the commenter pointed out.
Wood, tile, cabinetry, appliances, a wood stove, batteries, solar equipment, personal belongings — a typical full conversion adds 3,000 to 8,000 pounds to the bus depending on materials and layout.
The brakes, axles, frame, and tires were all engineered for the full GVWR, so as long as you stay under it, you’re operating within the original design specifications. The problem is that some conversions don’t stay under it. I found that weighing your bus at a truck scale (CAT scales at truck stops charge about $15) is something every skoolie owner should do at least once with the bus fully loaded and ready to travel.
If you’re over your GVWR, your brakes may not stop you effectively in an emergency, your tires are more likely to fail, your axles are under more stress than they were designed for, and your insurance may not cover you in an accident. It’s a serious issue and honestly I think it’s one of the most under-discussed topics in the skoolie world.
Love your living space, but I’m curious about maintenance — how do you do it?
This was a really common question phrased in a dozen different ways, and I think what people are really asking is — is this manageable for a normal person who isn’t a mechanic?
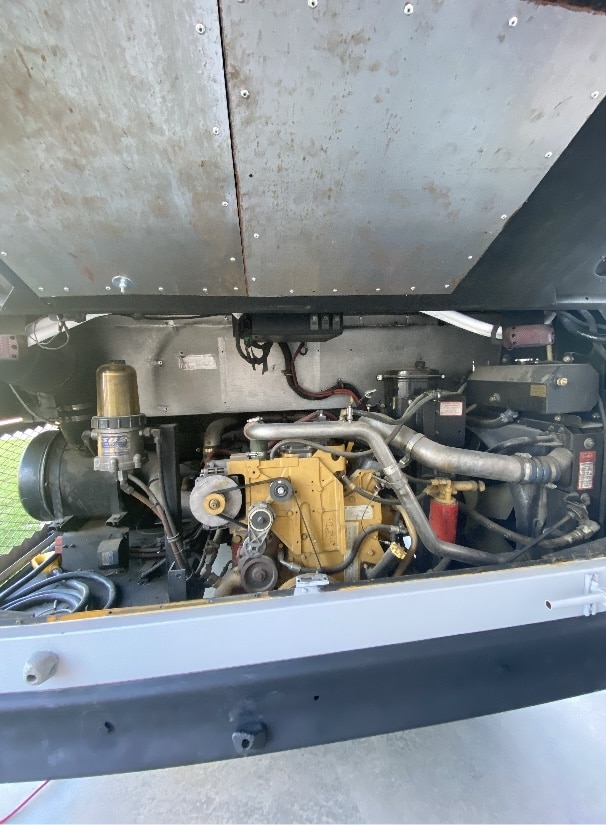
The honest answer is yes, with some effort upfront to learn the basics. You don’t need to be a diesel mechanic to maintain a skoolie. You need to be willing to learn what your bus needs, set up a schedule, and follow through consistently.
The learning curve is real but it’s not steep. Changing oil, checking fluids, greasing the chassis, replacing filters — this is basic stuff that anyone can learn from YouTube videos and forum posts. The diesel-specific stuff like SCAs in the coolant, air dryer maintenance, and air brake systems takes a little more research, but it’s all documented thoroughly by the manufacturers and by people in the community who have figured it out before you.
I think the single best thing you can do when you first get your bus is find your engine’s service manual and your chassis maintenance guide. International, Cummins, Caterpillar — they all publish detailed maintenance guides that spell out exactly what to do and when. The Allison transmission has its own maintenance guide too. These documents exist because fleet mechanics need them, and now you’re the fleet mechanic.
Start with the easy stuff. Do your own oil changes. Learn to grease the chassis. Replace your own air filter and fuel filters. Each time you do something yourself, you learn a little more about how the bus works, and the next thing feels less intimidating.
And when something is beyond your comfort level, take it to a shop. There’s no shame in that. Knowing when to call a professional is part of being a responsible bus owner. The goal isn’t to become a master mechanic — it’s to handle the routine stuff yourself and know enough to communicate effectively with a shop when you need one.
What about the build side — does the conversion itself create maintenance issues?
This is something that doesn’t get discussed enough, so I wanted to address it here. Your conversion can absolutely create maintenance needs that a stock bus wouldn’t have.
Roof penetrations — every vent fan, solar panel, AC unit, and skylight you cut into the roof is a potential leak point. Sealant degrades with UV exposure and temperature cycling. Check every penetration every six months and reseal annually. Water intrusion from a failed roof seal will destroy your build from the inside out, and you won’t know until the mold smell hits you or the ceiling goes soft. I read enough horror stories about this to take it seriously.
Added electrical systems — your house batteries, inverter, solar charge controller, and all the wiring you added during the build need periodic inspection. Check connections for corrosion and tightness. Make sure nothing is chafing against metal edges. Bus vibration loosens things over time.
Plumbing — check for leaks at every fitting, especially in cold weather when PEX can contract slightly. Water damage in a bus happens fast because there’s nowhere for the water to go except into your subfloor and walls.
Weight distribution — if your build is significantly heavier on one side, you’re putting uneven wear on tires, suspension, and brakes. This shows up as uneven tire wear and the bus pulling to one side.
None of this is a reason not to convert a bus. It’s just additional maintenance that you need to account for in your schedule and budget.
Putting it all together
So after all this research, here’s where I landed. Maintaining a skoolie is absolutely doable for a regular person. It takes more attention than a car, the parts cost a bit more, and finding a mechanic on the road requires some planning. But the engines are tough, the drivetrains are built to last, and the vast majority of problems are preventable with basic maintenance.
Budget $2,000 to $5,000 per year for maintenance and set aside another $2,000 to $3,000 for emergencies. Learn to do the basics yourself — it’ll save you money and keep you from being stranded while you wait for a shop that can fit you in. Keep records of everything. Follow a schedule. Check your bus before you drive it. And when something sounds different or looks different, don’t ignore it.
The people in the community who have been doing this for years — five, ten years of full-time bus life — they all say the same thing. The bus isn’t the hard part. The maintenance isn’t the hard part. The hard part is building the discipline to actually do the boring routine stuff consistently instead of putting it off. Once you get that discipline down, the rest takes care of itself.
That’s honestly what I keep coming back to every time I dig into this topic. The buses were built for this. They ran for 15 to 20 years in fleet service with professional mechanics keeping them on schedule. Your bus doesn’t need less maintenance now that it’s a home — it probably needs a little more, because you’re adding systems and using it differently. But you’ve got the same bones underneath, and those bones are solid. Take care of them and they’ll take care of you.